Mike Walden's replacement CPU board for the Simmons SDS6 is an amazing rescue resource for one of the rarest eighties music machines ever! On my recommendation, one of my customers bought one of Mike's boards as soon as they were available. Here's the story...
The Simmons SDS6 was an analogue sequencer with eight trigger outputs and a hi-hat open / closed output, all intended to drive systems like the Simmons SDSV and SDS7. Of course the trigger outputs could be fed into many electronic drum systems of the time.
Simmons only made a hundred and ninety SDS6 sequencers. It was a beast at the time and by today's standards, is positively over the top.
Famous for its massive LED display, the first revisions (yes, there were several, even for a hundred and ninety units) only had tape sync and didn't include MIDI. Memory back-up was via the expansion port at the rear and users looking to copy / back up data had to do so via Simmons' proprietary Memory Expansion Pack. Incidentally, my 'Advanced Memory Expansion Pack' (AMEP) works just great with the SDS6.
Like many machines of that era however, the SDS6 used Ni-Cd batteries for memory back-up and if not charged regularly, these damn things leak and badly. If not caught quickly, the result is more often than not, a bricked Simmons SDS6.
For me, things started about this time last year when a customer turned up with a Simmons SDS7 and a SDS6, neither of which was powering up. As it turned out, the memory back-up batteries in both machines had long expired and had badly leaked.

It took several months to repair the SDS7 but the SDS6 was a lost cause. Having only made a hundred and ninety units, seeing one in this state is quite upsetting, to say the least.

After a few weeks of trying to repair the damage, I was forced to draw a line as it became obvious that my efforts were quite futile. I proposed to my customer, that I design a replacement CPU board.

Well, round about the same time, a certain Mike Walden had recently purchased a SDS6 which by the sounds of it, had suffered the same fate. Mike had the same idea. After having spent most of 2024 designing a whole load of bits and pieces for the Simmons SDS7, I really didn't have the time to take on something like a whole CPU reverse engineering project. Mike sounded keen so I left him to it.
Reverse engineering something like this is a mammoth task but you also need to bear in mind that there are very little resources on this stuff, out there. On top of that, there are technically two types of SDS6; the standard trigger output version and the MIDI version. Both were substantially different. Mike's failed SDS6 was a MIDI version which was great for me or rather my customer, as his was a MIDI version, too. Hey but more about that later.
On 27th April 2025, Mike announced on Simmons Drums Users - Past and Present (private) Facebook group, that his project was finished and that his replacement CPU board for the Simmons SDS6 would be available on ebay.
As soon as Mike's replacement CPU board for the Simmons SDS6 was on ebay, I telephoned my customer giving him the ebay item number. Yes, it was the middle of the night but this was a big deal.
Usually, the minimum production quantity for PCB projects is five. Mike had four boards available on ebay so I'm guessing that one of them ended up in his own SDS6. As you can see in the image below, I'm also guessing that the one Peter bought is, well... No. 2!

Peter immediately bought one of Mike's boards and then contacted me again to arrange drop-off.
The next day, Peter drove down to Hemel Hempstead from Cambridge and I simply couldn't wait to see Mike's board. Packaged extremely well, there were a few anxious moments before all was revealed.
On first sight, the first thing that went through my head was complete and utter respect. I'm an electronics design engineer and all I could think of were the hours of work that must have gone into this. "Mike, this is awesome!"

If I'm brutally honest with myself, then I must confess to feeling slightly envious. I really wanted to take on this project myself but you simply can't do everything and at the time of writing, there was no way I could commit to this. Again, Mike did well to make the time for such an ambitious endeavour.
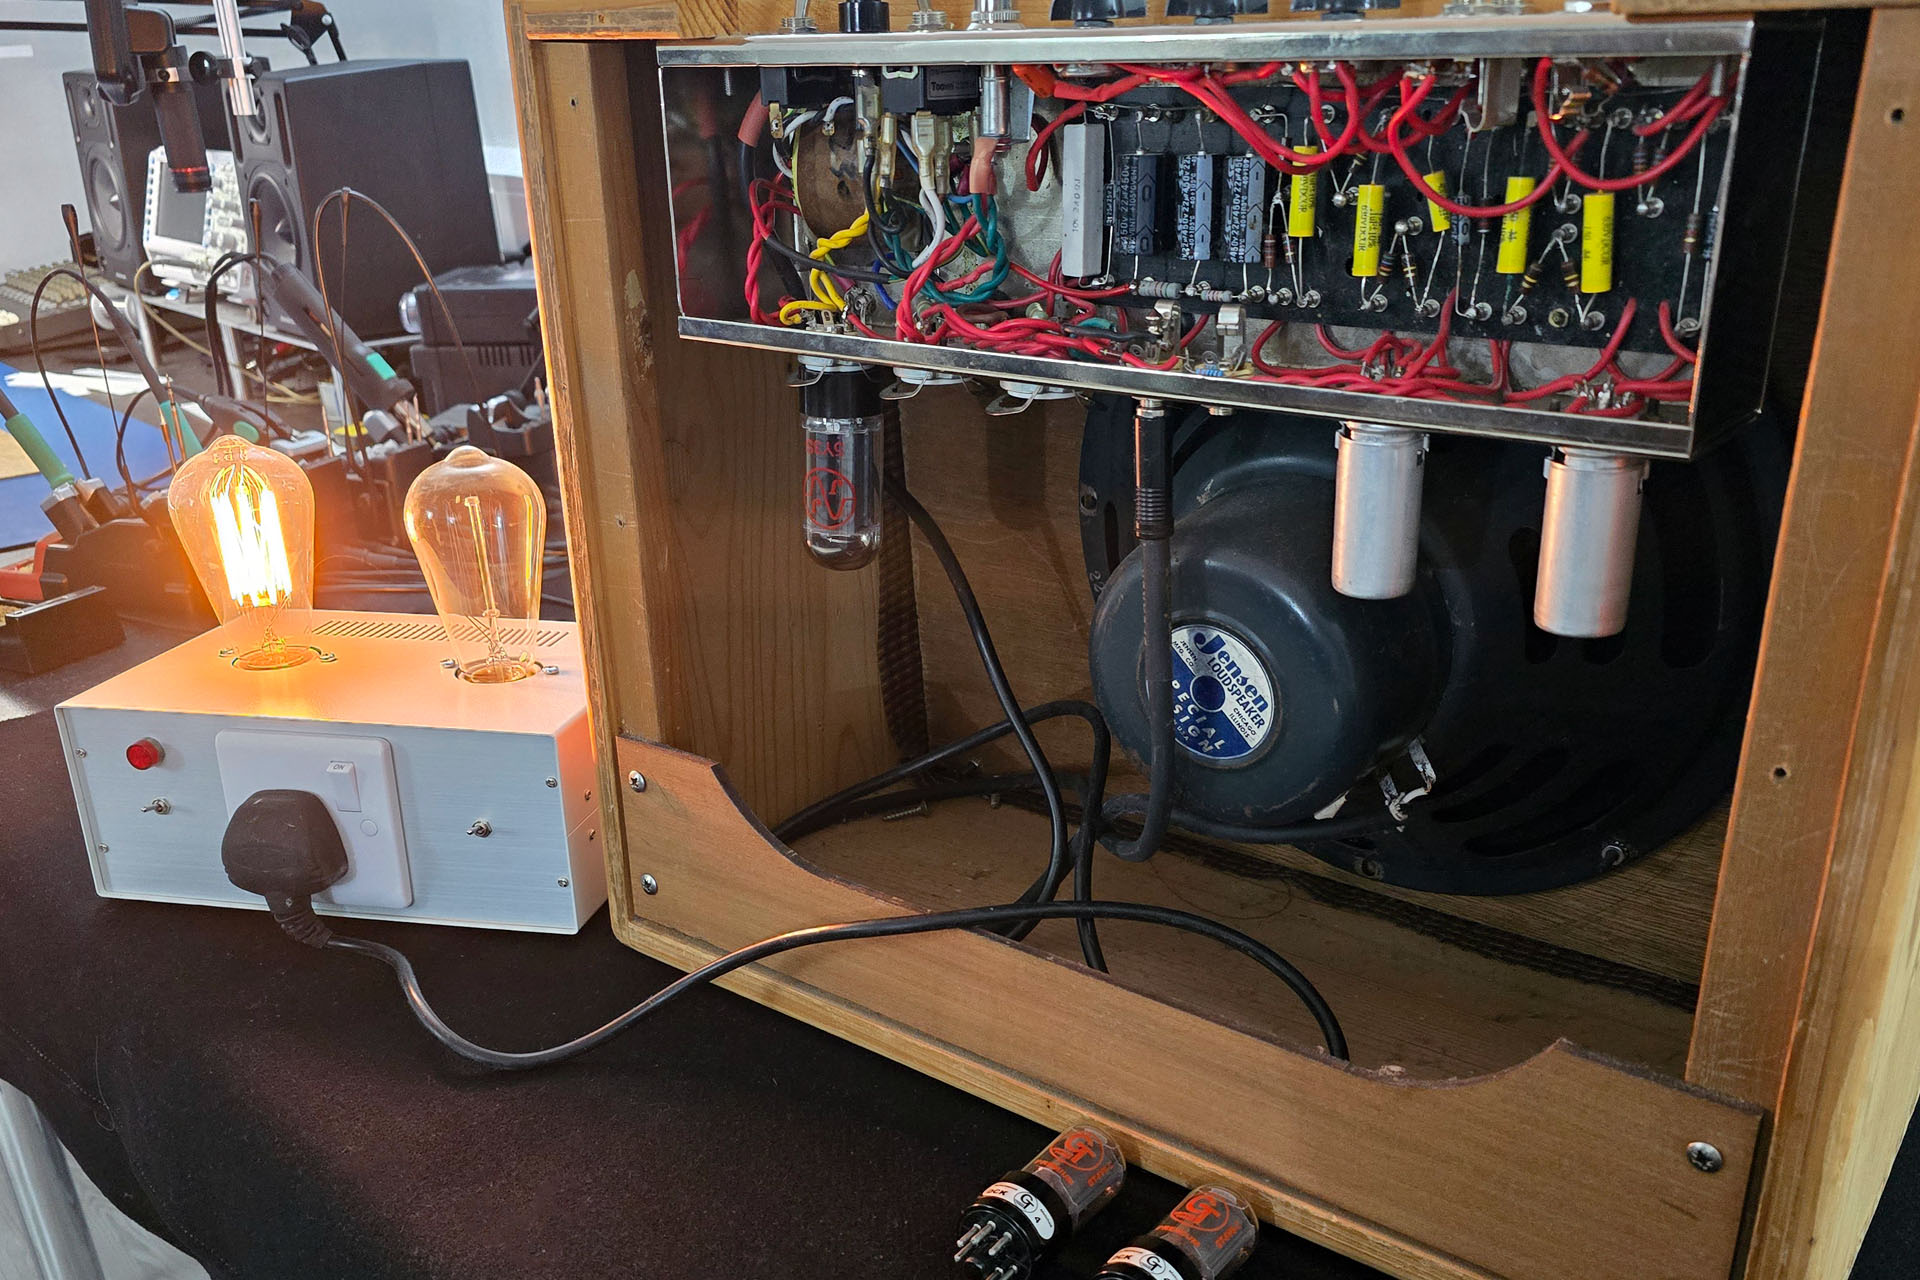
Anyway, a few days later and I decided to pull out Peter's SDS6. Oh boy. Memories of trying to resurrect this came flooding back. 😒 Not good but I'm glad we decided to keep this.
Before attempting to fit Mike's replacement CPU board for the Simmons SDS6, I decided to check the PSU voltages. Everything was fine so let's go.
In his ebay listing, Mike warned that there may be slight differences in mounting between various SDS6s, something I'm used to and not just with Simmons gear. Mike's board wouldn't quite 'drop' into Peter's SDS6 and I would suggest that if Mike's going to make more of these, perhaps enlarging the mounting holes might be a consideration. As it turned out, I drilled out one of them from about 3.5mm, to 4.5mm. After that, the board fitted without requiring any nudging or force.
The power on reset (POR) circuit in the original SDS6 looks as if it was an afterthought. Electronically similar to that in the SDS7, the POR circuit in the SDS6 is on a separate and very small PCB that's secured to the centre screw on the CPU board. Four cores of ribbon cable connect power, 0V, unregulated +8V and RESET to the CPU board in anything but an elegant manner.
Mike tidily incorporated the POR on to his design, a pin being made available for the connection to the pre-regulated voltage from the PSU. I ended up removing this pin and wiring the connection directly to the board but from underneath.

By the looks of it, Mike chose to include some type of battery charge monitor on his board. Comprising very small SMDs, there's nothing I can identify but D7, Q1 and U25 PCB references are a bit of a giveaway for a diode, a transistor and an IC. A status LED is also present but strangely, it isn't a surface mount type. A key above the battery pack offers reference to what the LED would indicate.

Initially, I found the inclusion of this circuit somewhat curious for two reasons:
- I’ve never seen a SDS6 with issues resulting from component failure. Every faulty SDS6 I’ve ever seen has suffered a battery leak. It seems strange therefore, to continue using rechargeable batteries.
- There is no way to observe the battery charge status LED without opening up the SDS6.
The first point can be immediately dismissed. Instead of the original Ni-Cd batteries, Mike's design uses nickel metal hydride (NiMH) types which shouldn't leak! Excellent decision, Mike.
So let's continue...
After the afore mentioned and partly expected minor adjustment, the board slipped in nicely, well almost. On this particular SDS6 (#178), there was very little gap between the power supply PCB and the new board. Perhaps Mike could have got away with shaving off a few millimetres.

I'd already connected unregulated +8V from the PSU to the POR circuit directly. All other connections had been secured, checked and double checked, so let's switch on and see what happens...
Wow! The SDS6 powered straight up and seemed to boot. The battery status LED was on so I figured I'd have a cup of tea and leave the batteries to charge. Good so far.

While I had my tea, I thought it a good opportunity to familiarise myself with the operation of the SDS6. After all, it's been a few years since I've seen one of these. Hmm... I think I might need more than just the one cup of tea. Those batteries and that SDS6 user manual aren't going to happen quickly.
After my break, I came back to SDS6 #178. I switched off, closed the lid and powered up.
Cycling through several functions, everything seemed to work just fine. I then connected my test SDS7 and proceeded to enter a simple pattern. The once totally dead SDS6 played the SDS7 just fine. I didn't test the hi-hat open / closed function and neither did I test the tape sync but the fact that this SDS6 is triggering a SDS7 seemed quite a result to me.

CONCLUSIONS
Yes, my admiration for what Mike Walden has done should hopefully be obvious by now but somehow it doesn't seem enough? Mike's board is amazing and loaded into SDS6 #178, it works. I've also previously mentioned that I fully appreciate the effort that can go into a project like this, especially when there are so little resources available. In fact, I now need to ask my readers whose native tongue is not British English, to forgive me as slip into a little colloquialism and refer to Mike’s work as stonking (an adjective used to emphasize something impressive, exciting, or very large).
I was a bit concerned about the continued use of rechargeable batteries but NiMH is a good compromise and I fully endorse Mike's decision to do so.
Mike had five boards made and I don't know if he'll be making anymore. At the time of writing, the four that he put up on ebay had all gone.
There are nine link options which in theory, will allow this board to work in non-MIDI SDS6s. Mike told me that the link options emulate the modifications that appear on the schematics advising on non-MIDI to MIDI conversion. A nice and very forward-looking touch, Mike. Unfortunately, Mike doesn't have the firmware for these early SDS6 versions and on top of that, it would be good if he could validate his board. In fact, I'm aware that Mike's put a call out to borrow a non-MIDI SDS6, just to confirm operation. In his ebay listing, he also advised that those interested in this board for use in a non-MIDI SDS6 should contact him prior to purchase. If Mike's request for a guinea pig non-MIDI SDS6 is successful, then I'm assuming that this isn't the end of the story.

With less than two hundred SDS6s made and more than forty years on, one wonders how many are still in existence. I do however, hope that Mike decides to release a few more boards.
Many will be aware that I'm ex-Simmons and once in a while, Dave and I actually manage to catch up with each other. Dave consistently expresses his delight at the work I and others are doing to keep what he started back when it was really exciting, alive and kicking decades later.
NOTE:
- This replacement CPU board for the Simmons SDS6 is NOT my board. I had no hand in the design, manufacture or testing of the main item that's featured in this post.
- I do NOT sell these boards. Neither do I offer any technical support for these boards.
- Initially, Mike had five boards made. I have no idea if he'll be making any more.
- Whilst the pricing of Mike’s board was amazingly acceptable, I do not know if he’ll maintain that, should he release more boards.
- It would be most impractical for Mike to cater for all possible variations in SDS6 design. Hence, if Mike makes more of these boards, then I think it only fair to point out that purchasing and installing one is done entirely at your own risk.
- I won’t be publishing or distributing Mike’s contact details so I guess that the only way to keep up to date on further developments, would be via the Simmons Facebook group quoted earlier.