

Occasionally, even the best large diaphragm studio condenser microphones might start playing up and with so little in these transducers that are at the very heart of our music, you may be puzzled as to why this happens. Well if you think about, you shouldn't be! Despite best efforts such as use and storage in a smoke, pet and dust free environment and the use of pop shields, being exposed to what comes out of people's mouths (!), what's behind that grill, inevitably gets dirty and so microphone capsule cleaning is required.
Anything electronic generates noise but the noise generated by microphones obviously should be a bare minimum. If however, you start to notice an increase in background noise, random pops, crackles, whistles or even explosions, if the sound of your microphone has changed and perhaps you're experiencing a loss of sensitivity and if you've checked all your connections and pre-amps and perhaps even changed the valve in your microphone if applicable, then there's a good chance that your capsule needs some attention.
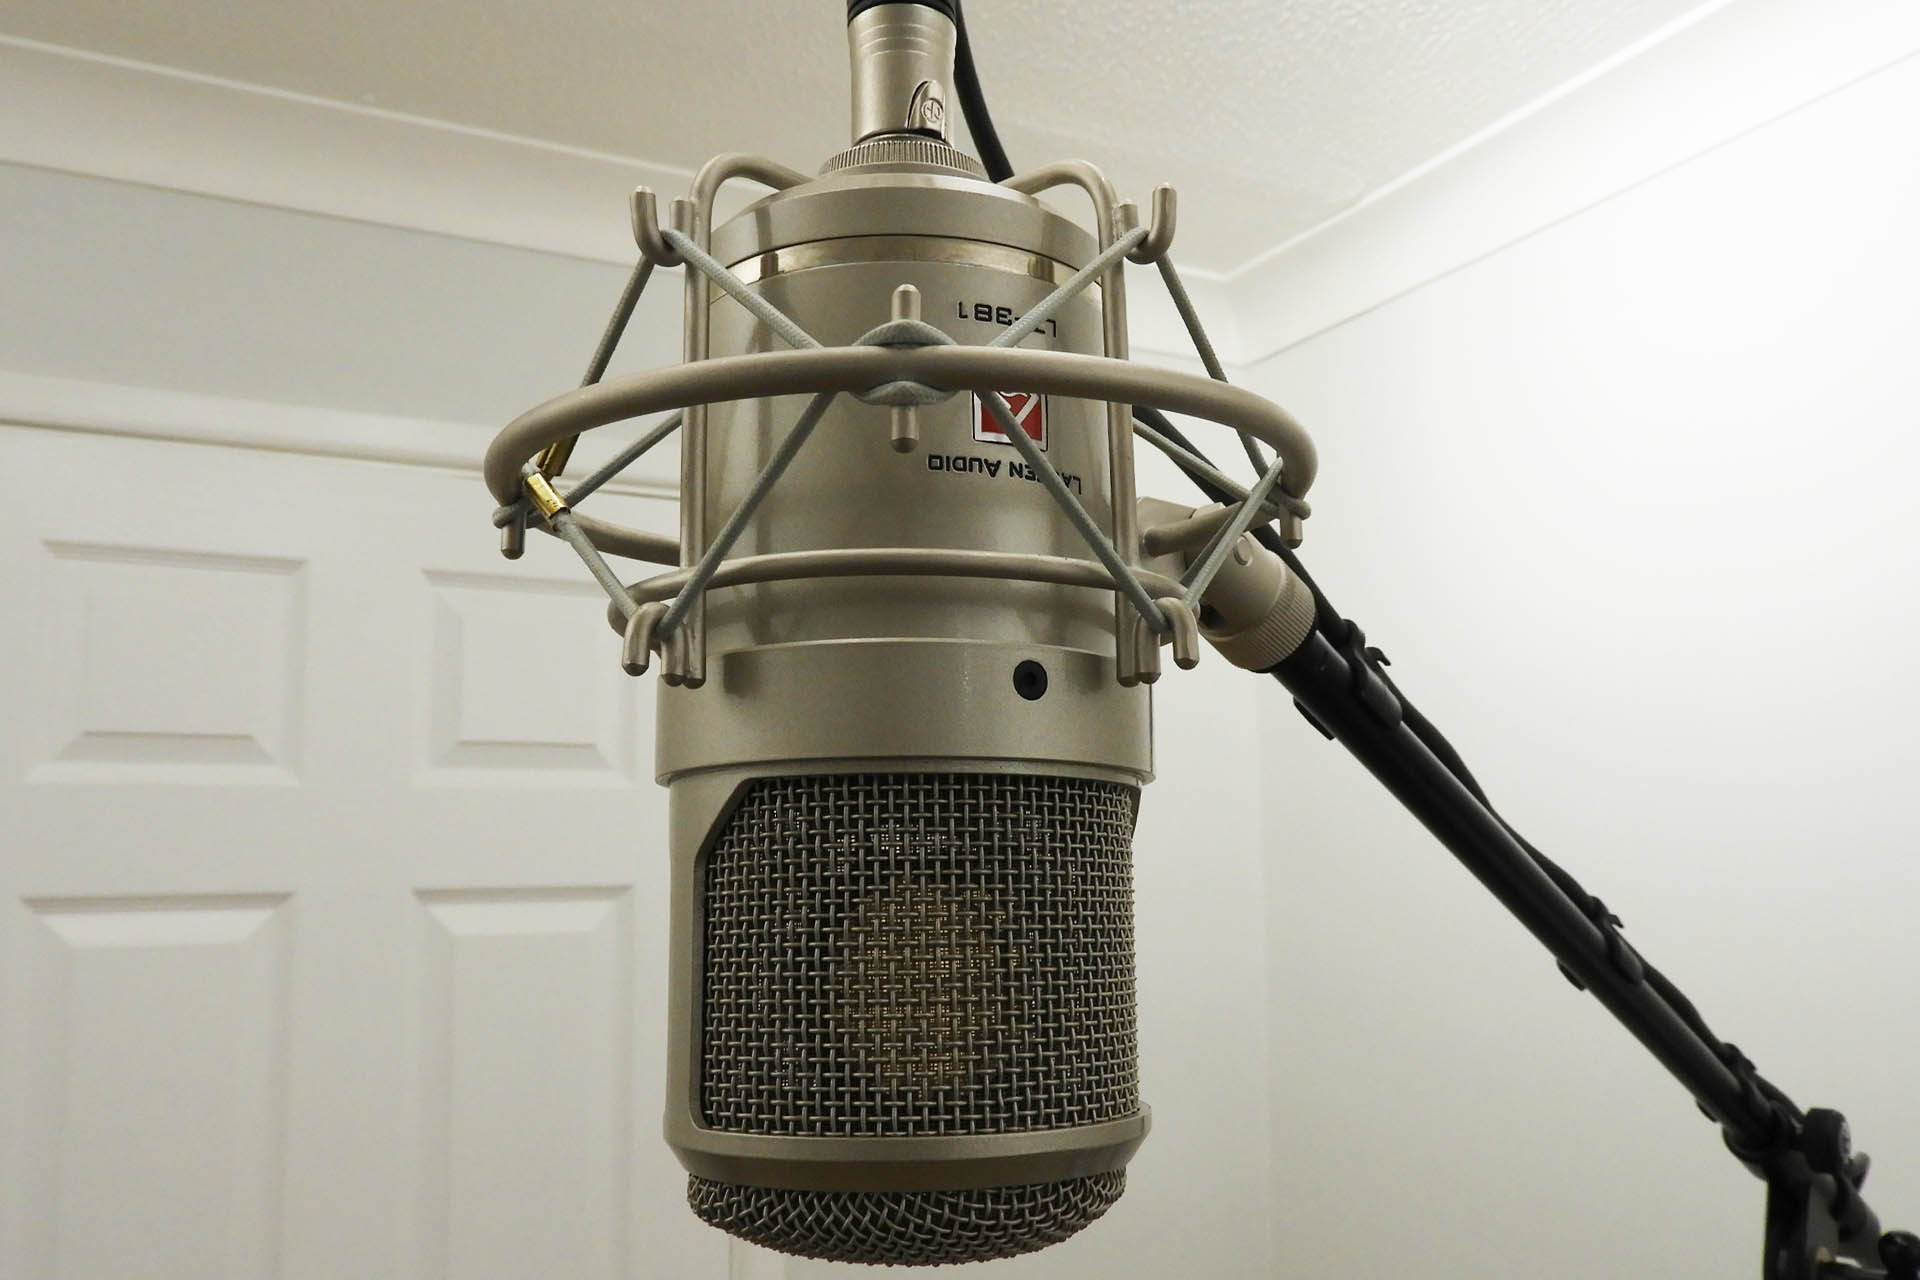
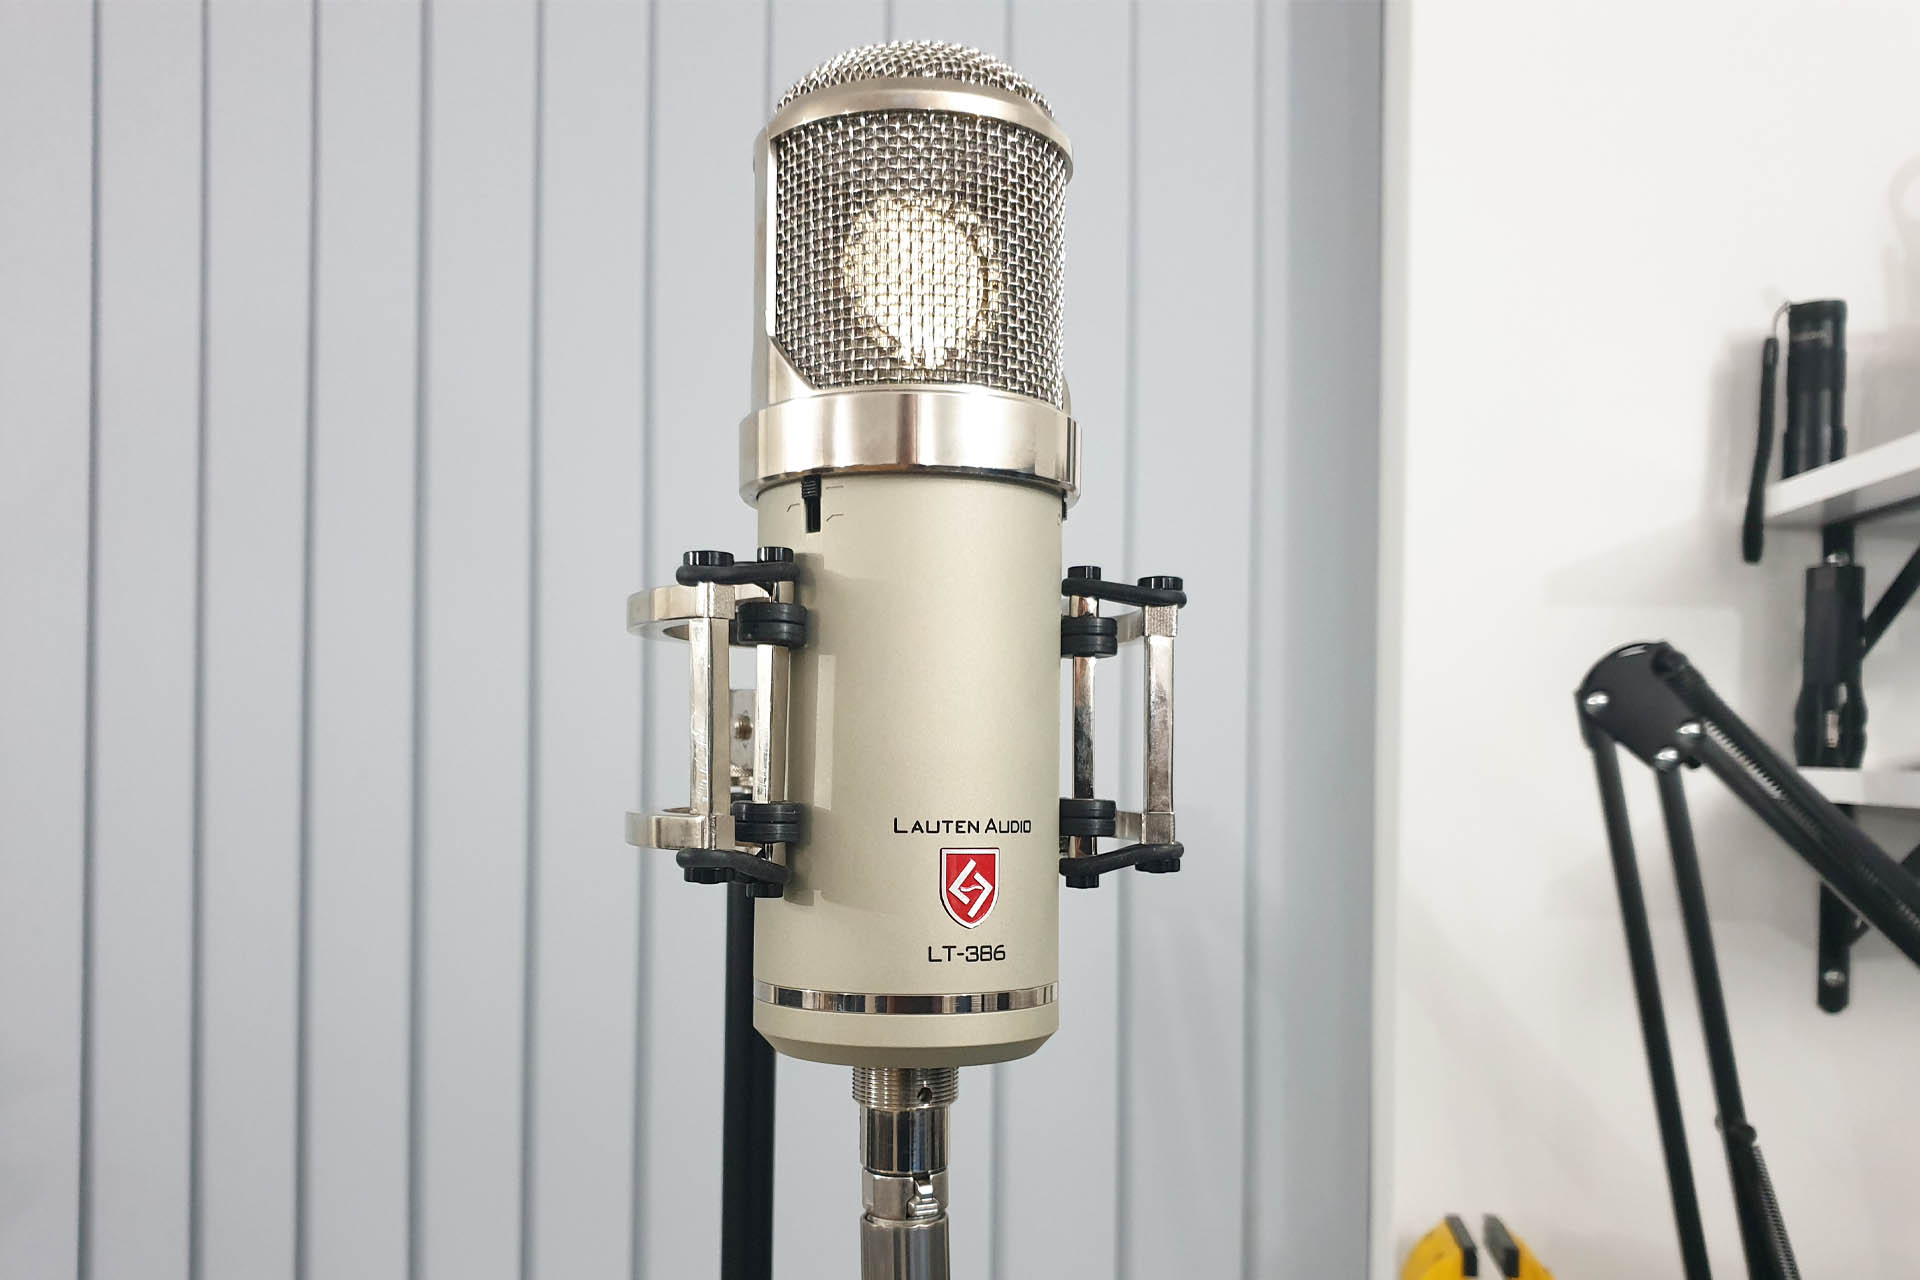
Here's a recording I made of the Lauten LT-386 microphone I've got here today.
Yes, I'm very quiet!
Apart from being littered with artefacts, some of which are quite dramatic, the microphone sounds dull. An acute loss of character and a compromised frequency response render this device quite unusable. 🙁
Before going anywhere near the capsule, I checked the electronics and changed the valve twice but there was no difference in the performance. The only option now was to look at the capsule, the component that actually captures pressure waves (sound) and converts them into an electric signal.
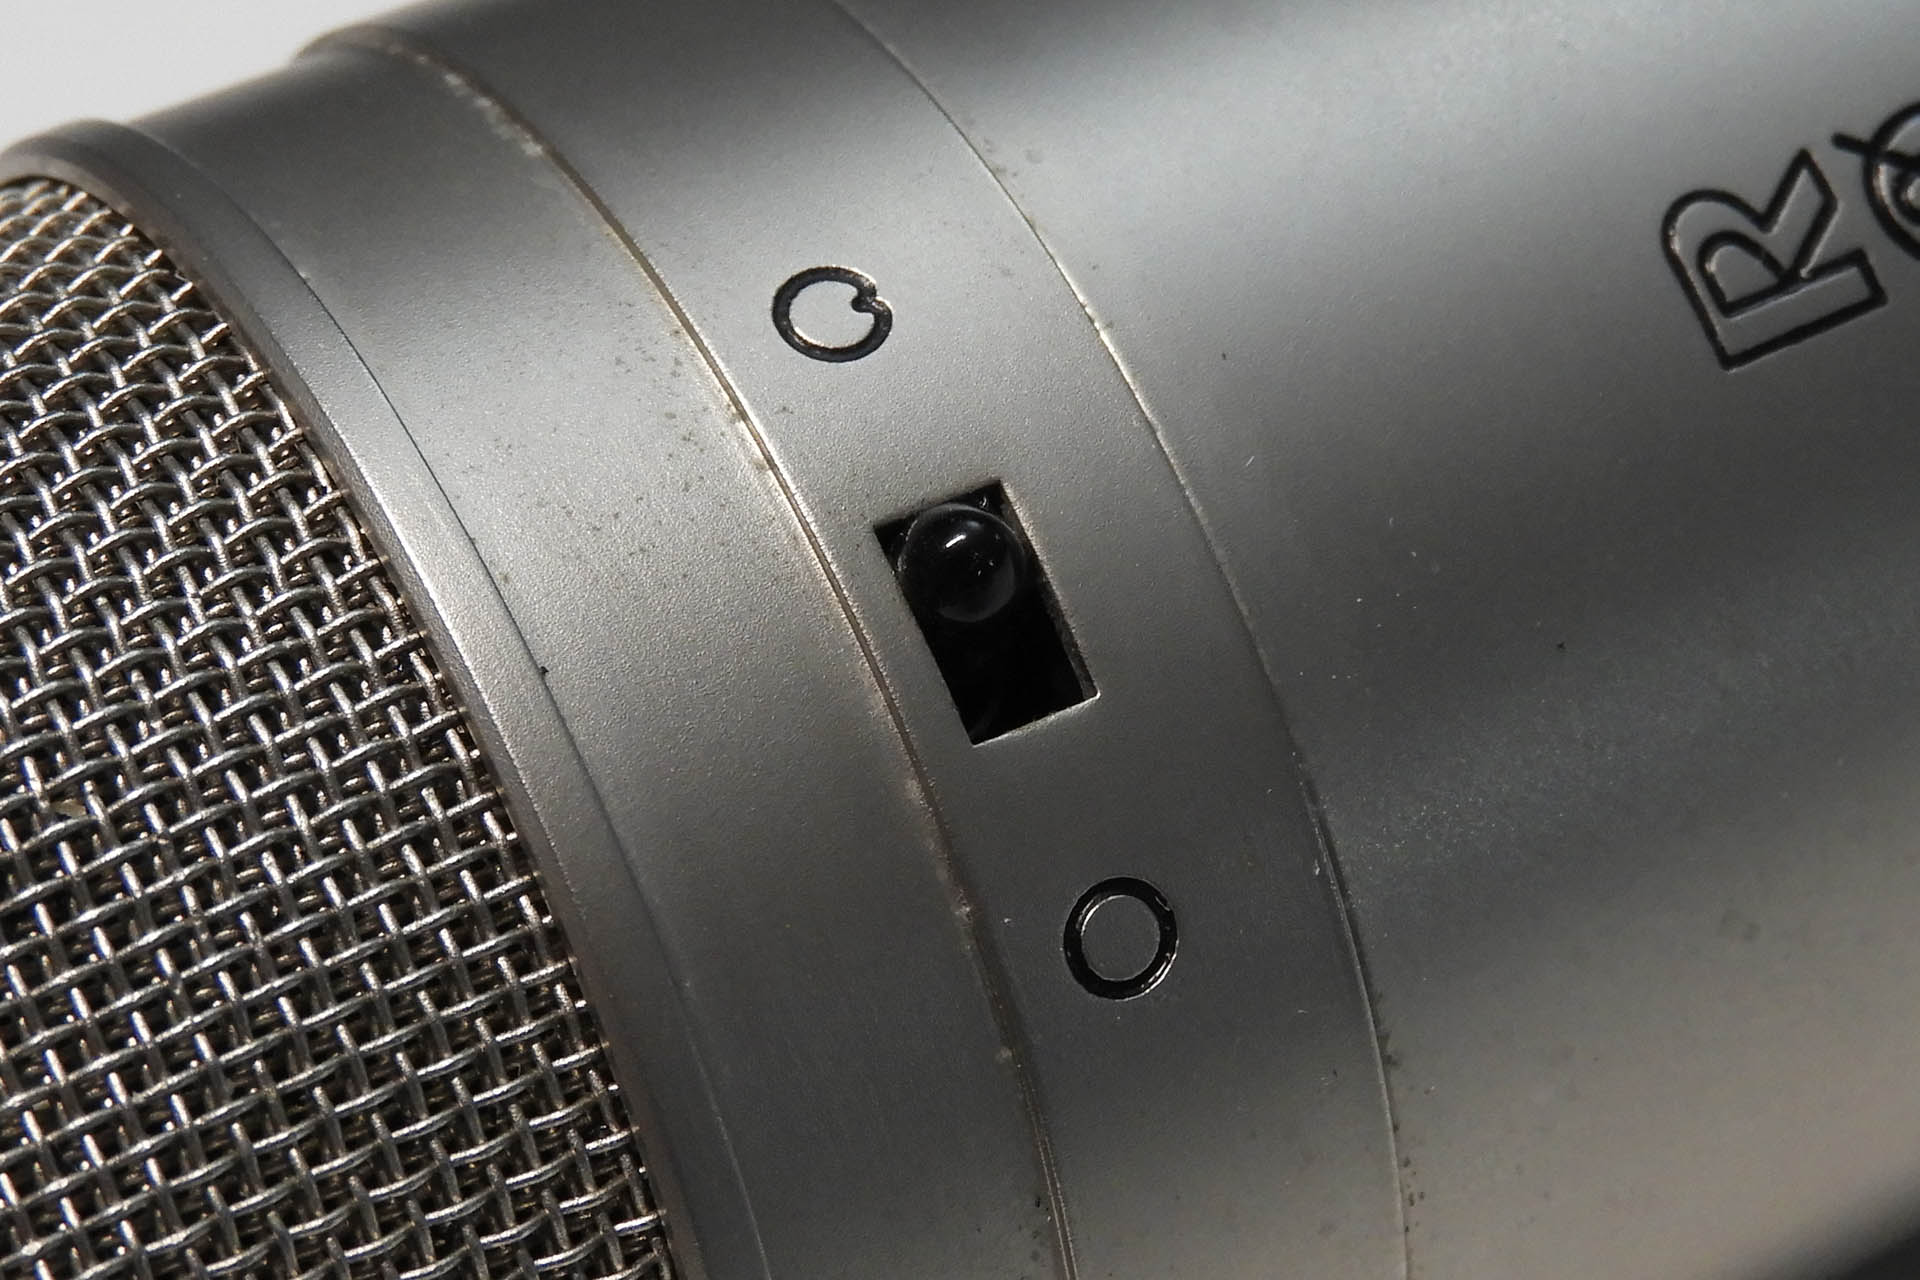
The first issue is getting to the capsule itself and some microphones are more difficult to dismantle than others. The well-known Rode NT2 (original version) for example, requires that the switches at the top of the microphone, be gently pushed in, so as to separate the internal top PCB from the top-grill, thereby exposing the capsule. I haven't found a way to avoid this and it's really a very worrying thing to do!
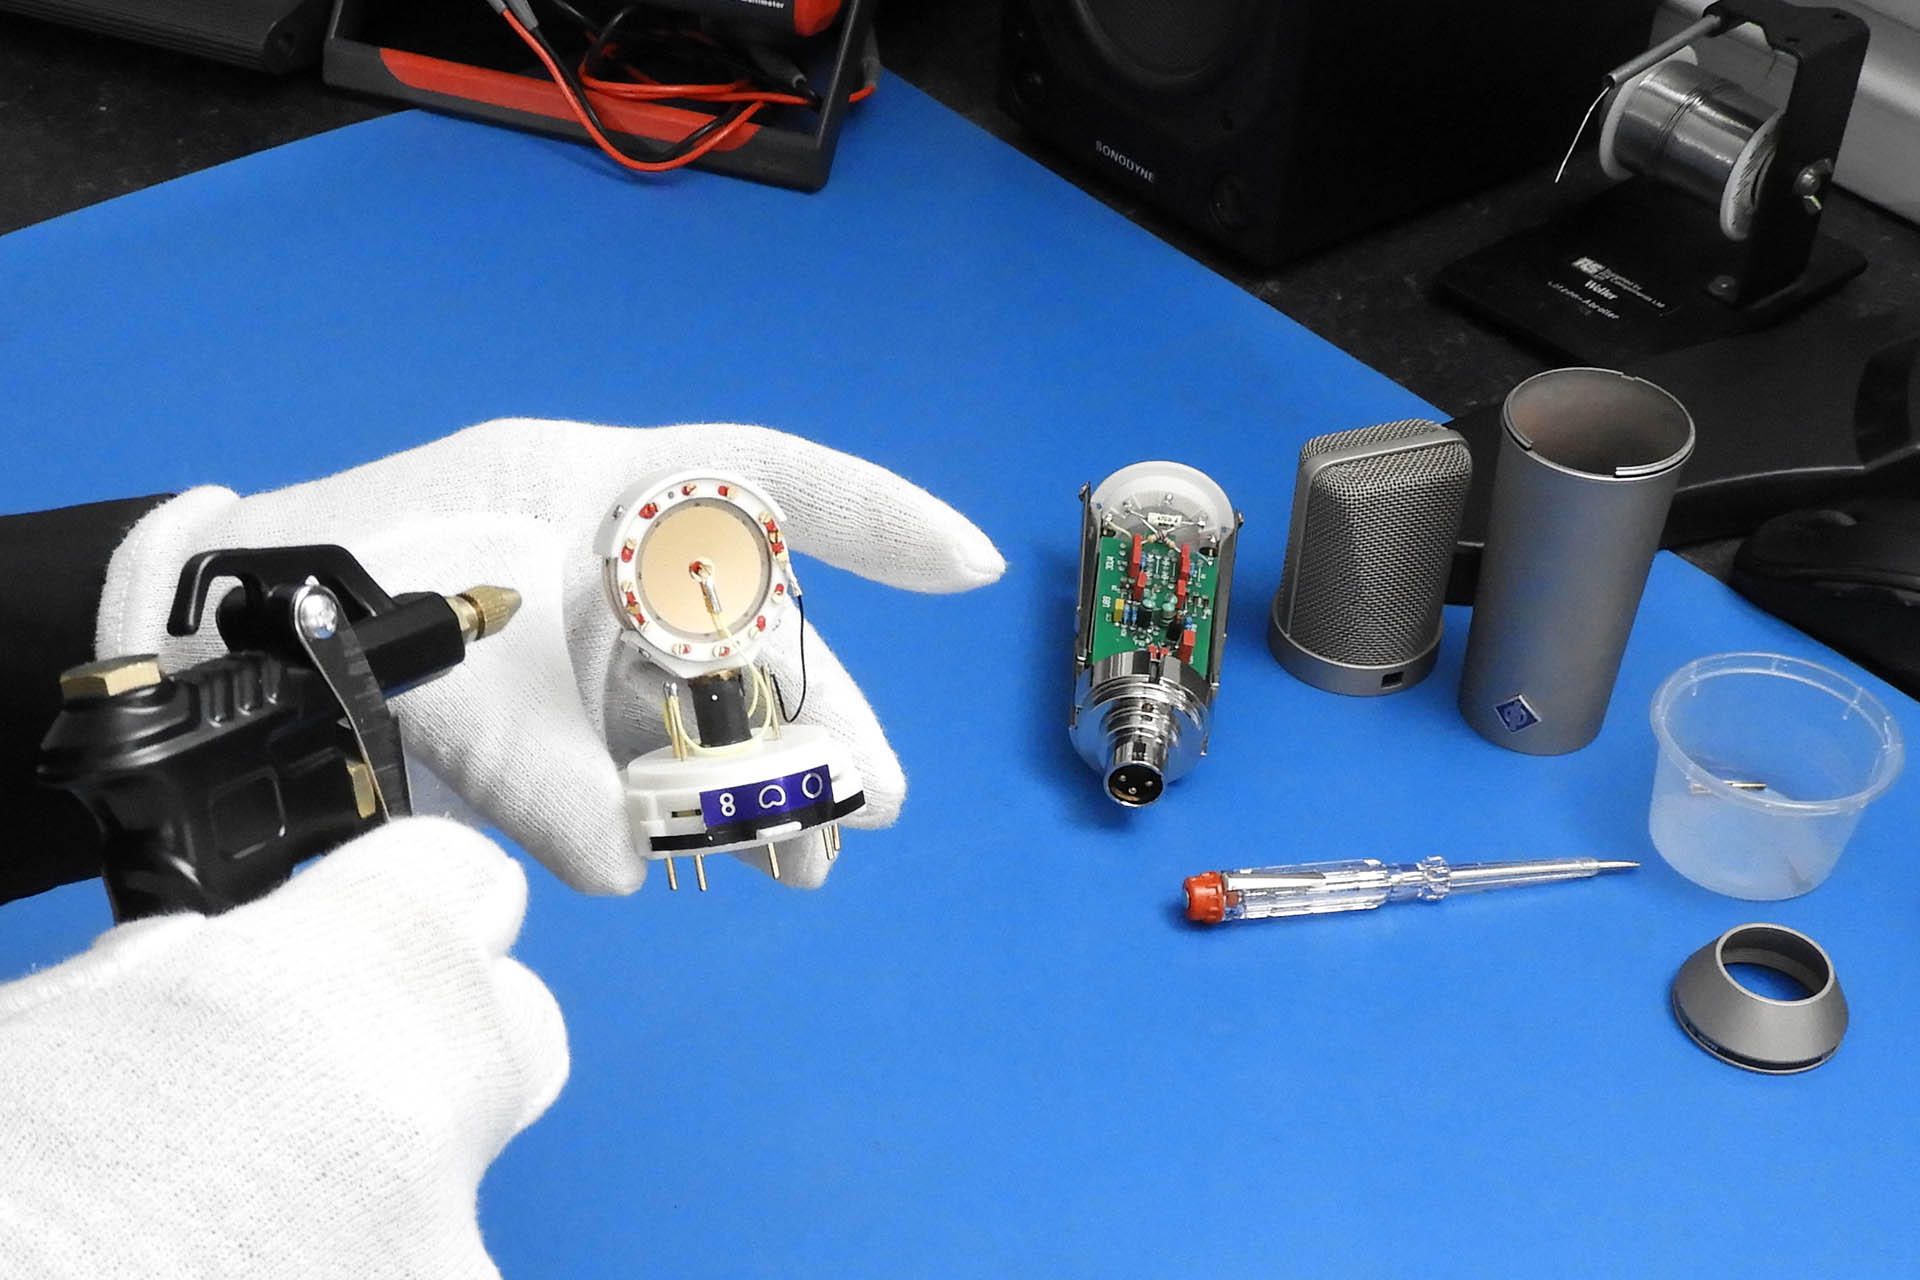
Thankfully, the capsule on today's microphone is much easier to access.
Once exposed, there should be either two or three wires coming off the the capsule which go into the microphone's on-board electronics. The capsule is normally secured in a cradle with a couple of screws, sometimes these screws are old-fashioned slot screws... yuk!!!! You really don't want to slip when removing them.
BUT WAIT!!!! It's not always necessary to remove the capsule. The objective here is to clean the capsule so on this occasion, it'll be staying in the cradle. YAY!!!
Microphone capsule cleaning is a daunting task, even for someone experienced like myself. It requires patience and great care. The surfaces of the capsule for example, shouldn't be touched although sometimes contact simply isn't avoidable. I'll elaborate later.
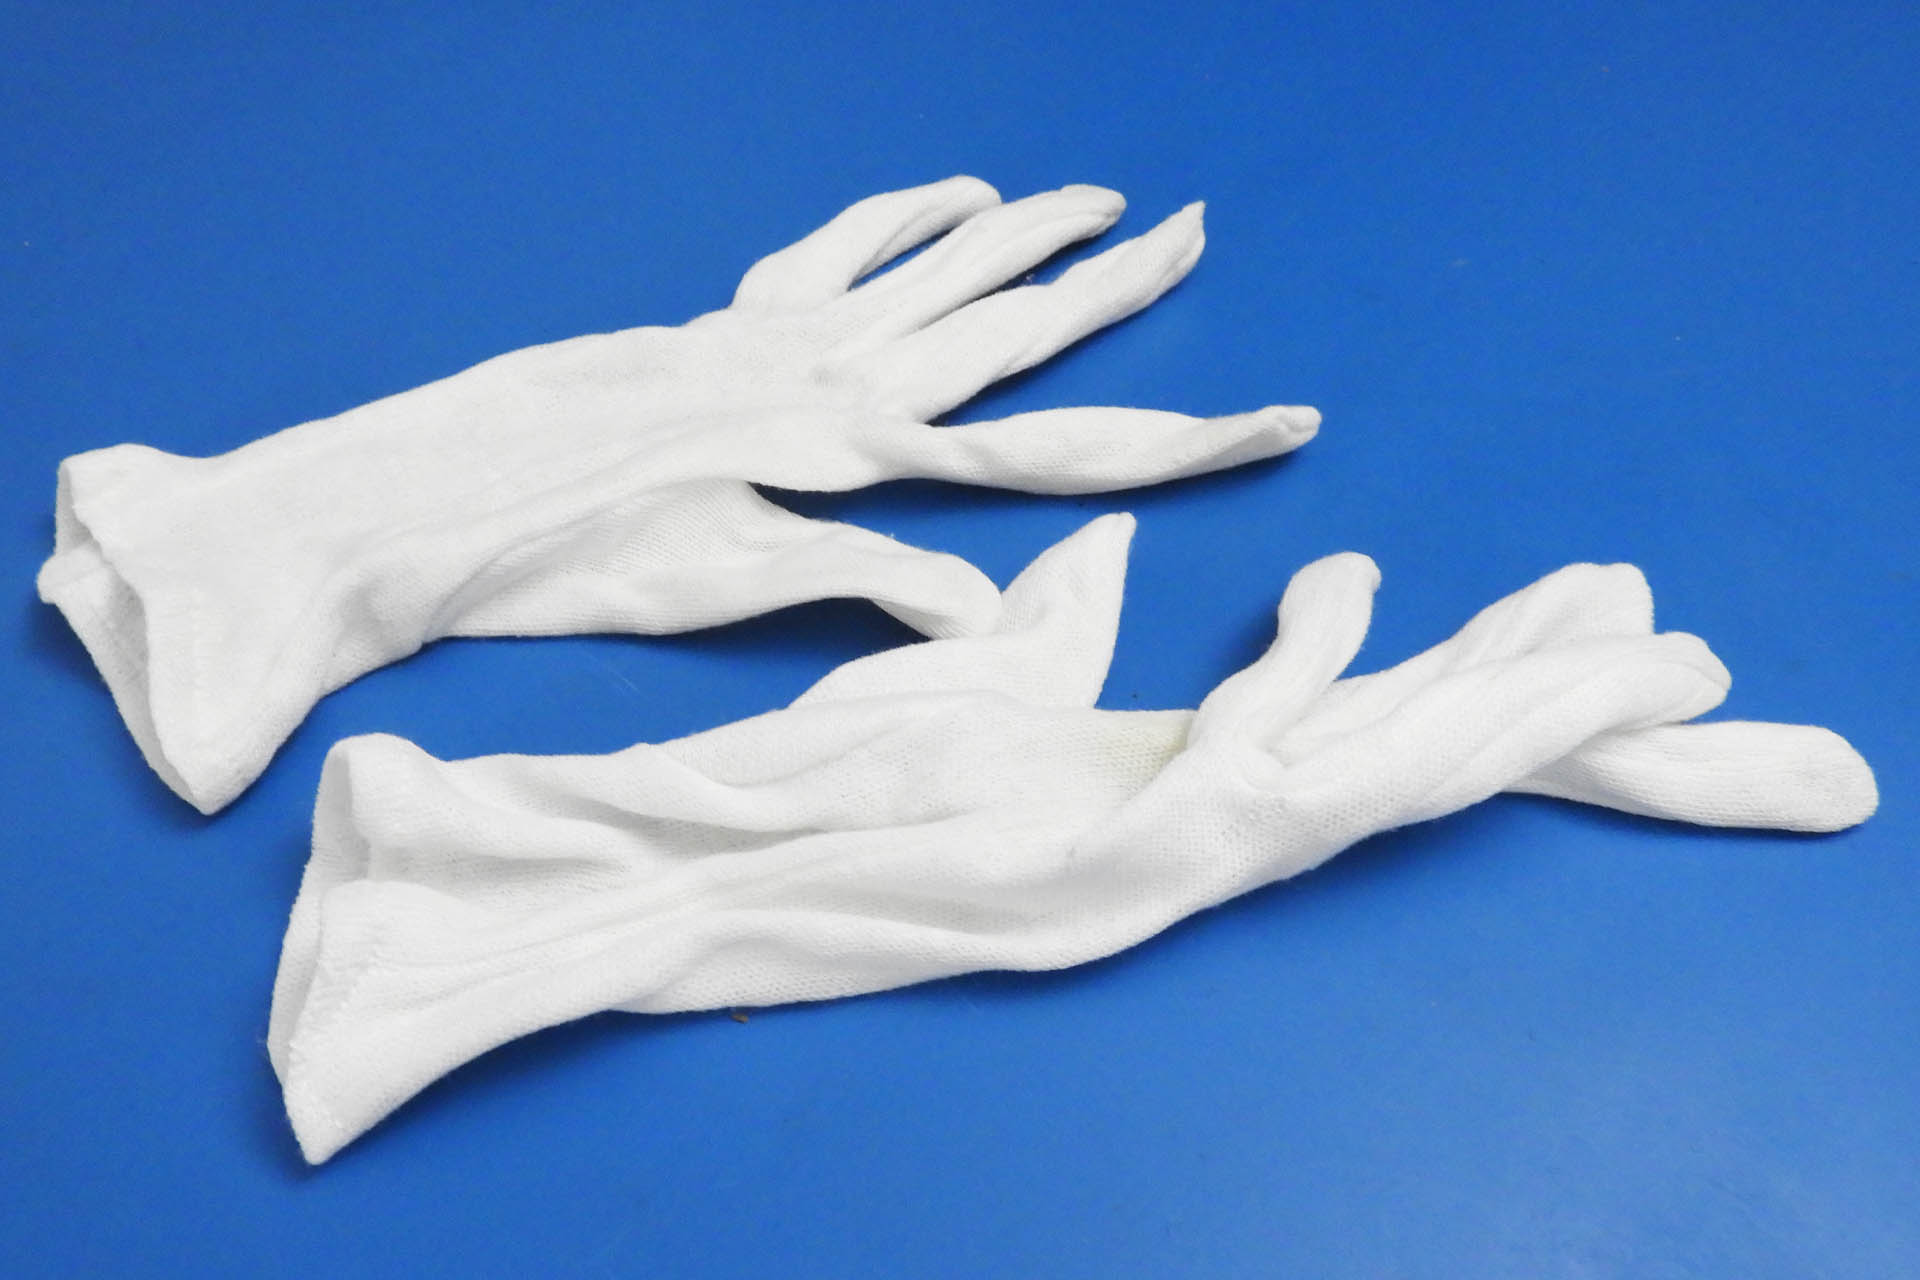
When handling delicate electronics, I always wear gloves, either lint-free antique document / photograph handling type gloves or rubber laboratory type gloves. I have to admit that I prefer the former when working with microphones.
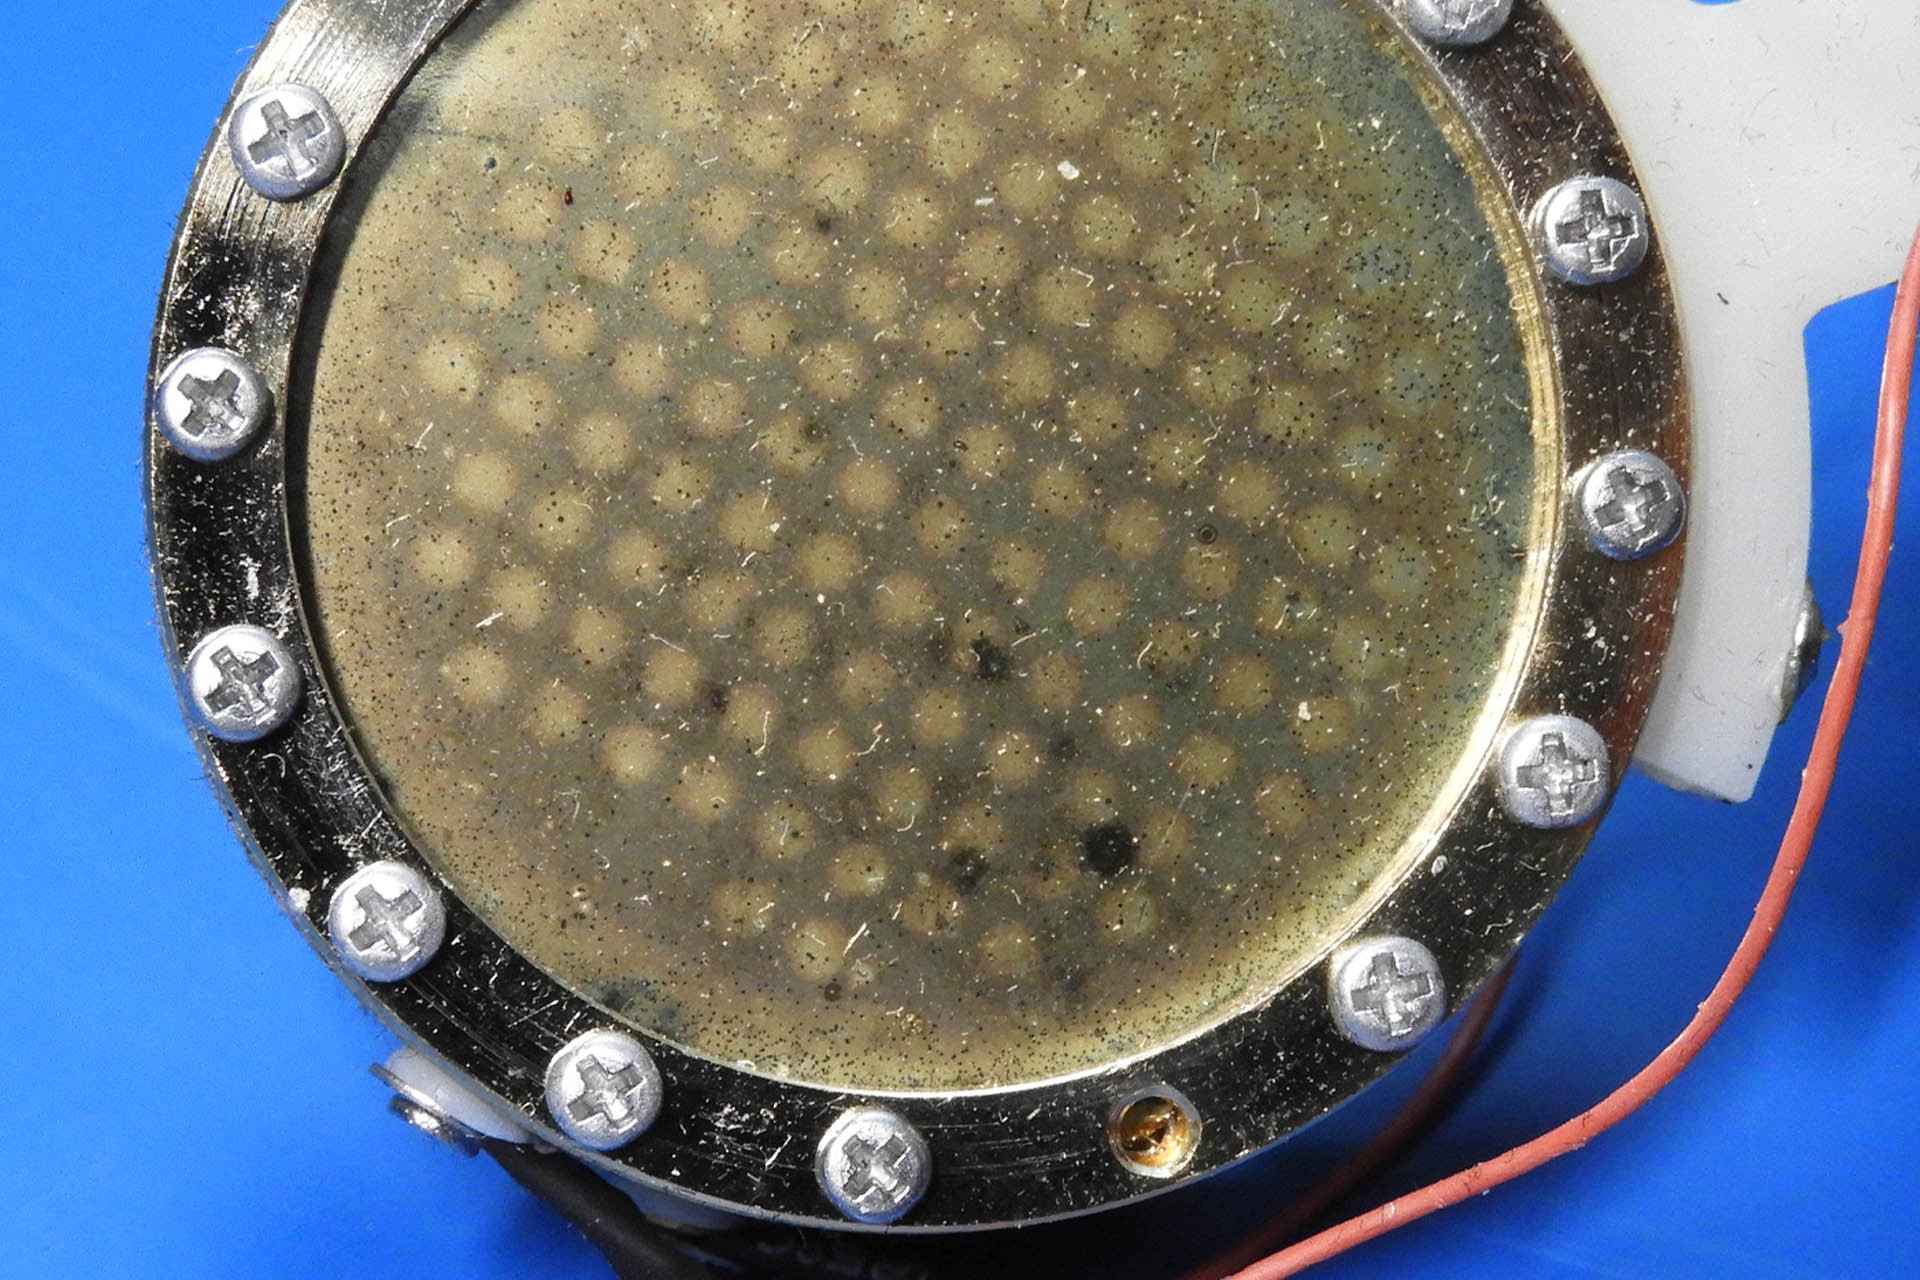
A close inspection of the gold sprayed diaphragms (both sides of the capsule), reveals a considerable amount of dust and other contaminants. Difficult to photograph, experience tells me that the surface isn't at all shiny as I'd expect and has a layer of 'greyness' over it.
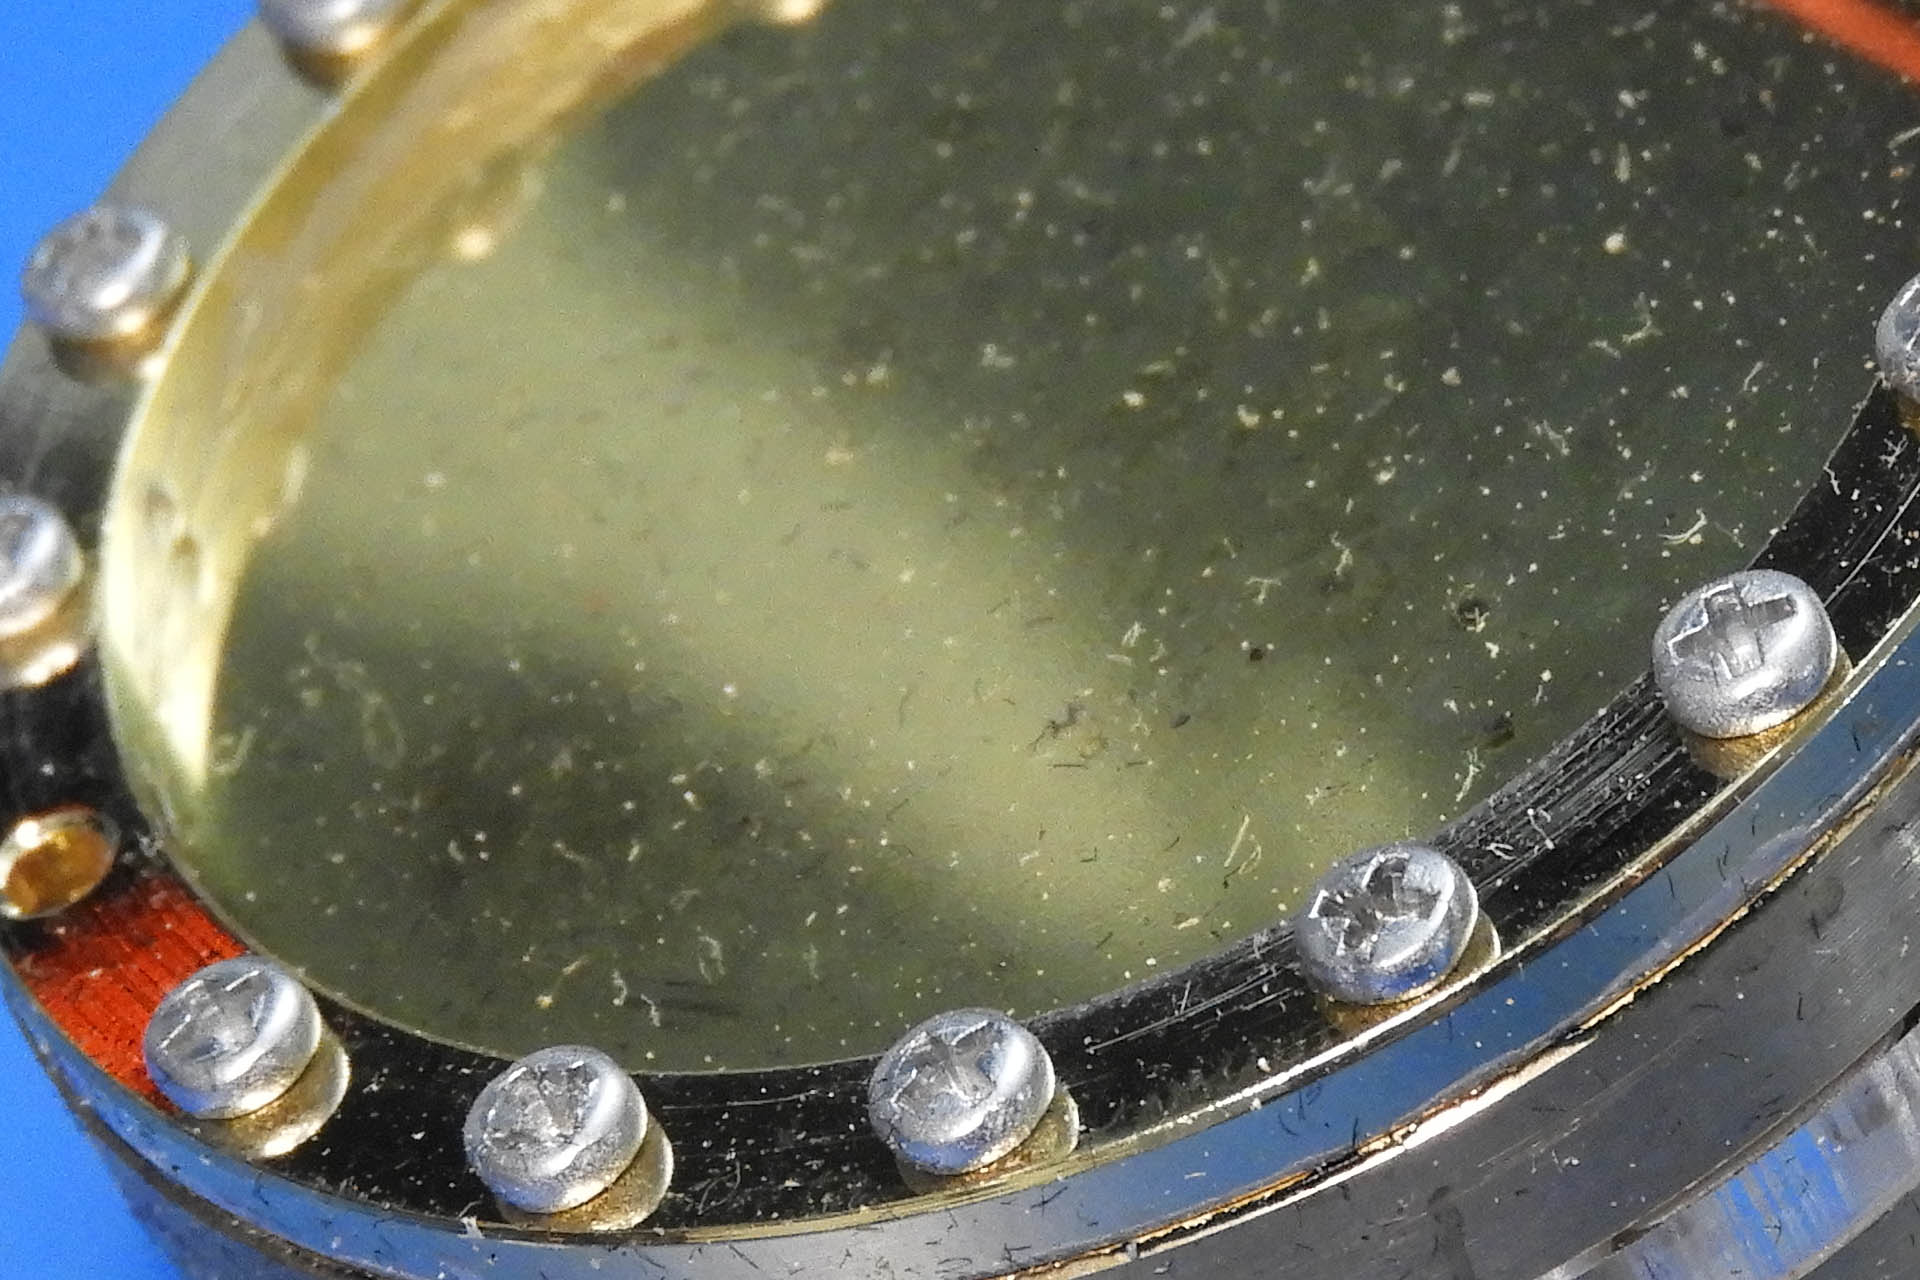
The other side of the capsule looks even worse, quite bad in fact. I hope those black marks aren't fungus! Yes, I've seen that one before. That shouldn't come as a surprise. As I said in the first paragraph, microphones are exposed to everything that comes out of our mouths. That includes bacteria and even viruses!!!!! 😷 😷 😷
Now I need to try blowing off that dust and dirt. NO, NOT WITH MY MOUTH!!!!! I use either a can of compressed air or my mini compressor which has a blowgun attachment. I prefer the latter as it delivers a consistent stream and is a little more controllable than a can. The air stream is directed at an angle as opposed to perpendicularly to the diaphragm.
So this time around, the compressed air got rid of most of the dust but I could still see dirt on both side of the capsule and those worrying black marks were still there. So now the tricky bit...
The next stage of the process requires that I make contact with the diaphragms and for this, I'll be using pharmaceutical wipes, Kimtech Kimwipes to be precise. A specific technique needs to be employed. The knack is to bunch up a corner of a wipe and stroke it gently and with minimal pressure, over each surface of the capsule. It's almost instinctive to put your finger behind the wipe as you would if you were polishing something but that's a seriously bad idea. Instead, I guess the technique is more akin to using it more like a cotton bud.
The Kimwipe clean had the desired effect and loosened up much of the debris allowing another gentle application of compressed air, to detach it from the capsule's surfaces.
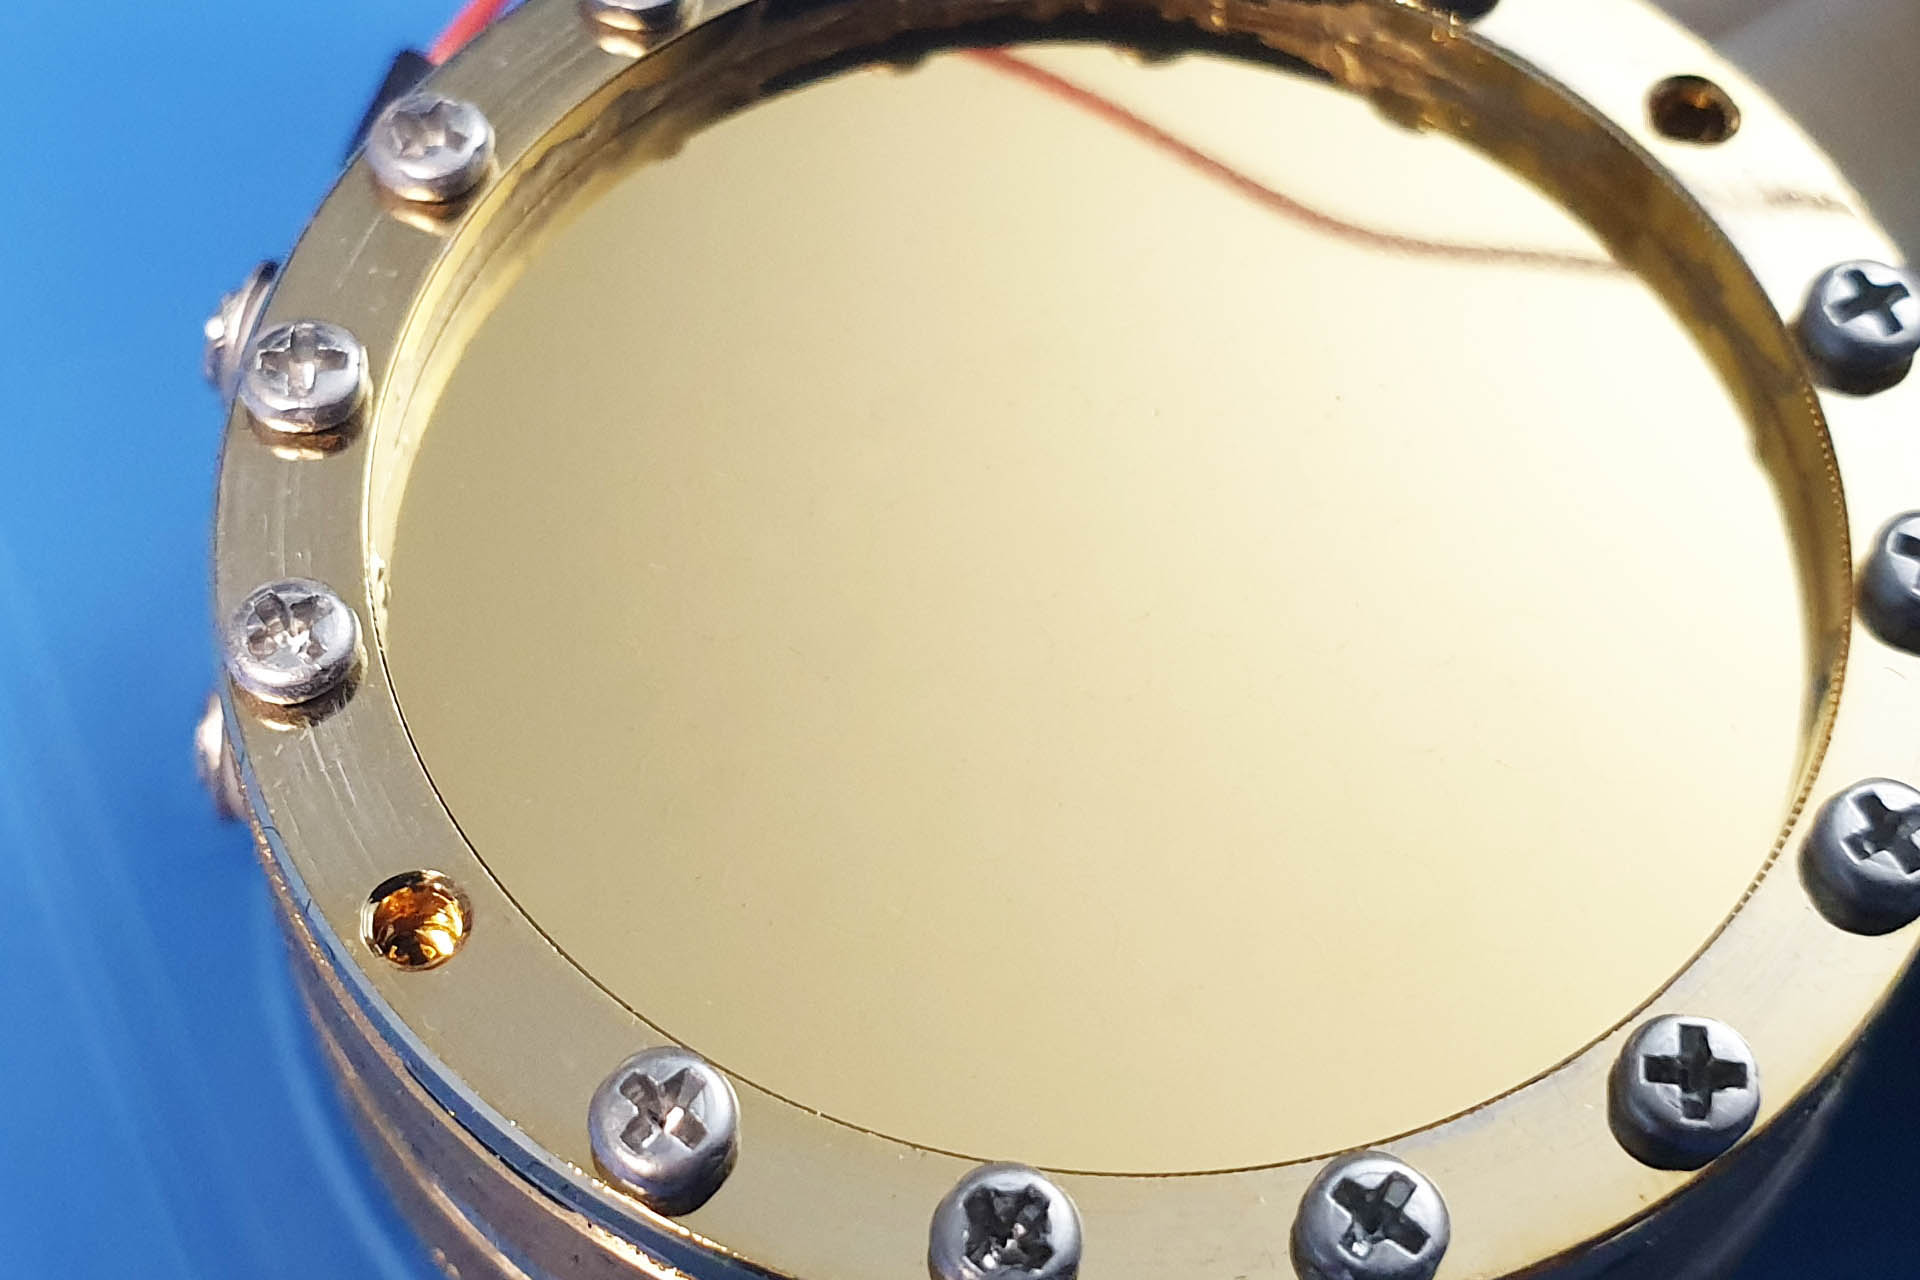
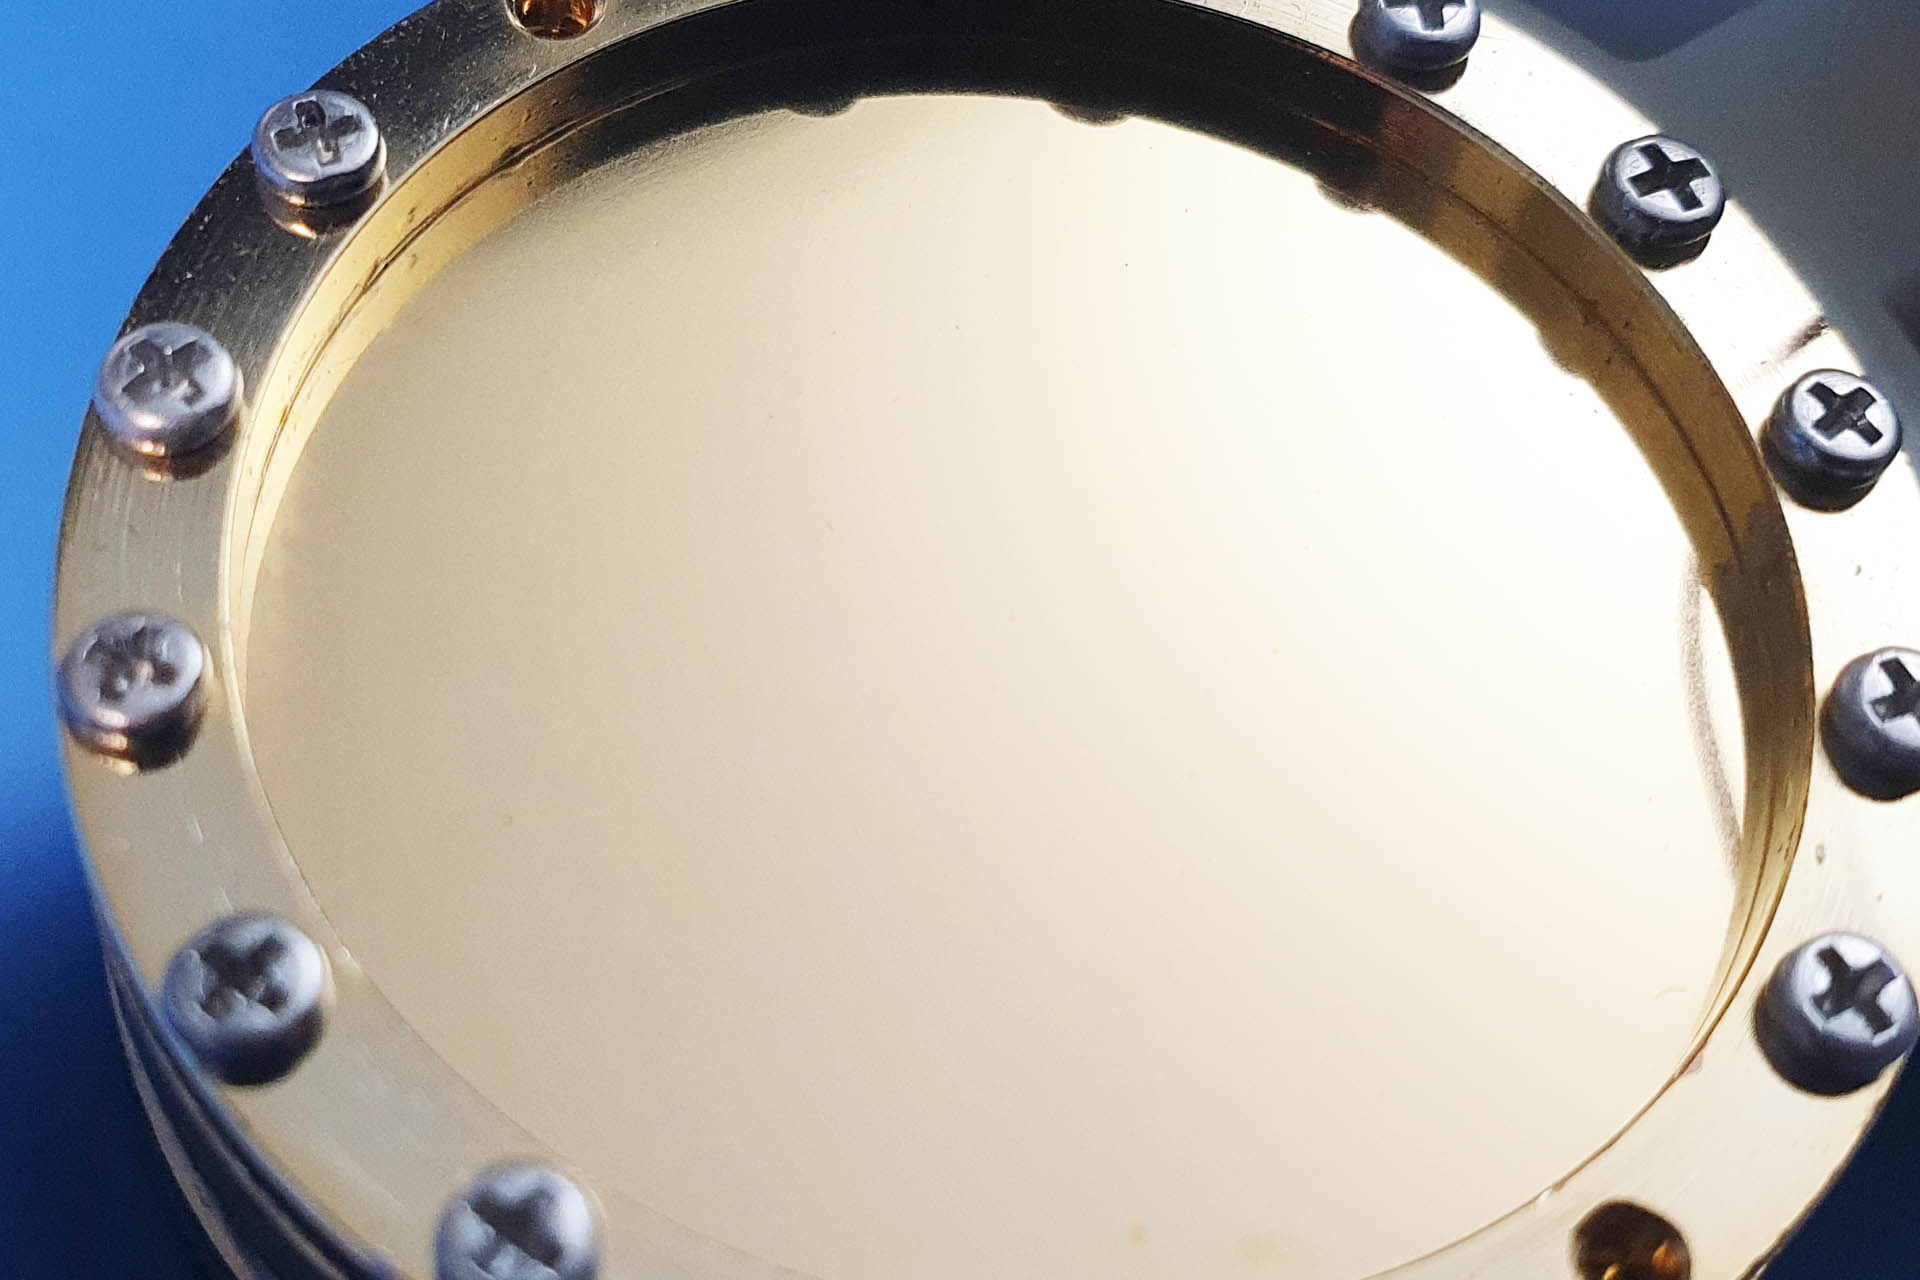
Okay, so the capsule looks a lot better now, like A LOT better! You can actually make out the highly reflective gold layer. Now let's reassemble this mic' and check it out...
WOW!!!!! Not only have the pops, crackles, bangs, whistles and 'explosions' gone but the microphone actually sounds fantastic. It's amazingly more sensitive and there's so much more detail. Here's what the microphone sounds like now...
Oh boy, doesn't that sound different?
I know you've been curious so now I'm going to tell you; the microphone I've been working on, is a customer's Lauten LT-386, an absolute stunner of a transducer. I have to admit that I really like the sound of Lauten microphones; sensitive, detailed, solid and crisp. Much of the character and nuance of any microphone is of course, subjective but the Lauten sound is right up my street! My own LT-381 goes into a SPL Gold Mike Mk II and with the 'Flair' function switched on, as well as cutting through, the results are just beautiful.
Despite the fact that this particular microphone has been stored well and used with respect by its current owner, the fact that it was purchased second-hand means that there's no guarantee of how it was used prior to entering the current owner's possession.
Okay, now the give-away... I can't take all the credit for this one and many (MANY) thanks are due to Andy at Lauten Audio for his help. With Andy's words of advice and guidance, I'm delighted to have helped out one of my customers and particularly delighted to have given this beautiful microphone, a new lease of life. 😎
I hope I've got the message across by now; microphone capsule cleaning requires patience and care. The gold on the diaphragms is only a few microns thick and it's very easy to damage that so important layer. You definitely don't want to breathe directly on to the super-delicate diaphragms or touch them with your skin. Even putting the open microphone down on my workbench, needs to done mindfully. Basically, contact between the capsule and anything must be strictly avoided!
And finally... Lauten Audio has a reputation for appreciating its customers and is a very 'human' company to deal with. I've had long exchanges with Brian in the past and it's most reassuring to have such friendly, patient and helpful people behind these gorgeous microphones. With such a specialist task in hand however, Andy's in-depth knowledge and patient help was only offered due to the fact that Plasma Music Limited, has considerable experience of servicing albeit, mainly microphones of well-known European origin (yes, I've done some Audio Technica microphones, too). Plasma also has a long association with Synthax Audio UK, the local distributor. It should go without saying that manufacturers such as Lauten Audio do NOT recommend end-users carry out such procedures as described in this post and that only qualified and experienced technicians perform this type of dismantling and specialised cleaning.
UPDATE - 30th September 2022
Can you believe it? Someone contacted me yesterday, asking if I could help with a Neumann U87 that had gone noisy!
Not nearly as bad as the Lauten LT-386, this U87 was suffering from considerable self-generated noise and low-level artefacts, in particular a kind of rumble.
The diaphragms on the capsule were shiny. They looked nothing like the images of the LT-386 capsule above and just seemed a little dusty. In fact, I was quite surprised that this capsule was playing up. Then, using one of my magnifying systems, I noticed something that might have been causing the problem. There was a little spec of dust, grime or dirt that had got stuck between one of the diaphragms and the inside of the ring of the capsule. This would require a skilfully directed burst of compressed air. If I get this wrong, I could push that particle further underneath the ring.
Capsule cleaning is pretty nerve wrecking, even for experienced techs. This time, I got lucky and my aim was 'spot' on. 🙂
My own microphone collection includes a similar generation U87 so once I had tested the customer's example, I was curious to compare it with my own. Yep, they sound pretty much the same!