

Being able to convey feel to the sound after the keys are played, can transform a performance into something quite unique and almost magical. Indeed, Roland was definitely on to something when aftertouch began appearing on it’s synthesisers in the mid-eighties. Today, many classic synthesisers have aftertouch strips that either don’t work or are a shadow of what they used to be. Almost forty years later, my modern FSR-based replacement aftertouch sensor for the Roland JX-10, has considerably more dynamic range and is infinitely more reliable than the second-generation transducers that Roland originally used in the JX-10 and transcends the instrument into another dimension.
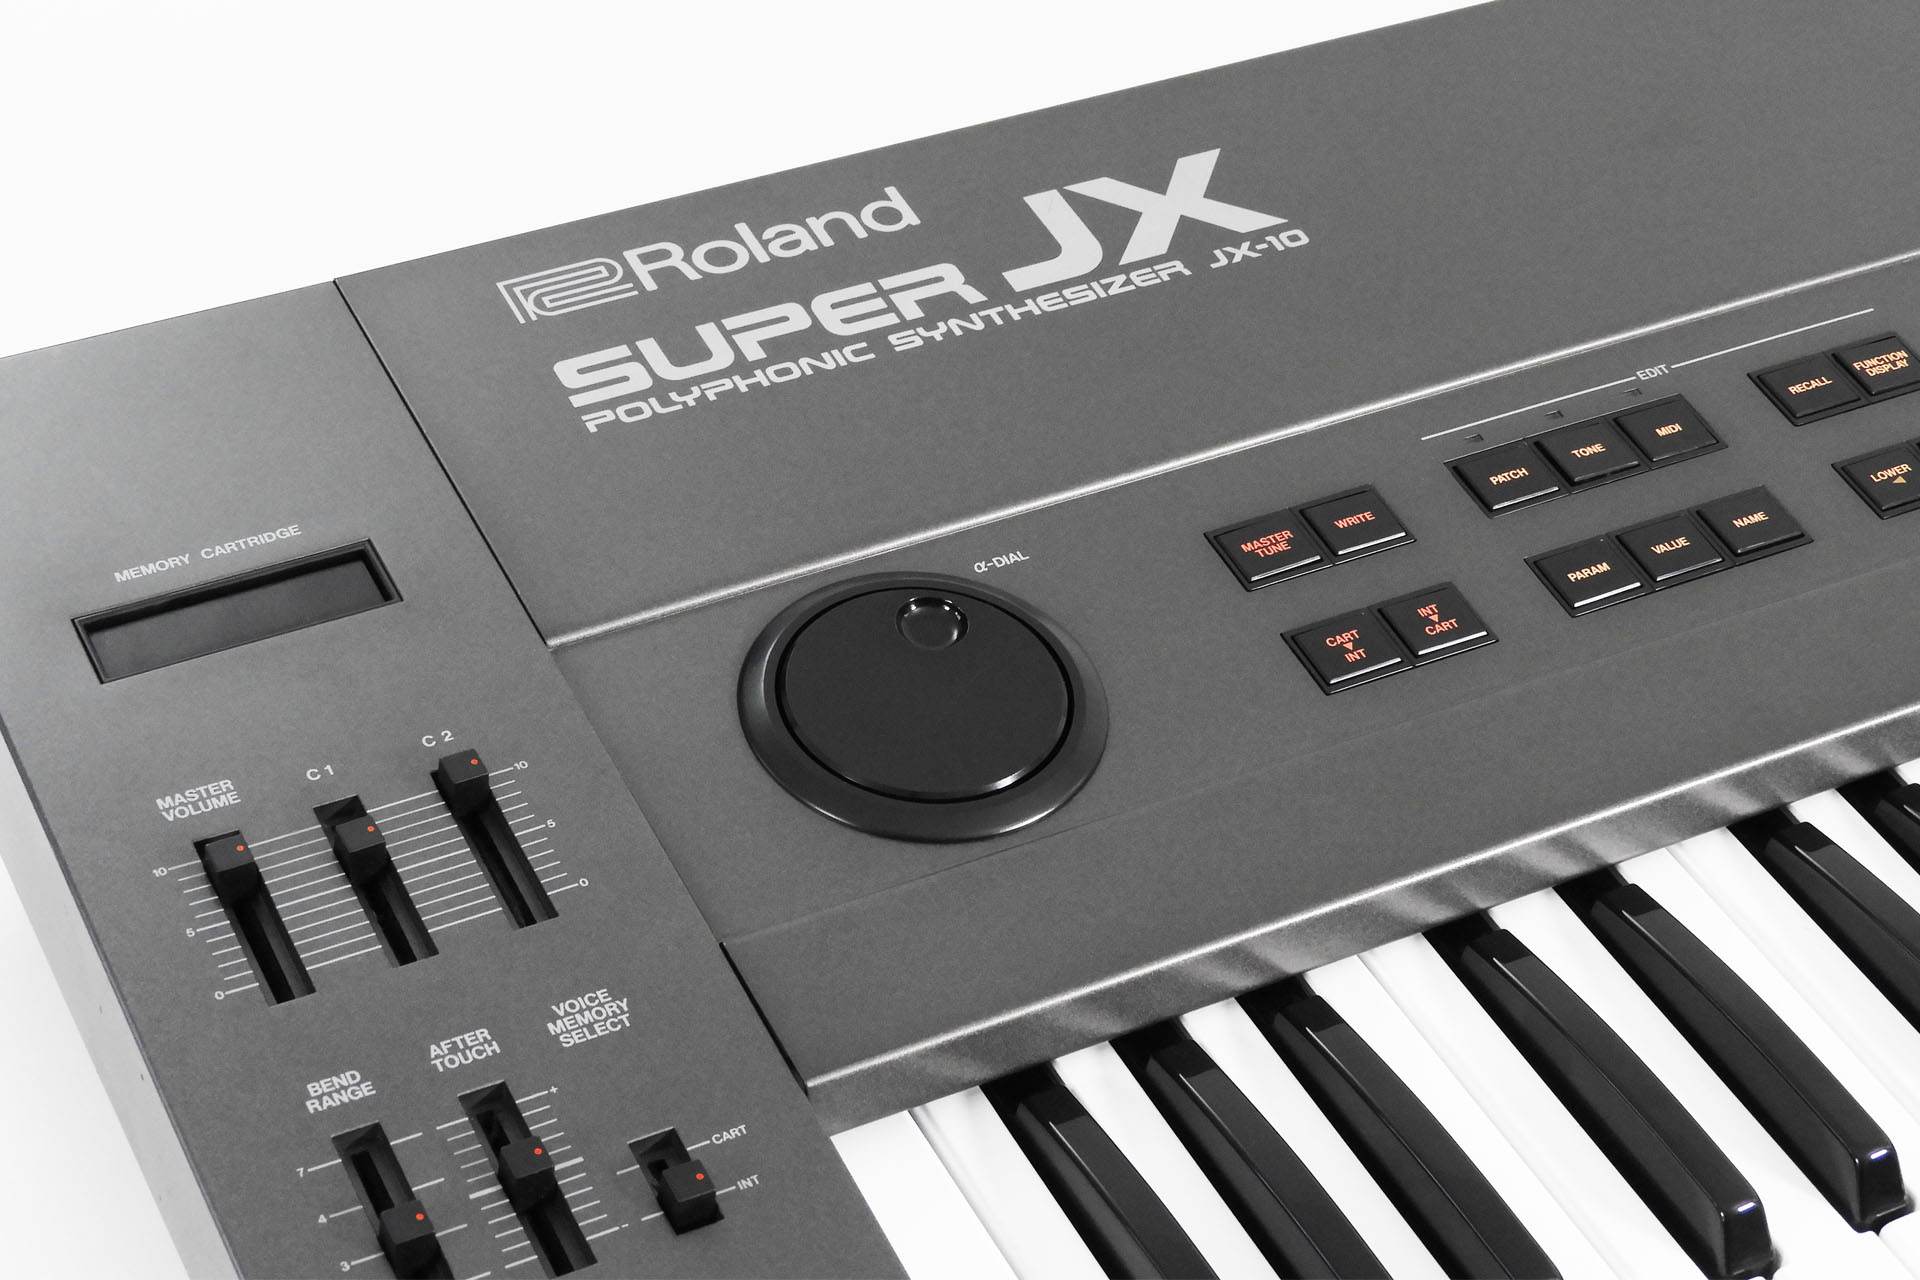
Catching up one evening with my friend, Guy Wilkinson and on the back of my 'Replacement Aftertouch Sensor for the Roland JX-8P' project, it was a no-brainer to have a go at developing a similar, FSR-based, easy to install replacement aftertouch sensor for the Roland JX-10.
Guy has a pristine JX-10 but the aftertouch was shot. I'm very aware that he's attempted several repairs but it just keeps on packing up. He told me that it kind of works but is either off or on and cannot produce a varying signal that's proportional to well, pressure. I was keen to see if I could help and like my JX-8P aftertouch project, possibly develop a replacement aftertouch sensor for the Roland JX-10, that anyone with a little technical competence could install.
SO WHAT THE HELLL DOES FSR STAND FOR? WHAT IS A FSR?
Invented in 1985, force sensitive resistors didn't make it into mainstream music technology applications for a long time. The technology was just too expensive and even more so in custom shapes and sizes. FSRs would often require end-user assembly which increased production times and failure rates.
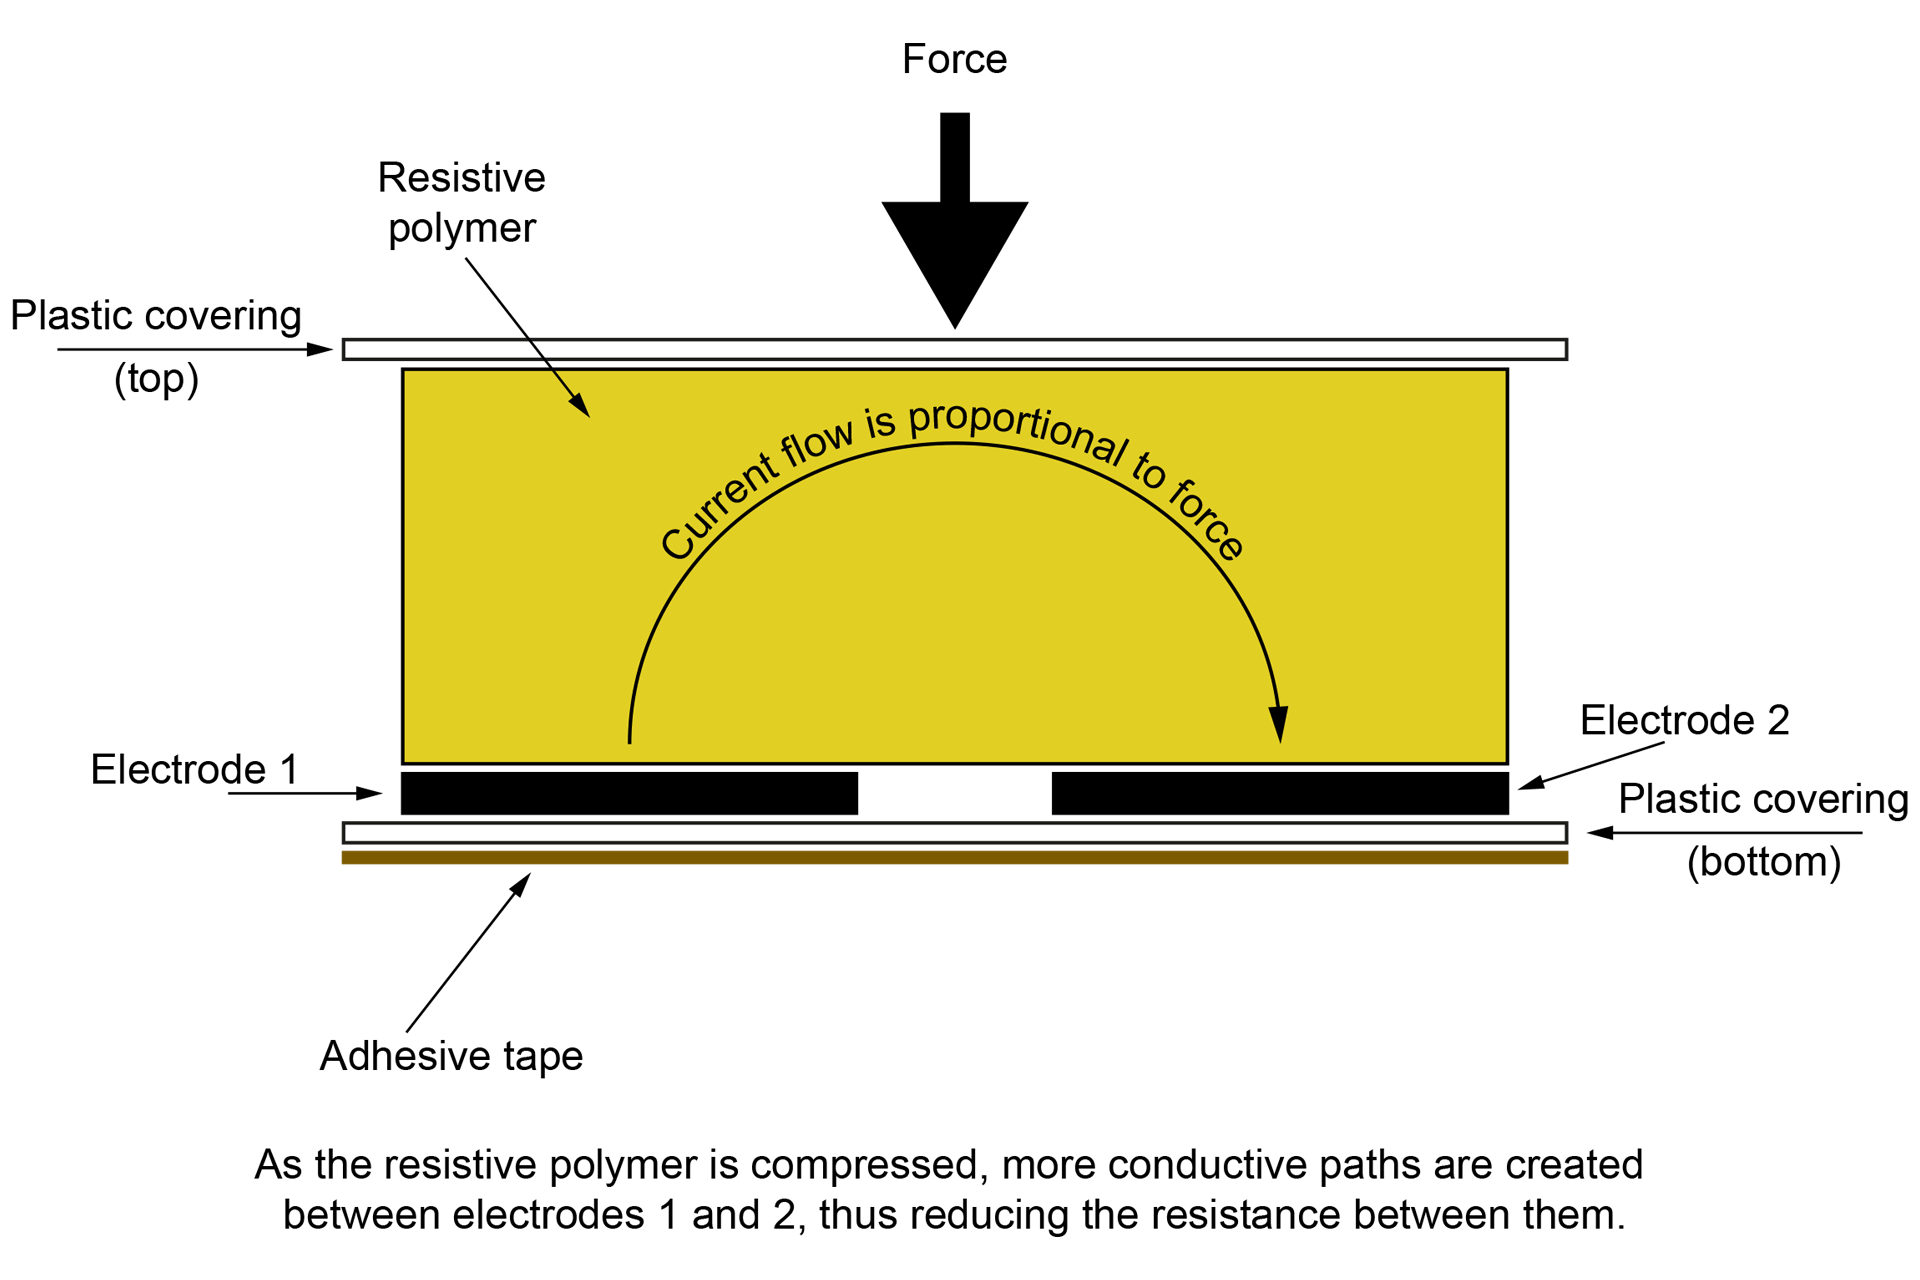
Being basically refined versions of the type of carbon-track sensors that Roland originally used but delivering a lot more dynamic range as well as other benefits, FSRs are perfect for this kind of application. In fact, modern aftertouch sensors and even some drum pads use FSRs. The principle is the same but the resistive polymer material is of a modern composition and the manufacturing process makes FSRs considerably more robust and reliable than previous pressure sensors.
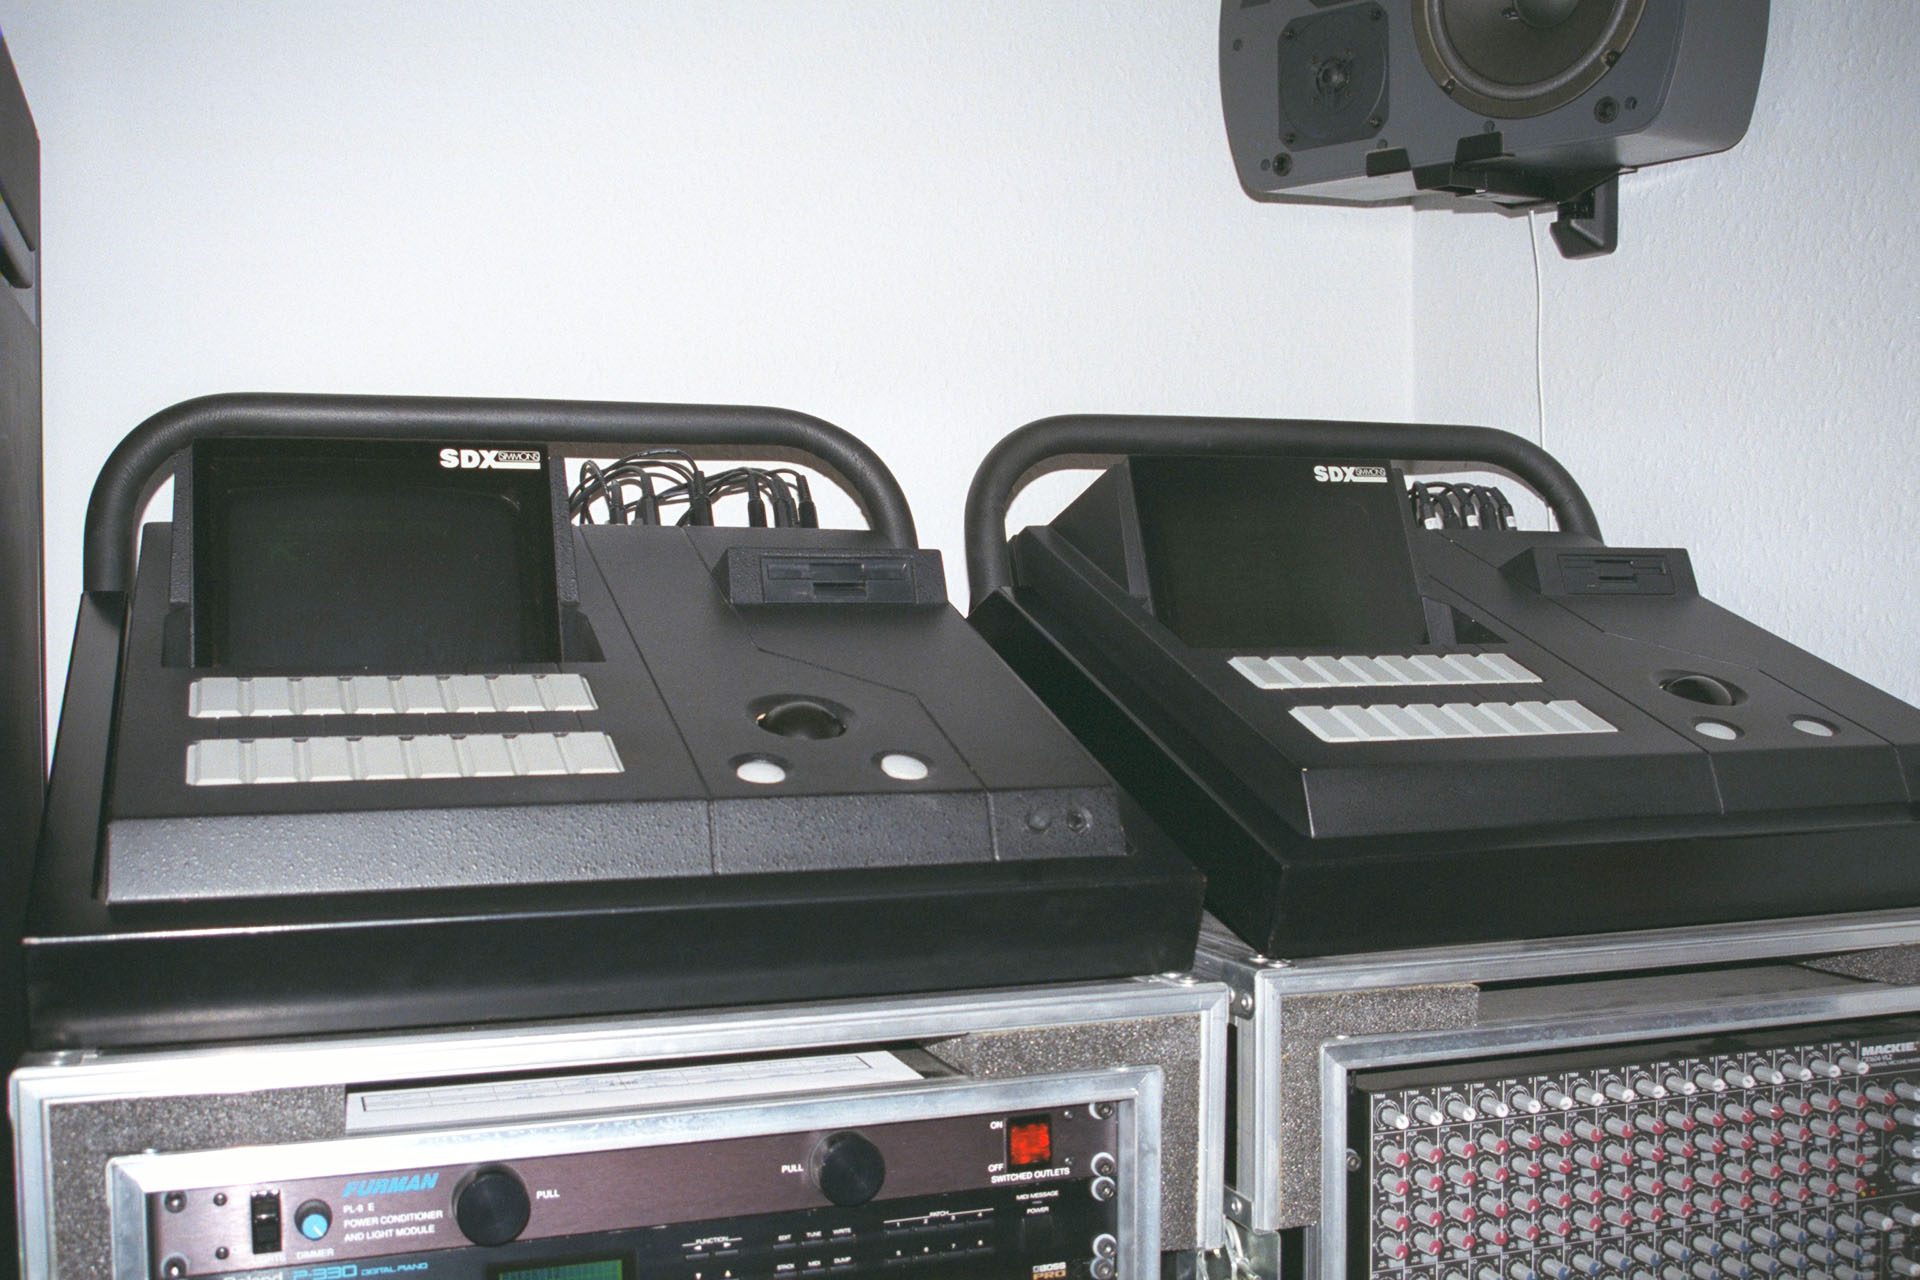
When I was at Simmons Electronics, we developed the Silicon Mallet and later, the SDX, both of which used FSR technology to trigger sounds, MIDI, etc. The SDX soon became famous for its zone intelligent (ZI) pads, for example. At a cost of about 13,000 GBP in 1987 for the basic model, go figure!
Today, FSRs are used extensively for aftertouch sensors and electronic drum pads so I've been meaning to try them out to fix aftertouch issues on vintage instruments for a long time. After success on the JX-8P, I felt quite motivated and turned my attention to developing a replacement aftertouch sensor for the Roland JX-10.
CONFESSION TIME
Okay, so this post is dated 16th May 2023 but today 23rd May 2025, it's been updated. Why? Well, although amazingly successful, there were aspects of my original design that I wasn’t particularly happy with:
- My original AT-JX-10 was shipped fully assembled and making such a large item with some precision was challenging.
- Packaging was time consuming and shipping required bespoke cardboard boxes, due to the size.
- Although only weighing a couple of hundred grams, shipping costs were high, again due to the fact that the item was shipped fully assembled and was therefore, quite long.
- The terminals of the FSRs are delicate so careful handling was necessary, both by me and the installer. This was made more difficult because the item had to be kept straight.
- The original AT-JX-10 was expensive to make and also expensive to ship.
My new AT-JX-10 Mk II replacement aftertouch sensor for the Roland JX-10 is NOT technically superior to my original design. It just ticks all the issues highlighted above.
After investing in a 3D printer last year for another project, I realised the potential and contemplated converting my AT-JX-10 into a modular kit, which I felt would be cheaper and much easier for customers to install. Instead of using a single rubber strip as the mounting platform for the FSRs, I experimented with a plastic bed . Of course, it wouldn’t be easy printing a strip of plastic over a meter long so I considered a modular approach.

Despite my best efforts, I haven’t been able to get a manufacturer to supply me with single-piece FSRs in the lengths that I need for my replacement aftertouch sensors. Hence, all my aftertouch systems use two readily available FSRs. Previously mounted on to a rubber strip, they’re now mounted on to a set of five (in the case of the JX-10) plastic FSR bed strips. Four of the strips are identical and can actually be used in all of my designs with the exception of the AT-JX-8P (because it's higher and wider). The fifth FSR bed strip is specific to the instrument that the respective system is destined for. This allows me to keep things standard but also cater for varying keyboard sizes.

Designed to make alignment of the system a lot easier than my previous design, installation is much more straight-forward and less prone to ‘human error’.

The 'common' FSR bed pieces are just under 220mm long which means that they can be packed into something much smaller than my original bespoke shipping box. AT-JX-10 Mk II is supplied with a few plastic strips that make lining up the FSR bed much quicker, easier and reliable than my old rubber strip.
Incidentally, soon after having Guy’s synth which I used to develop my original replacement aftertouch sensor for the Roland JX-10, I bought my own as I had started development of Nebula-X, my balanced outputs board for the JX-10. As expected, the aftertouch on the instrument I'd bought, was non-functional so this unit would make a perfect guinea pig to test my new system.
Wow, this was amazing! My new AT-JX-10 Mk II worked just like my original design but assembly time was greatly reduced, I could pack this kit into a box half the size of that I was using before and installation time was also a fraction of that needed to install my AT-JX-10 Mk I.

I’m a musician too and I’m not insensitive. Supplying my original design fully assembled, made things very expensive. My new modular approach allowed me to reduce the price of my AT-JX-10 by 25%. That’s a significant saving.
Although my AT-JX-10 replacement aftertouch sensor for the Roland JX-10 will work if connected directly to the volume-board. the aftertouch control on the JX-10's front-panel, will have a very short travel due to the higher output produced by the FSRs and the high gain of the aftertouch op-amp in the JX-10. Most will find the whole system too sensitive.
The AT-JX-10 replacement aftertouch sensor for the Roland JX-10 is therefore supplied with a FSR Aftertouch Interface (or FAI).
Apart from passively summing the outputs of the two FSRs, FAI offers a little extra... You see the gain of the op-amp stage that buffers and amplifies the signal from the the aftertouch sensor, is a tad over 300. That's quite a lot for a FSR-based system so to calm things down, a resistor on the volume-board should really be changed. FAI however, takes things a little further offering you switchable aftertouch sensitivity ranges!
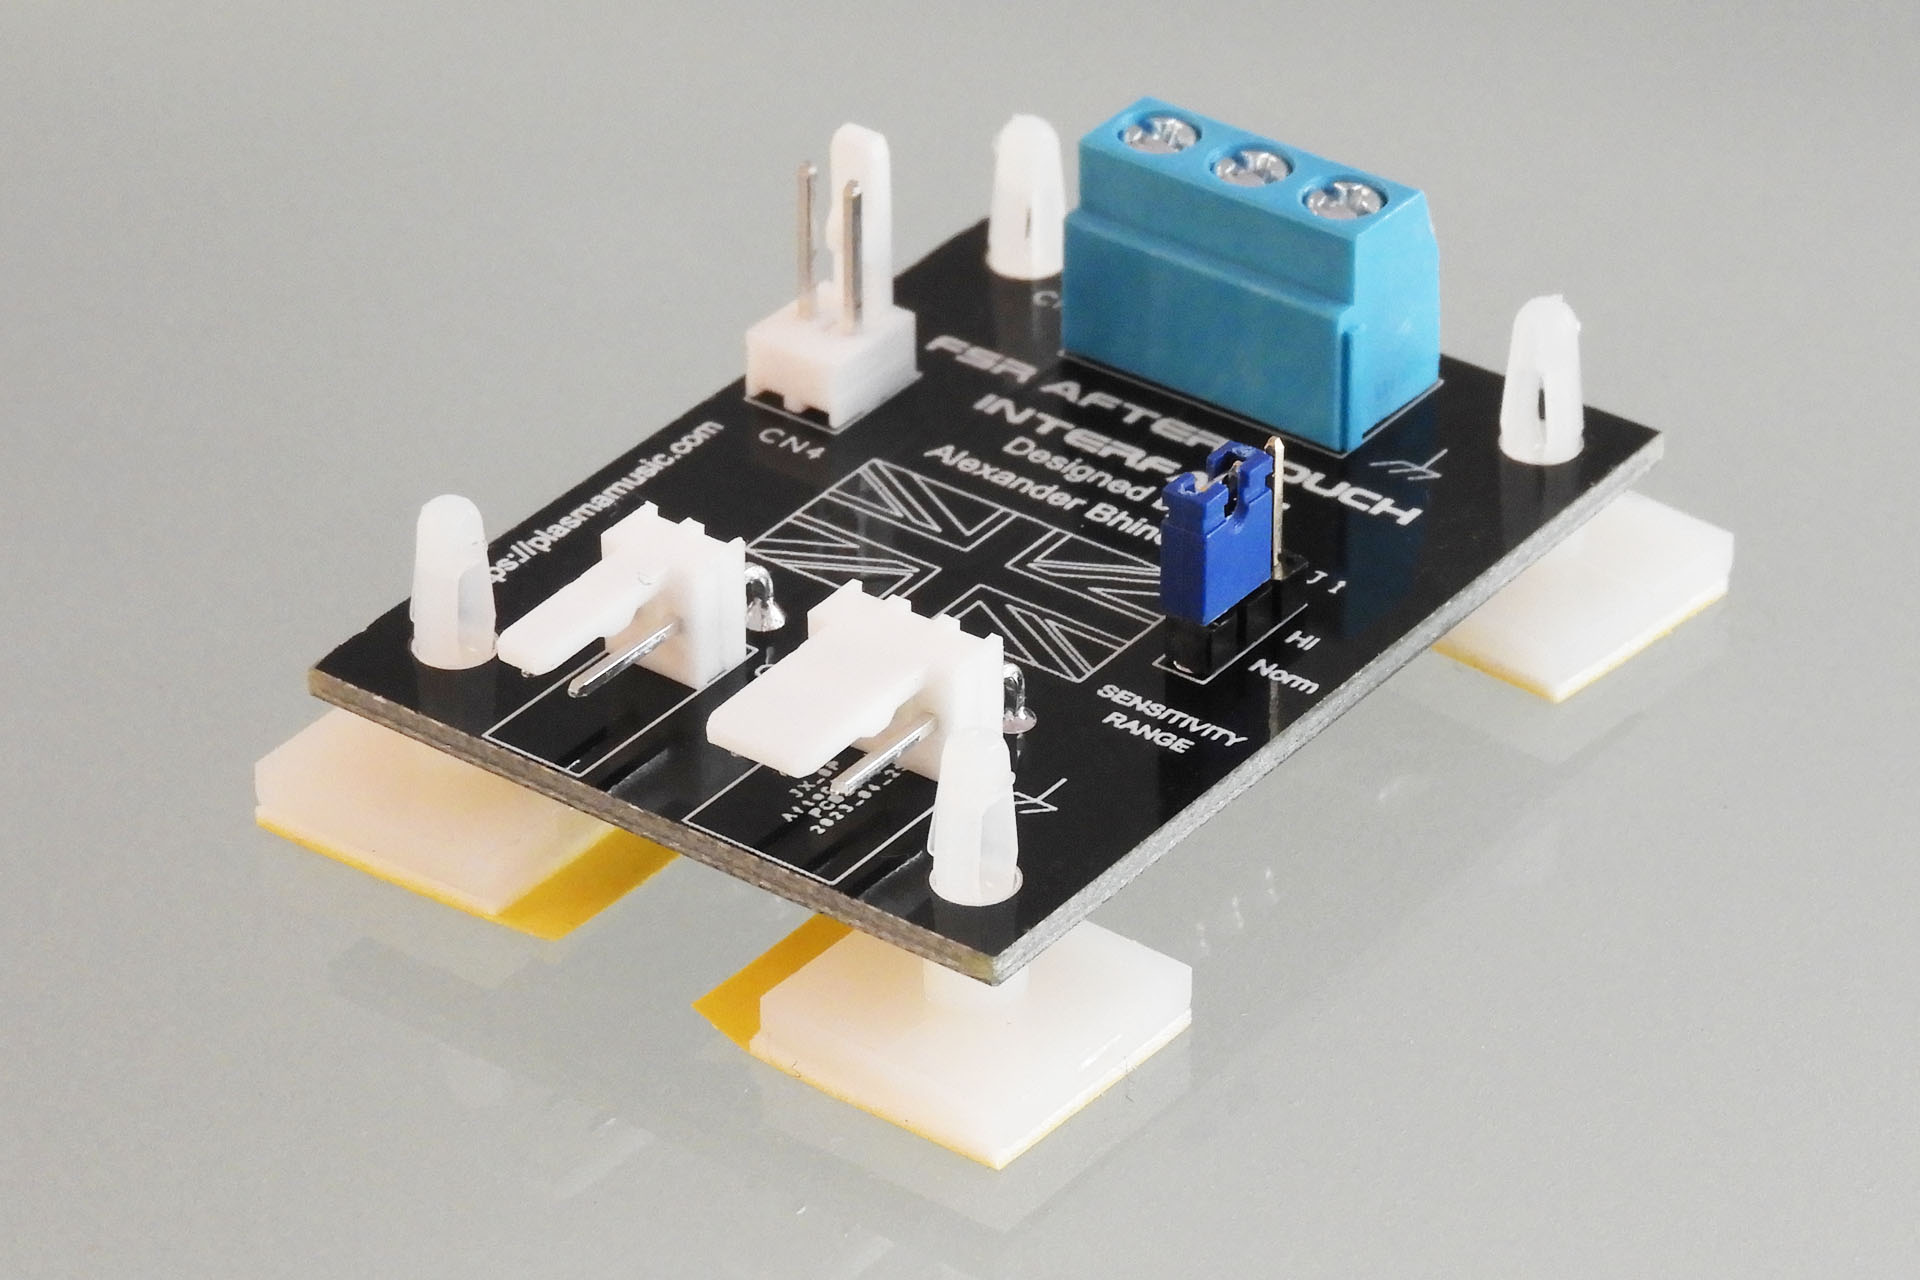
By simply moving a jumper on FAI, you can change the gain of the aftertouch op-amp stage. Even the high sensitivity setting however, is only about 50% of the original gain and it's ample.
Listening to the results as I experimented was bordering on hypnotic. You see, FSRs have considerably more dynamic range than the second-generation carbon-track transducers that Roland originally used in the JX-10. The conversion of human touch to sonic expression delivered by the new FSR-based system, is perhaps what Roland actually wanted to achieve back in the mid-eighties. Decades later, it's finally arrived and even although I say so myself, the feel is absolutely magical and in a different league to any JX-10 working aftertouch that I've tried.
I had to be sure however, that the MIDI response was also good. Hence, with the JX-10's aftertouch control on the front panel set to about 75% and an average finger pressure, I recorded the MIDI from a couple hits; one set with FAI in Norm mode and another with FAI in Hi mode.
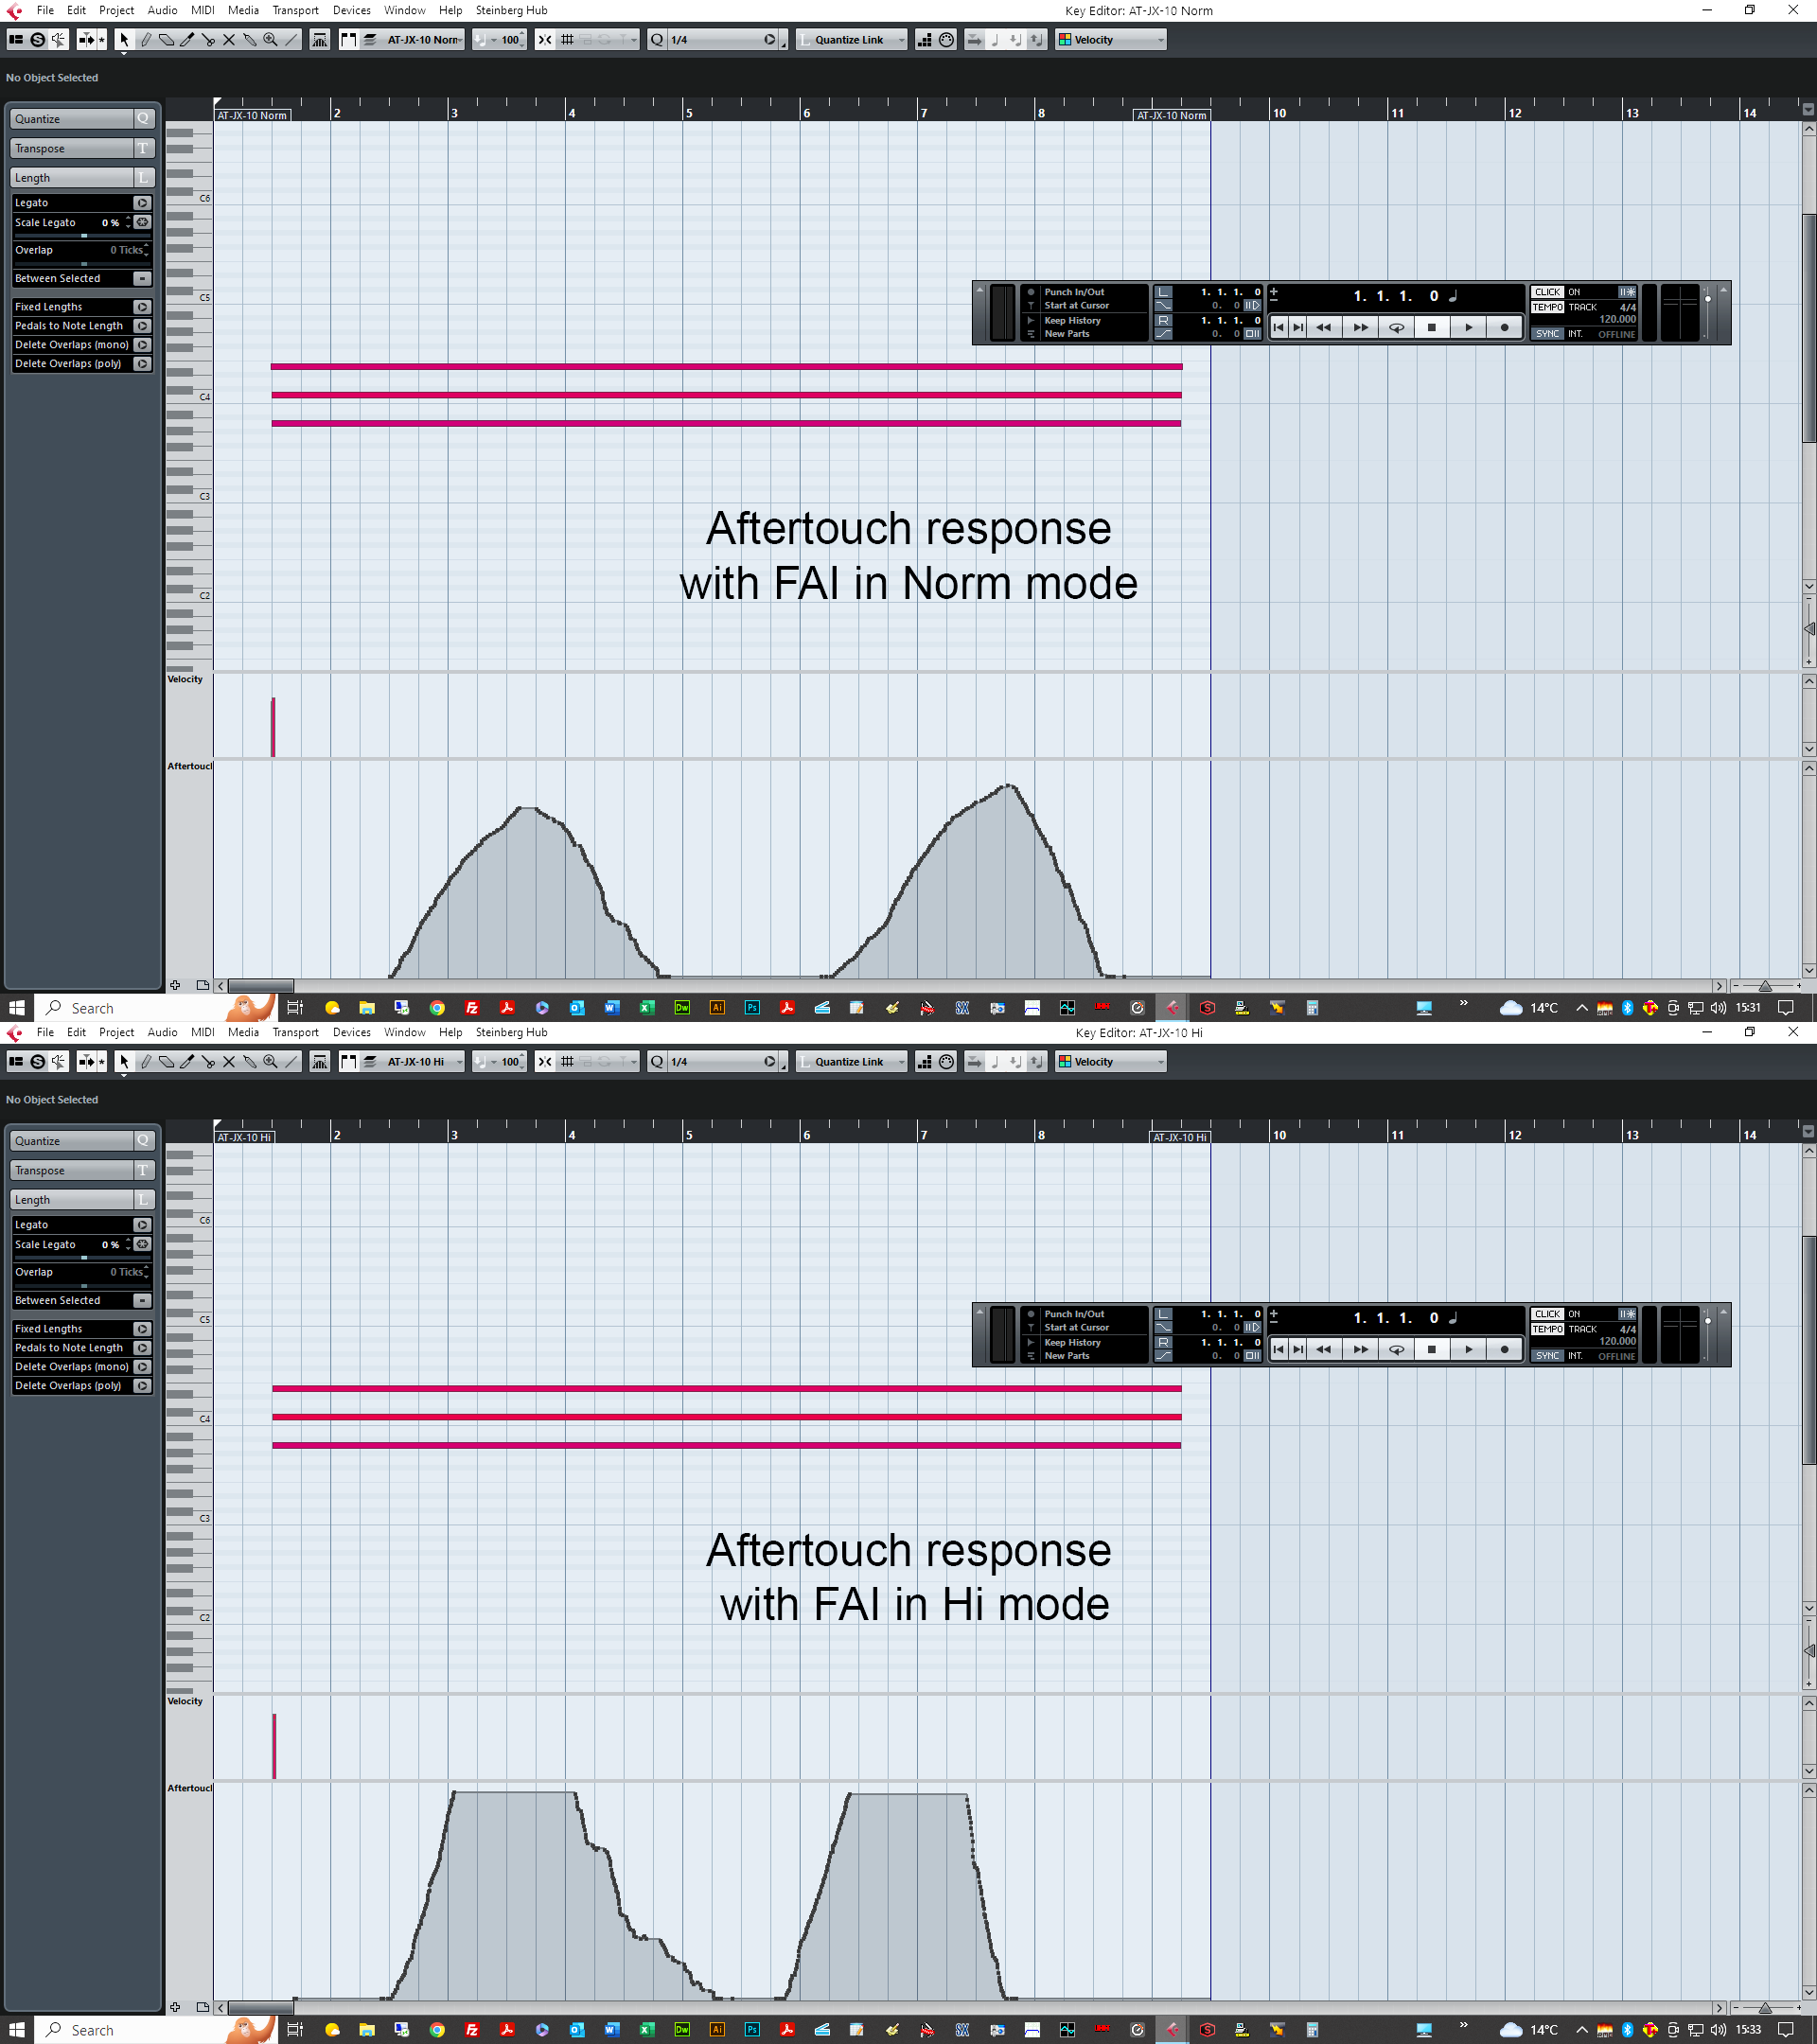
As can be seen, the response of the FSR-based aftertouch sensor is nice 'n' smooth when FAI is set to Norm mode. Things happen quicker when FAI set to Hi mode. Full scale MIDI value 127 aftertouch can be reached in both modes. You just get there quicker and with less pressure, when FAI is in Hi mode. Note the nice linear response in both modes! ?
And don't forget; the aftertouch slider control on the JX-10's front panel works in both modes, as it did before.
My personal favourite configuration is having FAI set to normal and the aftertouch slider at about 2/3 full-scale. Here's a quick demo of a couple of classic factory sounds. The first is Poly Synth followed by Reverb Strings…
I recorded MIDI as well as audio, so you can see what's going on.
While working on my new AT-JX-10, visiting customers were asking questions about the open synth in my lab. Suddenly I had another JX-10 come in for one of my new replacement aftertouch sensors! Okaaaay... I've now been able to test my AT-JX-10 on a couple of instruments and it works great! ?
I'm really delighted with my revised AT-JX-10 design. It's going to be so much easier to make and ship and for customers to install. Perhaps the most time-consuming part of the revision was the installation manual. With forty-six pages and over forty illustrations, it's very comprehensive.

If you want to buy my AT-JX-10 replacement aftertouch sensor for the Roland JX-10, you can do so here...
UPDATE - 4th June 2026
I recently sent an AT-JX-10 replacement aftertouch sensor kit to a customer in Florida. Yesterday, I was contacted by Kris Rogers, of ProAudio Electronics in Tampa, requesting installations instructions. I was initially a bit confused as installation instructions are available after purchase and are also emailed to the customer on confirmation of shipping. Anyway, after getting a few details, I obliged Kris who was fitting my aftertouch system on behalf of the customer who purchased it. Well, this afternoon, I received the most lovely email from him:
"Alex,
I just wanted to complement you on the layout of these instructions. They're very well written, you did a fantastic job on this. I have done a few mod kit installations across many different types of keyboards and yours is by far the best I've seen.
Hats off, very well done.
Thank you for your help,
Kris Rogers"
I'm really fussy about my installation instructions. I always recommend that my systems be installed by someone with a good degree of technical competence but of course, there's no way I can guarantee that. It's therefore paramount that I try to cover every possible contingency.
On top of that, the written word that accompanies my products, reflects my personality, my character, my passion and I hope, professionalism. I believe it important that people know just what I'm about and that the item they've purchased was made and is supported by someone who cares. It's very reassuring that people like Kris notice these things. ?