I’m not good at it and I absolutely hate DIY! On the other hand, there are occasions when you just have to do it.
The lab at the new place has been built into the downstairs bedroom which used to be a garage. In 2018, the gas meter was moved, leaving a little hatch in a section of ‘boxed in’ nothingness.
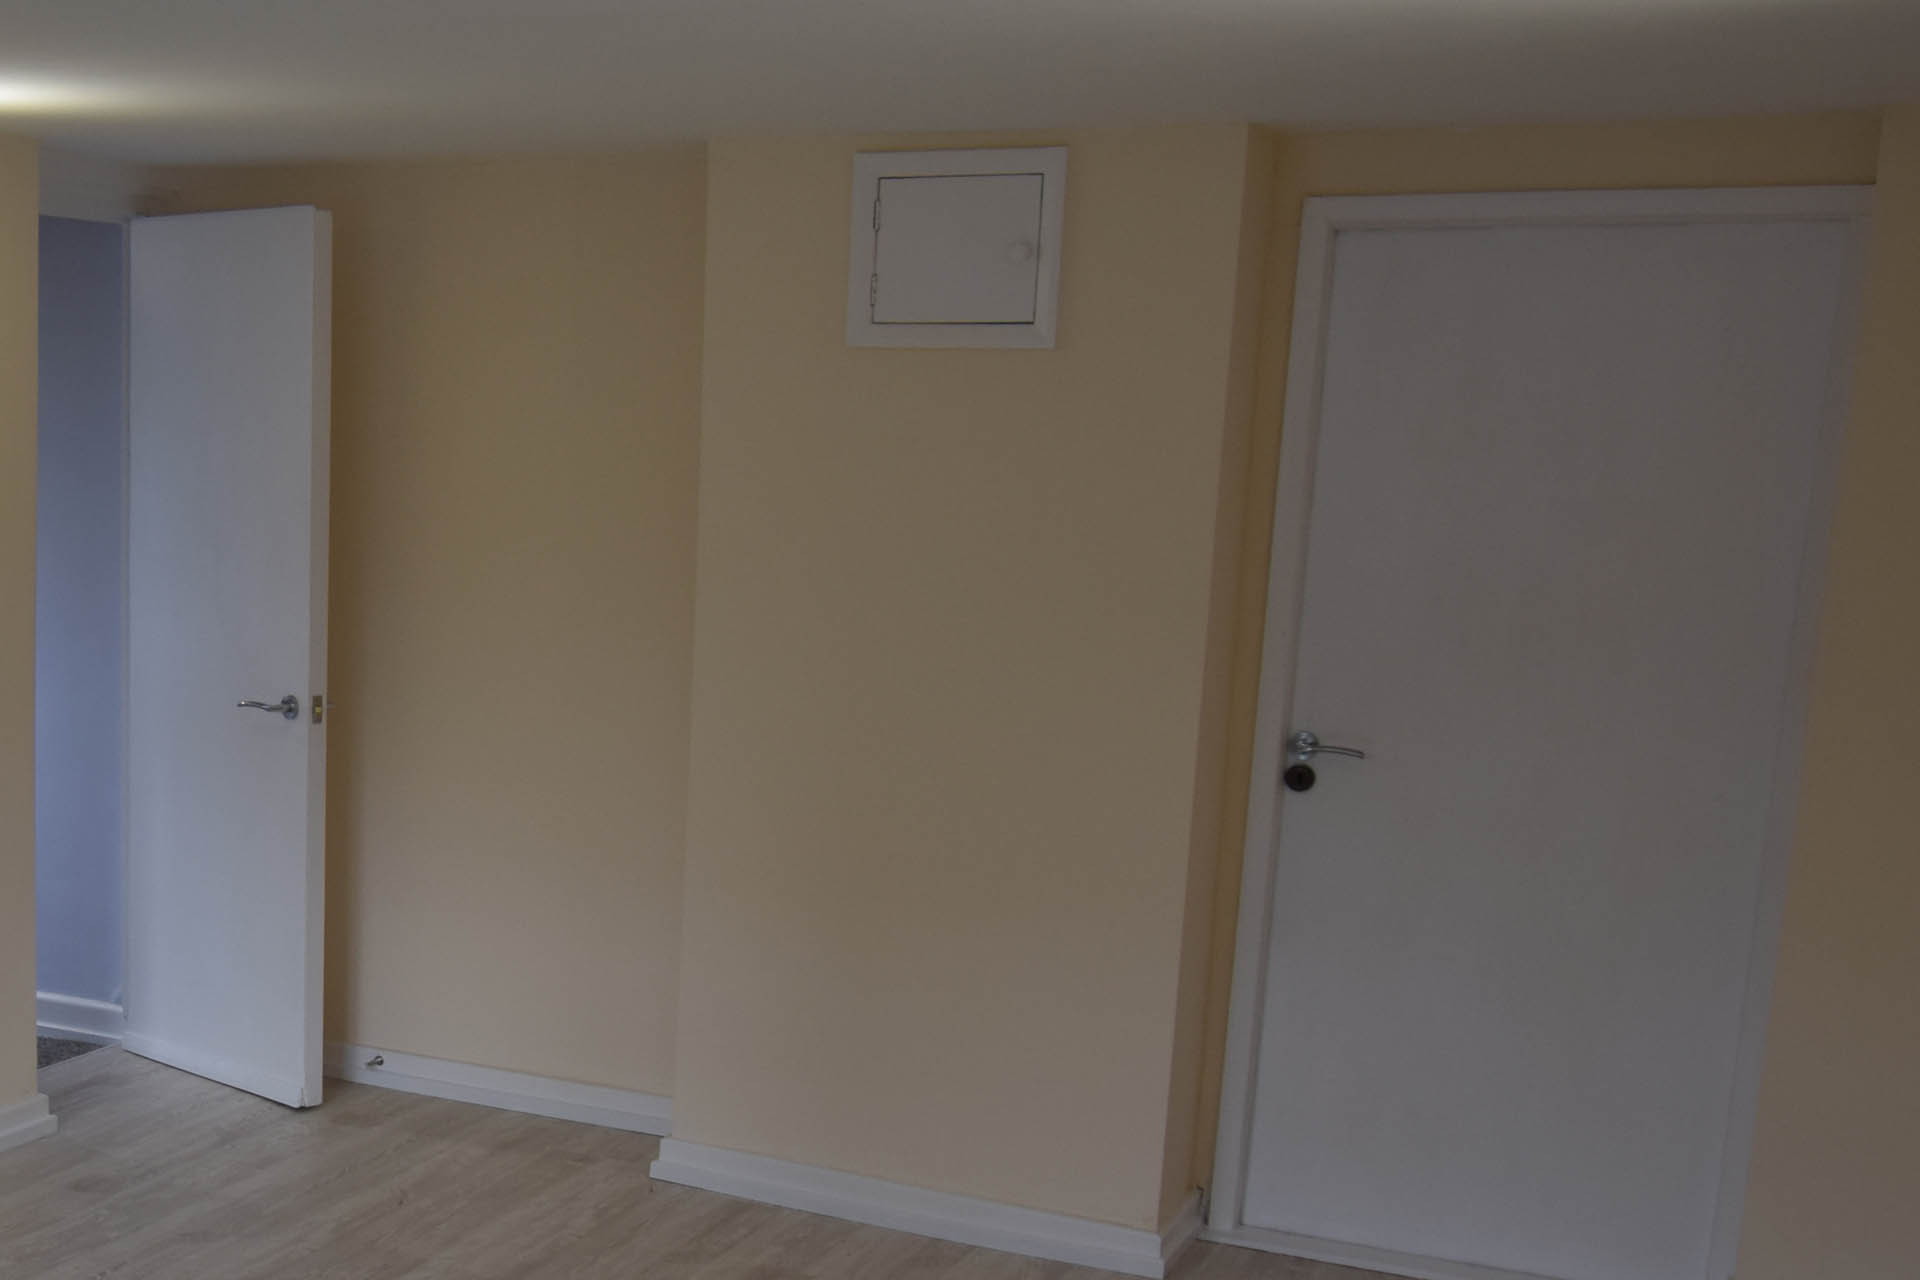
Wanting as much space as possible in the new lab, I decided that the way forward, would be to make a shelf unit, the idea being that I smash out a cavity and (theoretically) slide in the shelf unit... that I'll err... have to make. Did I mention that I hate DIY? 🙁
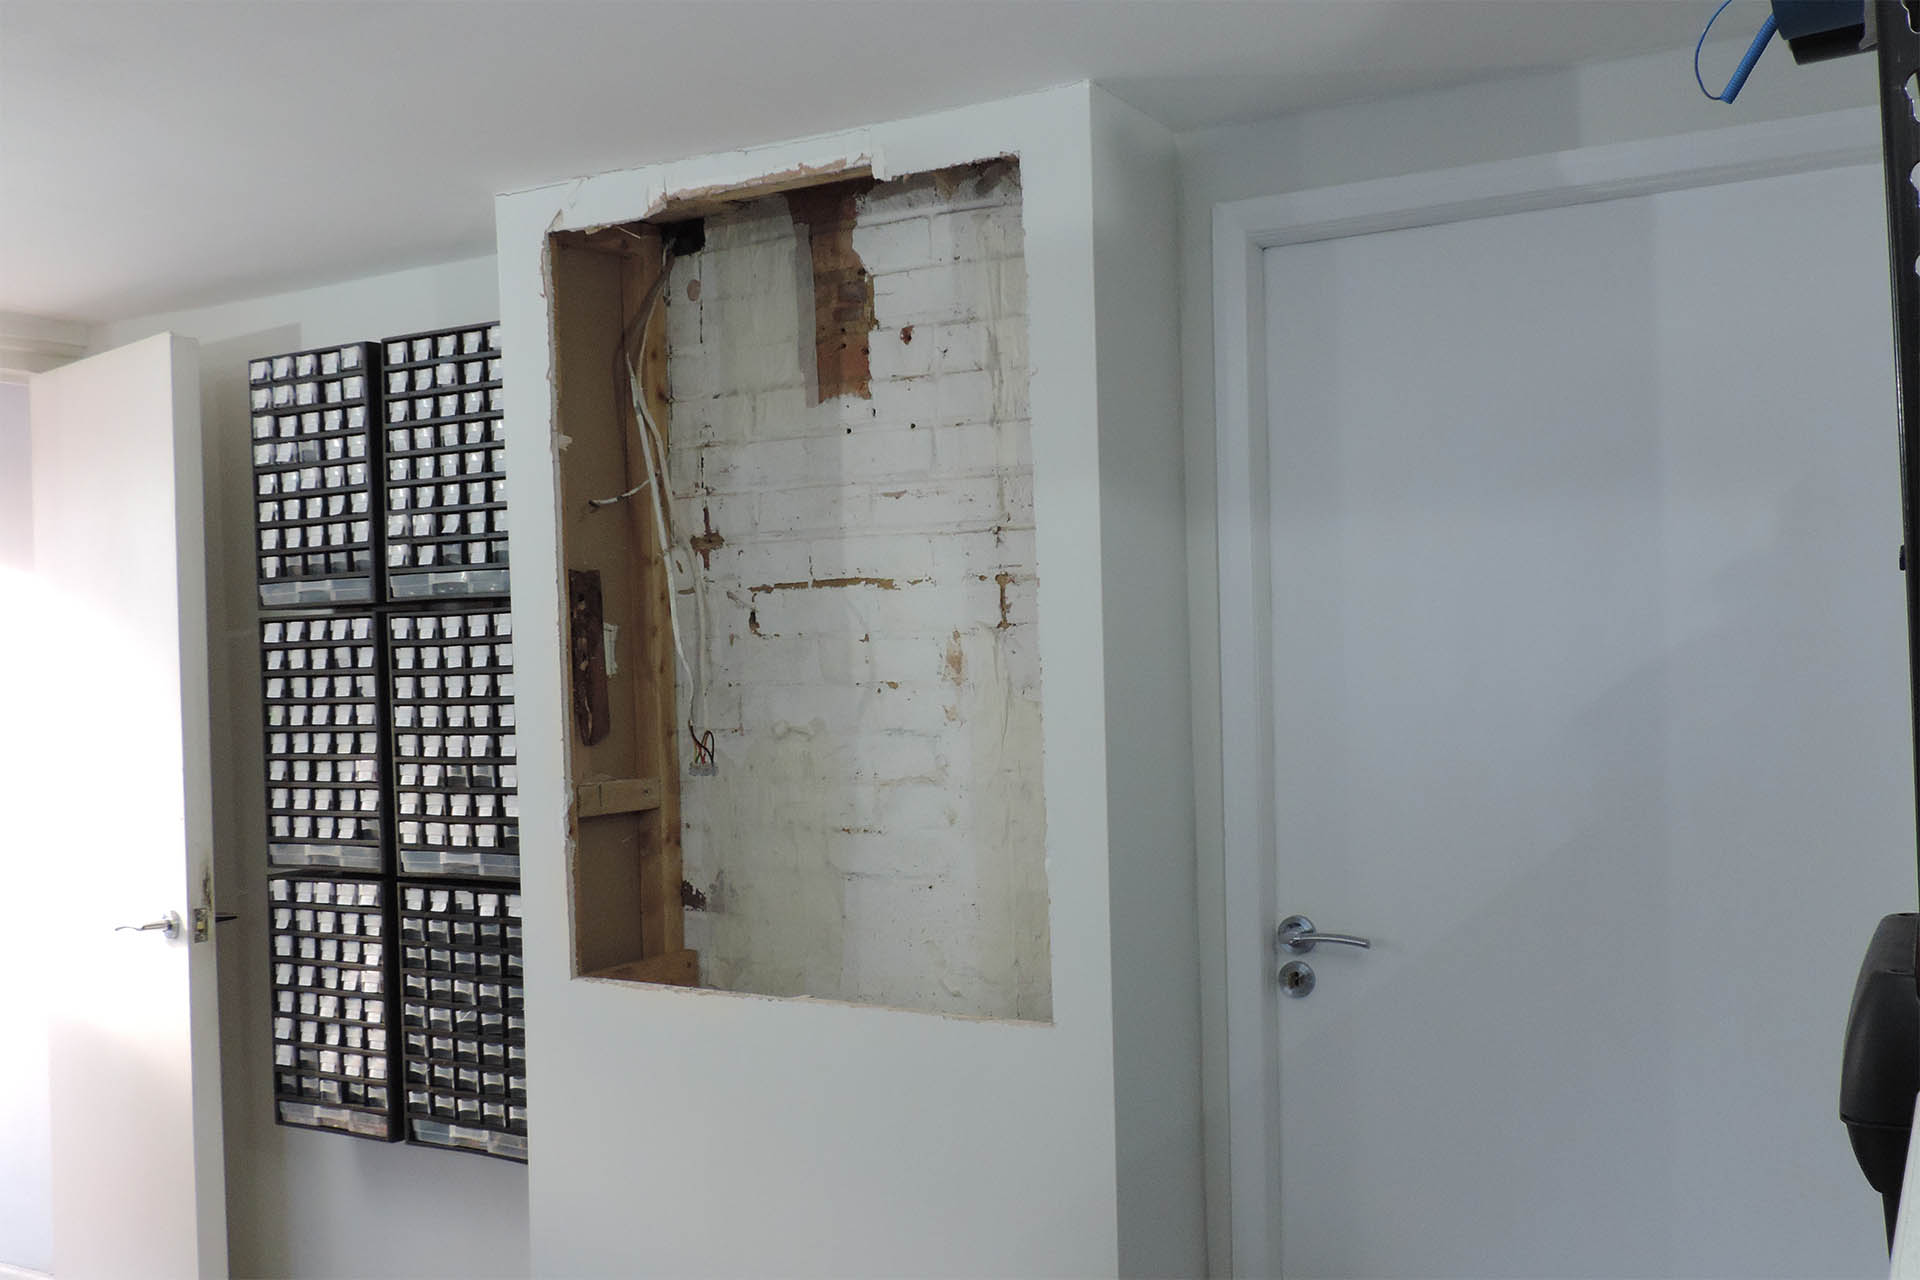
After finalising the dimensions, I roughly cut out the studwork, with a floorboard saw. There were a couple of redundant gas pipes (not shown in the pictures below), that were cut down with an angle grinder.
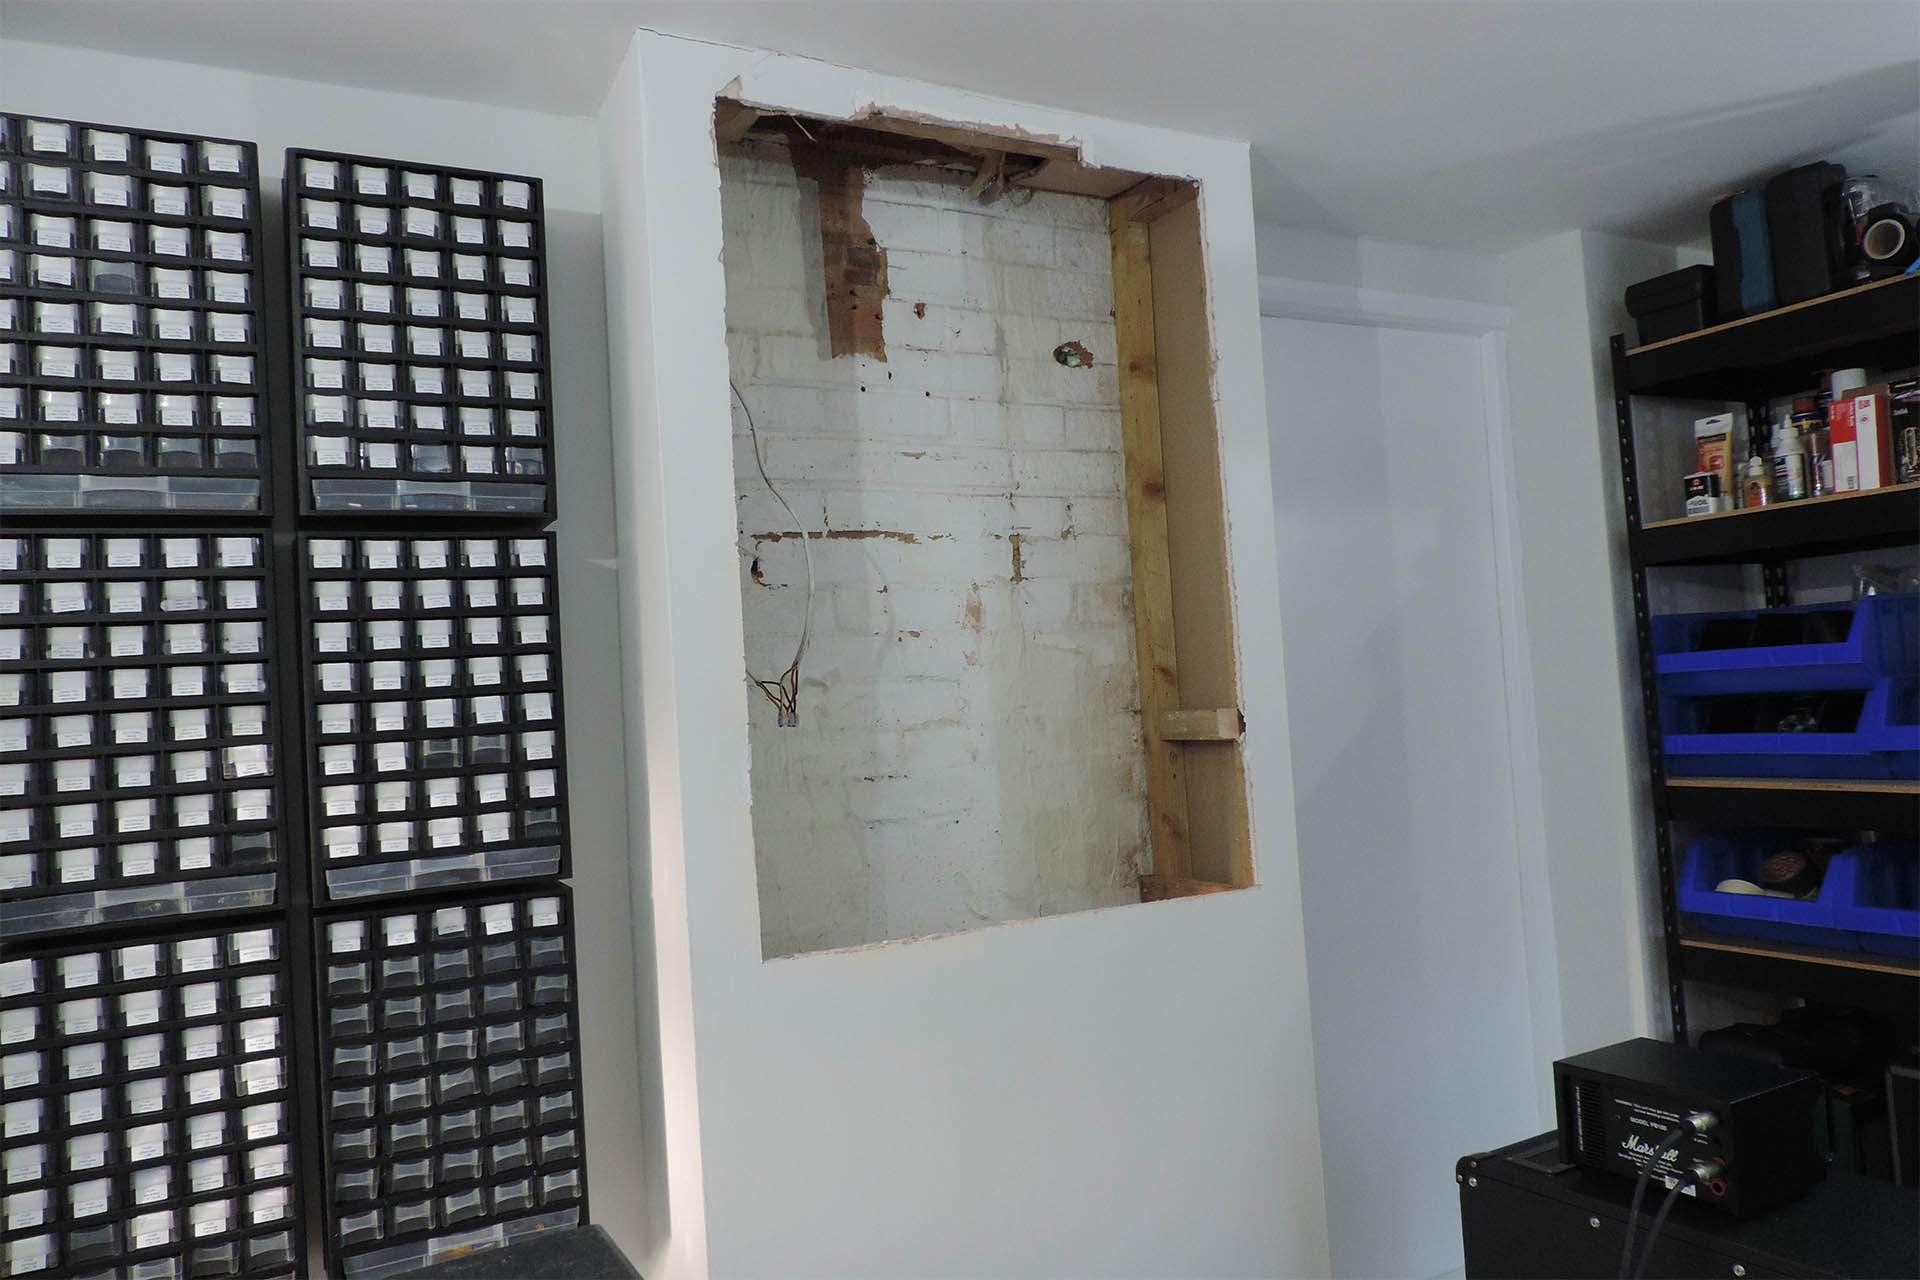
Ideally, I’d have liked to take out the whole thing but that would have meant redoing the laminate floor. Did I mention that I hate DIY? 🙁
I then designed the shelf unit and originally was going to use conti board but changed my mind in favour of MDF. I picked a 'cut-to-order' supplier that I found on-line and submitted my requirements. There are loads of companies that offer this kind of service but I'm pleased I settled on MDF Direct. The perfectly cut 18mm MDF arrived the next day and was very well packaged, with plastic caps protecting the otherwise vulnerable corners. The beautifully cut MDF arrived the next day but it all stayed wrapped up for a week or so while I mustered the courage to get going on this project. Stupid really as I'd already carved out the bloody wall, duh!!!
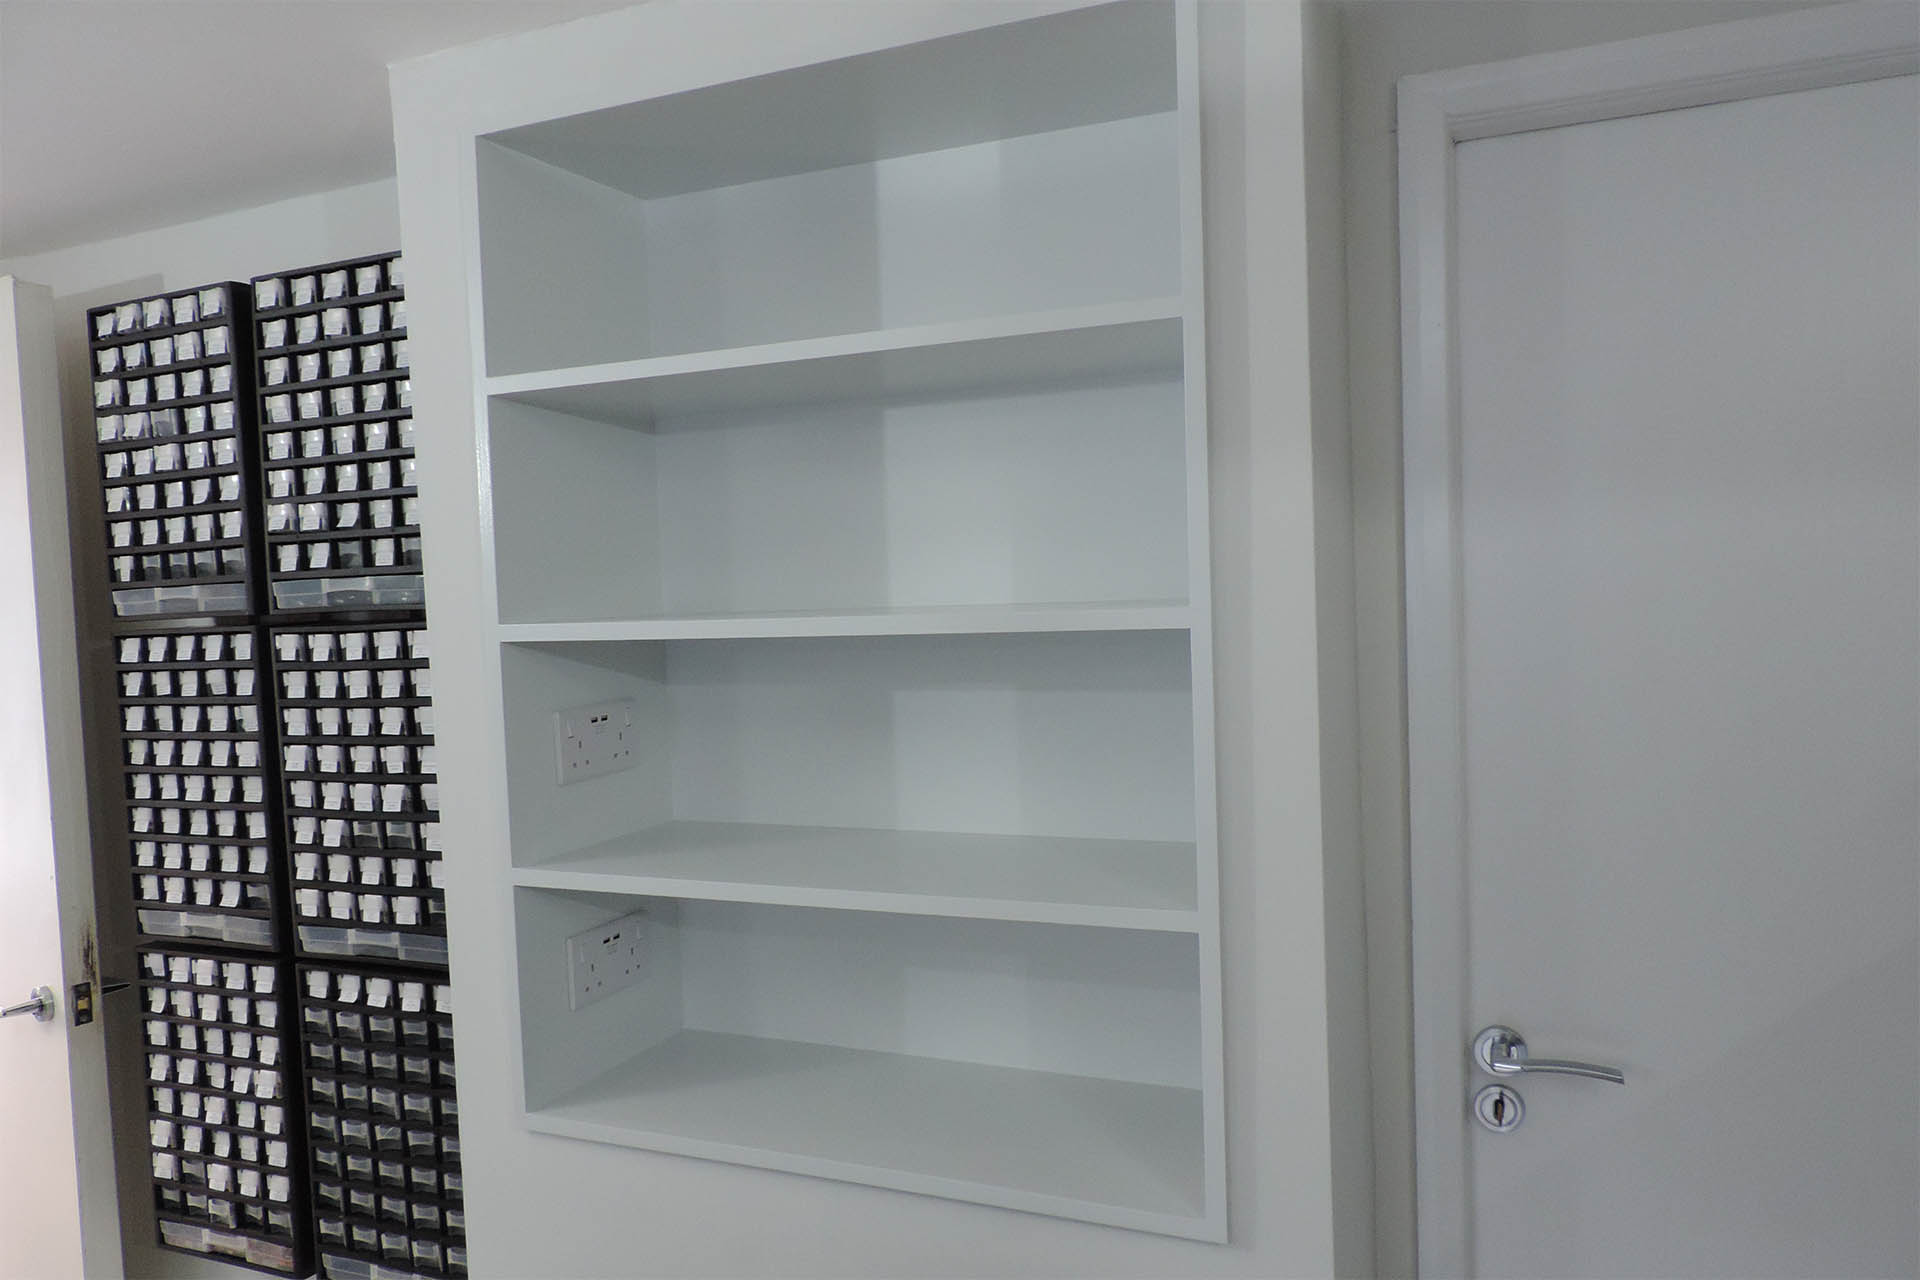
Then one evening after finishing some repairs, I thought “what the hell?” I unwrapped the MDF and a few hours later, my shelf unit was glued and screwed together and suddenly taking shape. Oh my God! I’ve actually done it... and it looks and feels bomb-proof!!!
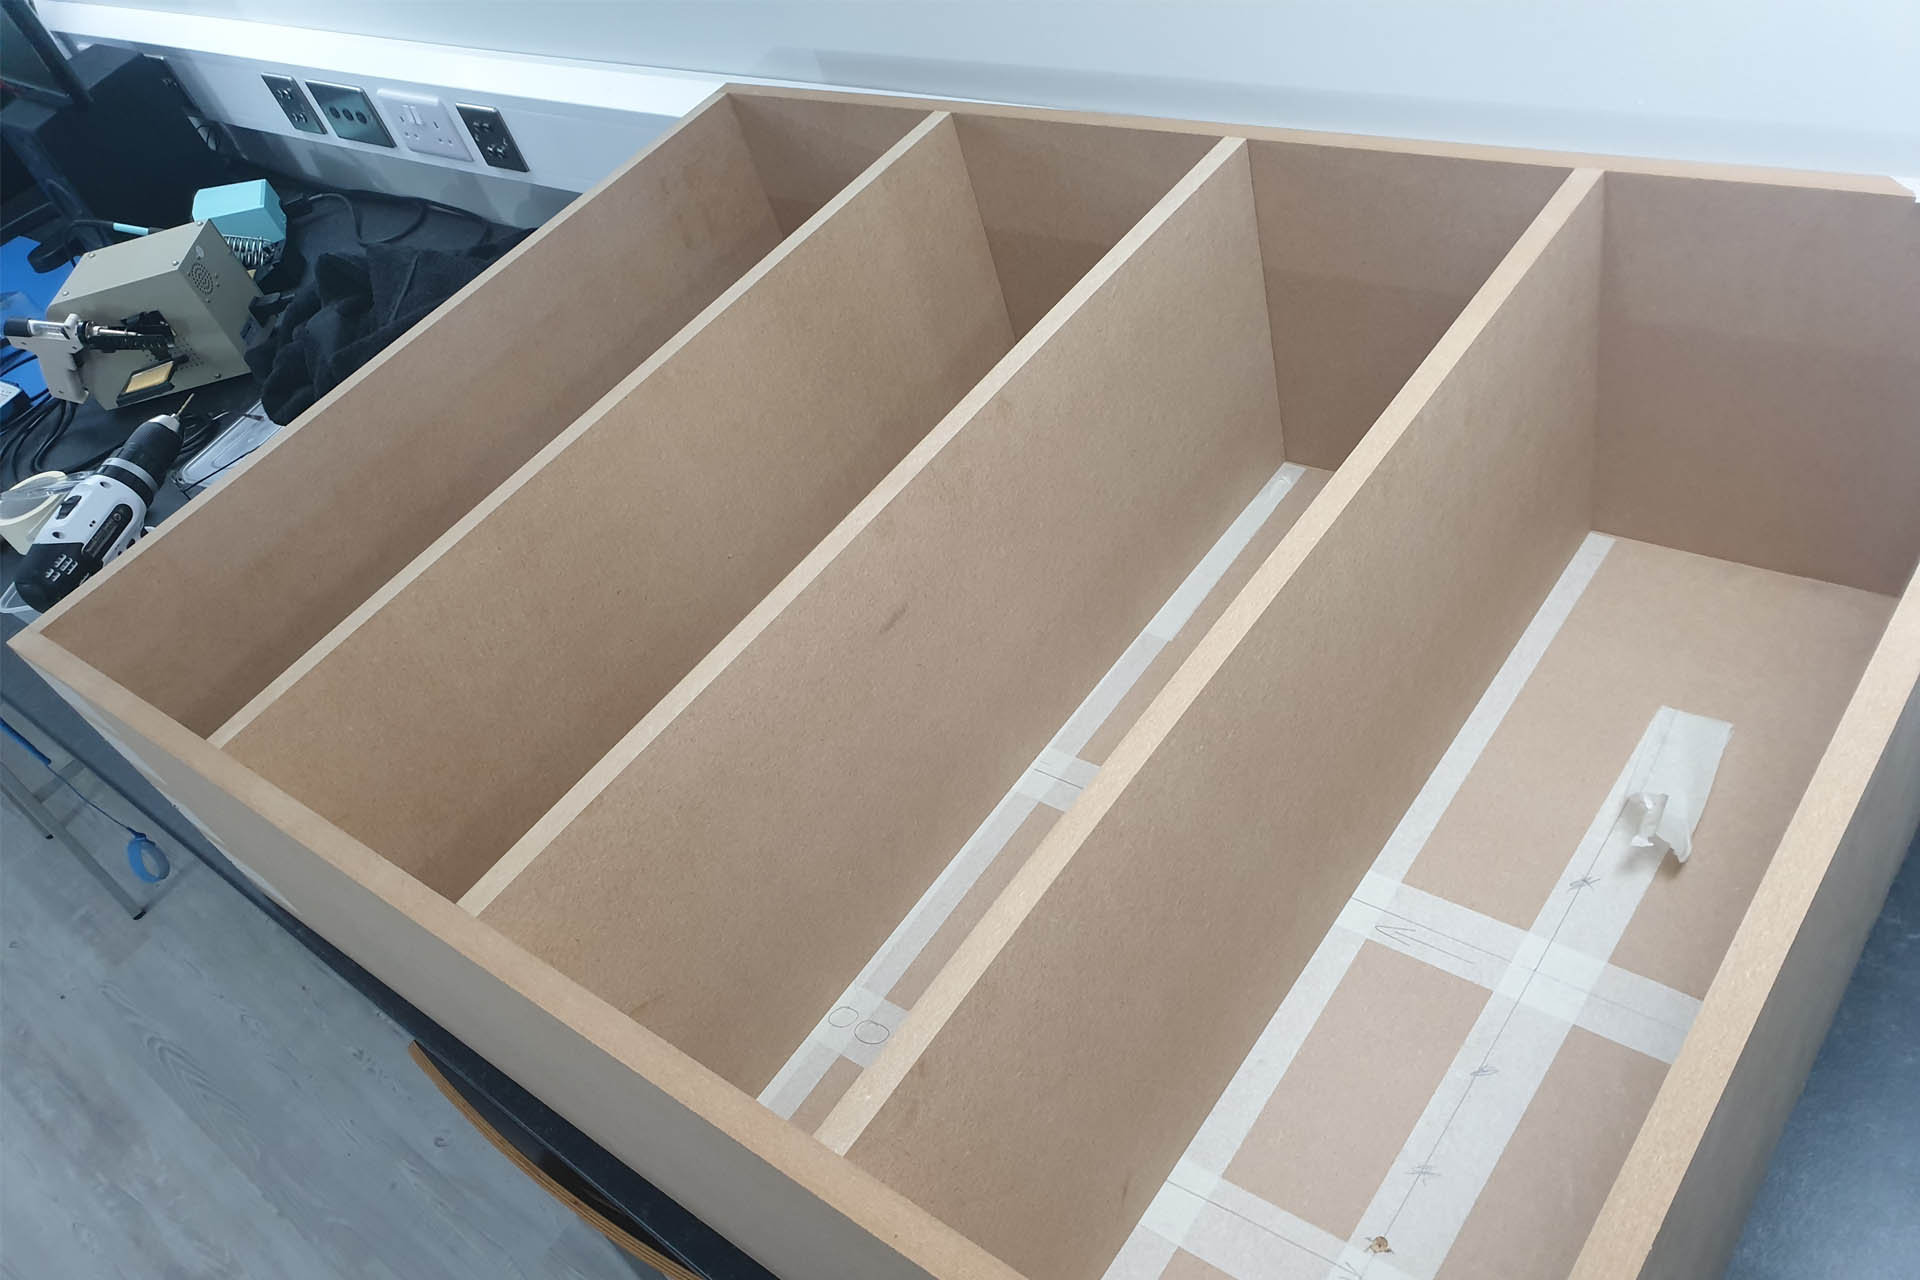
As I had in my previous lab, I wanted a charging station so since there was electricity in the cavity, I made a couple of cut-outs in the shelf unit, to take two double-gang power outlets with integrated USB charging. I had to hunt around for cavity backboxes (otherwise known as dry lining backboxes) that would fit into 18mm, though.
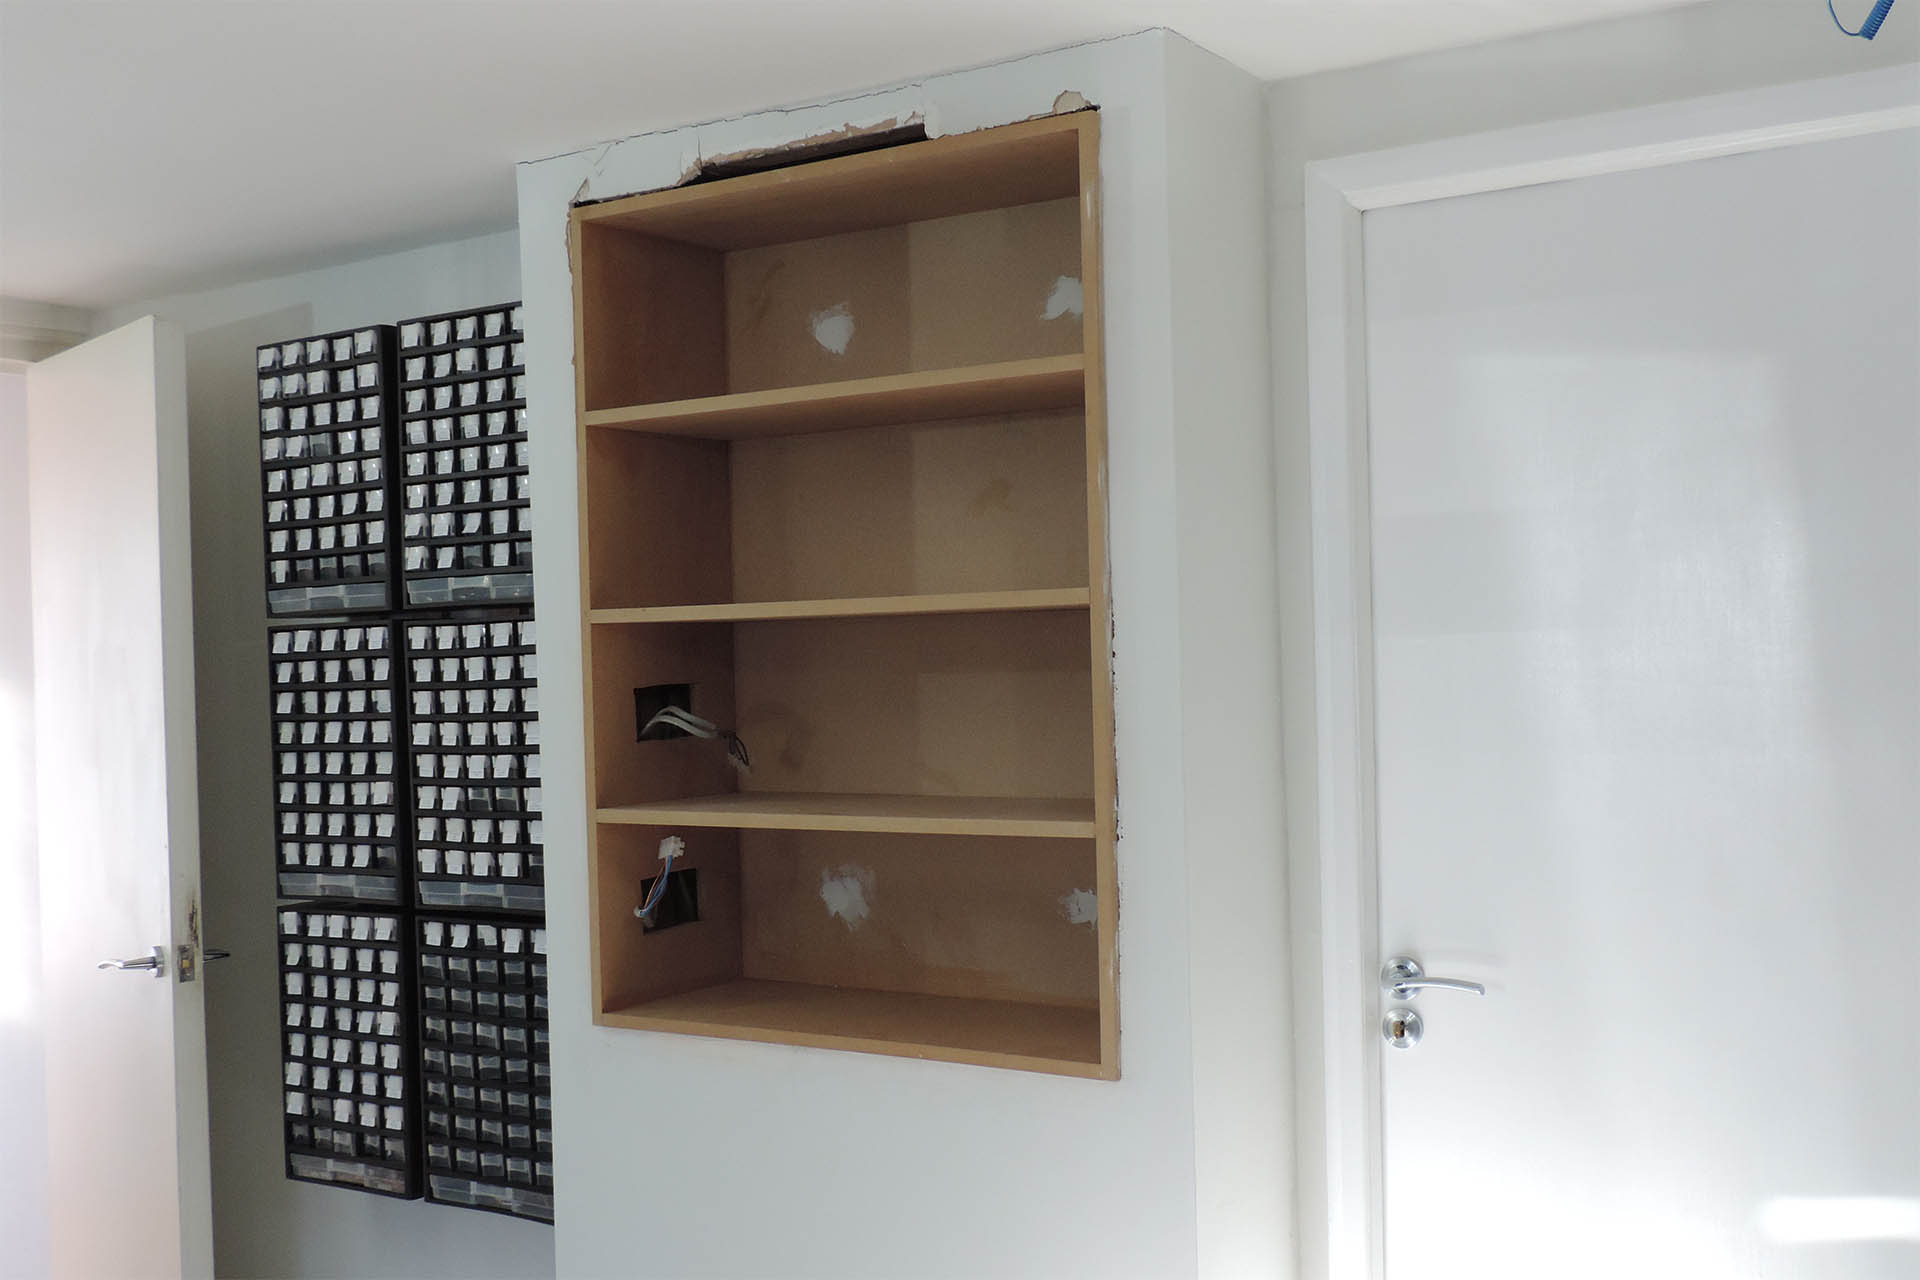
My wife Julie, gave me a hand to lift the shelf unit into place and slide it in on the supports I had made at the bottom of the cavity. I marked four screw points on the wall and then we pulled out the unit.
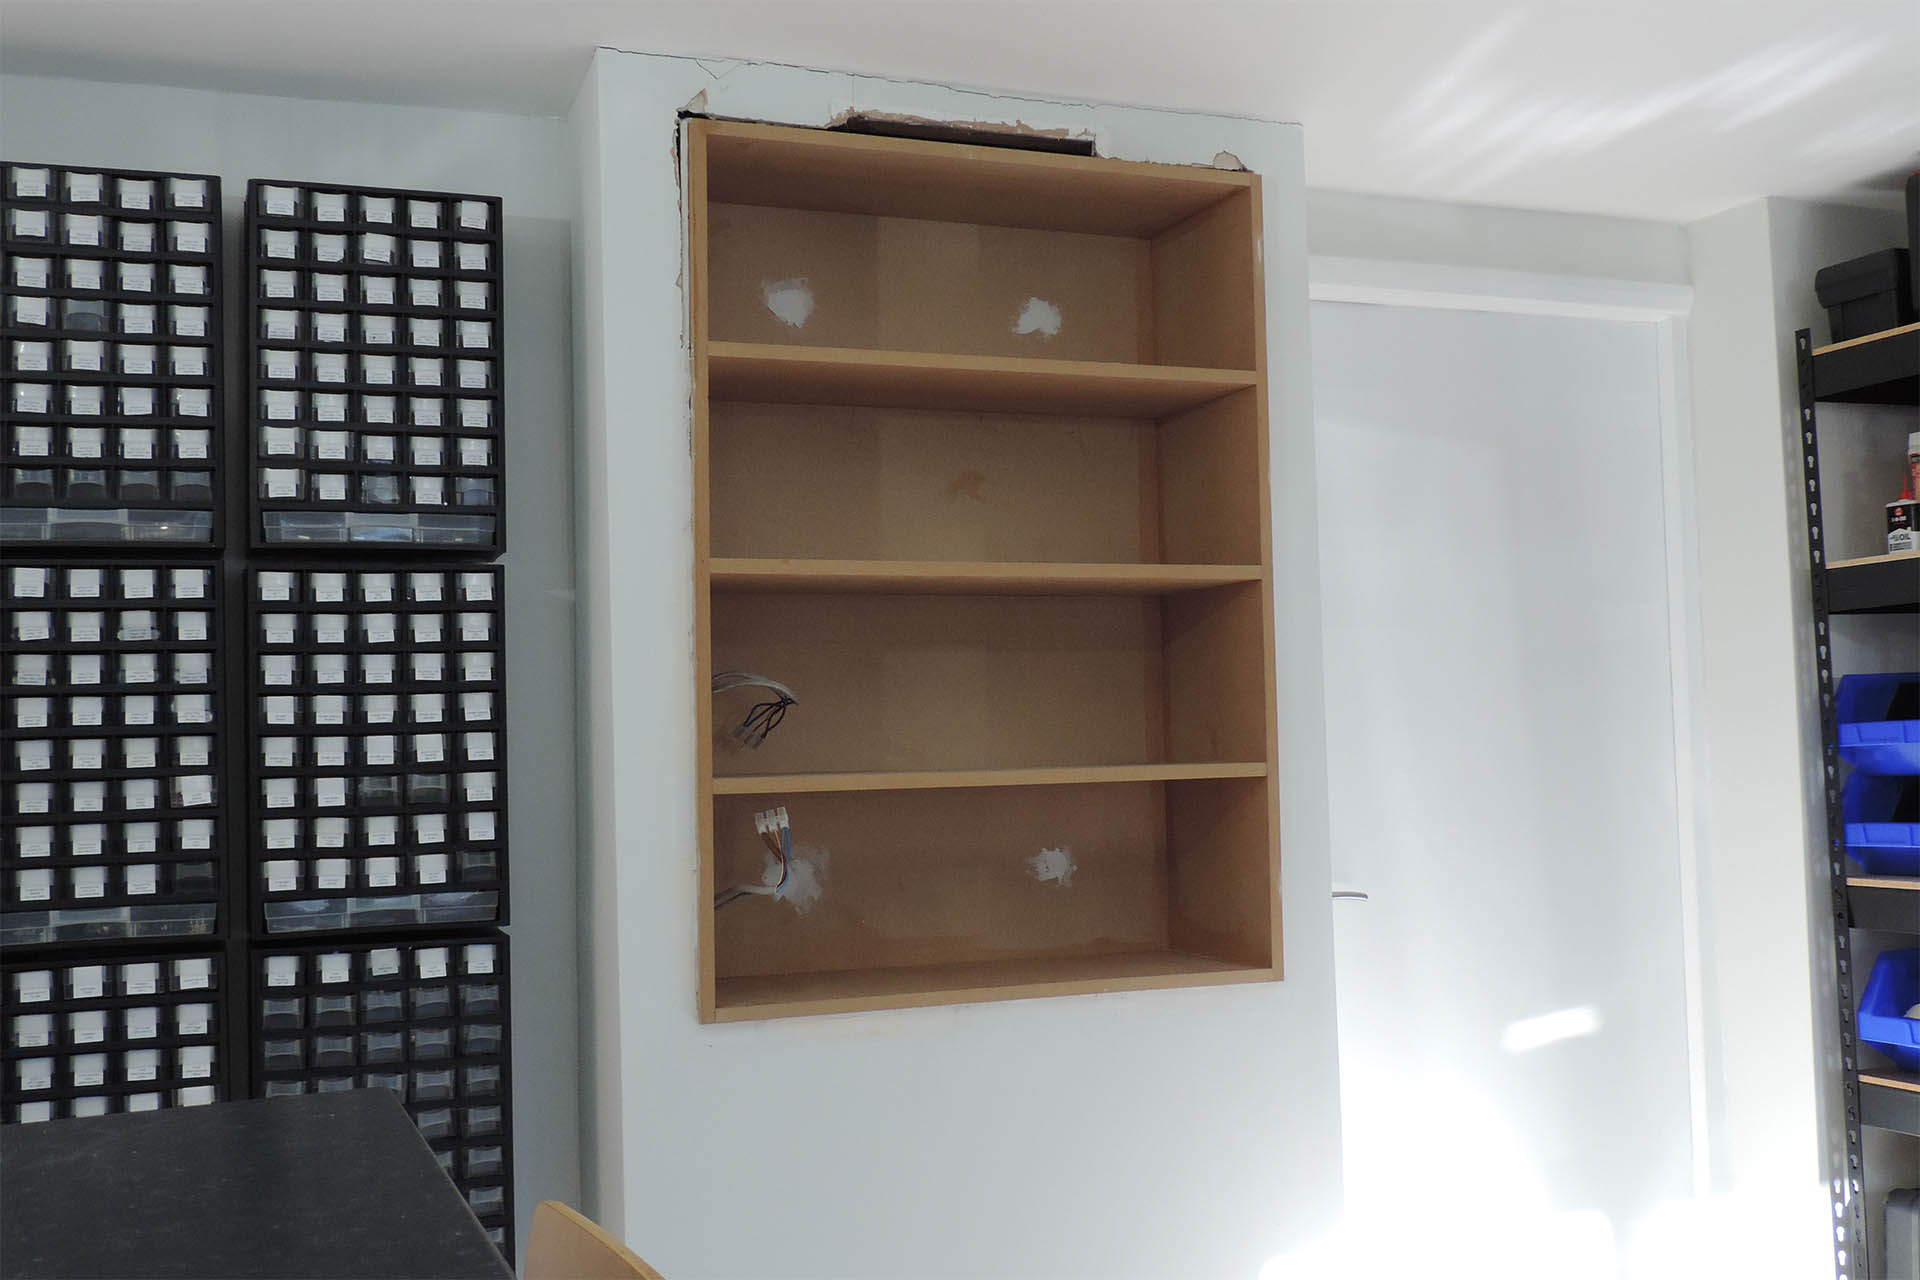
After drilling and then sinking in four rawl plugs, we lifted the unit and slid it back into place again. While Julie supported the shelf unit, I quickly secured it to the wall with some chunky screws.
Wow! It’s actually in!
Over the next few days, I primed and painted the cabinet, finishing off with an eggshell version of the matt emulsion that the rest of the room was painted with. I would have normally used a satin paint but figured that the eggshell would be a little more robust.
I had a lot of touching up to do which included filling and sanding, specifically between the top of the unit and the ceiling.

When I originally smashed out the cavity, there was a piece of wood at the top which tried my patience and well, I kind of damaged the plasterboard trying to get it out.
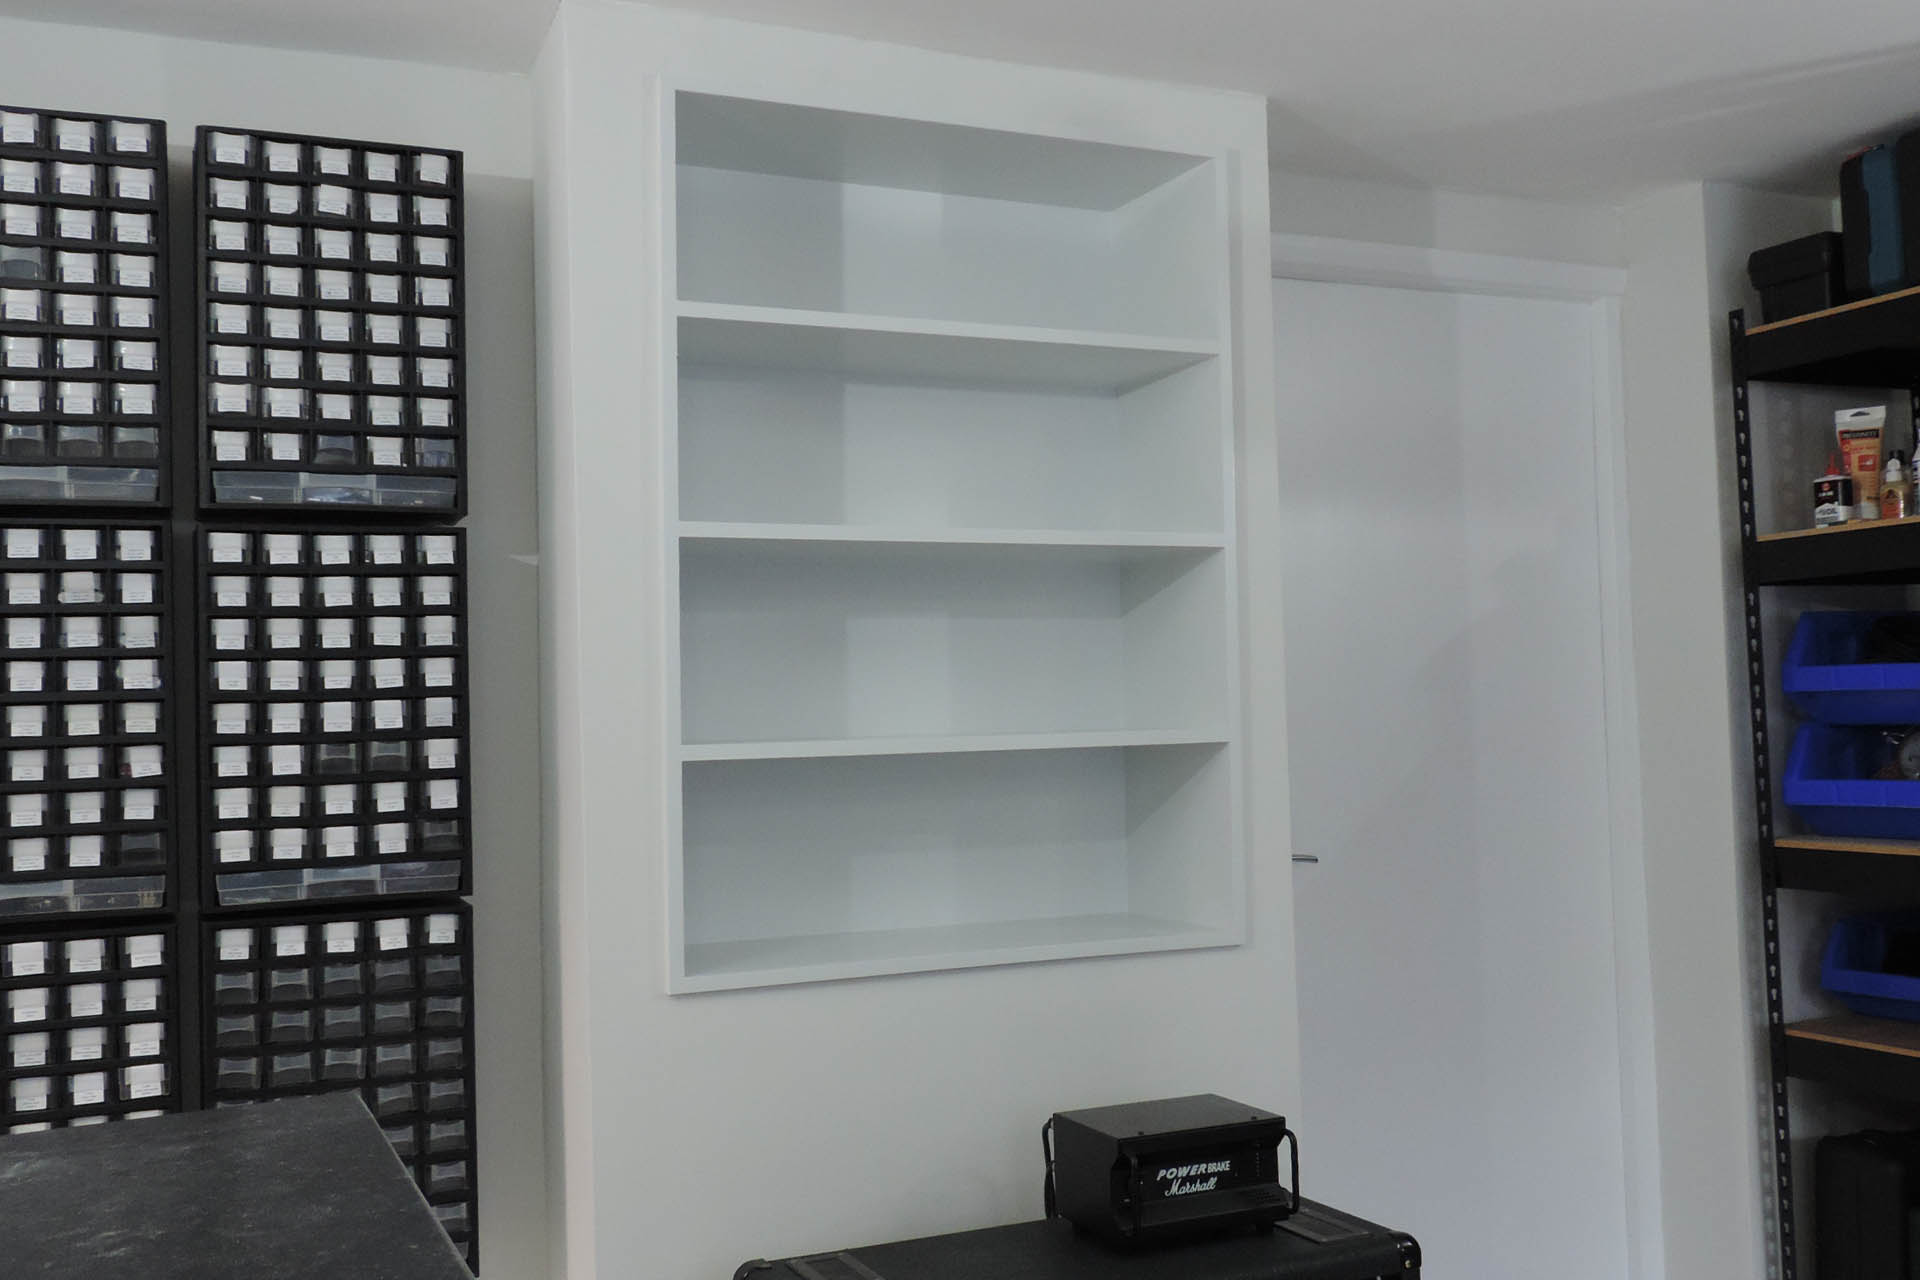
Anyway, I took my time finishing off and making good. To be honest, I’ve stunned myself with the results. They say that success breeds success but I have to say… I still hate DIY!!!!