

A couple of weeks ago, I insanely agreed to take on this Roland HP-3700 keyboard service job. “A couple of duff keys” I thought. “Hey, no problem” I thought. Well, I use the word ‘insanely’ because I’d forgotten just how big and heavy these things are. Last time I saw one of these was about fifteen years ago and you know how sometimes your memory of the size of things is just WRONG? Well, this was a good example of just that.
Anyway, I only got around to working on this a few days ago. One problem with getting old, is that our parents are getting older and there comes a point when those who sacrificed so much and looked after us, now need a little attention themselves. Hence, I feel as though I have two jobs at the moment.
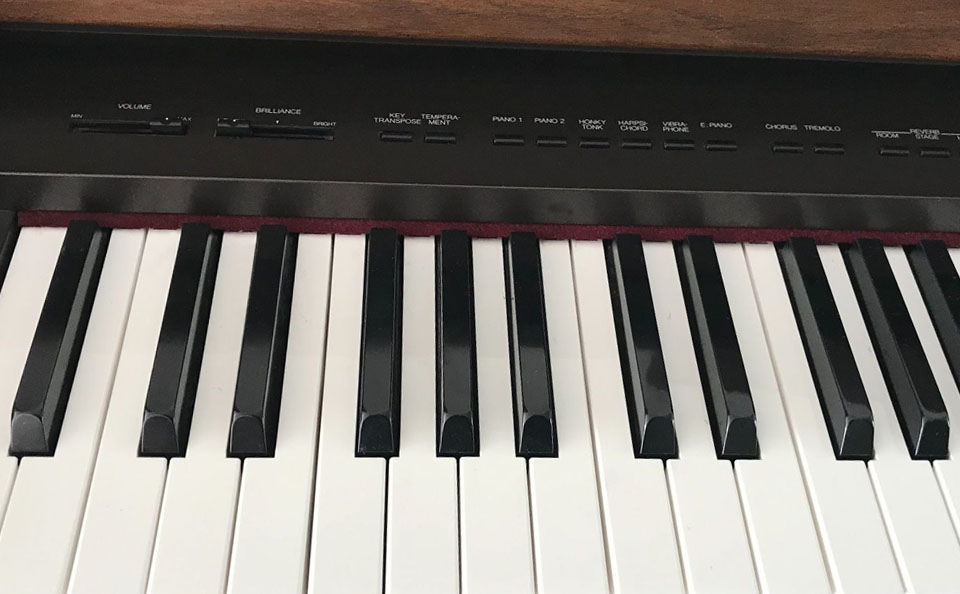
The HP-3700 was launched in 1990. A stunning example of Roland’s precision engineering, beautiful craftsmanship and a level of sonic excellence we take for granted with the name 'Roland', the HP-3700 was indeed the company's flagship full-sized piano a the time. Anyone who’s had experience with one of these instruments, will appreciate that it’s not just about the sound. As I often comment, the smooth, transparent connection between your fingers and the sound, is simply magic and in my opinion, it what makes these machines feel so gorgeous.
I have to confess, that I find it incredibly sad that this generation of instruments simply doesn’t receive the recognition it should. Anyone who brings me one of these old pianos and is willing to spend more than what it’s worth to have it renovated, receives my utmost respect and admiration. In fact, any service tech’ will understand that you simply can’t charge for the actual time and effort it takes to service something like this and the expression, ‘labour of love’ indeed, comes to mind. If the instrument is in really nice condition, a complete Roland HP-3700 keyboard service could easily take a couple of days or more.
At 59kg, I needed some help to move this beast and take it apart. My helper elves were on the ready and between us, things were eventually good to begin.

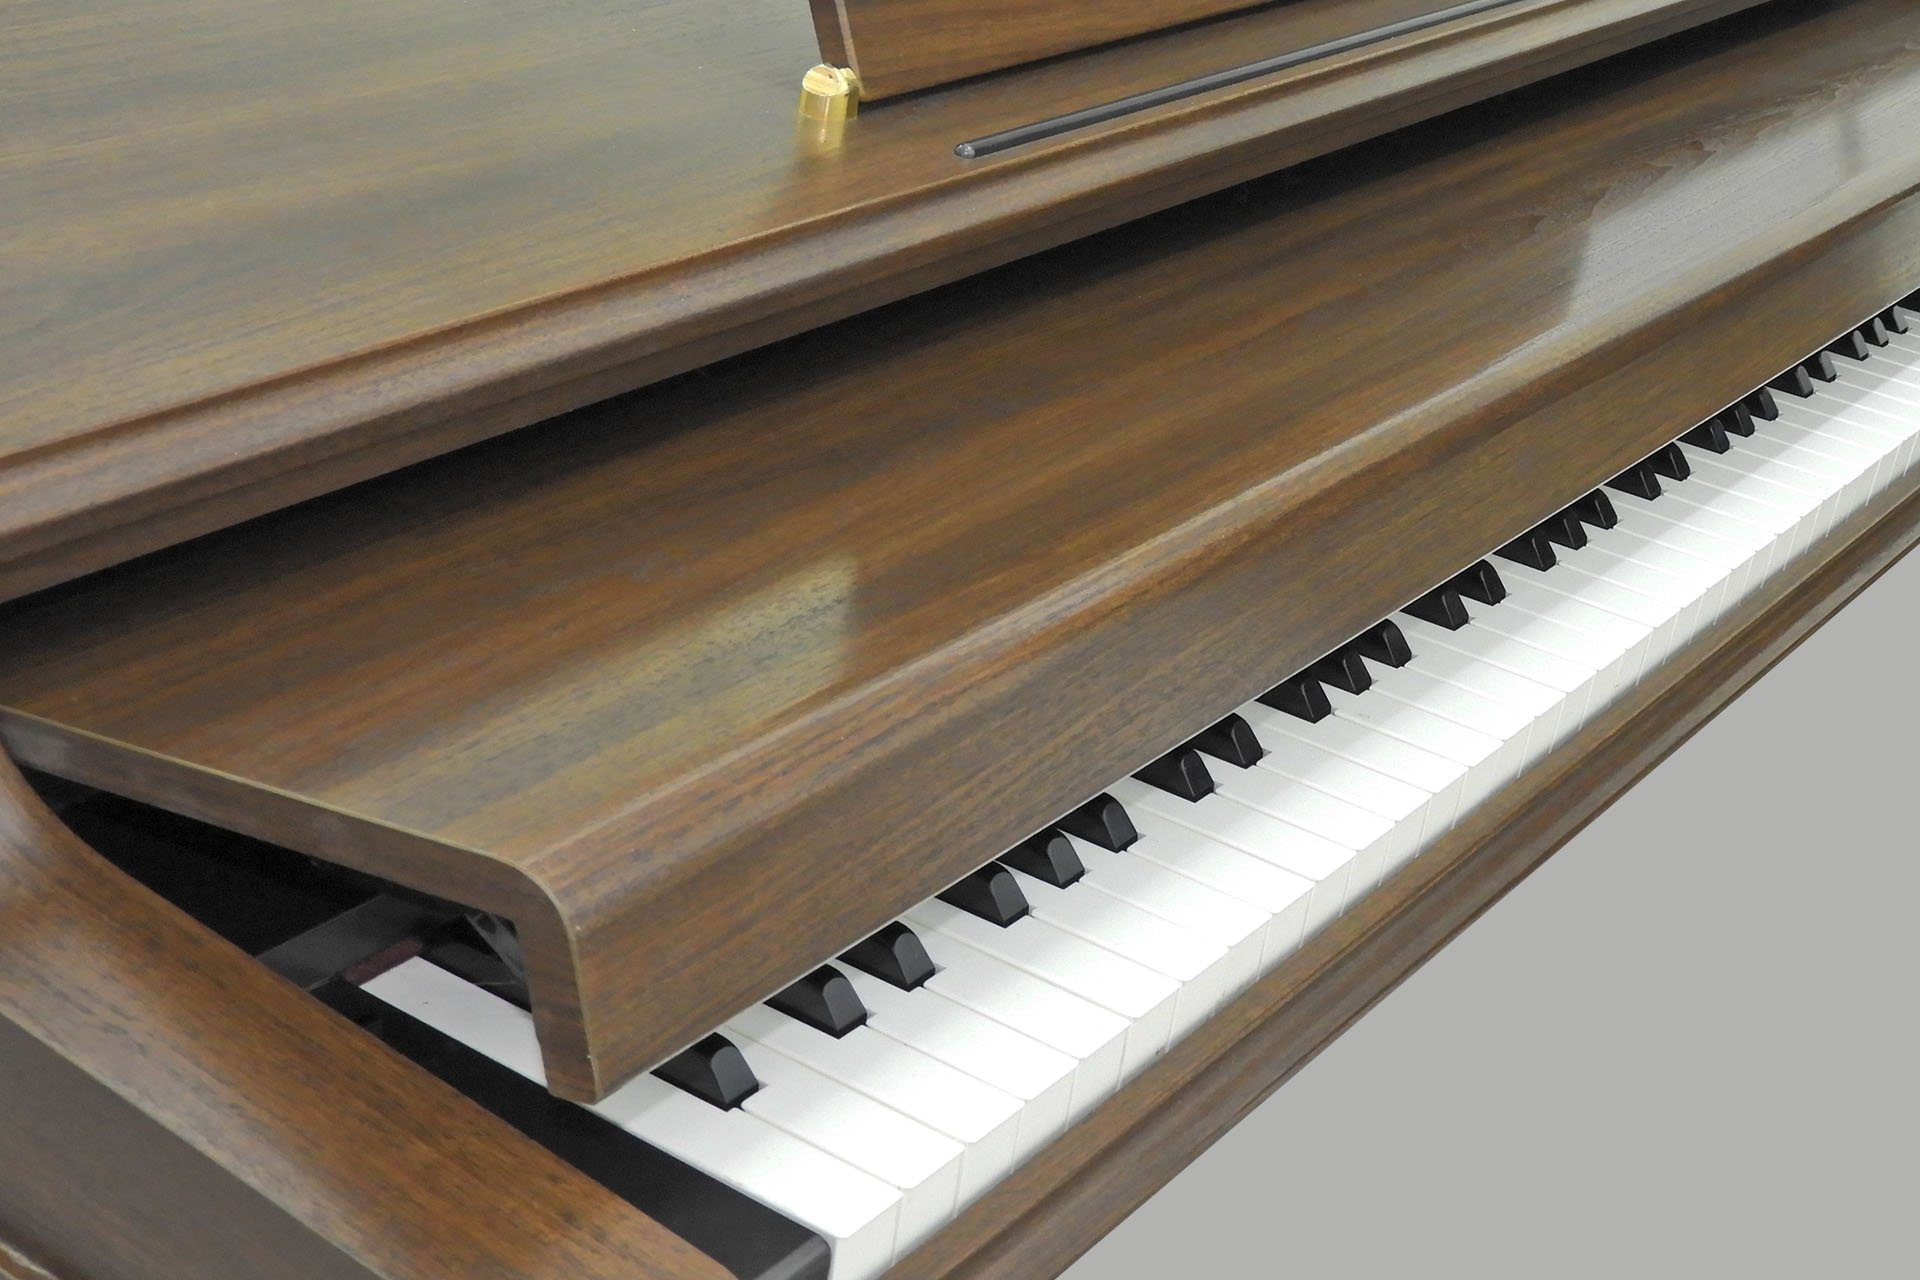
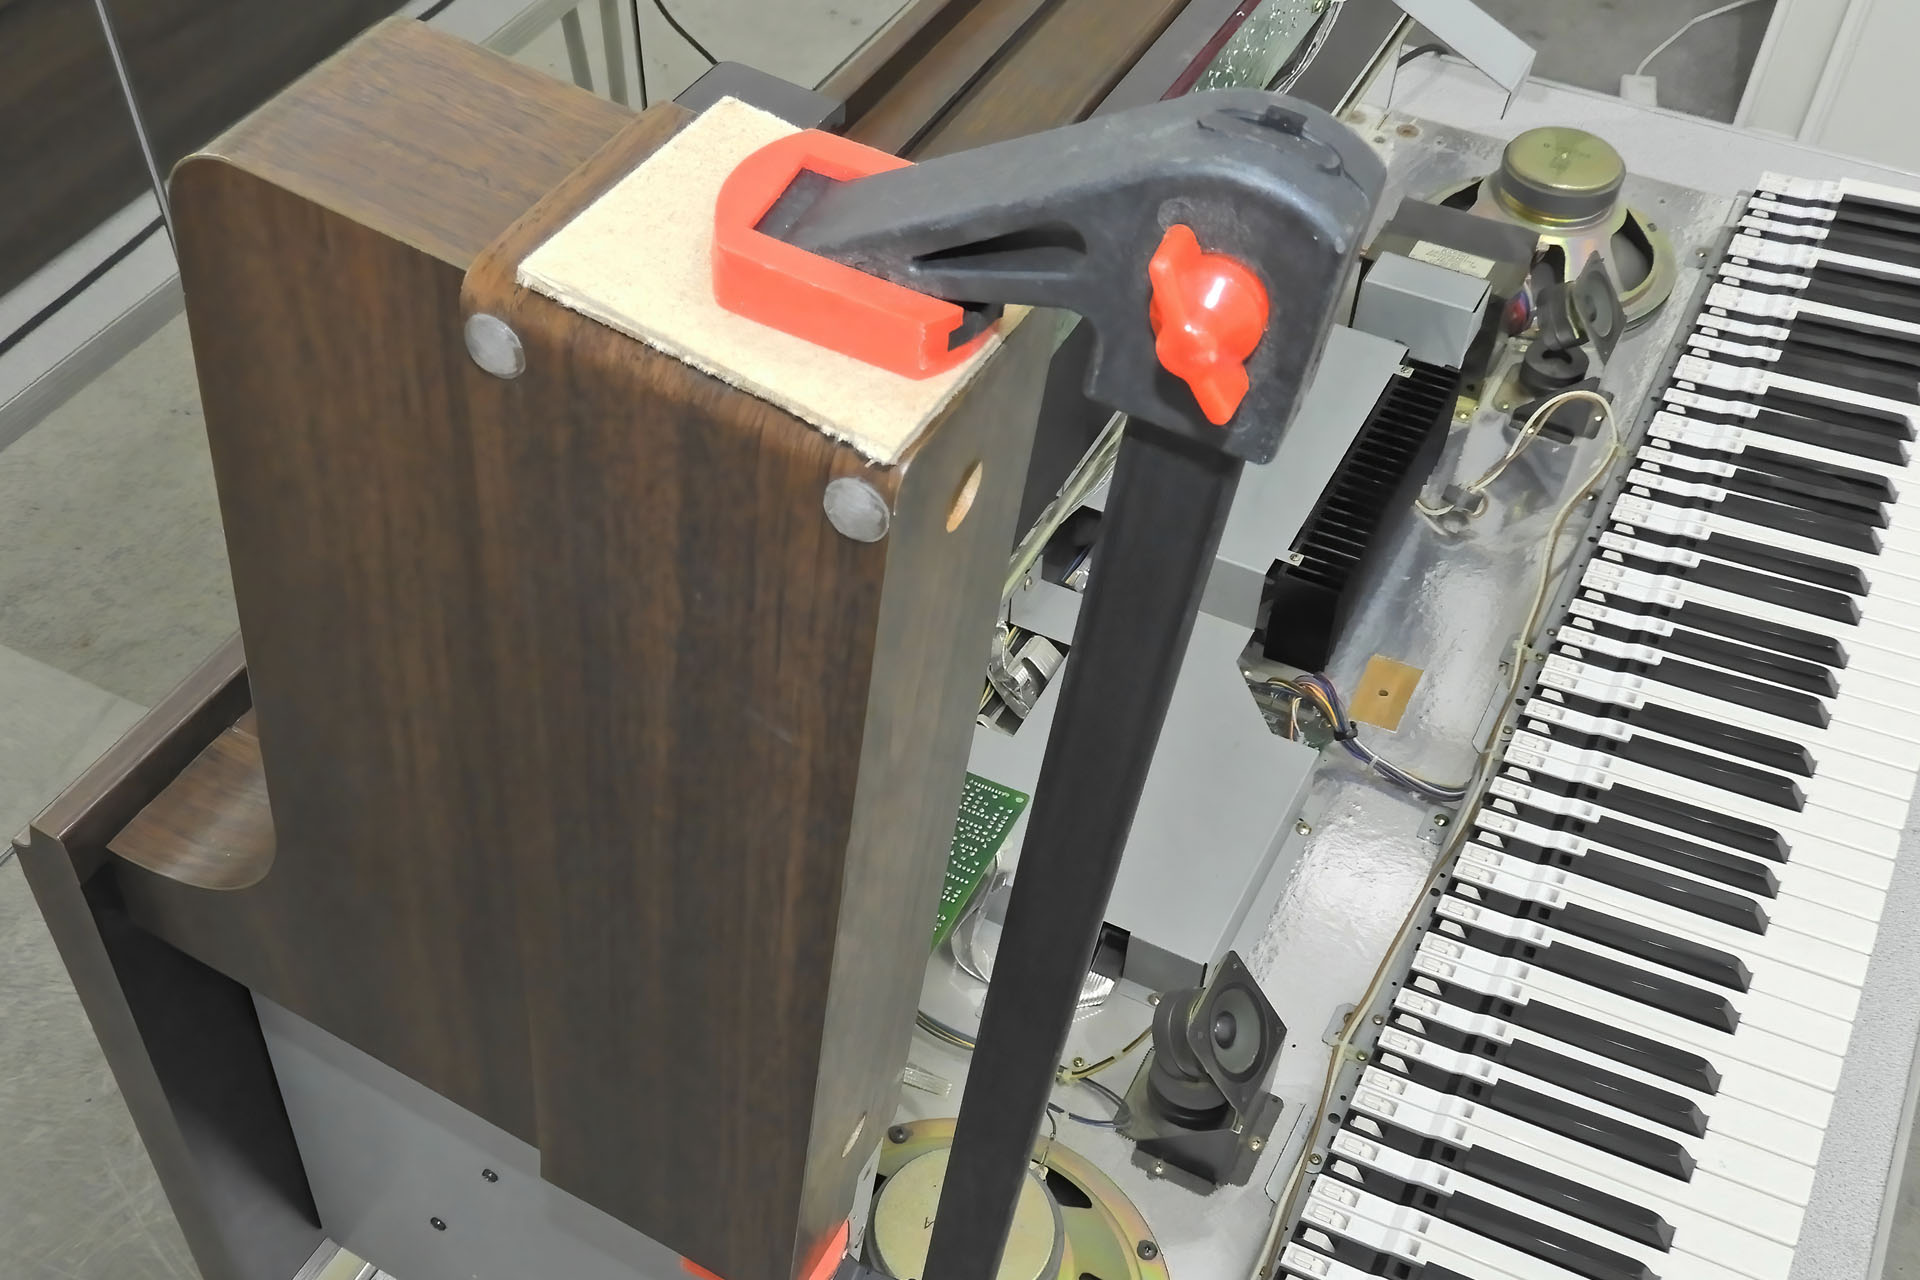
It took me a while to get this thing open but once I had, I realised why. At some point in its thirty-three-year life, a fluid spillage had occurred on the front left of the keyboard. Left unattended for years, this had the effect of ‘sticking’ the left-hand panel to the bottom-case. 🙁 The laminate (artificial wood-effect veneer) on the front of this panel had also come away slightly, presumably from the spillage. Fortunately, the laminate hadn't split so this could easily be reglued. At the moment however, this was the least of my worries. For now, I’ll just tape it up so that it doesn’t rip off when the piano is moved.

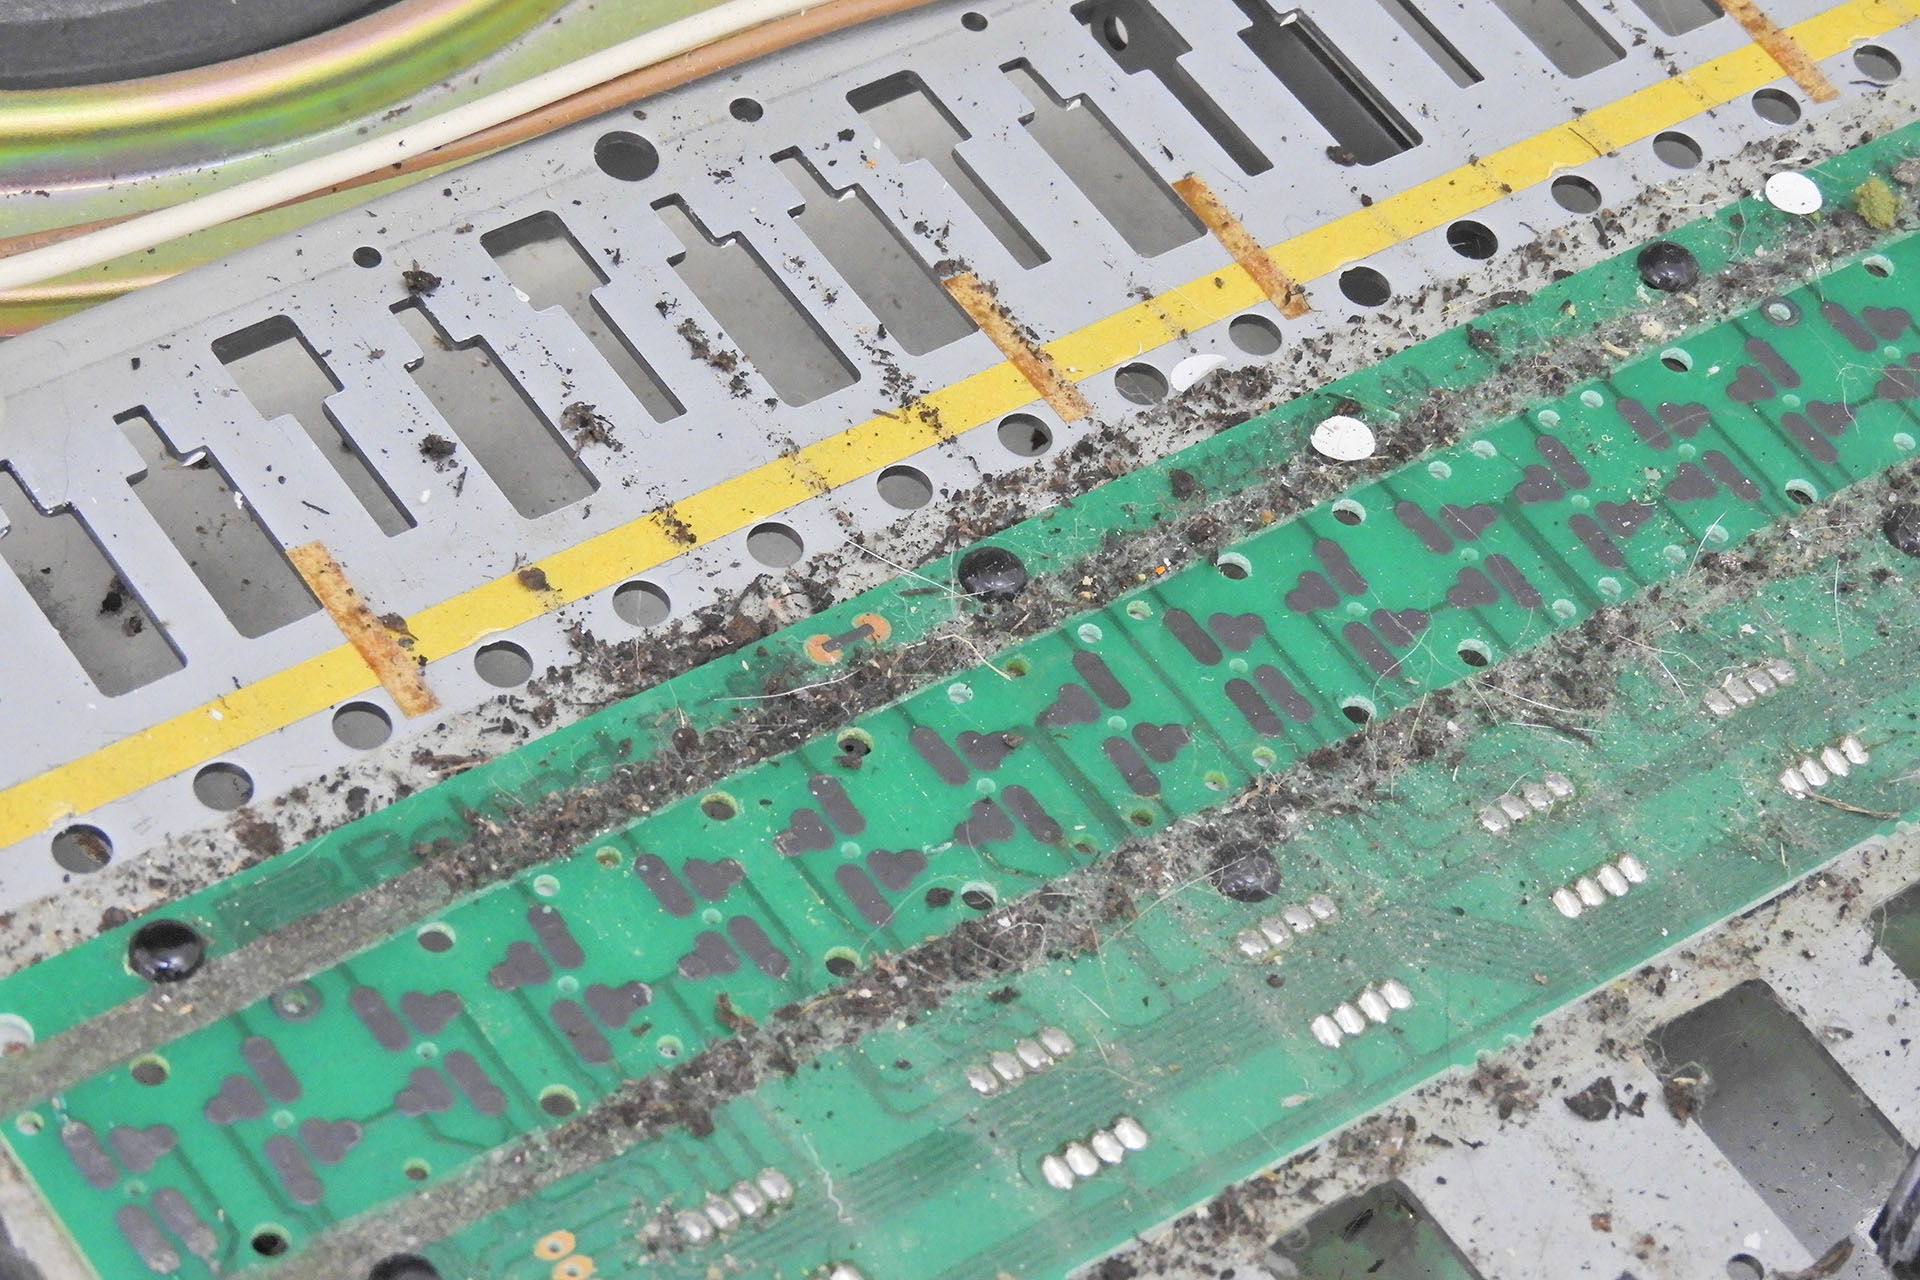
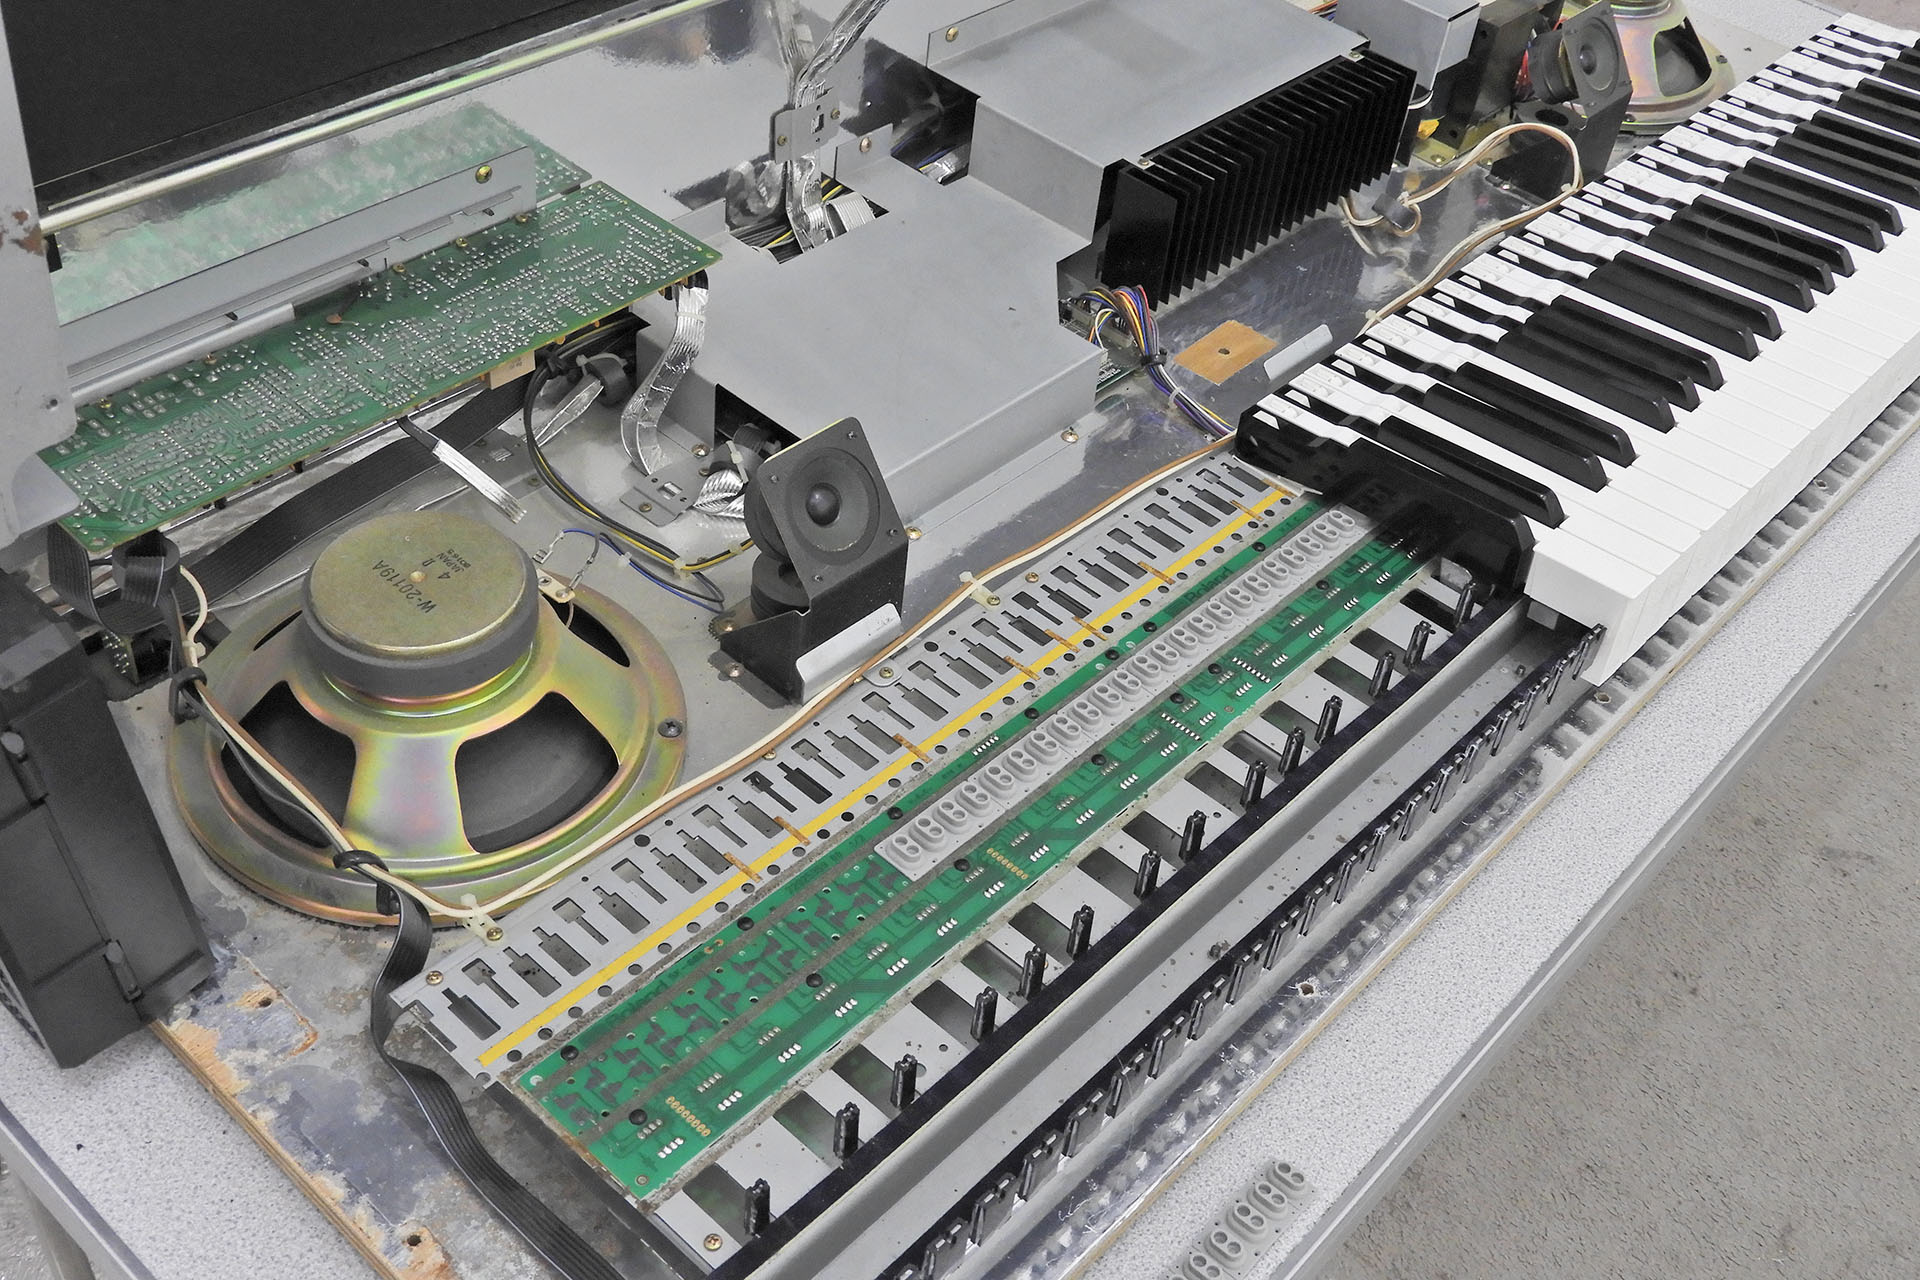
Performing a quick internal inspection and then switching on the piano to test all functions, I noticed that the bottom-A key was dead. Hmm… In fact, it was quite apparent that the left side of the key contact strip and the contact PCB weren’t in great condition at all.
The keyboard construction on these pianos differs from that of Roland synthesisers from the same period. Being a piano (and not a synthesiser), the keys are obviously weighted and I have to say, are beautifully balanced. Unlike its synthesiser brothers and sisters, the HP-3700’s black keys can be removed without having to take out adjacent white keys. With a small flat-headed screwdriver, a gentle push in the right place and a nudge to the rear, the black keys pop out. With a similar action, the white keys slide out forwardly. An amazingly elegant design!
After removing a bunch of keys, cleaning the respective key contact strips and surrounding areas, I replaced the contact strips and keys and then tested. Everything played fine, except that bottom A key, of course.

I explained my findings to the customer and even sent some pictures. Well, he soon got back to me and we agreed a price for a full service. I explained that I probably wouldn’t be able to fix the bottom A key as the connection between the carbon pads on the contact PCB and the tracks, had been damaged. He accepted this and asked me to proceed anyway.
I’d already got wind of what was underneath the keys and indeed on stripping the entire keyboard, I found dust, dirt, round bits of paper from a paper punch, Christmas tinsel, cat hairs (a lot) and even a small stone. This was going to be quite involved, I thought.
TAKE HEED... Just like an acoustic piano, these instruments had beautiful keyboard covers which conveniently slide backwards and into the body of the piano to expose the keyboard when you want to play. If you have a Roland HP series piano or something similar, PLEASE use it!!! When not in use, the piano's keyboard cover (or lid) should be pulled forward to prevent contaminants falling in between the keys. Protecting the keyboard in this way also reduces the discolouring effect of ultraviolet light on the white keys so they’ll stay white for longer and won’t slowly fade to a beige yellow colour.
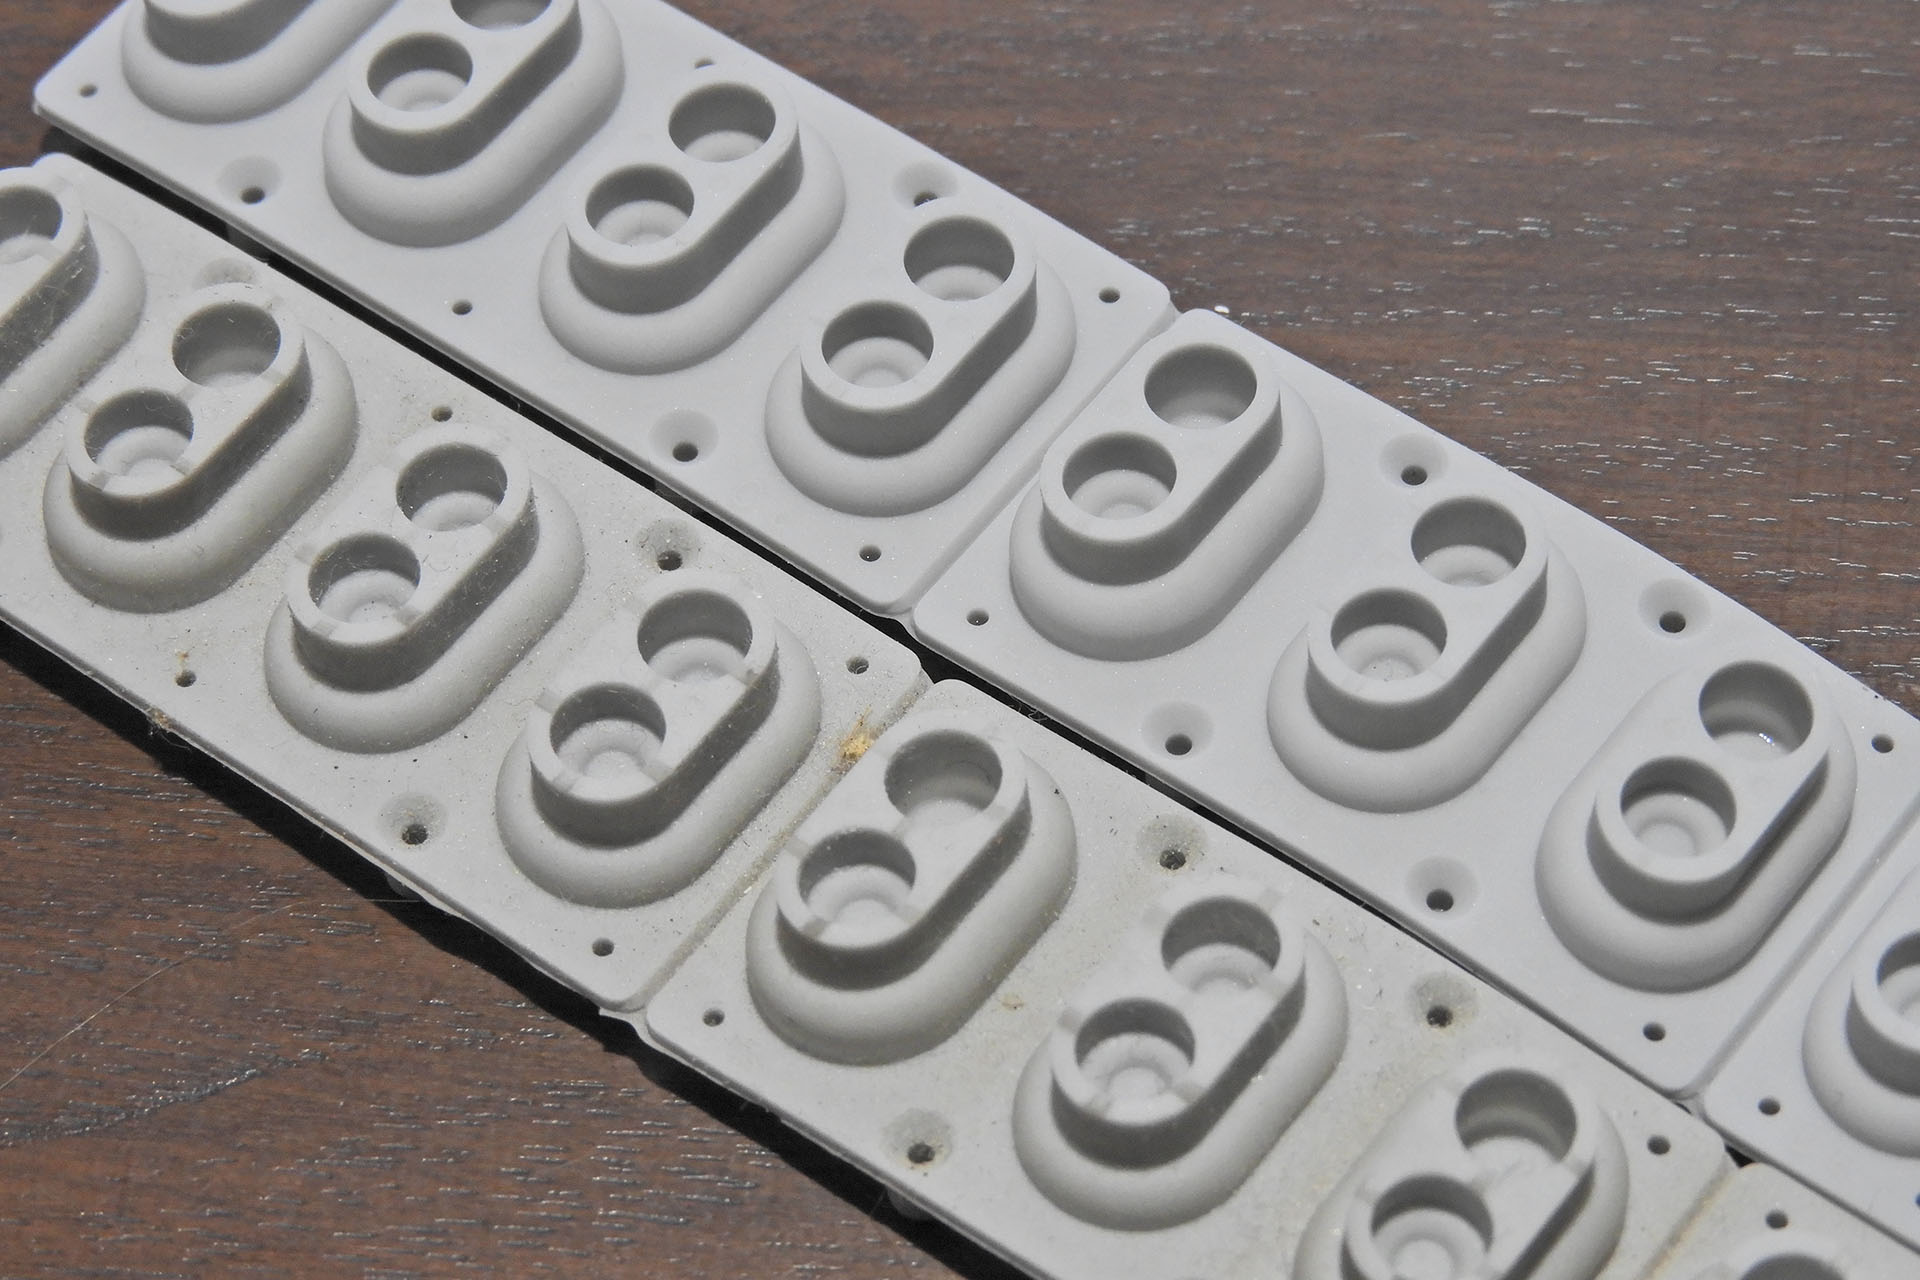
I did my usual hot soapy water bath thing for the rubber key contact strips and indeed removing them half-an-hour or so later, revealed their original grey colour and not the dusty light brown that they were before. They all needed a very light scrub after which I left them to thoroughly dry for a couple of hours.
While the rubber key contact strips were drying after their bath, I continued with phase 2 of cleaning the inside of the piano.
I continued with scraping off loads of crap, vacuum cleaning, dusting and then cleaning the area where the key contact strips will go. Yes, it took ages and while I was doing it, my mind drifted back to my days at Roland UK. Sometimes we’d be short of stock and would buy a load of big HP pianos from Roland Benelux. I’d come in with the service team on a Saturday and we’d convert them from 220V to 240V, also swapping out the 2-pin IEC C10 socket for a 3-pin C14 type. Three or four of us worked on one piano. Today I only have a couple of (small) elves!
Right, so the inside of the piano looks a lot better. The fluid spillage ensured that it’ll never be as good as new but pretty much all the crap that shouldn’t have been inside, is now gone.
Okay, so now that everything's starting to look good, I decided to have a closer look at that bottom A key again. Yeah, I know but this is exactly the kind of challenge that I was put on this earth for! 😊
There are three contact PCBs that are linked and that run the length of the keyboard, sitting underneath the keys. In between the bottom of the keys and the top of the contact PCBs are rubber contact strips. One strip will run under several keys. A pair of ‘bubbles’ in the contact strip will fall under each key and in each of those bubbles is a carbon nipple. In the rest position, there's a gap between the carbon nipples and four carbon pads on the contact PCB.
When a key is pressed, the rear two carbon pads on the contact PCB are shorted by one of the carbon nipples in the respective rubber bubble. The action is followed by the shorting of the front two pads via the second carbon nipple in the respective rubber bubble. The time between the first nipple shorting the rear contacts and the second nipple shorting the front contacts, is converted into velocity by the instrument's on-board computer. This is how the piano ‘knows’ how hard you’ve hit a key.
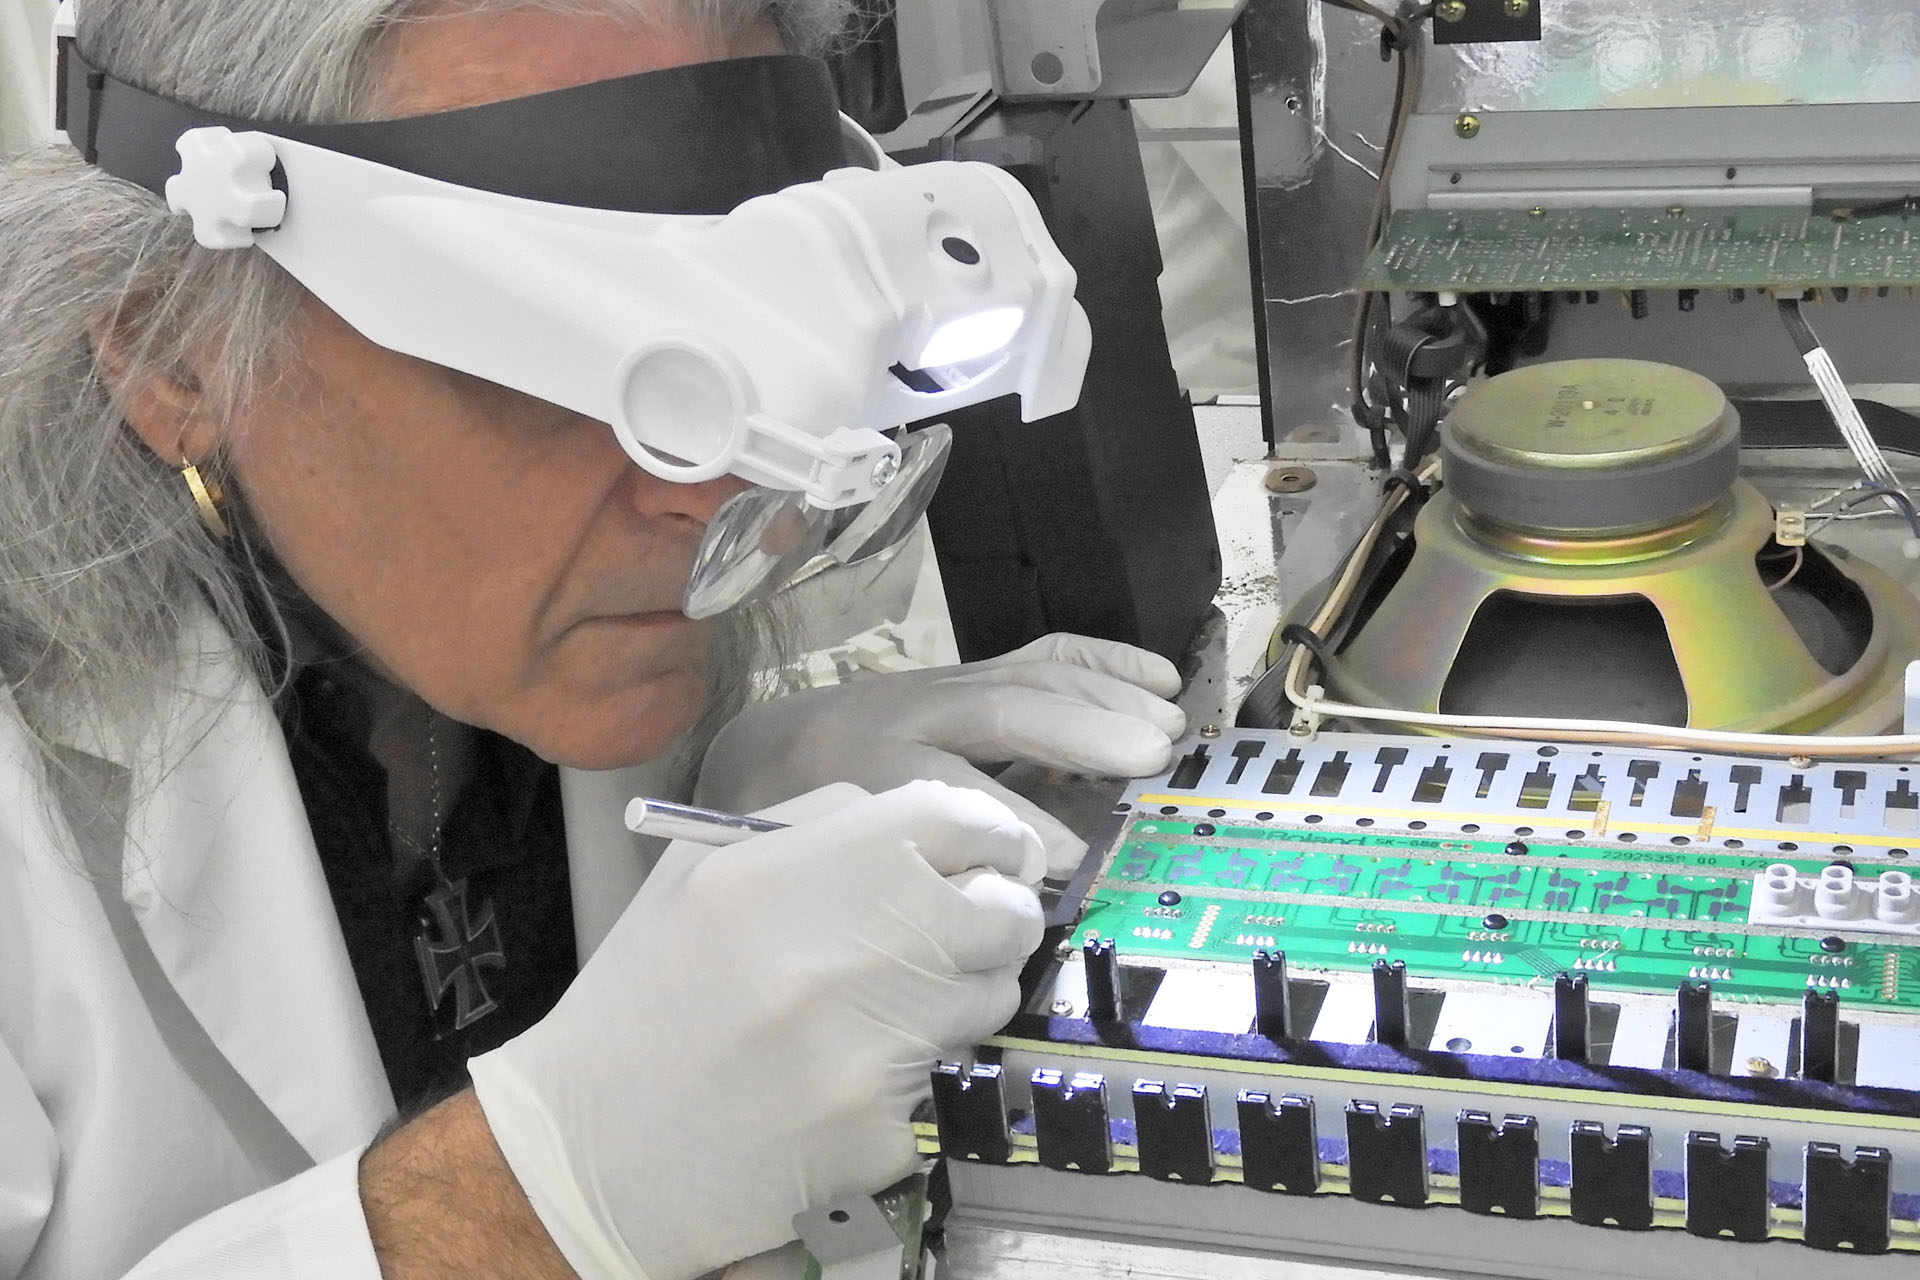
Measuring the continuity between the four carbon pads on the contact PCB under the non-functional bottom A key, revealed that the integrity of three of the four pad / track connections was good and that only one pad / track connection was broken. That wasn’t as not as bad as I thought it would be and so I figured on trying a little liquid carbon to fix this.
Regular visitors to my site may recall my post of 19th November 2020 which featured an Alesis MMT-8 refurbishment. I used liquid carbon to repair the switches on that sequencer which three years later, are all still working. At between 35 - 40 GBP for a small kit, the good stuff is quite expensive but for this Roland HP-3700 keyboard service, I figured it was worth it.
Well, my first attempt with the liquid carbon wasn't successful. Remember; I didn't really want to touch the duff carbon pad itself but repair the connection between it and the copper track that it's connected to. Despite having cleaned the area thoroughly with IPA (avoiding the carbon pad, of course), the liquid carbon wasn't adhering too well to the copper track. I tried again but with a slightly different application technique and this time I got lucky. After fully reassembling the piano’s keyboard, the bottom A key sprang to life. Oh wow! RESULT!!! In fact, the whole piano now sounded and felt amazing.
I know what you're thinking and I didn't forget about the laminate that had come away from the left cheek. Being on the point of putting the piano back together that evening, I held back and decided to let the glue dry over night. Yes, it was really frustrating!
The fluid damage meant that this particular Roland HP-3700 keyboard service ended up taking three days to complete. I also needed help to move and even dismantle this thing. As I’ve already intermated however, there’s just no way I could charge for that amount of time and... don't forget the cost of the elves (yes, they're expensive). Fortunately, for my customers who I care about dearly, I love what I do and I want to do what I can to keep these beautiful instruments going for a little bit longer. Sometimes that means taking a bit of a hit but what the hell.
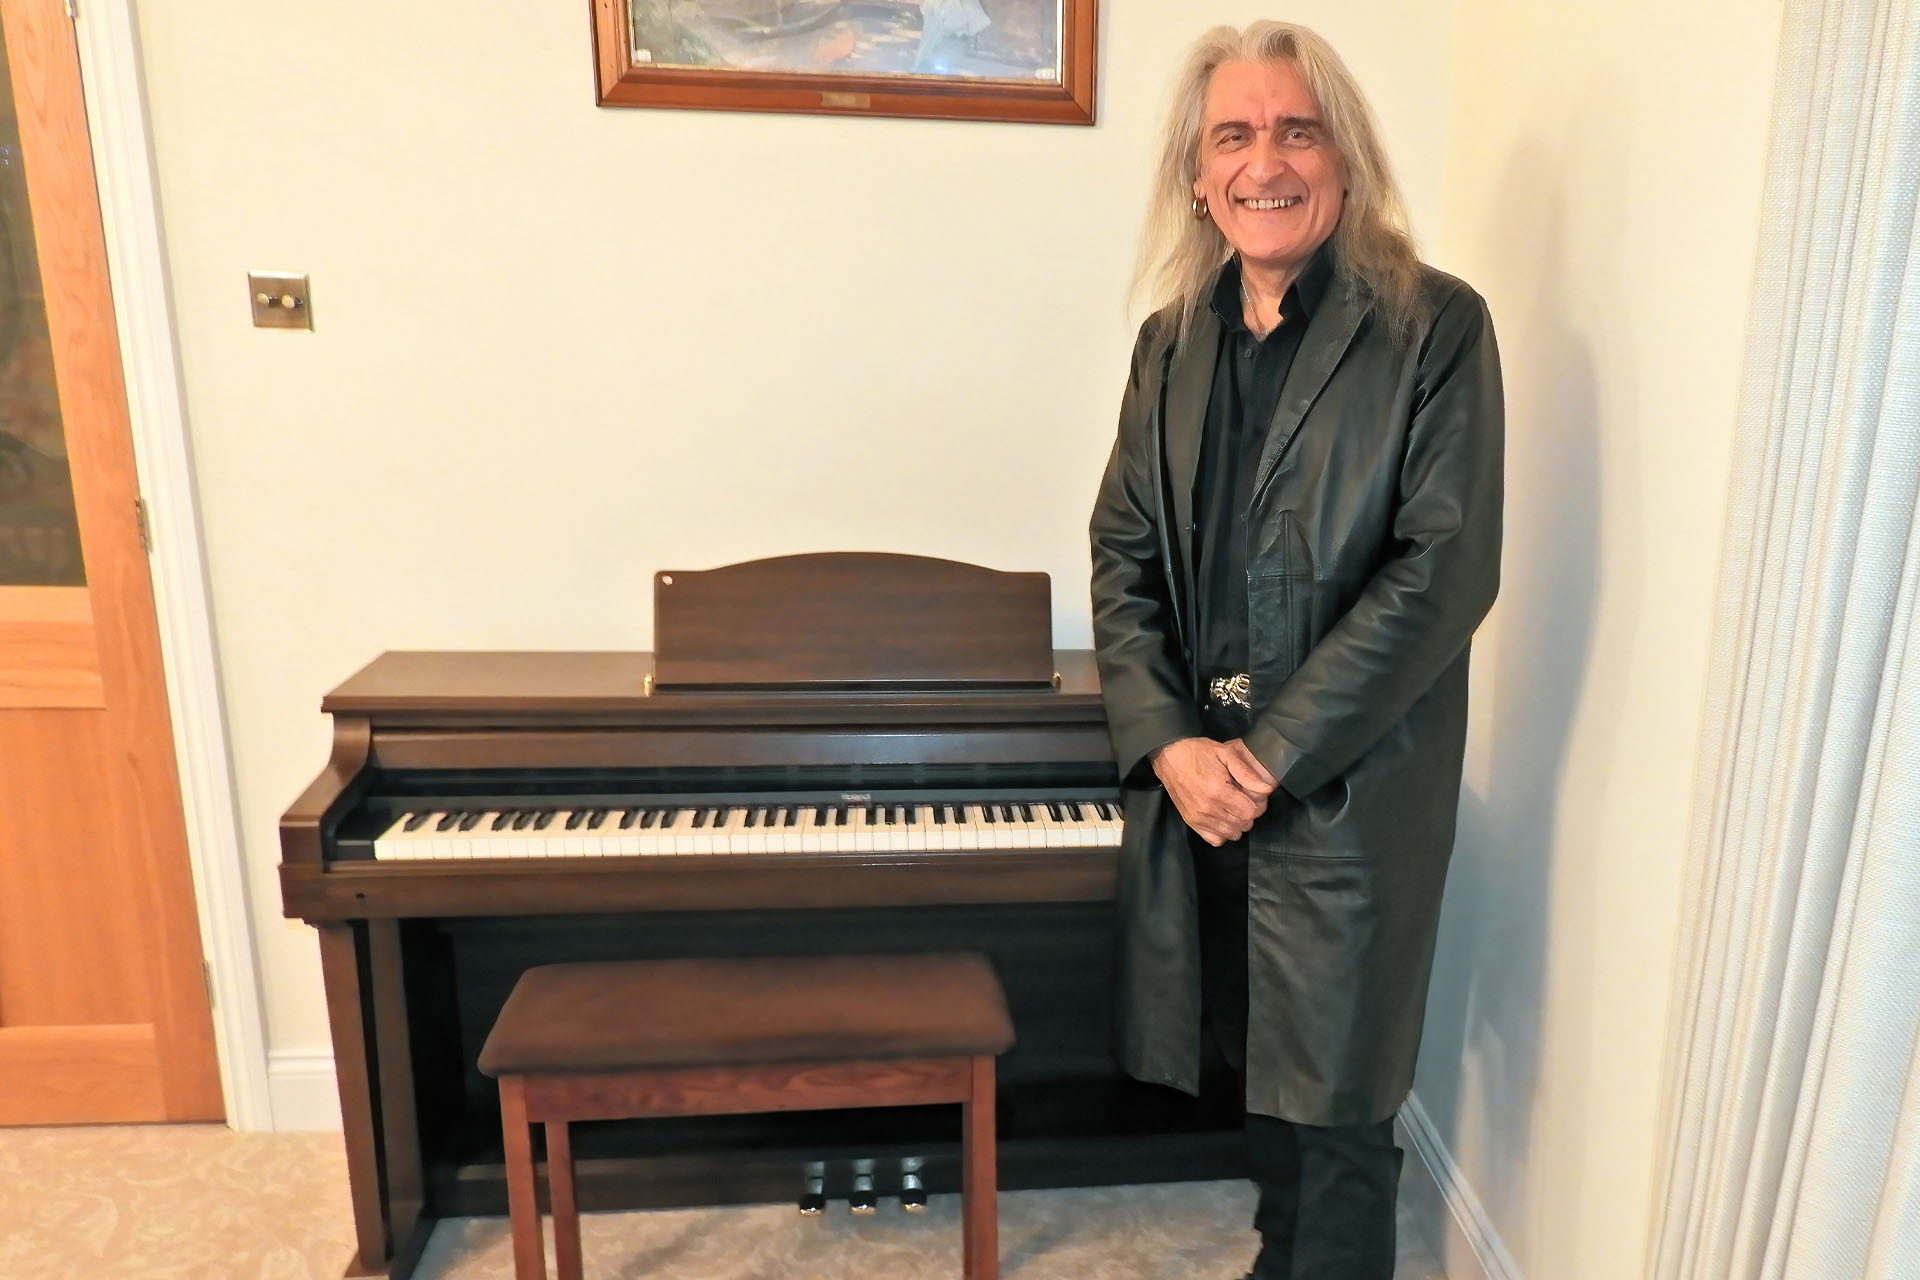
My only regret about this job, is that I didn't get to see this HP-3700 fully working piano back on its stand. 🙁 or did I...
The day that Peter collected his beloved Roland HP-3700, he couldn't find the cable. I advised to get one off Amazon but he messaged soon after asking if I could order it and send it to him. That evening was quite nice particularly after all the rain we've recently had. It was also mild and warm so I decided to take my Jag out for run. Well what-the-hell, seeing as Peter only lived twenty miles away, I decided to run over an IEC C14 mains cable for him. While I was him, he offered to take a snap. 🙂
At the beginning of this post, I sang the praises of the HP-3700 and other similar pianos of the same era but perhaps I should reiterate the point; these pianos are very underrated instruments. Unlike many synthesisers from that time, some of which are now established classics, these pianos haven’t been able to hold their prices but don’t let that fool you. These are beautiful instruments and lovely pieces of furniture which have lasted decades. If maintained, these pianos could keep on making music for decades to come. If you have one of these, please keep it! Oh and do think about getting it serviced.