HEY, HAPPY NEW YEAR, EVERYONE!!!!! 🙂
In between repairs and fulfilling orders for peripherals for vintage gear, I’m frantically working to get the downstairs of Plasma’s new premises finished as I have a load of office furniture arriving at the end of the month. Eeek!!!
If that's not enough to keep me busy, I’m also building a couple of rack systems to go into the studio upstairs.
I REALLY don’t like DIY but as I’ve said before, sometimes there’s no choice. You just gotta do it!
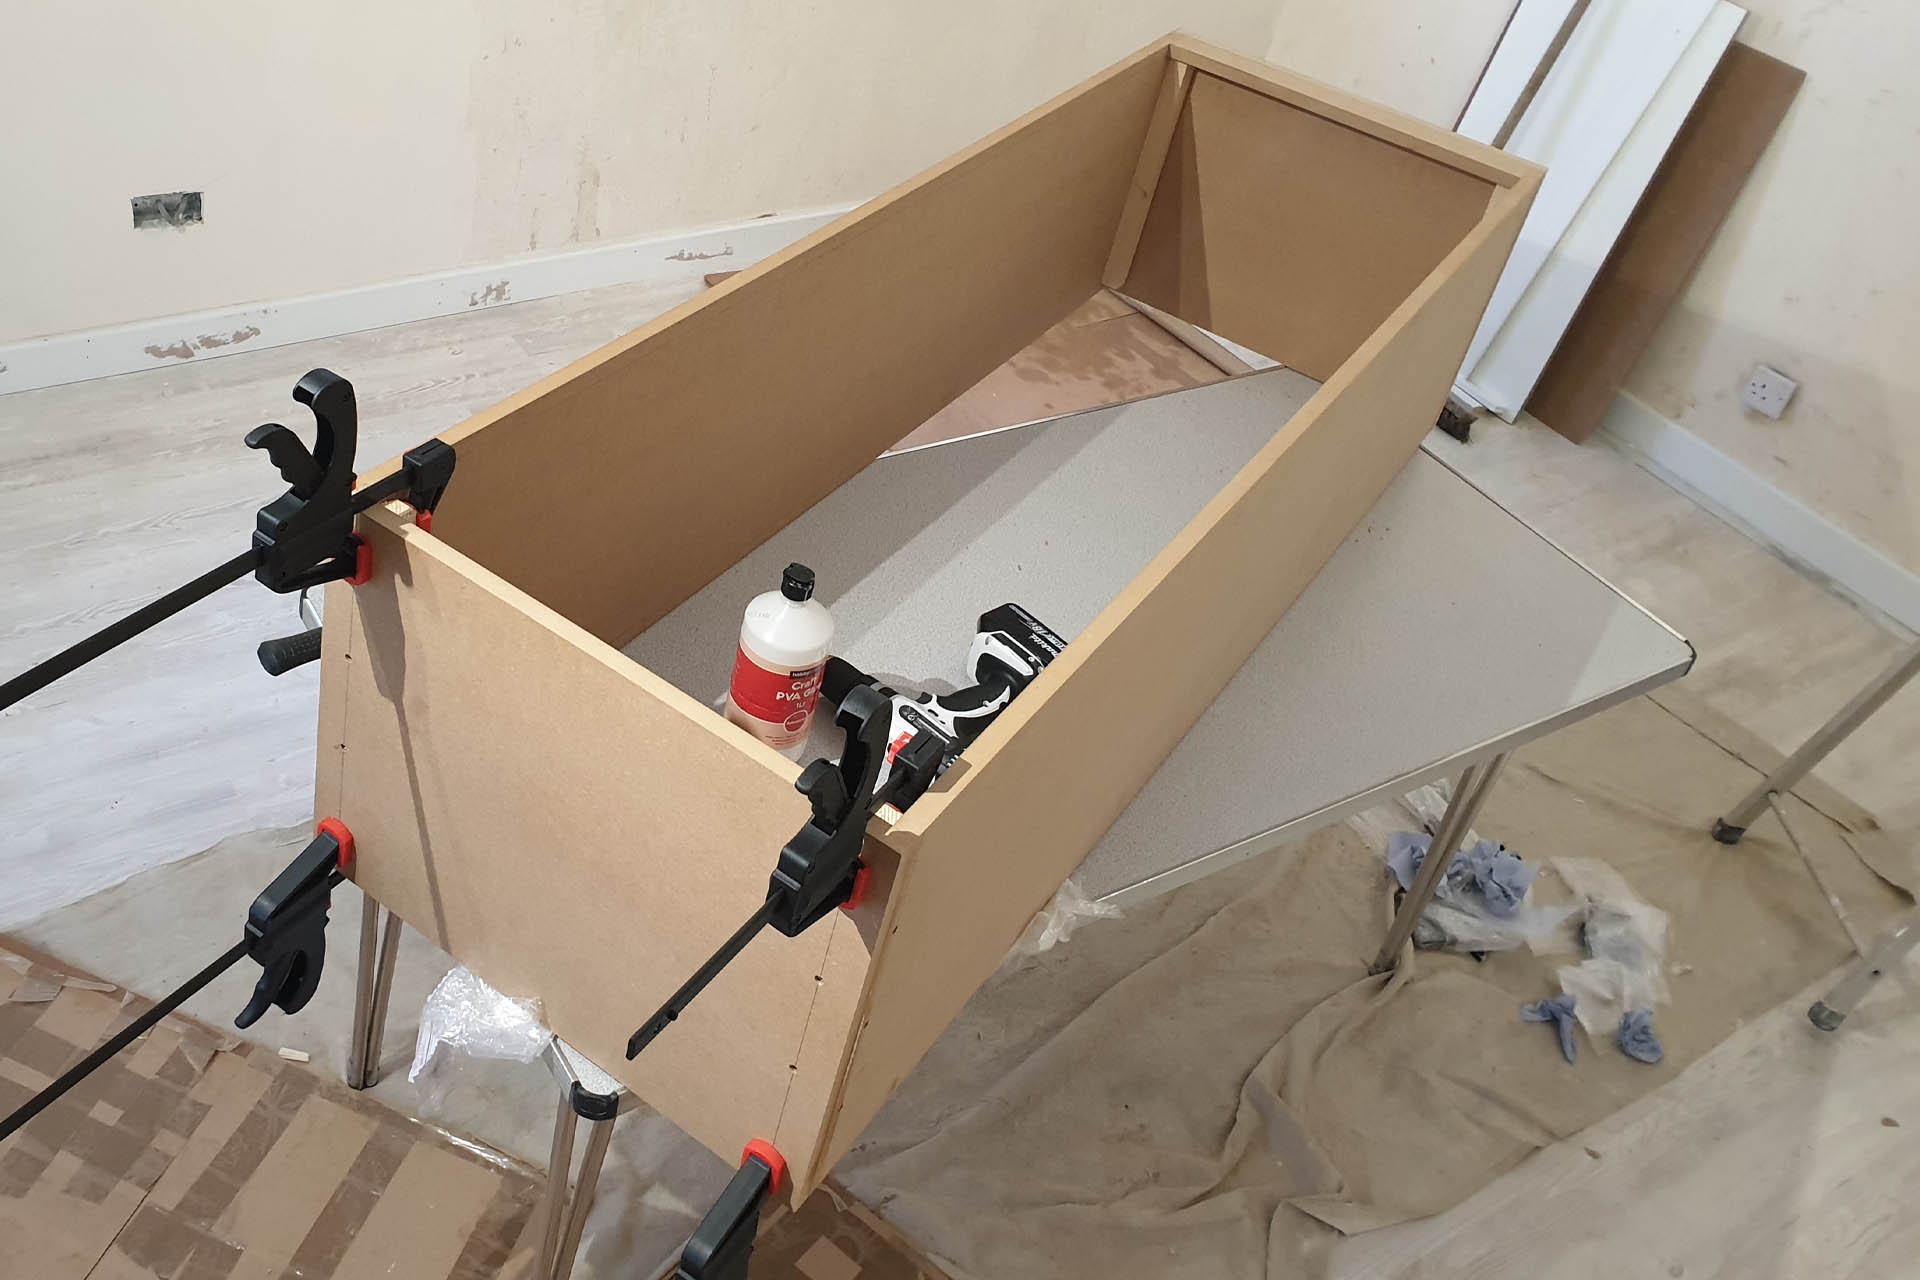
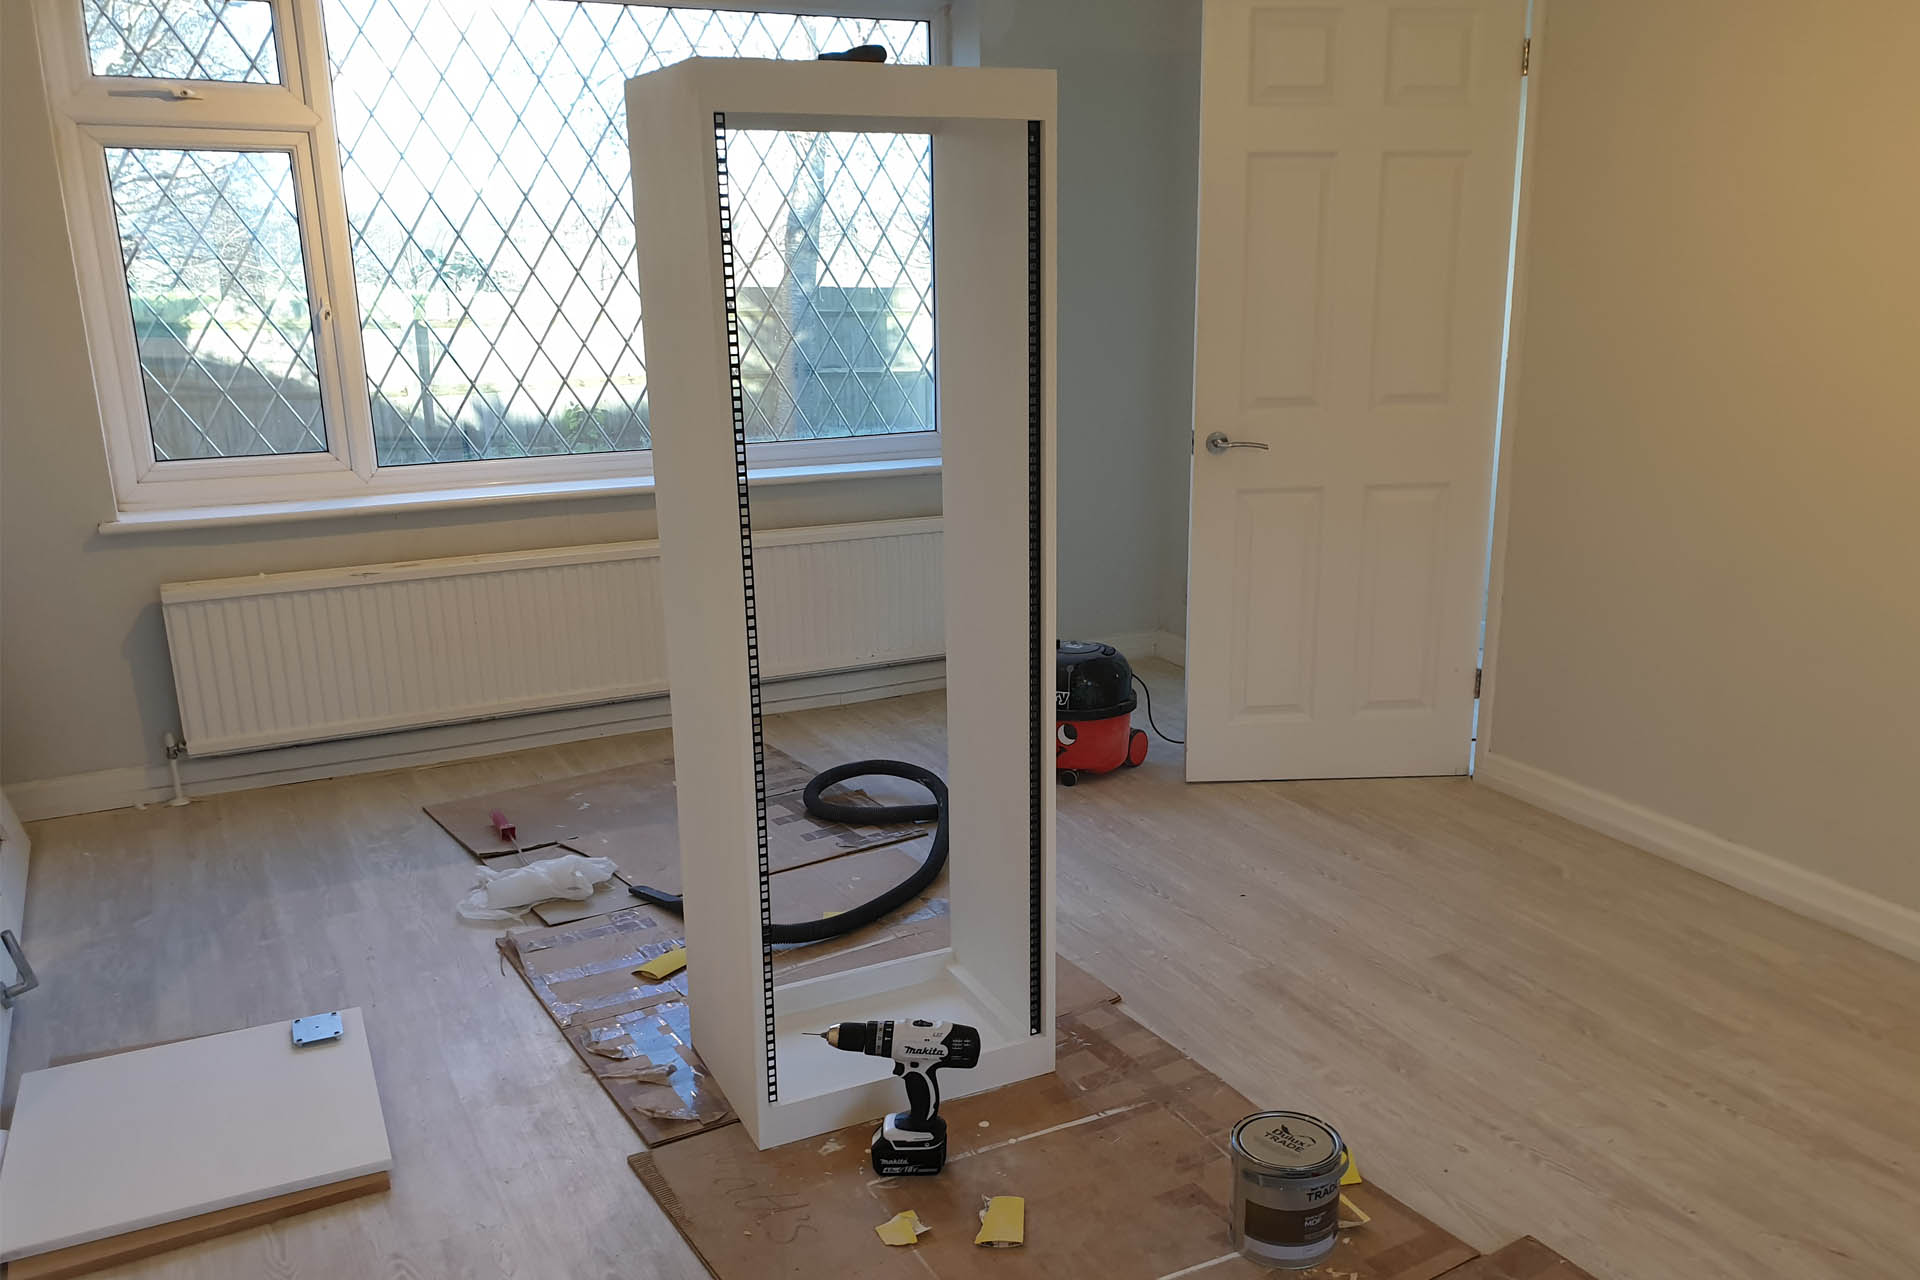
This 33U rack enclosure will be home to my guitar and bass processors. Yep, after many, many years, I’m ditching my trusted EMS rack cases and wanted my new rack enclosures to fit in more with the décor of the new place.
Making what is essentially a box, isn’t particularly difficult. It’s the finish that makes the real difference. Today I fitted the front and rear (not shown) rack rails, just to line them up. They’ll come off shortly, so that I can start applying top coat.
I also have to make the base-board. At 1.5m high, 400mm deep and standing as is, this enclosure would be quite unstable, so I’ve made a base using 18mm plywood, which extends beyond the front and rear of the unit and which will be fitted with castors.
As a songwriter / producer, I never thought I’d be doing this kind of work! In some ways, it’s been quite therapeutic and I’ve been forced to apply a patience I never knew I had, LOL. 😀
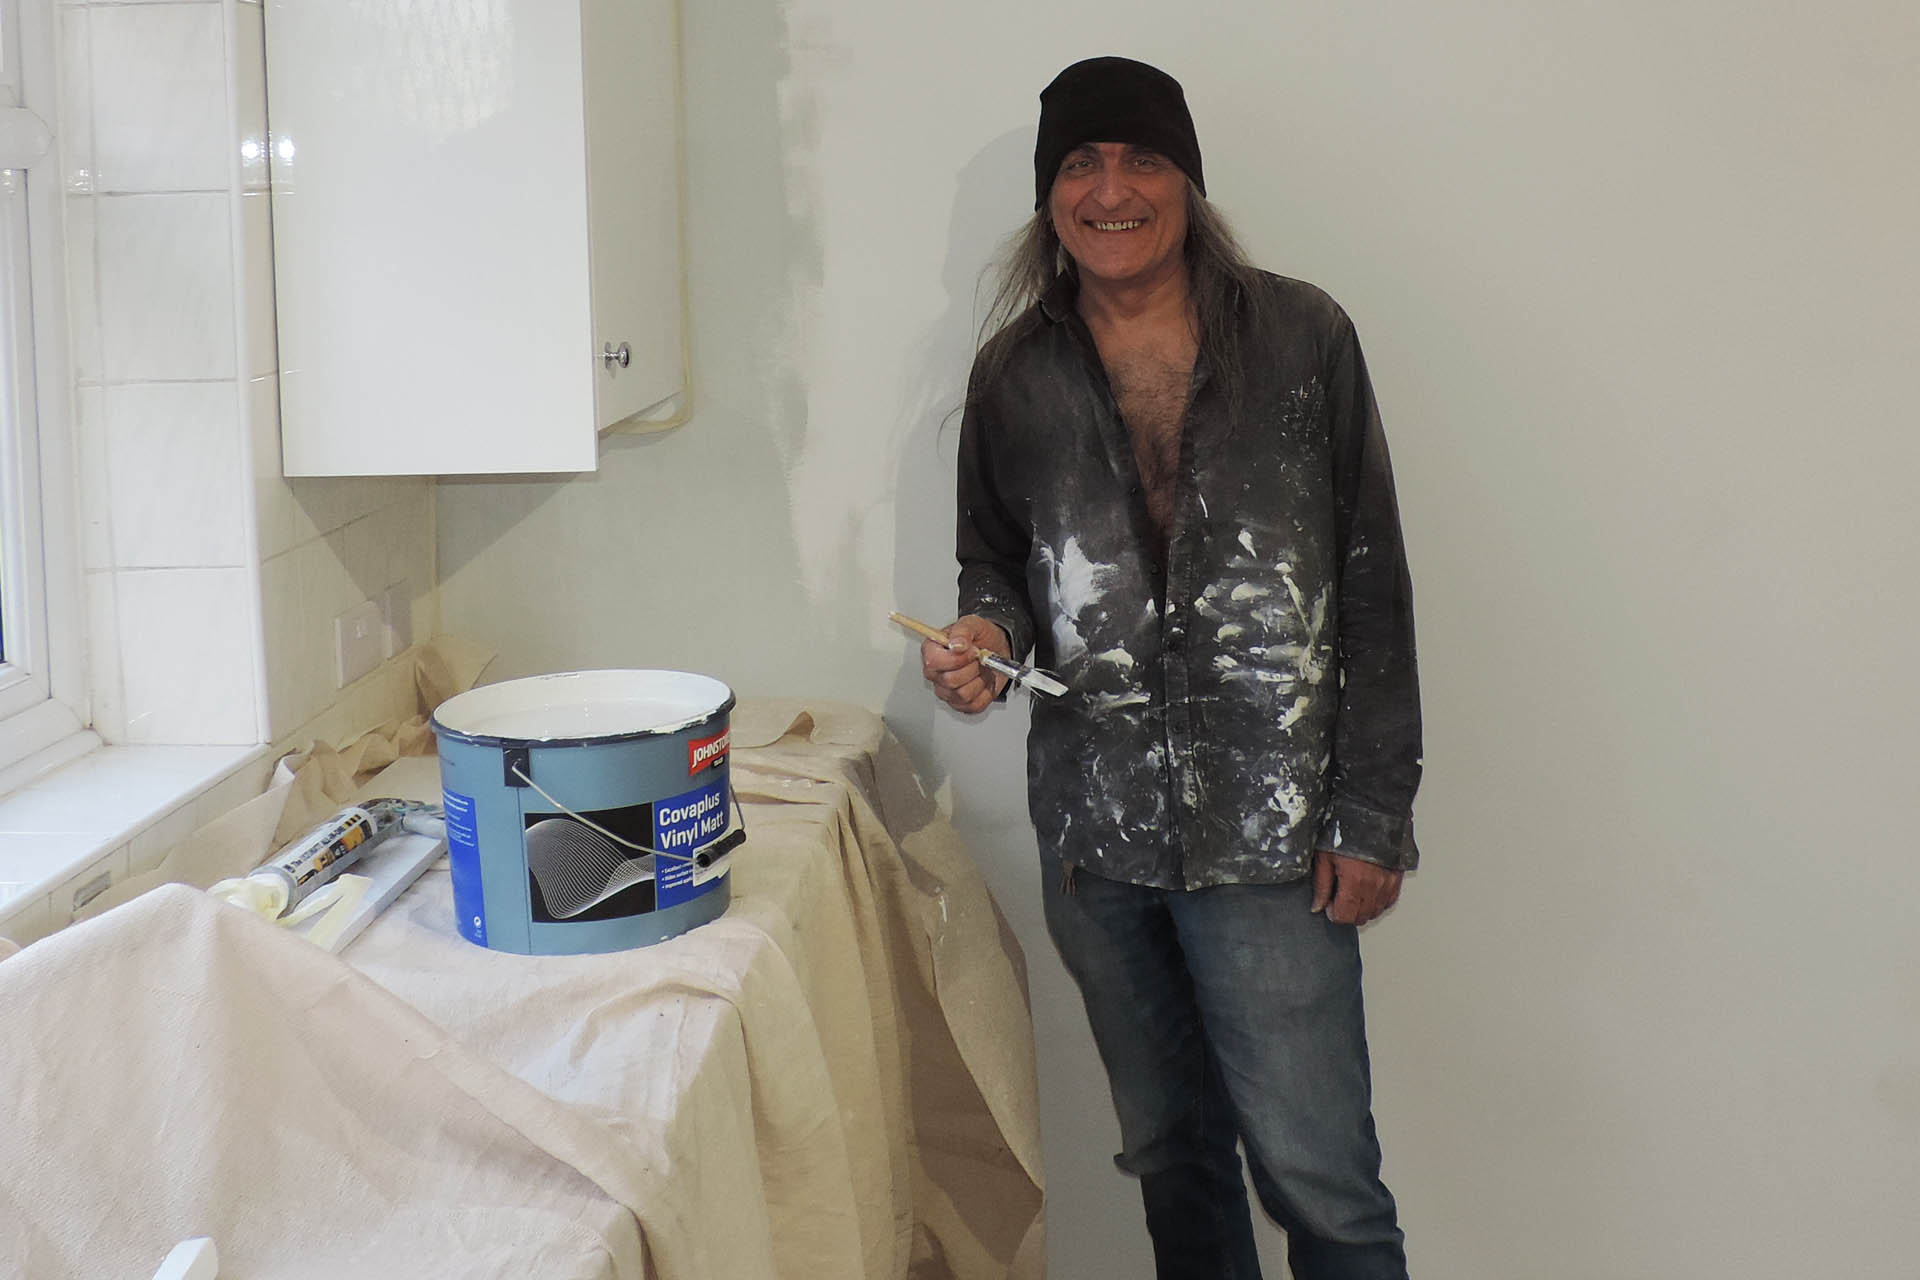
As mentioned, I'm busy trying to get all the stuff done in what's now the kitchenette and office area.
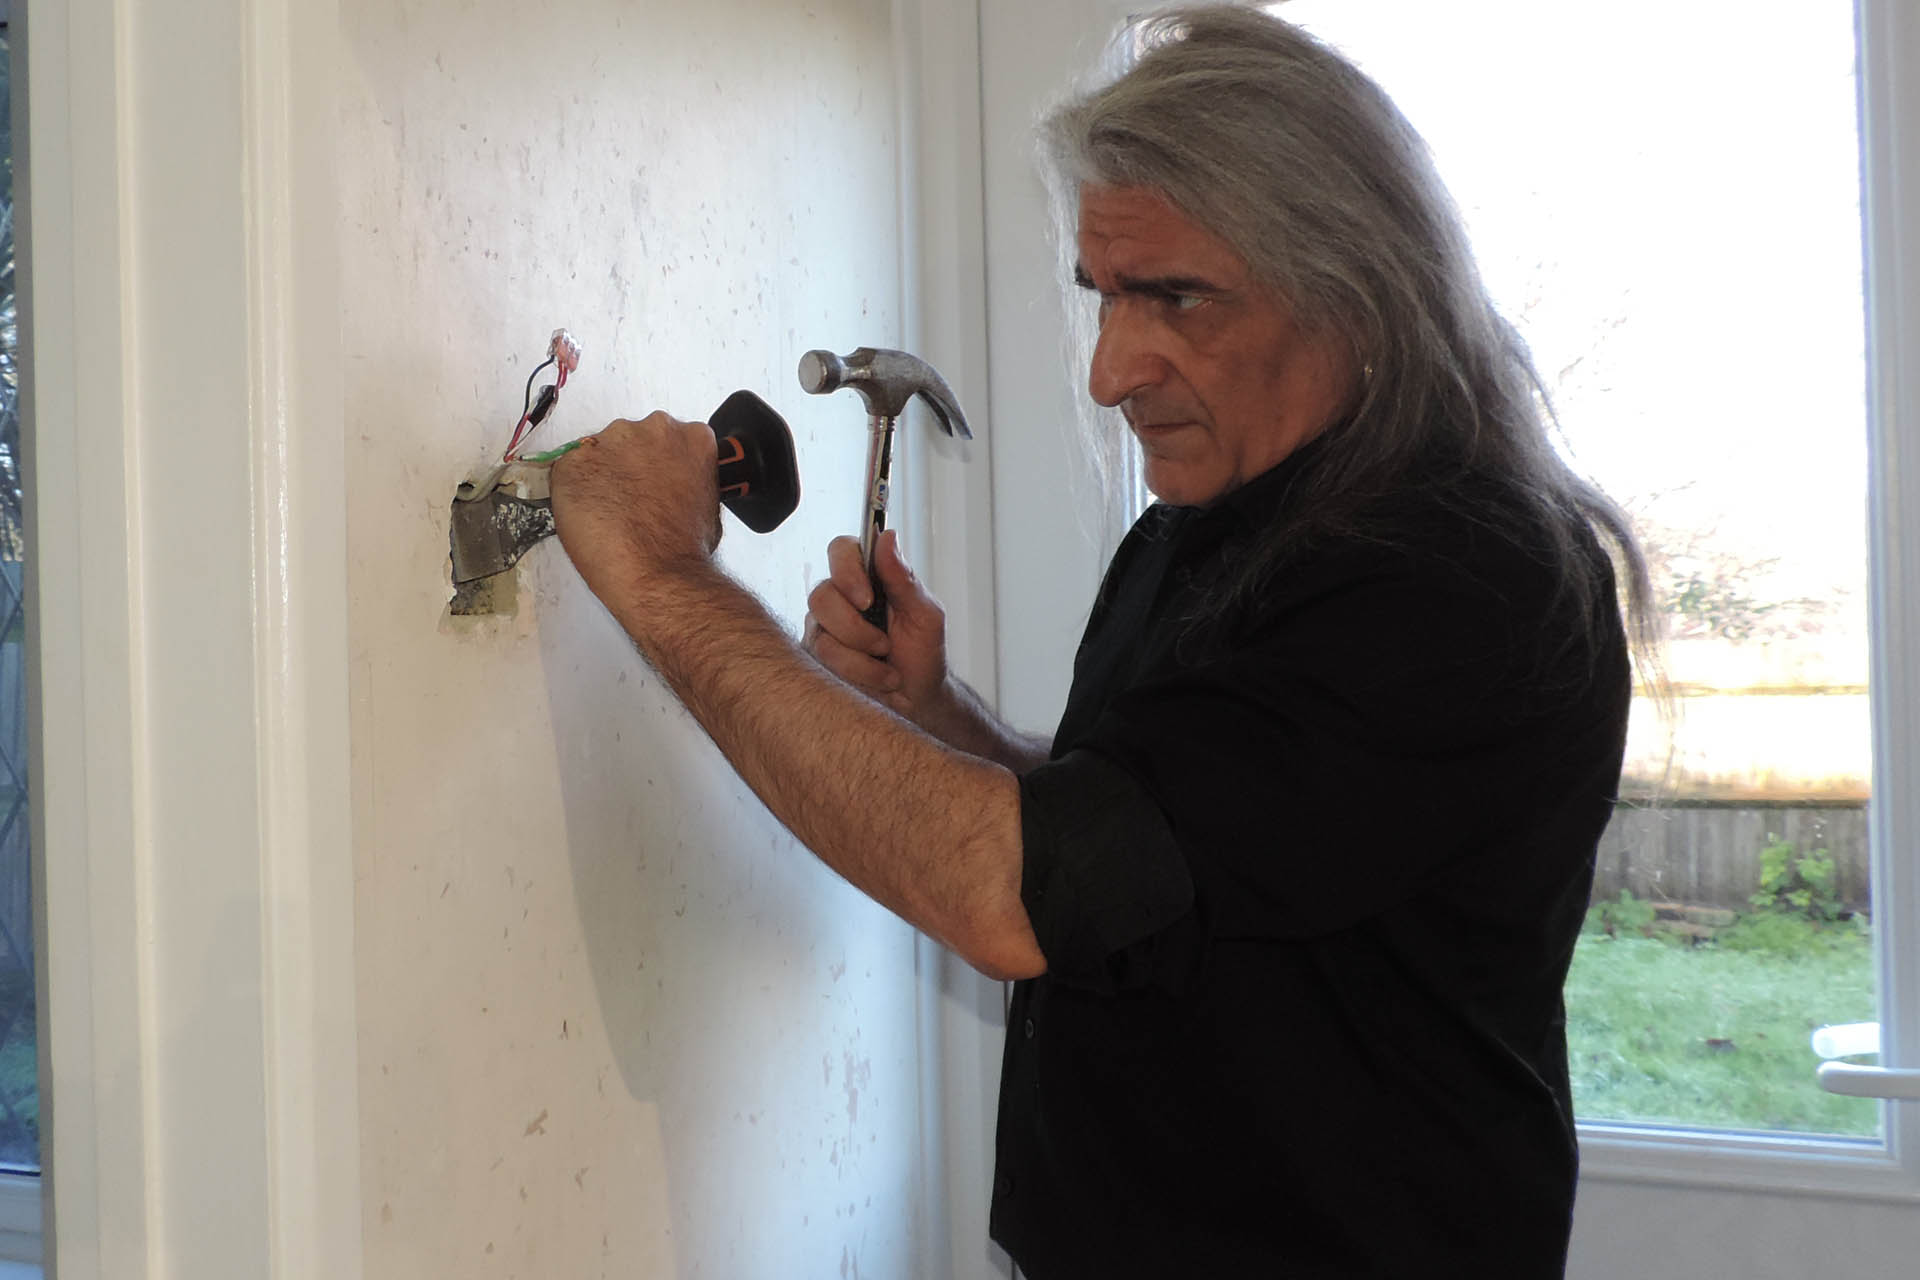
While the boys from Bonell Property Renovation Limited really accelerated things, there's still a lot of work to do. One really annoying job, is smashing out the light switch backbox cavities which are only like 10mm deep or rather an imperial version of that, going by the age of the house. The new switches are very modern and stylish but require a (standard) 25mm. I figured while I'm doing this, I might as well get as much space as I can for potential smart switches which might be installed at a later date and so I bought 35mm backboxes.
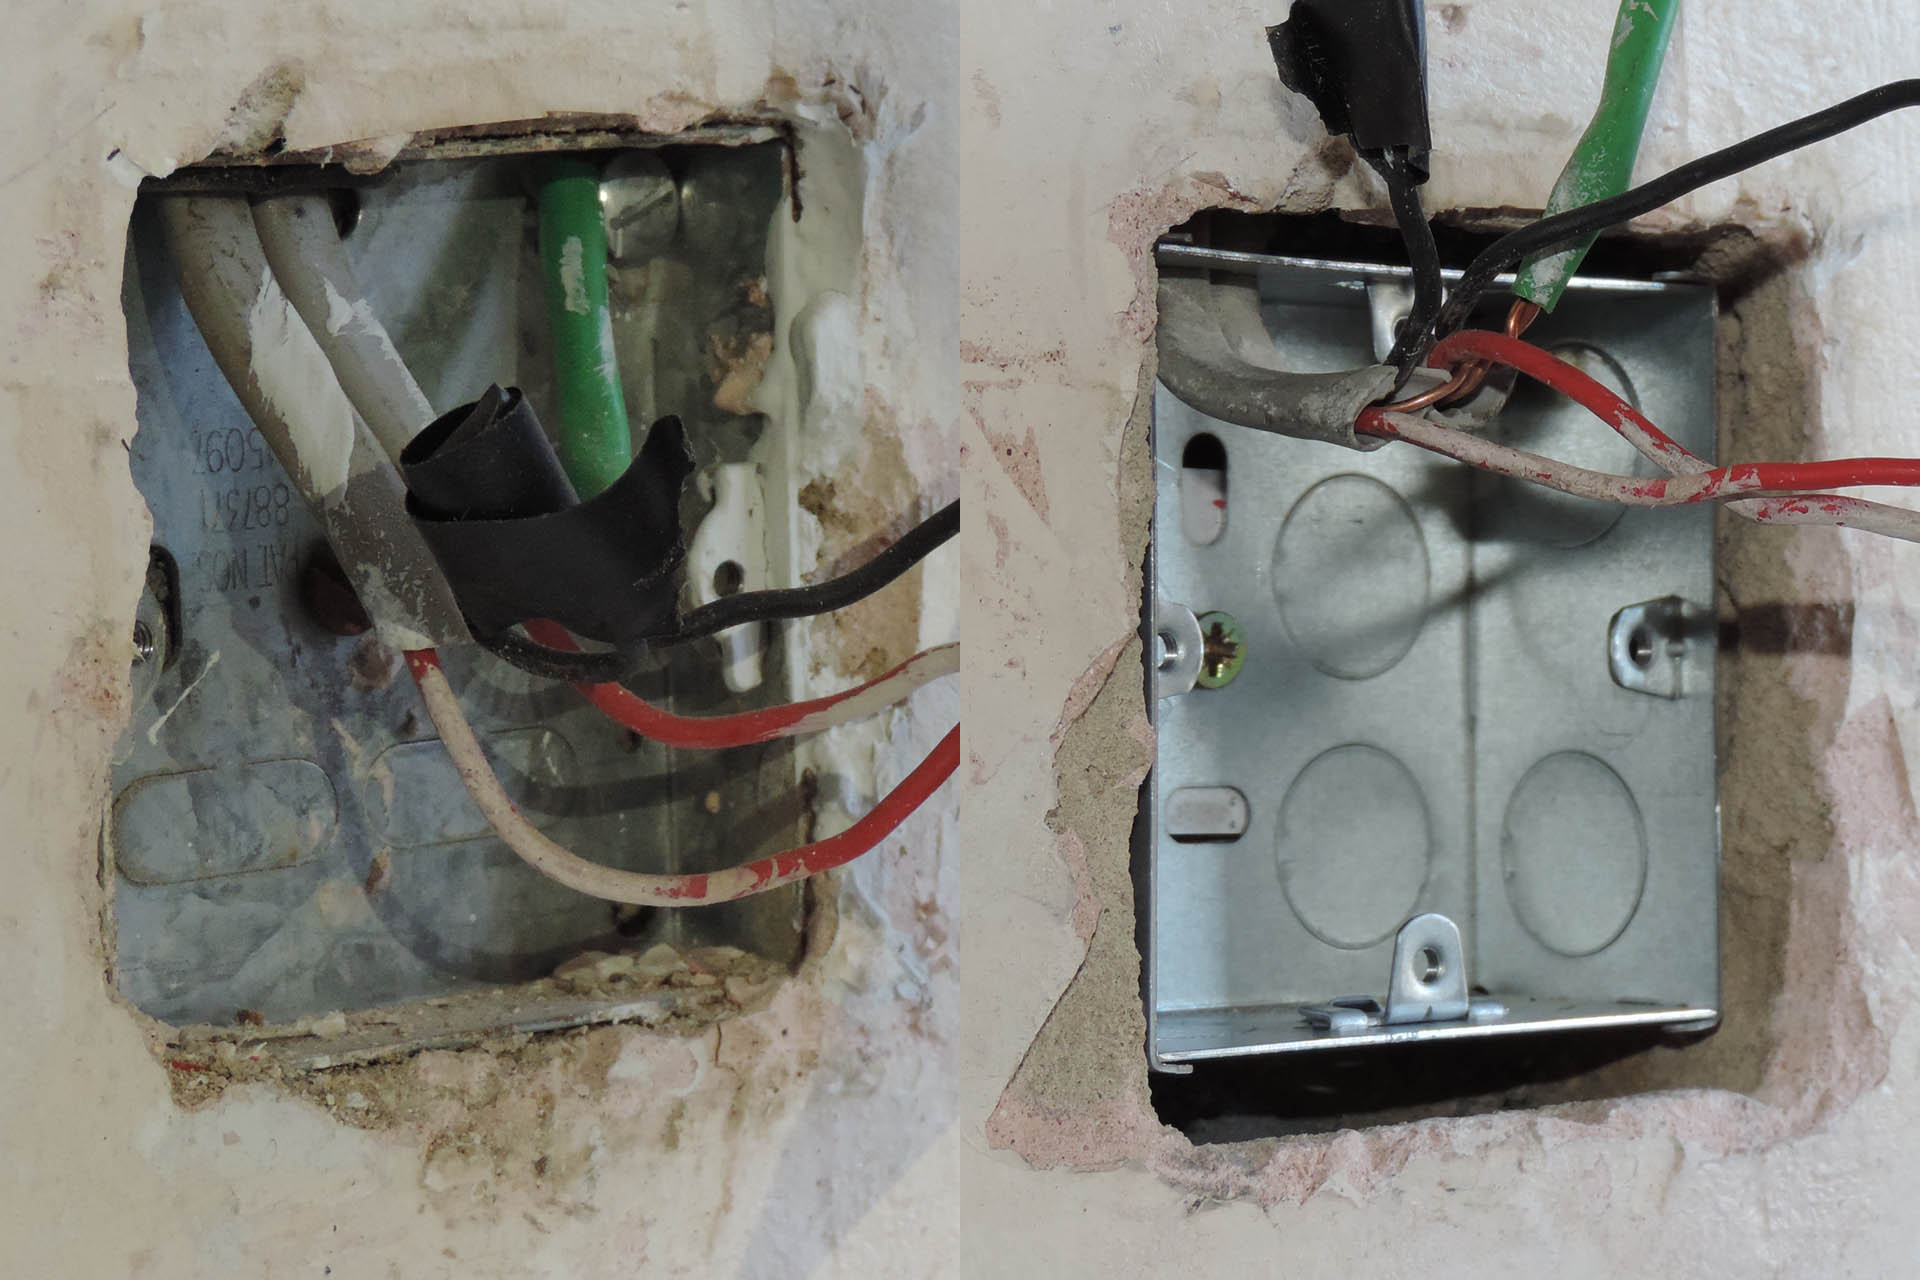
Bashing out the backbox cavities in breeze block walls isn't particularly difficult but it's really messy. Stuff goes everywhere and the process generates a lot of dust.
This space I'm working on, was originally the kitchen and dining area and when I moved in, I immediately ripped out the old kitchen intending to install a kitchenette. I don't need an oven, hob or a large amount of worktop and on top of that. Instead, I wanted as much space as possible, for the office, which I figured would occupy the old dining area.
All this space had been badly papered with cheap lining paper and a few weeks ago, Julie my wife and Tsunami my youngest daughter, stripped it for me. Painted over many times, while the paper had started to lift in several places, in other places, it seemed like it had been stuck on with superglue! 🙁 As the paper came off, it became clear just why this part of the house had been papered in the first place; the walls were just bloody awful with bad filling and many damaged areas. There's an archway which now looked like it was added long after the house had been built and the installation although solid, hadn't been finished properly. The concrete around the structure hadn't been smoothed out to the surface of the original walls. What a mess!
I need to get this space sorted as soon as possible but the prospect of filling and sanding the walls and generally making good of such a large space was daunting, to say the least but eventually I started... just a week ago.
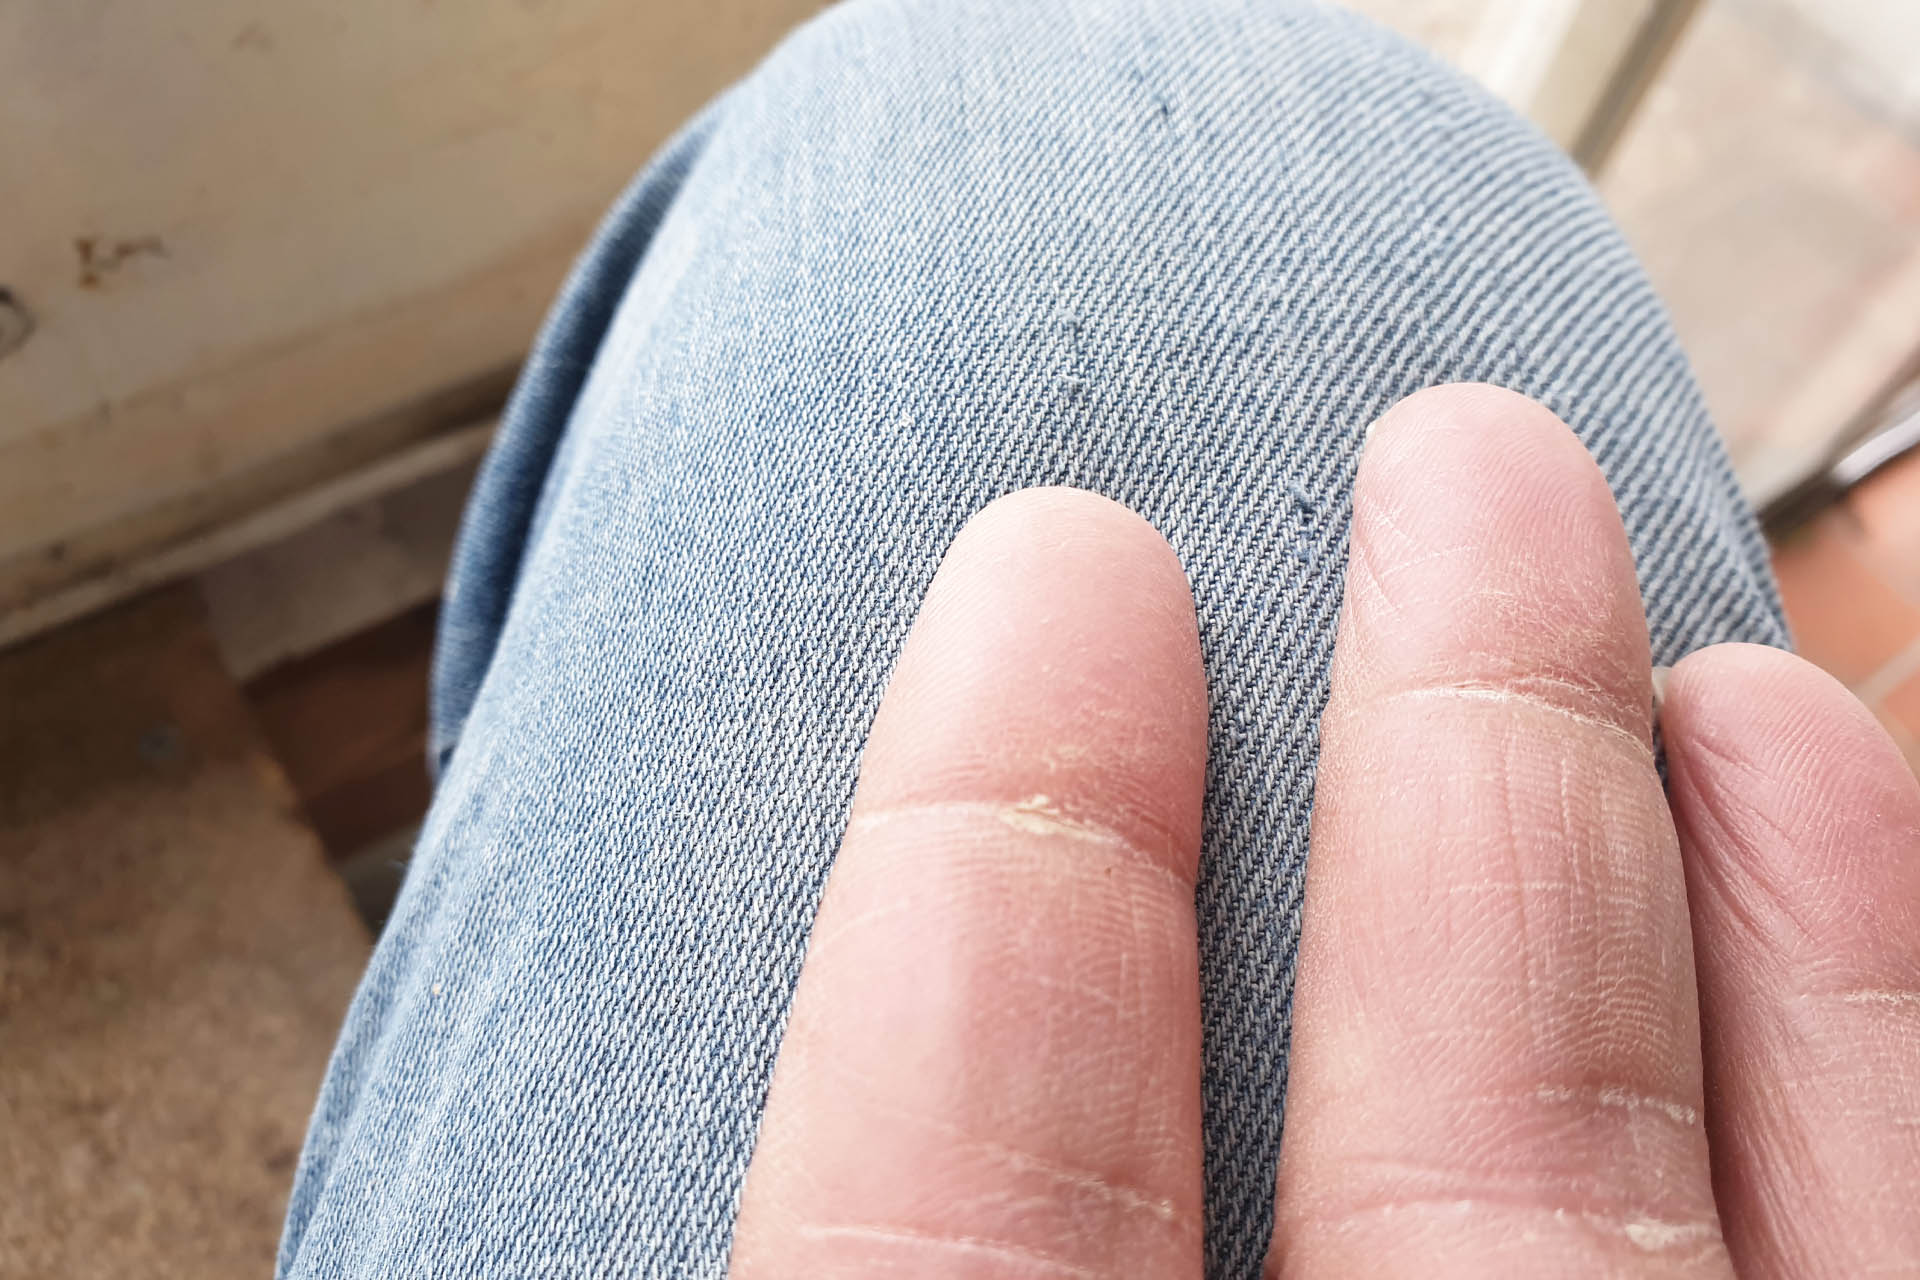
After the first day, my hands were really sore and after the second day, I couldn't access my mobile phone. After cleaning the fingerprint scanner, rebooting and looking for solutions on line, I discovered that my fingerprints had disappeared! WTF?!?!? Seriously?
UPDATE - 15th January 2022
Today things are finally ready for the top coat! Rolling the walls is boring but easy. In my opinion, the end result however, is determined by the quality of the cutting-in and I'm going to take my time doing this.