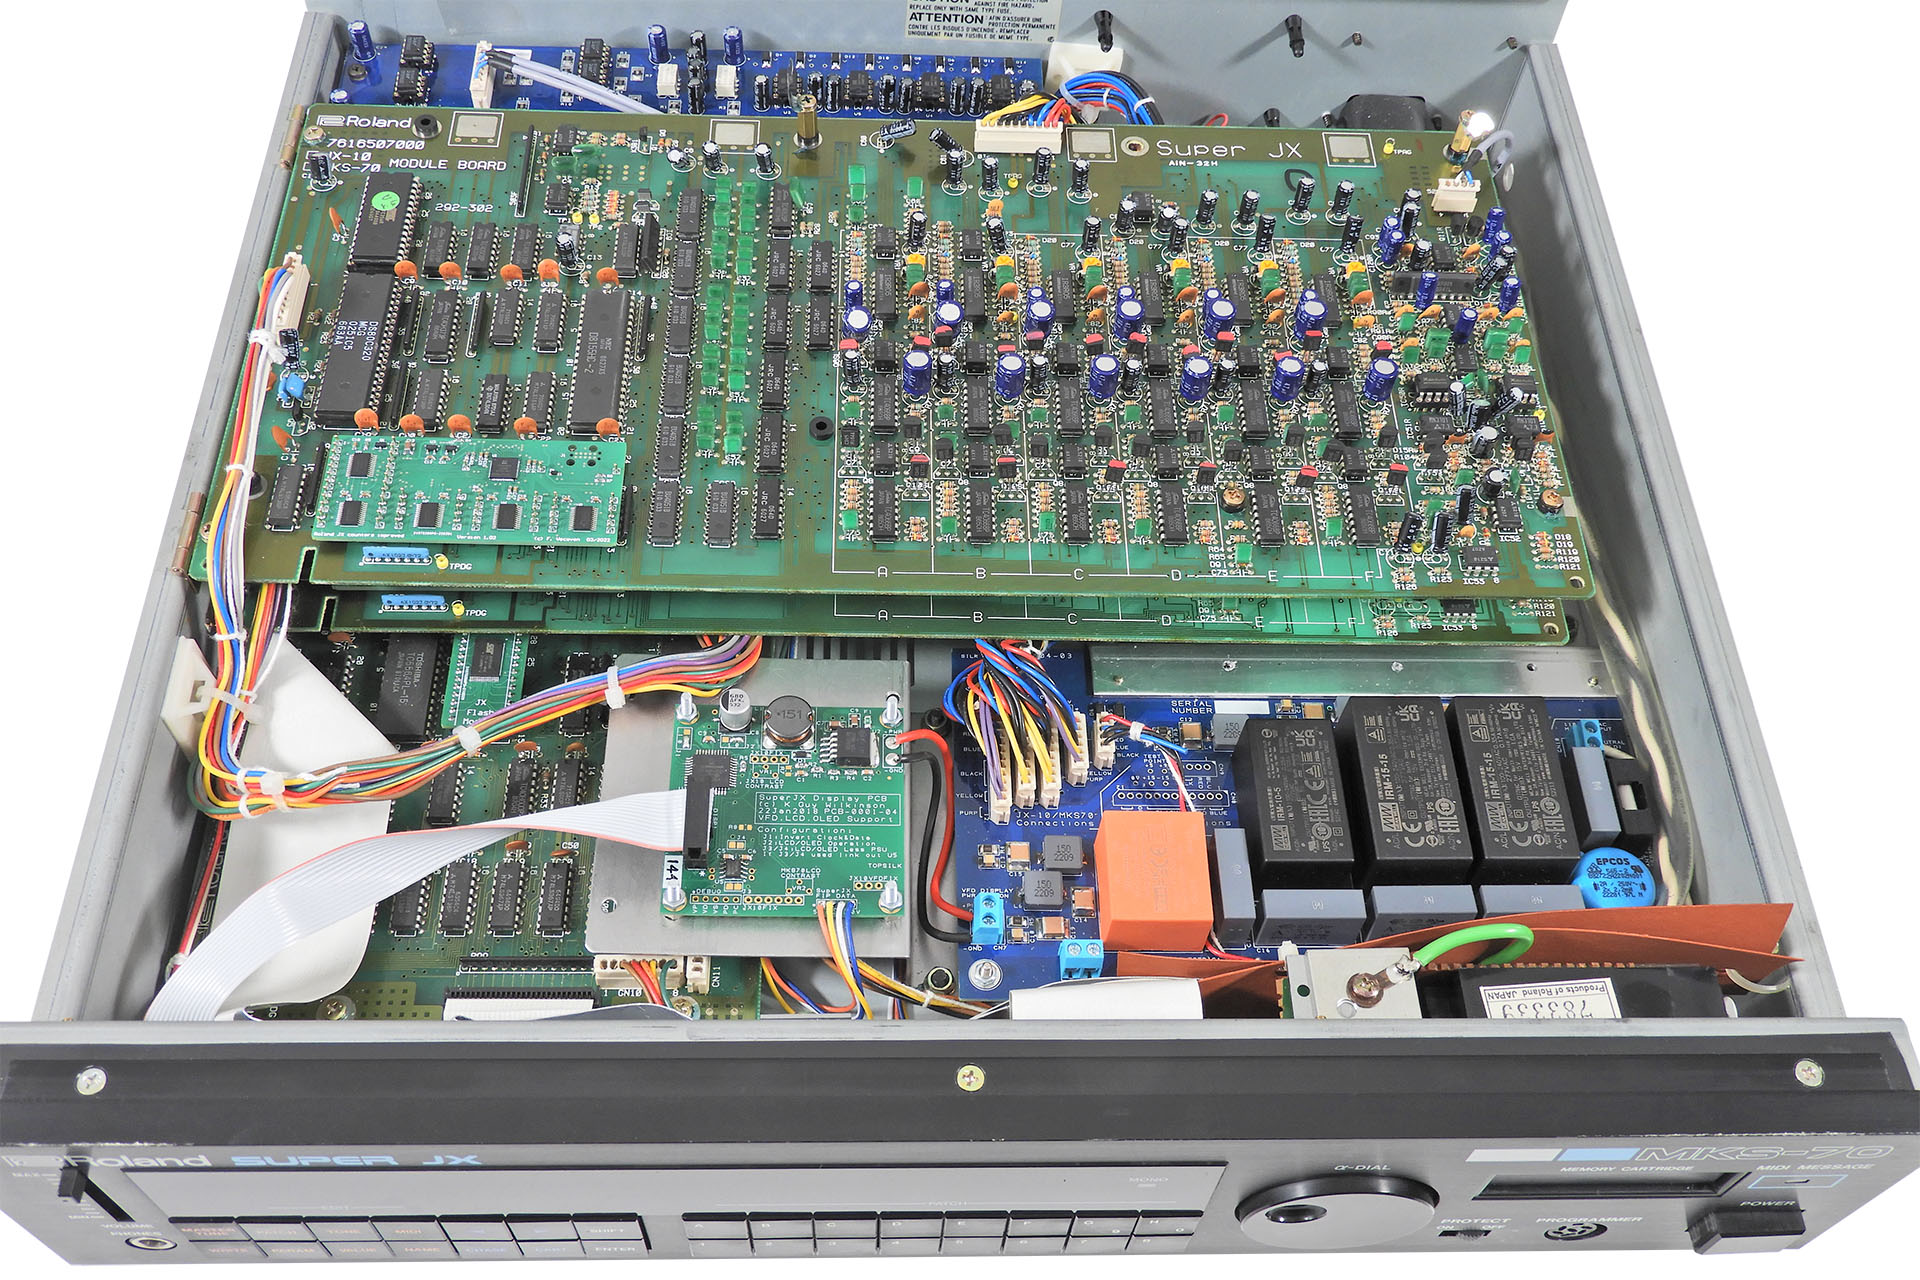
Yes, you read correctly. A lovely customer in Miami, who I've got to know rather well over the past couple of years, sent me his beautiful synth module asking me to put everything into it. I have a few of these come in on a regular basis from the US but on this occasion, I can't think of anything that the customer didn't ask for so ended up doing a Roland MKS-70 full upgrade. Of course I couldn't help myself and while I had it, Brent's MKS-70 got referred to as 'The Miami Sound Machine'. 😀
 Brent couldn't find a good deal on shipping so I arranged for his instrument to be collected on my DHL Express (import) account. Yes, it's a little extra work for me but I know that the package will be looked after, I won't pay import duty and Brent would only pay duty on the work done (and not the MKS-70 itself), when it's returned to him. 🙂 Above all, it was considerably cheaper than anything he could find locally.
Yeah, I know so if you're in the US or Canada, then you're busting to know, right? Well, the cost of shipping The Miami Sound Machine from Florida to Hemel Hempstead, UK was less than 180 GBP and the package was here in three days. Brent couldn't guarantee he'd be in when DHL was scheduled to collect so he took it to a DHL depot. Be warned however. If you do that, DHL will most likely open the package for security reasons (fair enough).
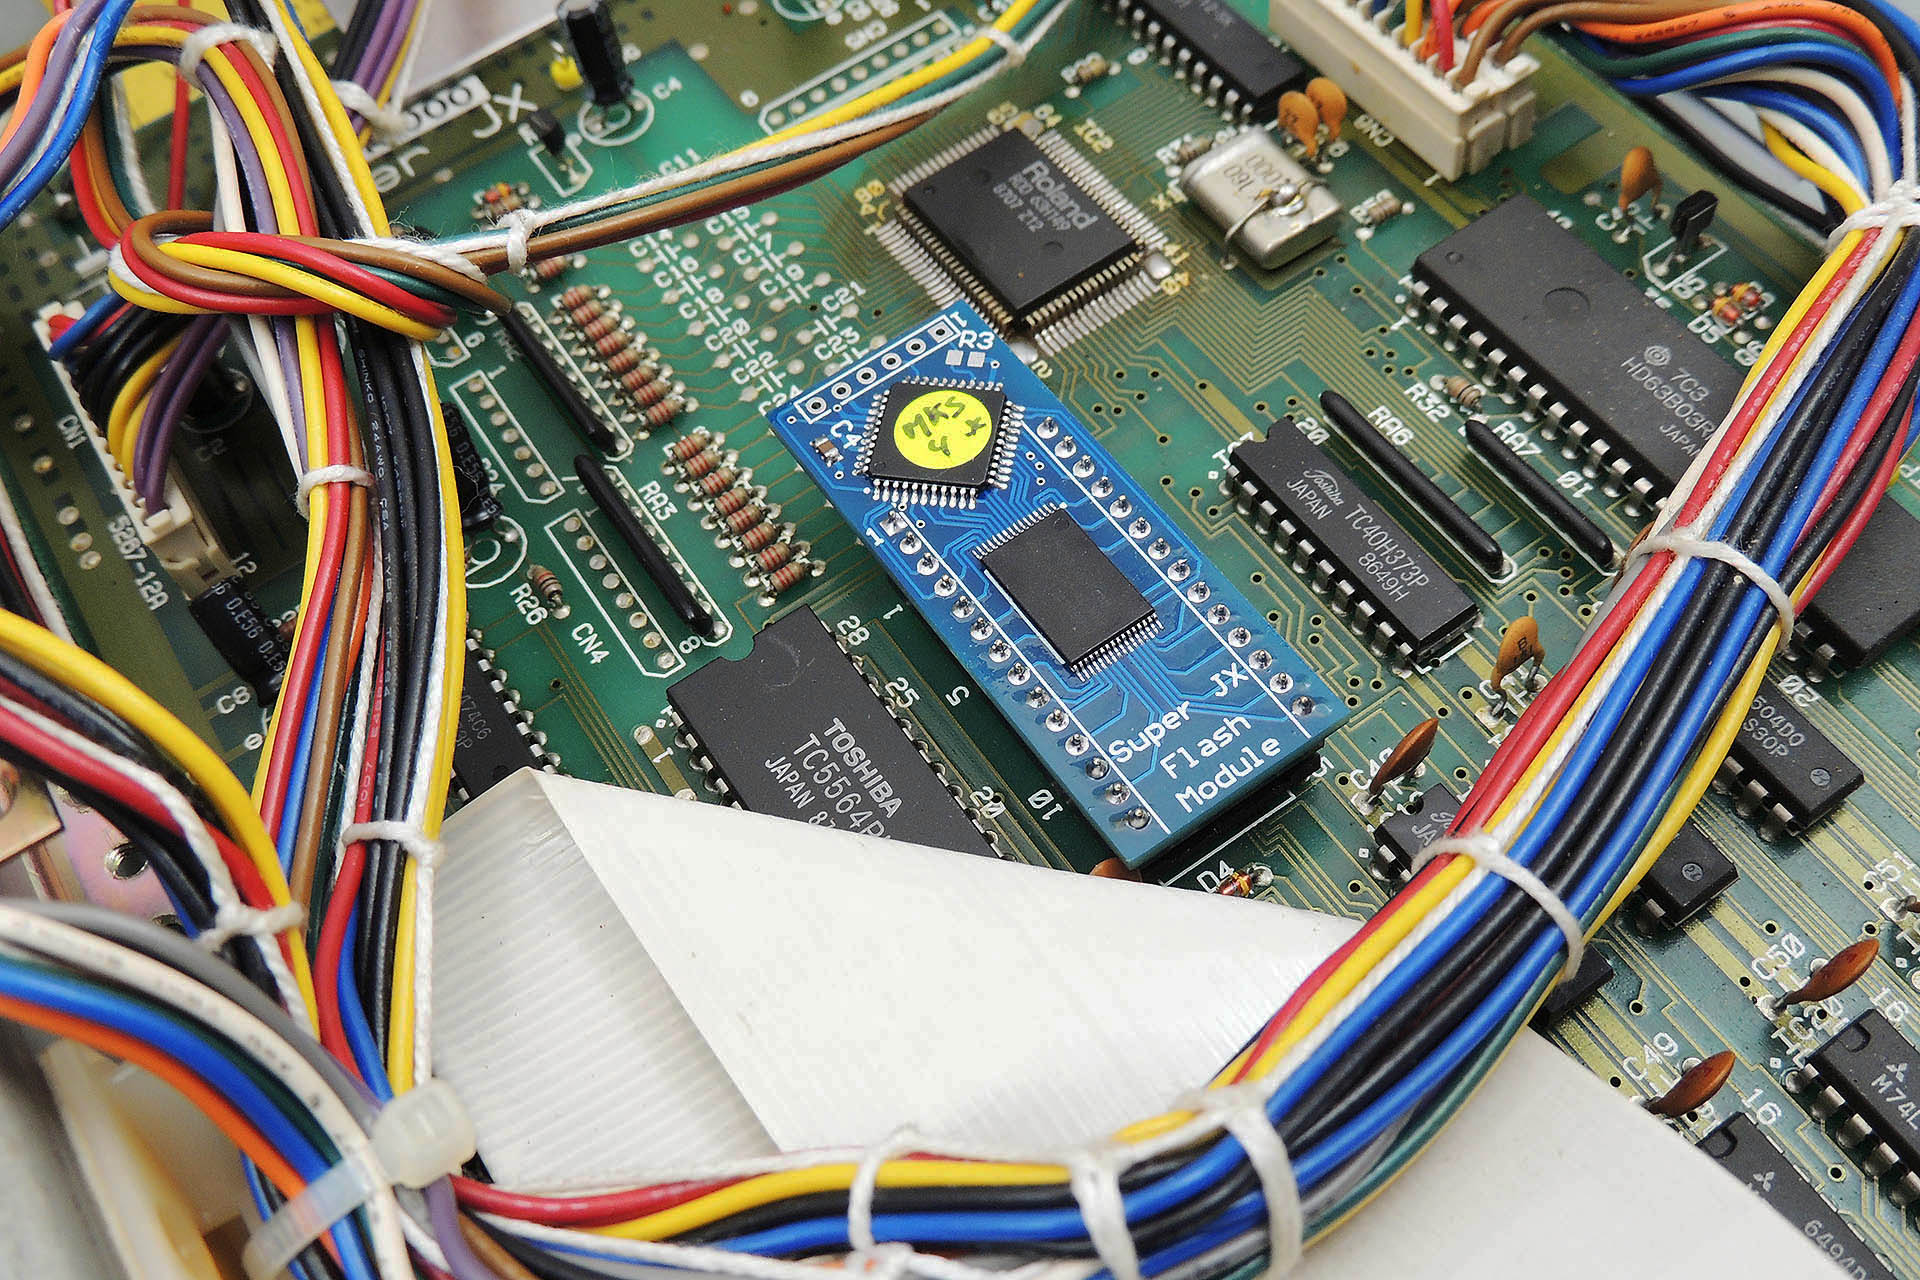
Brent had already bought some bits 'n' pieces and packaged with his MKS-70 were Fred Vecoven's Super-JX Flash module, Fred's latest digital PWM kit and four Xvive MN3009 replacement chorus chips.
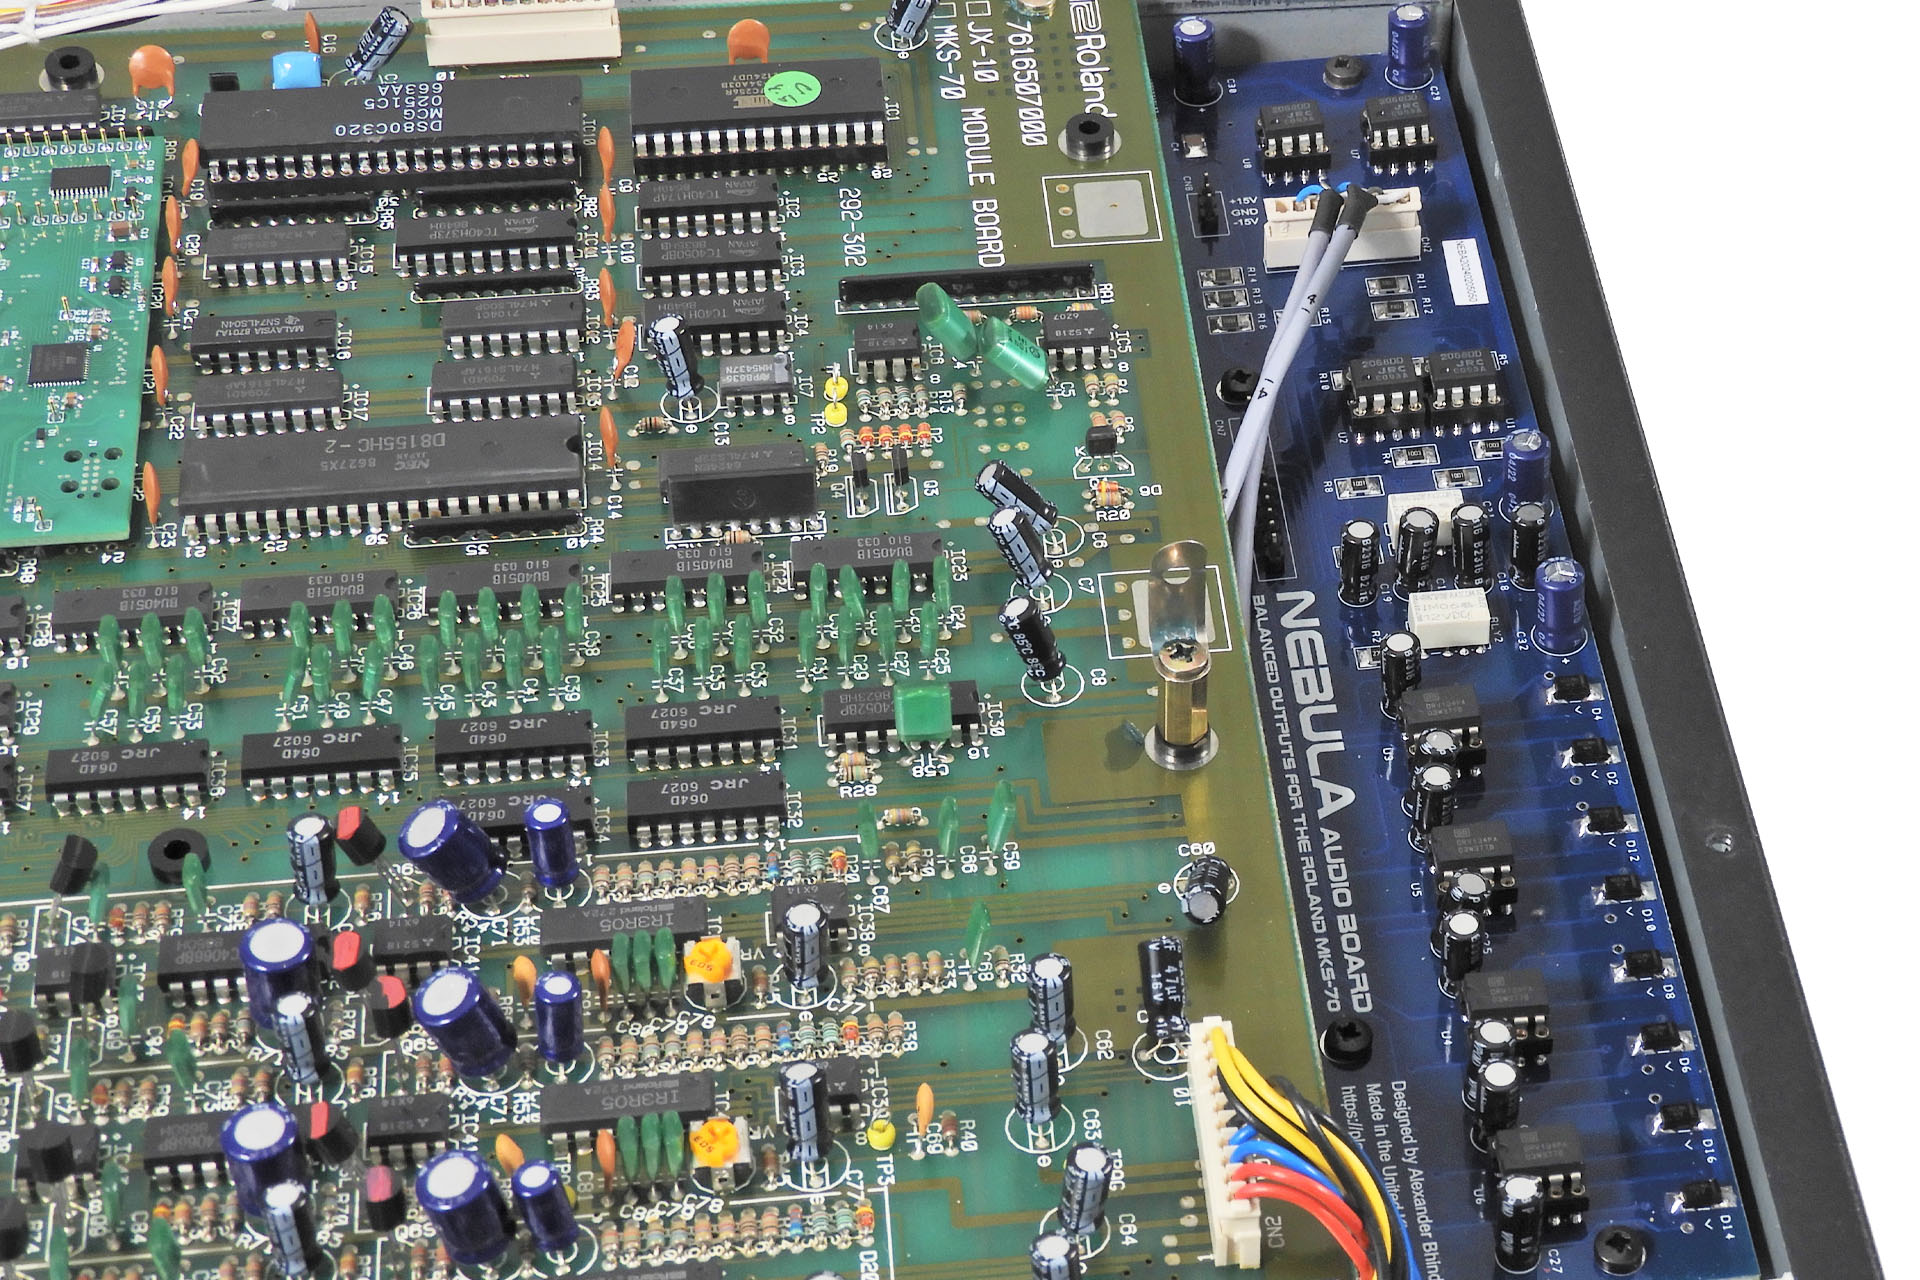
Knowing that this Roland MKS-70 full upgrade was coming in, I bought a GU-280 VFD replacement display kit off my friend, Guy Wilkinson and had ordered parts to build a Nebula balanced outputs jack-board and a P0004 modular switched-mode power supply. Is there a Super-JX (MKS-70 or JX-10) on the planet that's not powered by a P0004?!?!?
Brent figured that while the machine was here, it would be prudent to also change the front panel switches... so I ordered them, too.
Okay, so Brent told me that his MKS-70 was displaying random behaviour like freezing, intermittent booting, bad sound and so on. I immediately suspected the power supply so when I got, I was NOT going to switch it on!
Instead, I ripped out the power supply as a P0004 modular switched-mode power supply was already on the upgrade list.
I could immediately tell the power supply was quite fatigued. The filtering capacitors were starting to swell and there was some mild scorching around the rectifier joints.
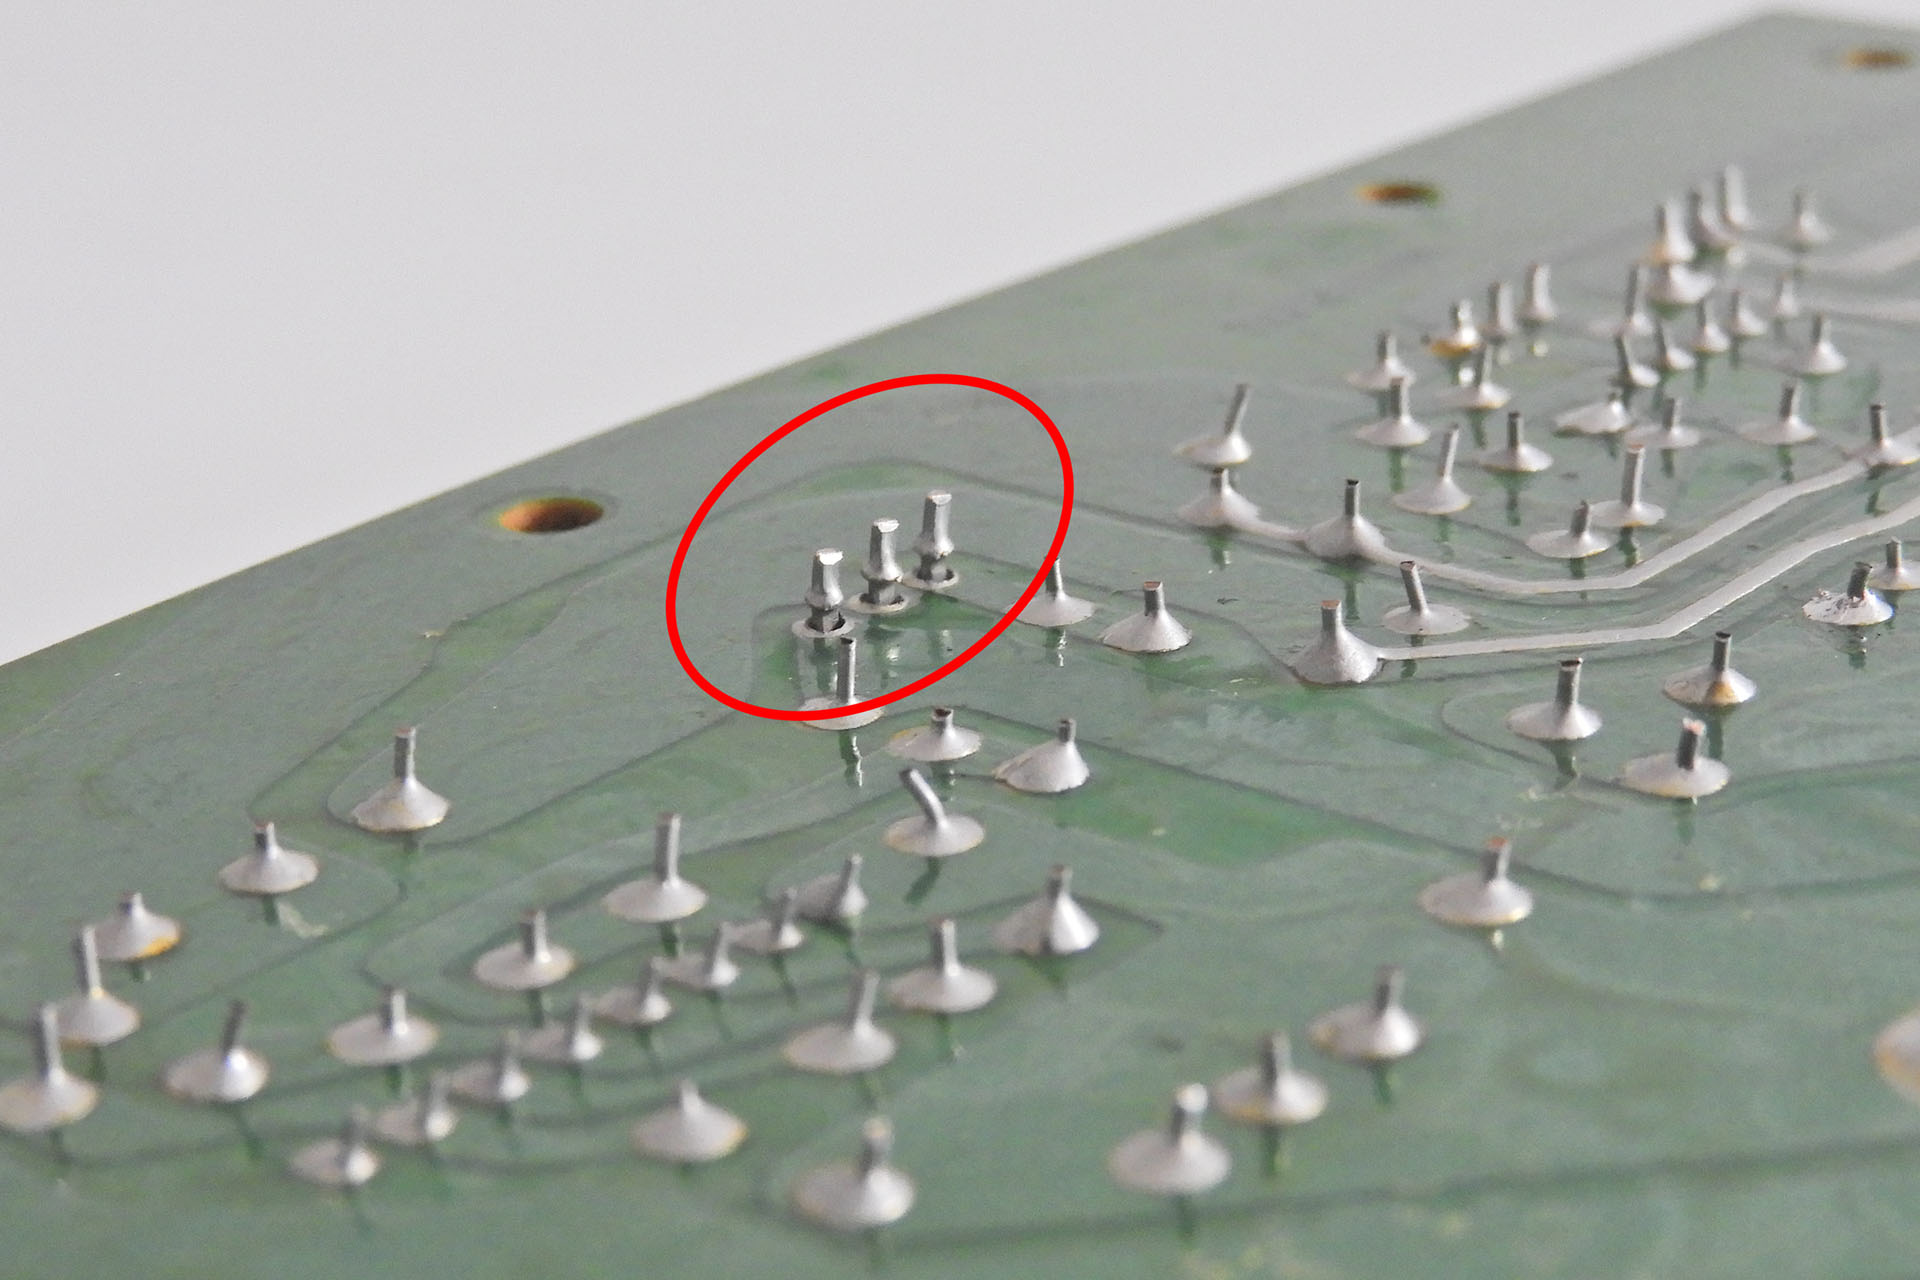
Then, on removing the power supply, I was shocked to find that the 2SD1406 responsible for regulating -15V was so dry-jointed, that none of its pins were making contact with the tracks on the underside of the PCB.
This Roland MKS-70 full upgrade isn't cheap but if you're a Super-JX owner, please at least consider replacing your synth's power supply with a P0004.
Having the right equipment and using a couple of very well seasoned techniques (which might not be in the book, incidentally), I'm able to remove components without marking, let alone damaging the PCB or the components themselves.
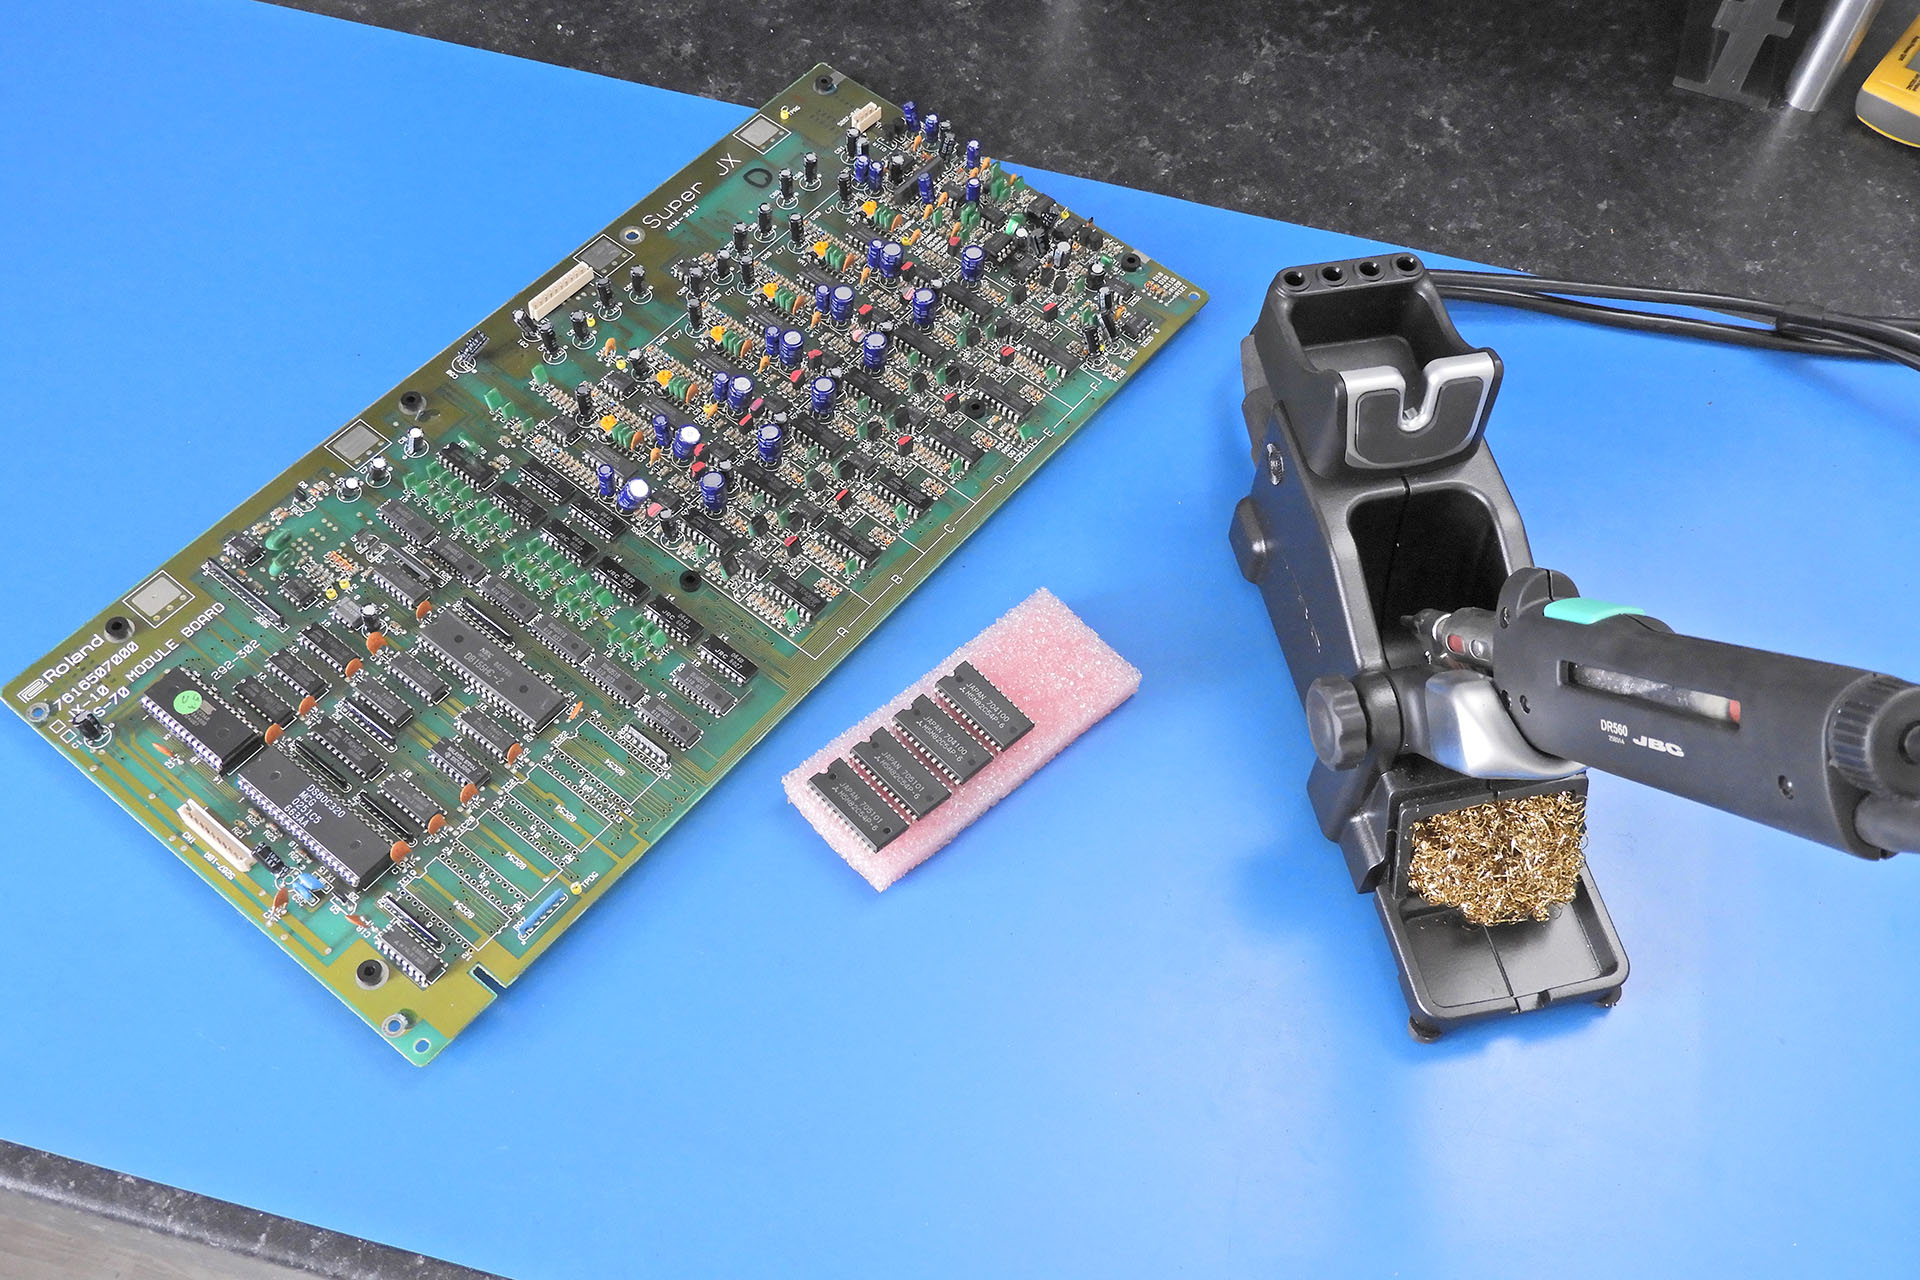
As original components for this generation of electronics are becoming scarce and increasingly more difficult to procure, with the customer's approval, salvaging them off jobs like this is a godsend and will inevitably help another Roland MKS-70 owner some time down the line. It's a true privilege being part of this kind of community! 😀
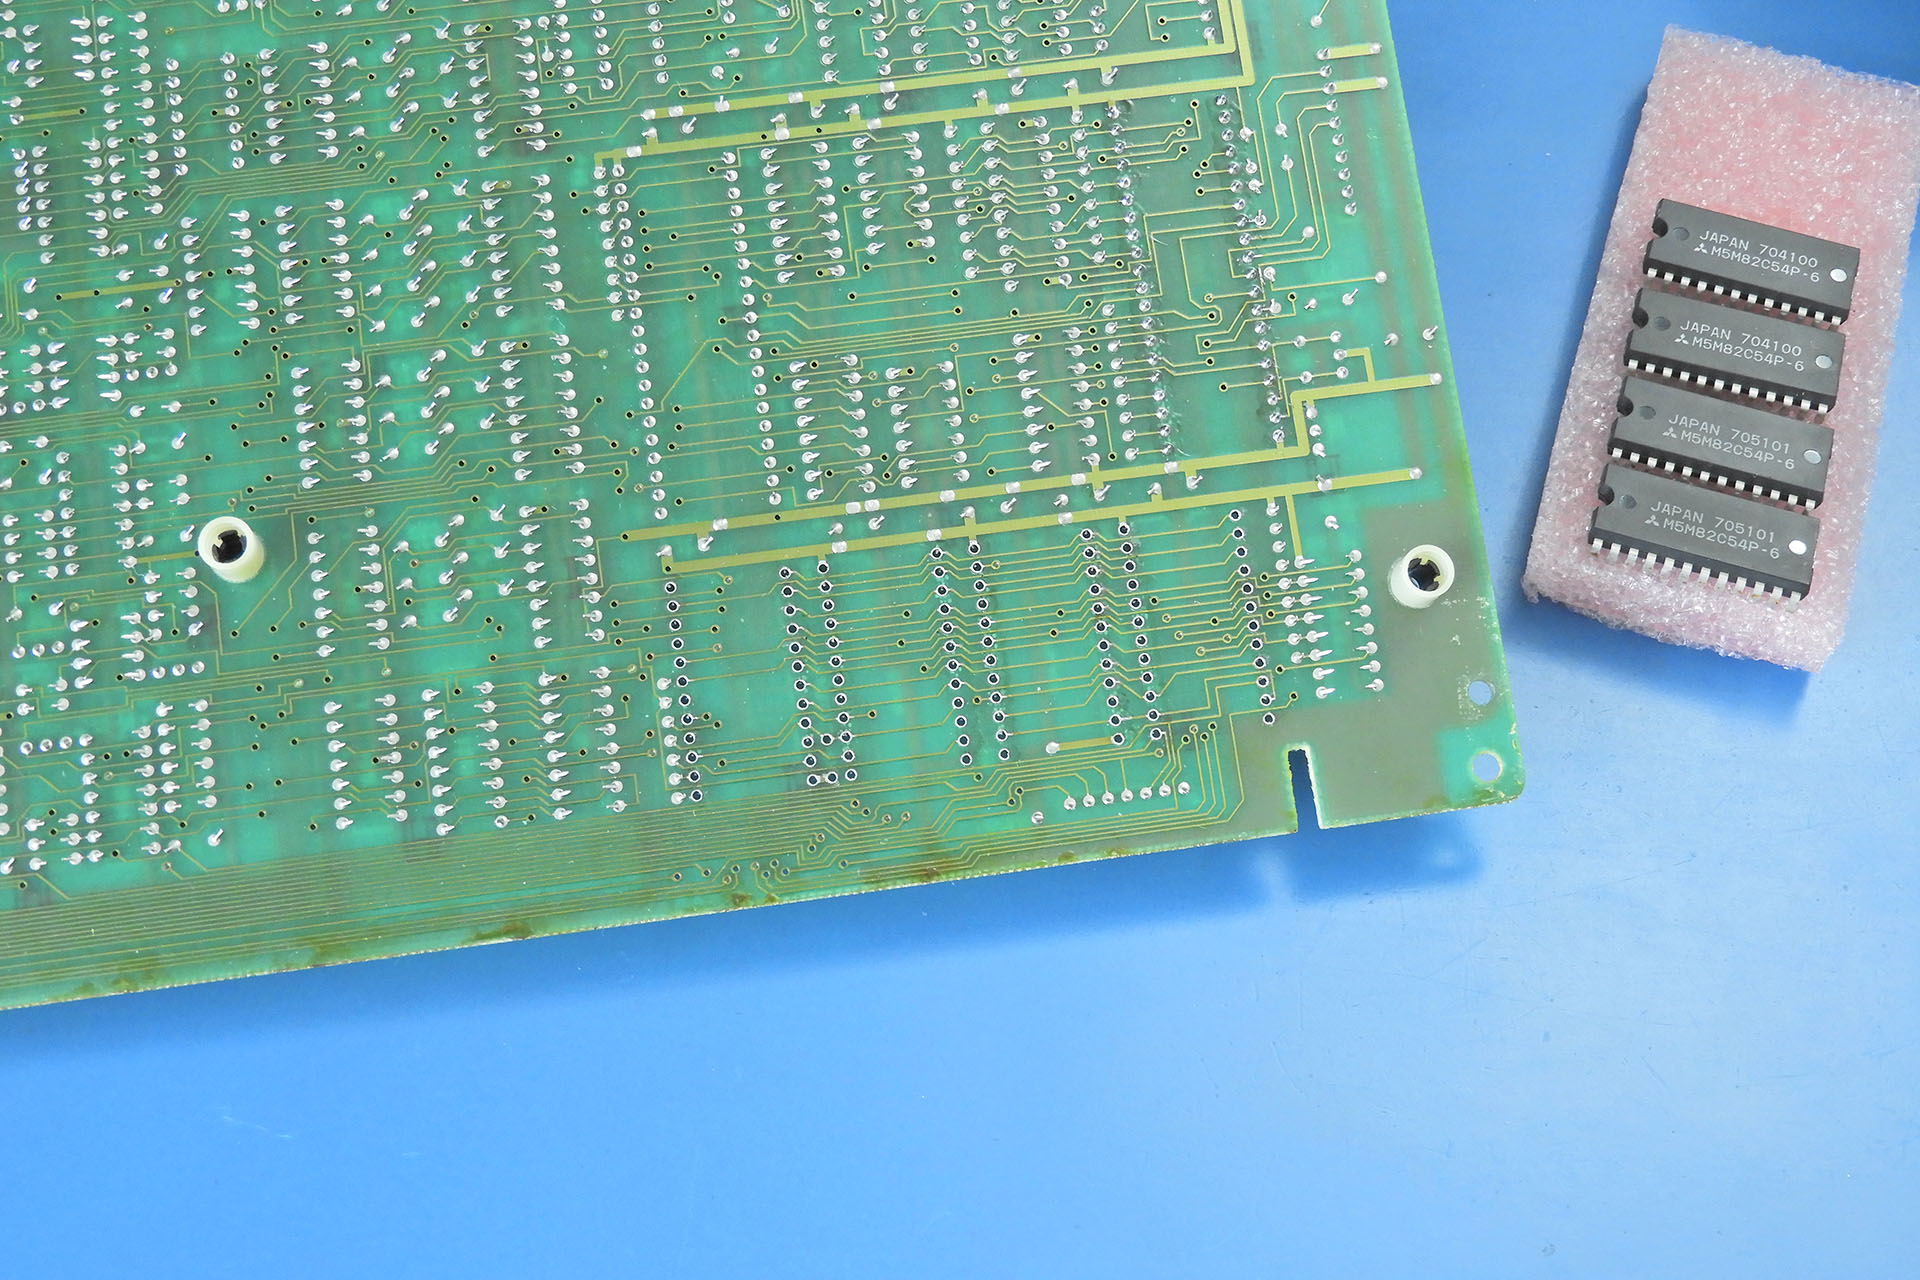
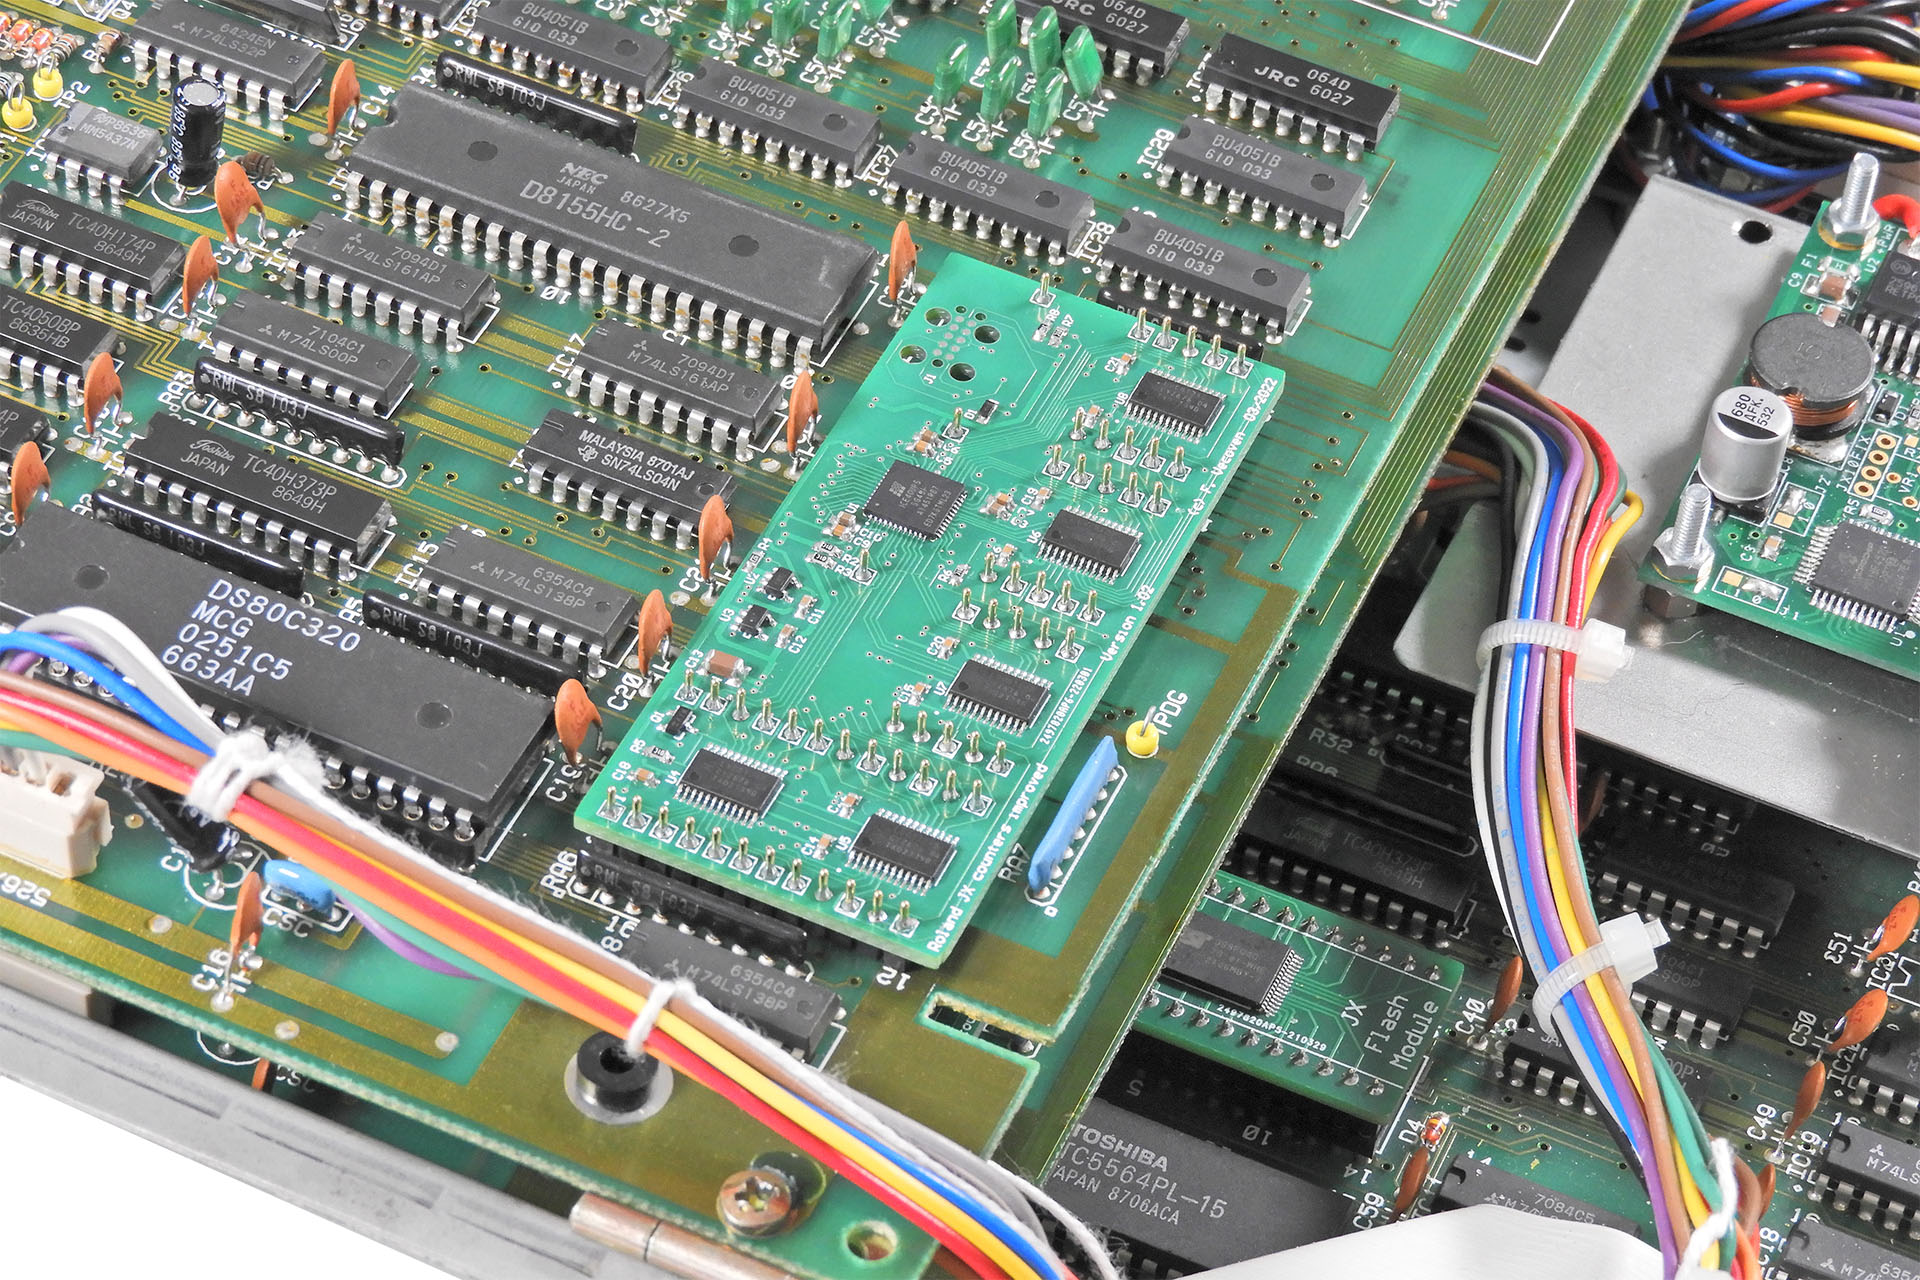
Whenever I remove an IC, I always put a high-quality, turned-pin socket in its place, even when I install the Vecoven digital PWM daughterboards. Doing so makes life so much easier, should anything go wrong or in the case of the Vecoven PWM upgrade for the MKS-70, you just fancy going back (for some insane reason).

!!! WARNING !!!
The expression “all the gear but no idea” might not be universally known but the sentiment probably is. Whilst there’s absolutely nothing wrong with having a confident character, doing your best at what you know and accepting the fact that you shouldn’t attempt the things that you don’t, may be considered a more valuable attribute. It’s called wisdom.
I periodically receive boards from people who for example, have watched a video on YouTube and decided that they can immediately do some in-depth work on a thirty-something year old synthesiser. Having the right equipment is only part of the story. Knowledge and experience take time and cannot be acquired over night let alone via a YouTube video.
If you want to remove devices like the counters on the Super-JX voice-boards for example, PLEASE consider following these steps:
- Using a pair of side cutters, snip the IC legs close to the body of the IC that you want to remove.
- Then, using a soldering iron and a pair of tweezers, simply pull out the legs from the solder pads.
- Once the pins are out, it’s much easier to remove the residual solder from the respective solder pins, with a good quality, electronic desoldering tool and you’re far less likely to damage your voice-boards.
I strongly recommend that you practice on some old, unwanted PCBs before you start working on your valuable Super-JX!

Yeah okay, you lose the components but that’s a small price to pay against ruining your Super-JX voice-boards.

I make no apologies if that all sounds a bit harsh. It's far more upsetting for me to receive damaged voice-boards, I assure you!
Of course, after doing all of that, you gotta test it all but a Roland MKS-70 full upgrade is so worth it and gives this legendary synth module a whole new lease of life.
A few weeks ago, I decided to take an idea I've had for a long time, to the next level; I made a pair of screened audio cables for the Roland MKS-70 to replace the original 'wires' that connect the outputs from the module-boards to the jack-board.
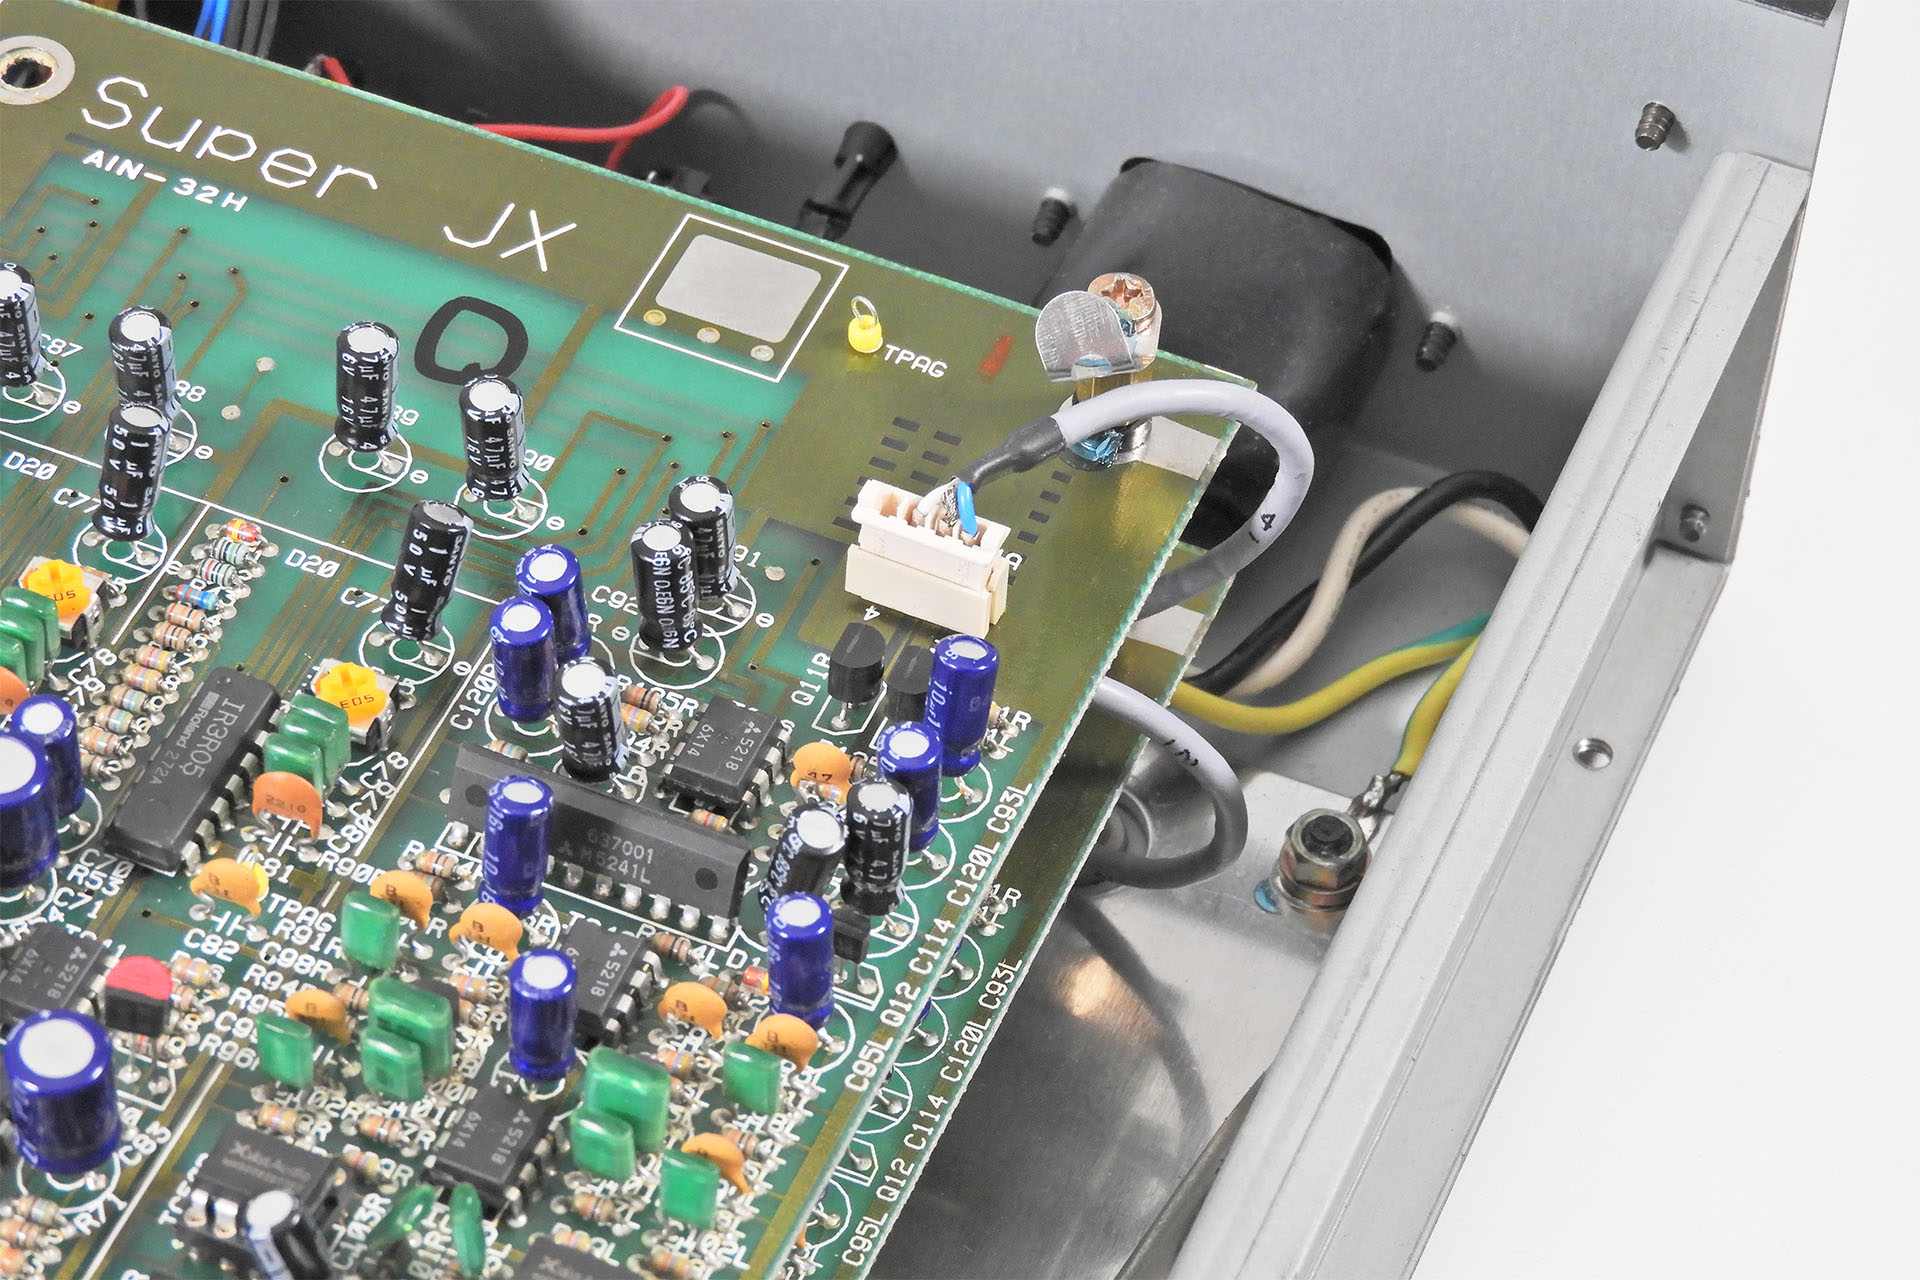
Before I started work on The Miami Sound Machine and while everything was still factory, I used Brent's instrument to test my new screened audio cables. A plug 'n' play installation, this is a simple but very worthwhile upgrade. You can read the whole story here. 🙂 Indeed, Brent's instrument was the first to receive my new screened audio cables for the Roland MKS-70.
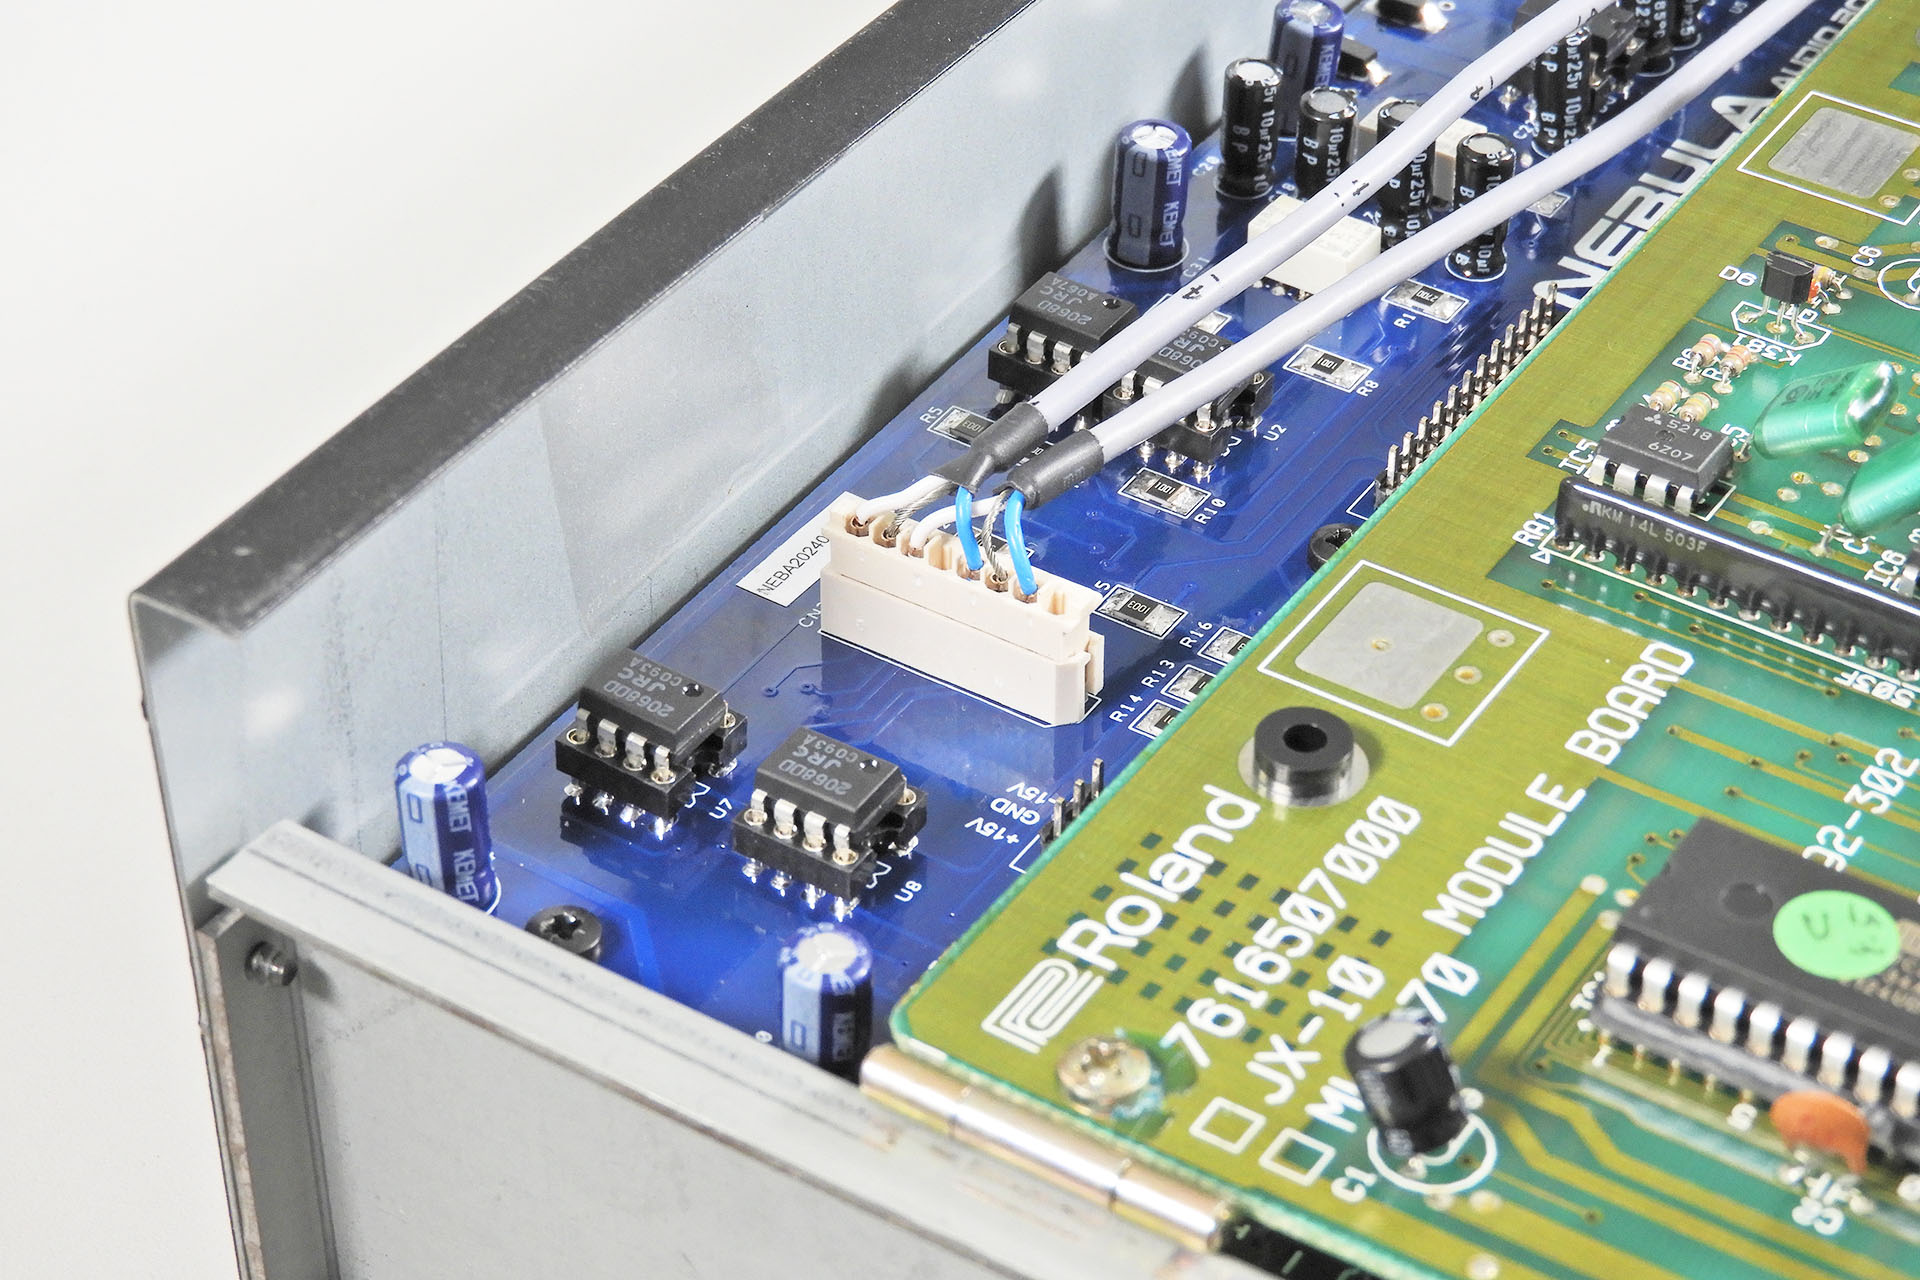
If you don't want to buy Nebula, then these screened cables will work equally well with the stock Roland jack-board.
Part of the work I do, includes keeping the customer updated on progress. I'm not sure what's happened in the past year or so but things have just got rather busy. Maintaining regular communications with customers however, remains paramount.
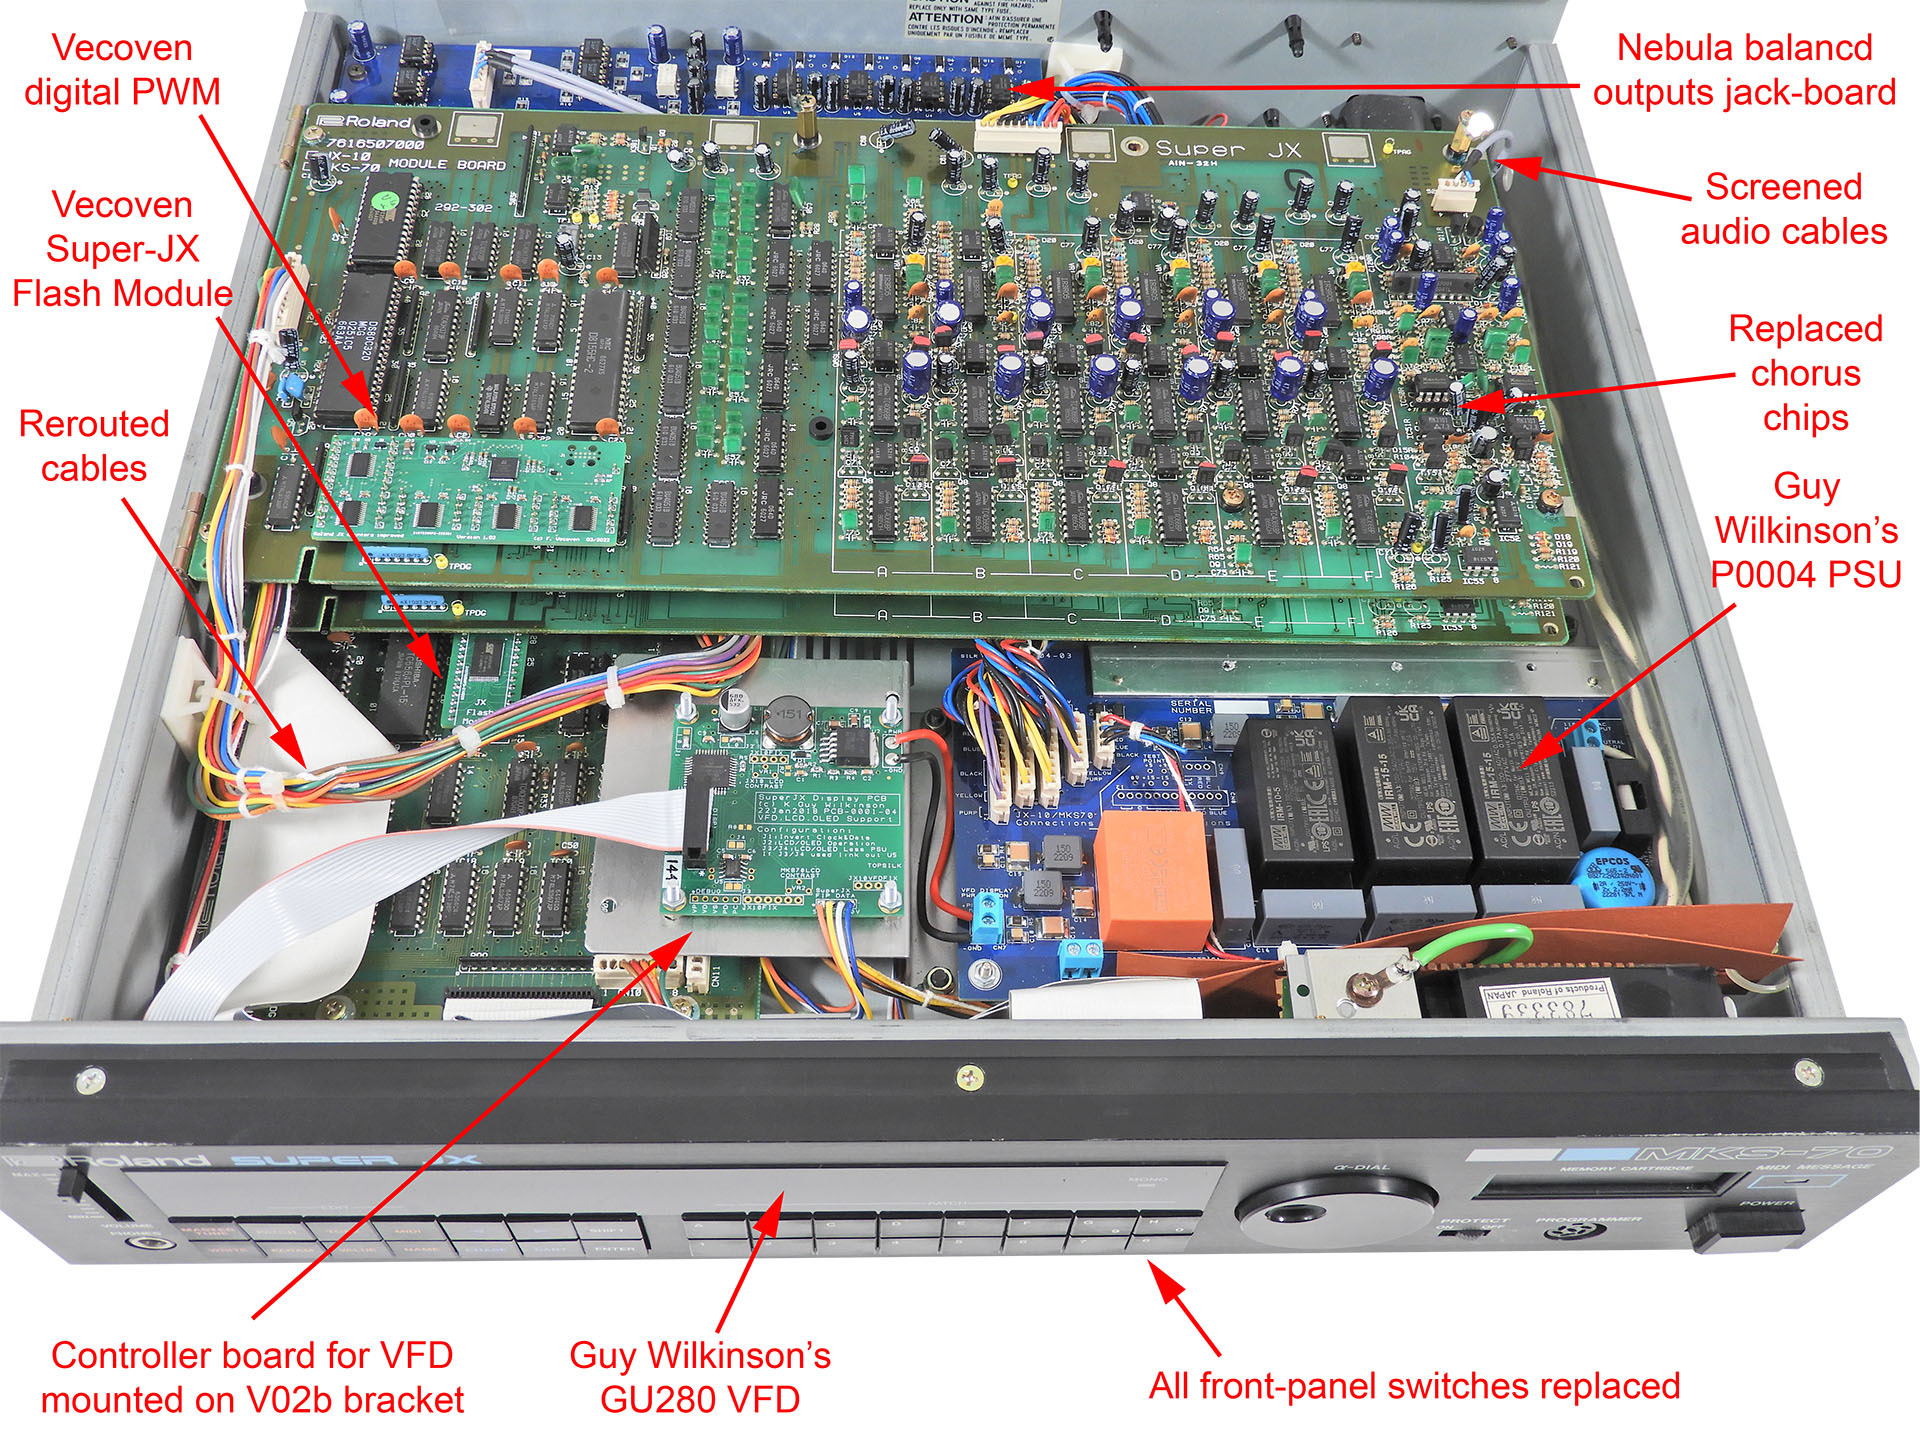
Okay, so you want to know just exactly what the customer got on this occasion. What does this Roland MKS-70 full upgrade include? Well, here ya' go:
- Guy Wilkinson's P0004 power supply for Super-JX.
- Earth bonding kit with IEC C14 power inlet connector.
- Guy Wilkinson's VFD Super-JX display module.
- Nebula balanced outputs / upgraded MIDI jack-board.
- Replacement of wires connecting module-boards to Nebula with screened audio cables.
- Fred Vecoven's Super-JX Flash module.
- Fred Vecoven’s digital PWM upgrade.
- Live-forever battery mod.
- Replacement of all front-panel switches.
- Chorus chip replacement with 4 x Xvive MN3009.
- Rerouting of internal cables to reduce noise.
- RE-MKS-70 rack-ears.
- MCK-70 memory checker ROM.
- Check all functions and calibrate module-boards.
- 15% discount over purchasing items individually.
Sub-assemblies like the P0004 power supply and Nebula are tested prior to installation. The MKS-70 is then tested after every single upgrade. If something isn't right, I'll know straight-away.
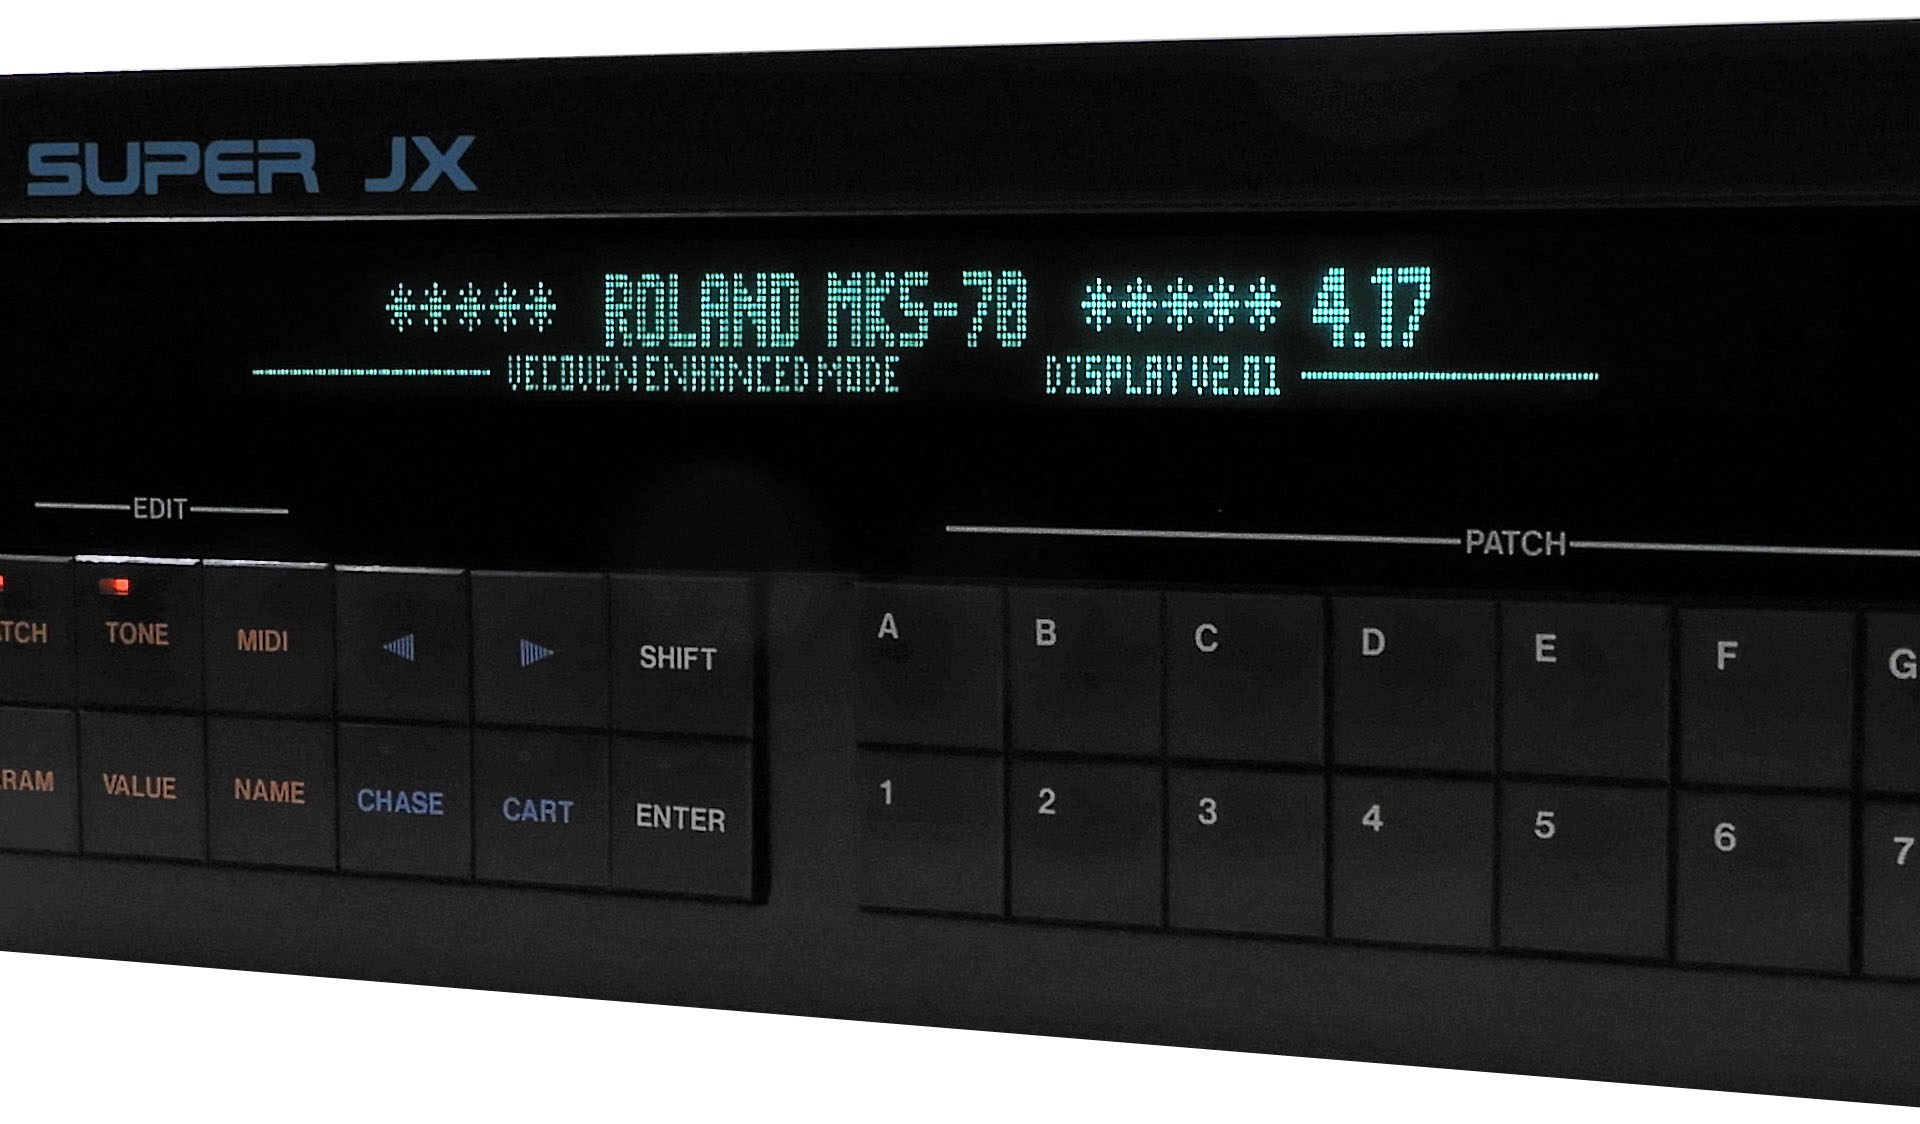
A lot of the upgrades are not apparent from the outside of the MKS-70 but Guy Wilkinson's GU280 based VFD definitely is and looks absolutely fabulous!
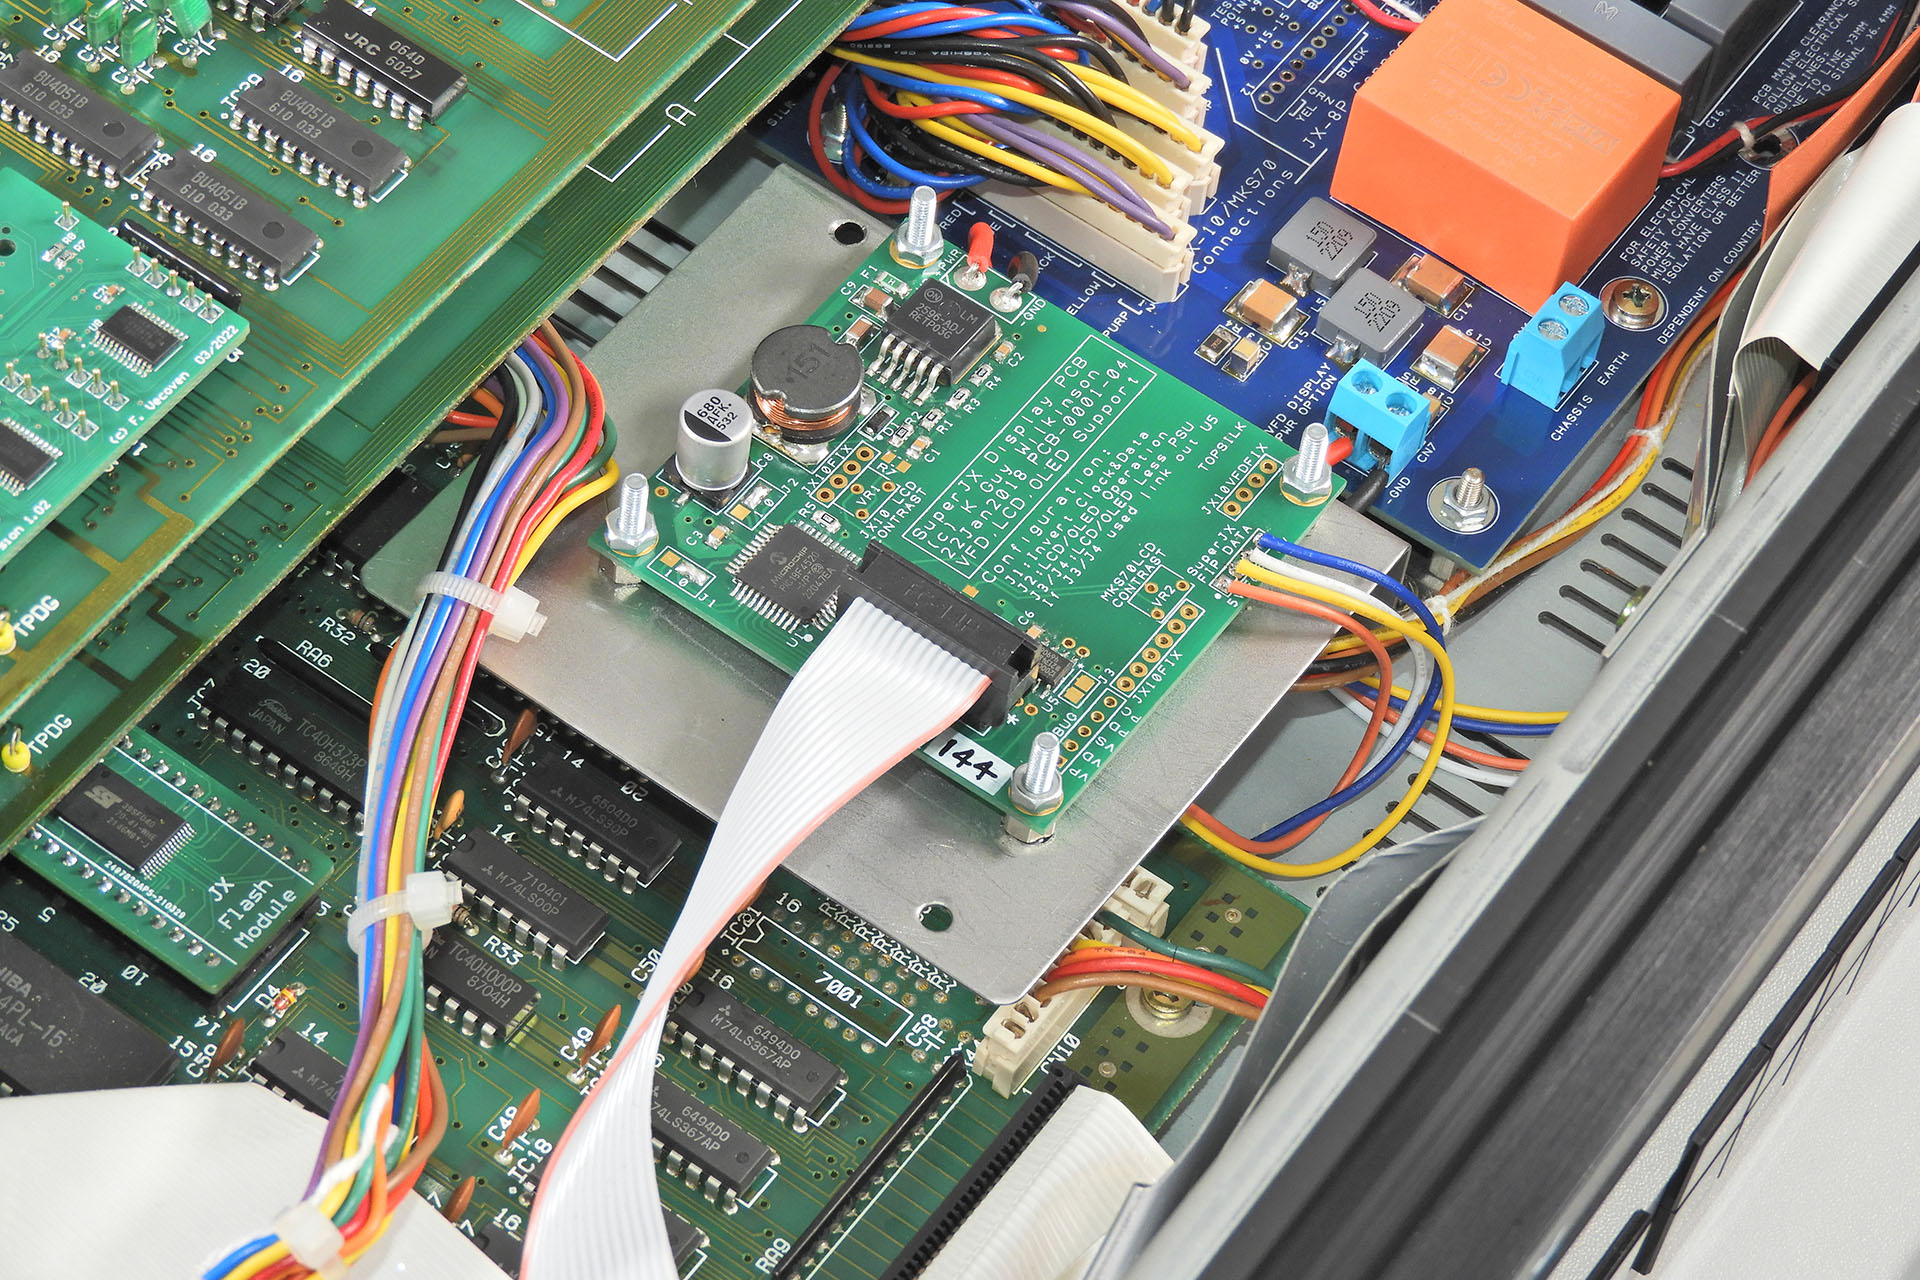
Making life a lot easier and in my humble opinion, being much more secure, the controller PCB for the VFD is mounted on my unique V02b bracket and not to the back of the front-panel chassis, as per Guy Wilkinson's installation instructions. Guy popped over while I was doing work on this baby and couldn't help notice the mounting solution. He loved it!
You may have noticed a couple of perhaps unexpected items in the inclusion list above. Well, Brent's MKS-70 didn't have rack-ears so he asked me to include my RE-MKS-70 rack-ear kit. He also asked for a copy of Guy's MCK-70 memory checker and so The Miami Sound Machine was accompanied by a few extra bits on its return to, well... Miami.
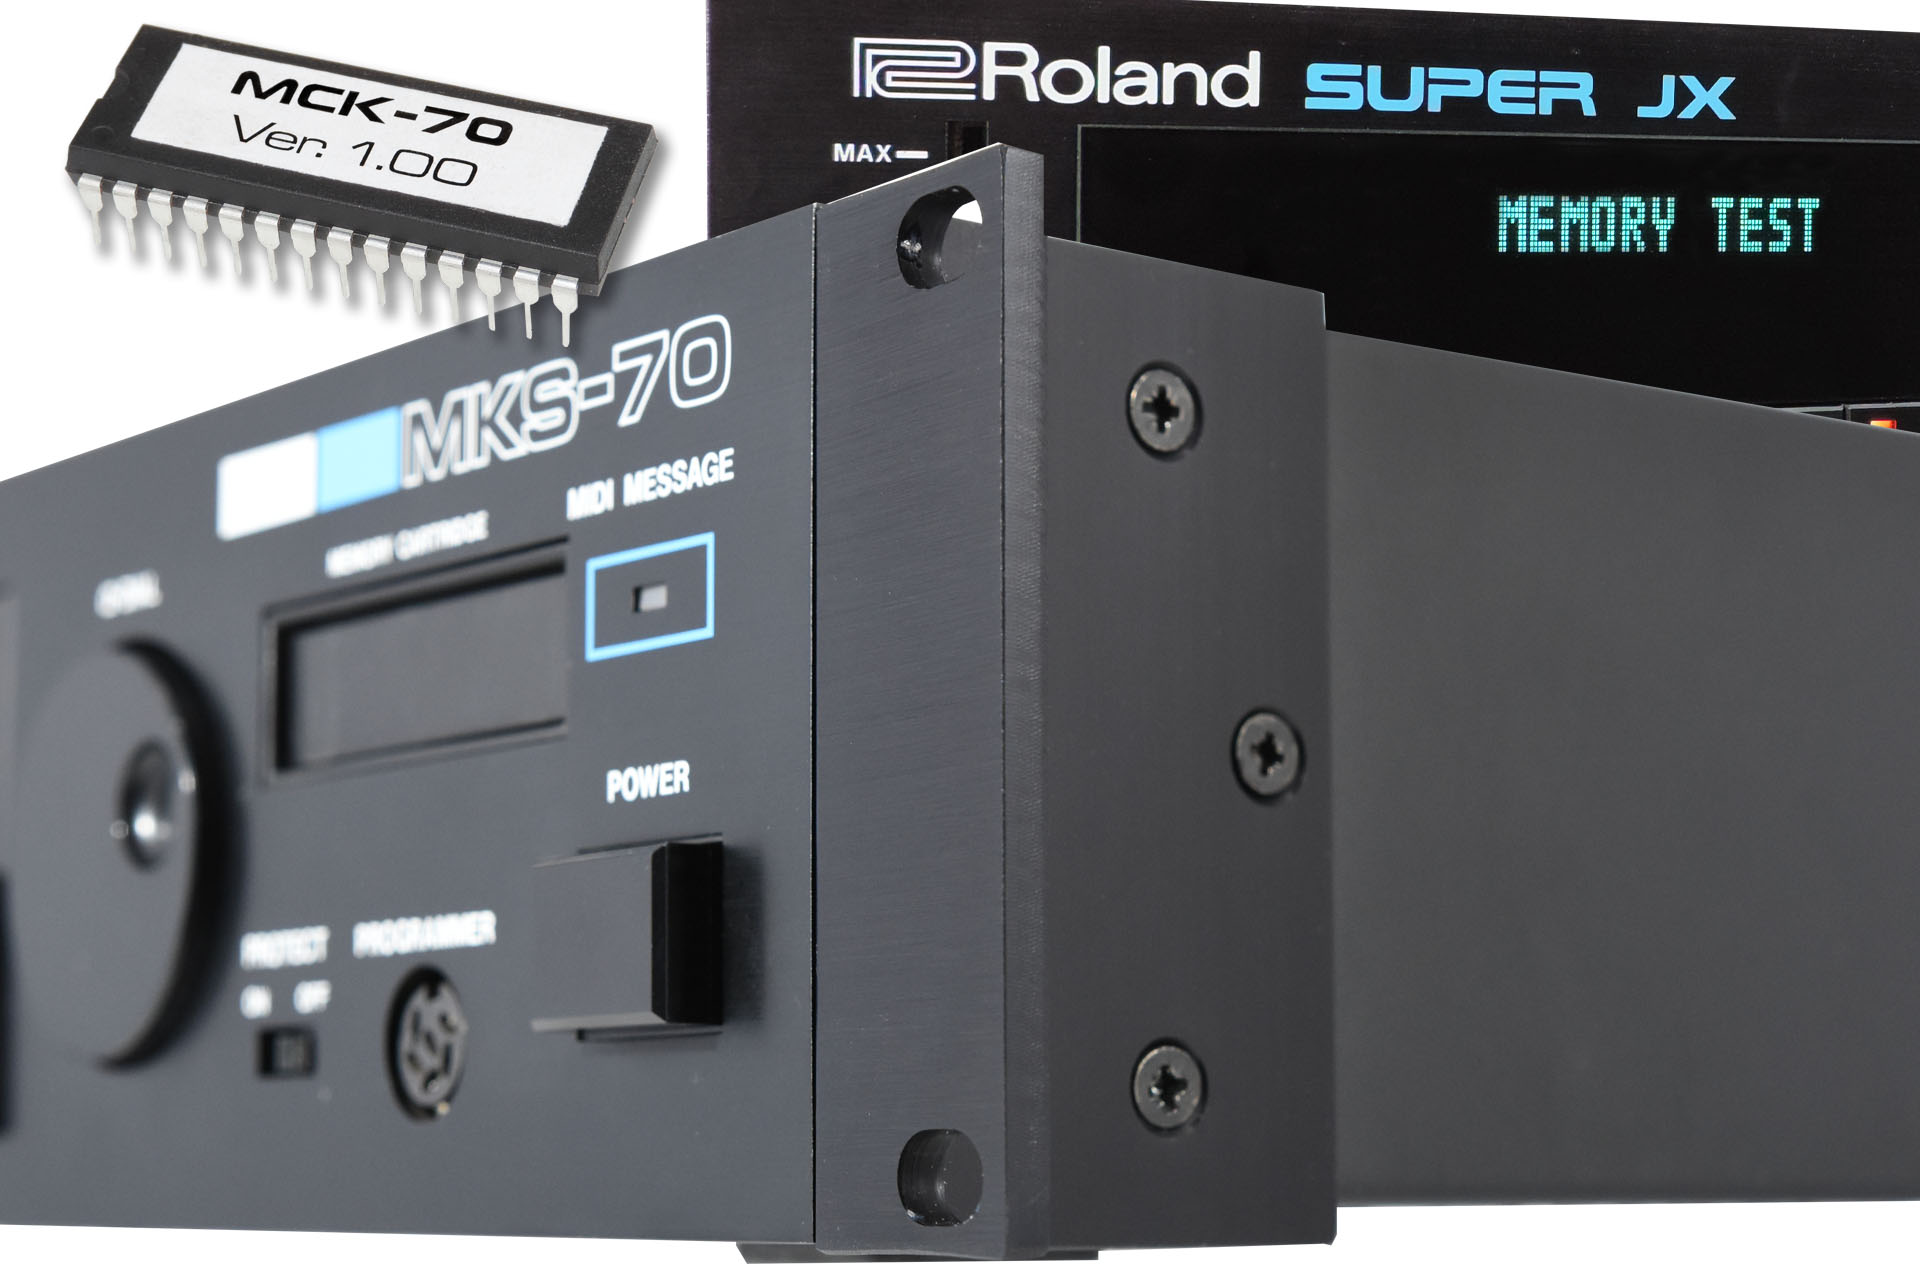
A big T H A N K Y O U to Guy Wilkinson and Fred Vecoven for developing some awesome kit for the Roland Super-JX. 😀
When it comes to packaging, I don't take any chances. Touch wood, I've never had anything damaged, let alone lost but I still believe in good, sometimes excessive packaging. Apart from protecting equipment, it helps the courier, too.
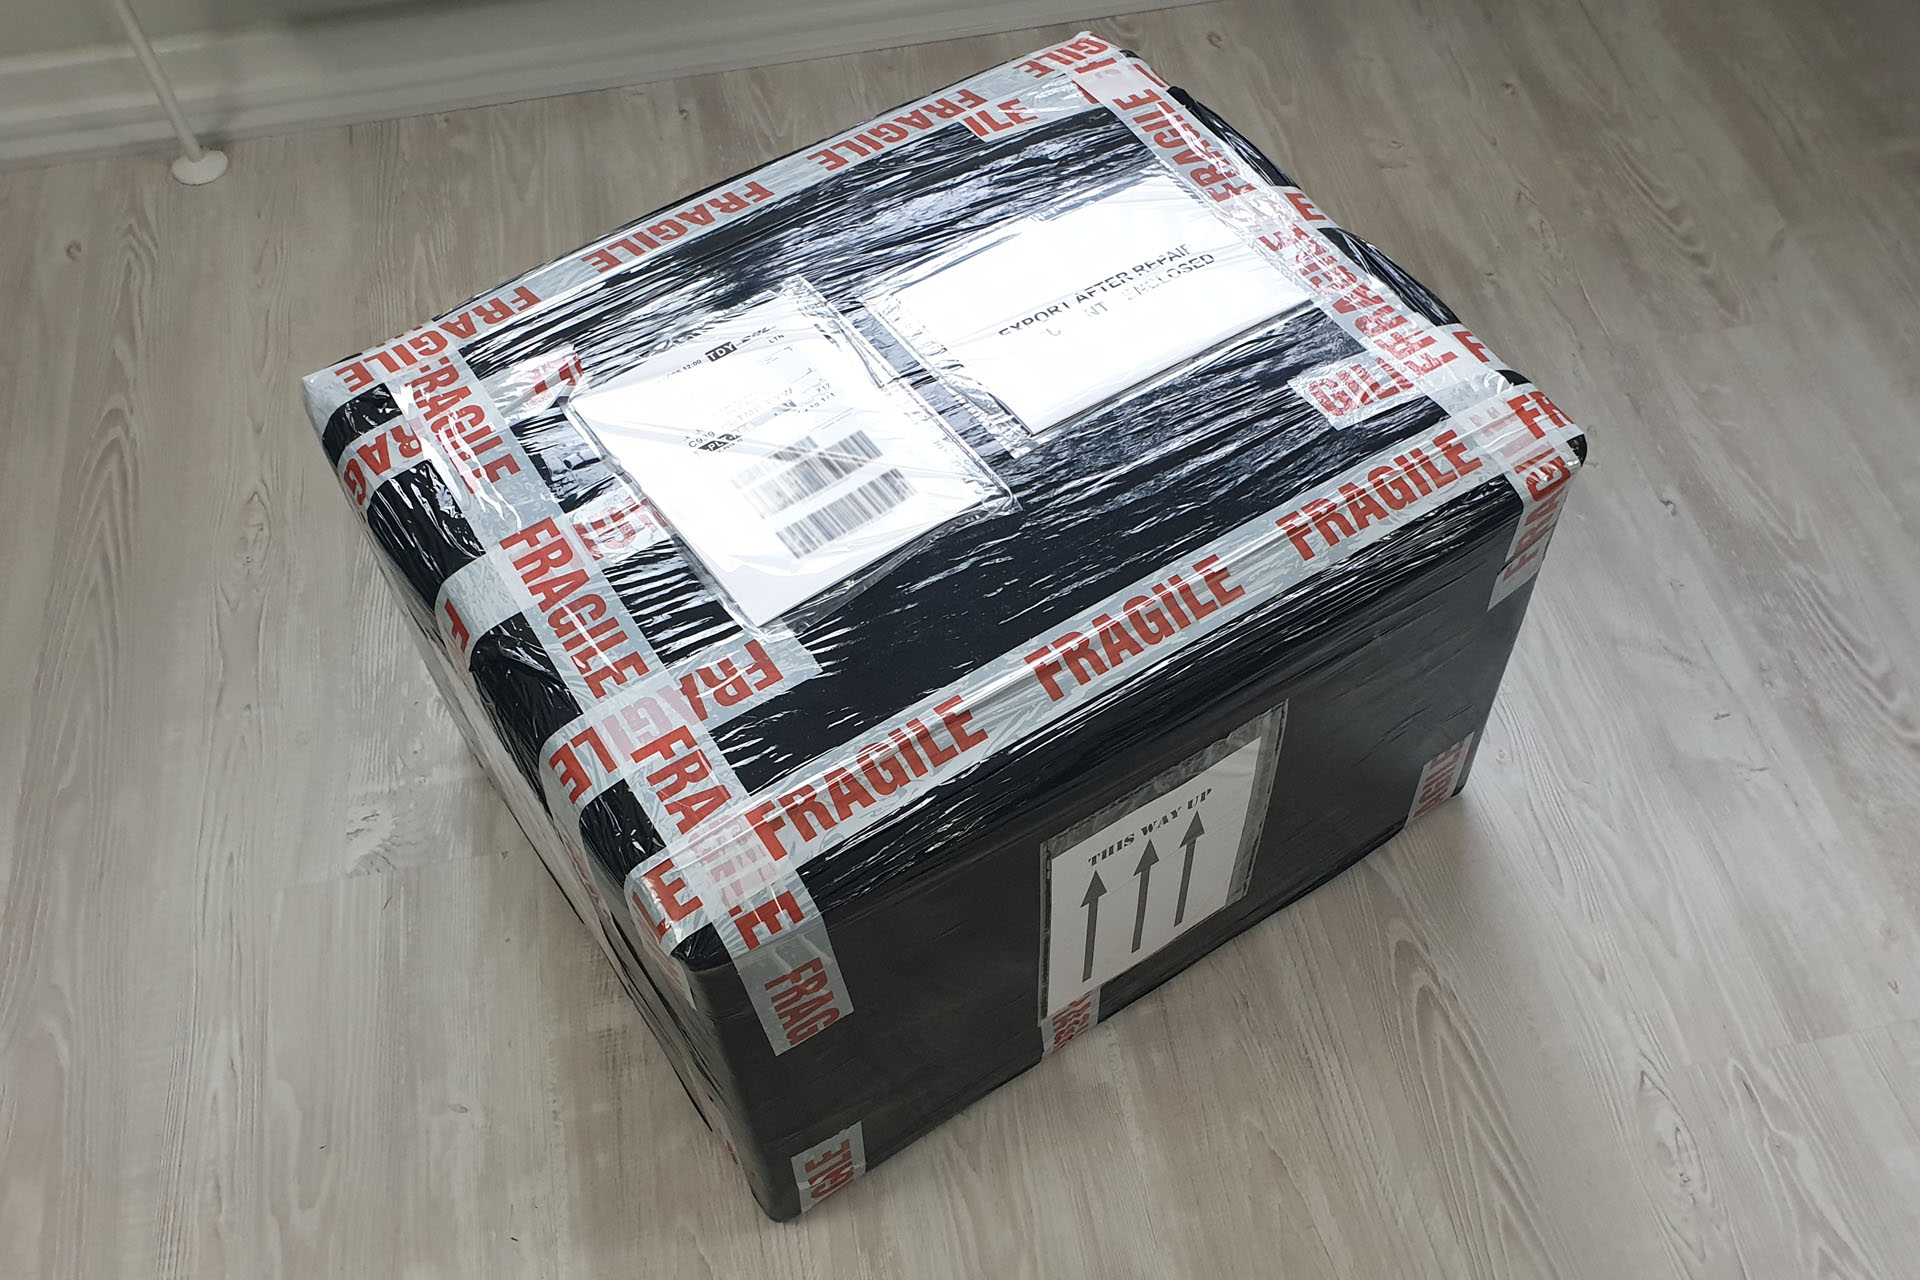
The shipment is marked up as 'Return after repair' so as to ensure that worst-case scenario, the customer will be charged on the cost of the repair and not the value of the item and the cost of the repair.
UPDATE - 10th April 2024
I'm always dead curious if and how much customers get charged import duty. It helps me advise future customers and is just really helpful for everyone. Brent kindly informed me of the following breakdown of duty charges:
- MERCHANDISE PROCESSING 31.67 USD
- IMPORT EXPORT DUTIES 167.78 USD
- DUTY TAX PROCESSING 17.00 USD
- TOTAL CHARGES 216.45 USD
Unfortunately on this occasion, US Customs got a bit funny and asked for 'additional information'. Annoyingly, the additional information was in fact included in amongst the documentation that accompanied the shipment but at stupid O'clock in the morning, I sent Brent everything that Customs had asked for, in a letterheaded document. A couple of days later, Brent received his baby.


