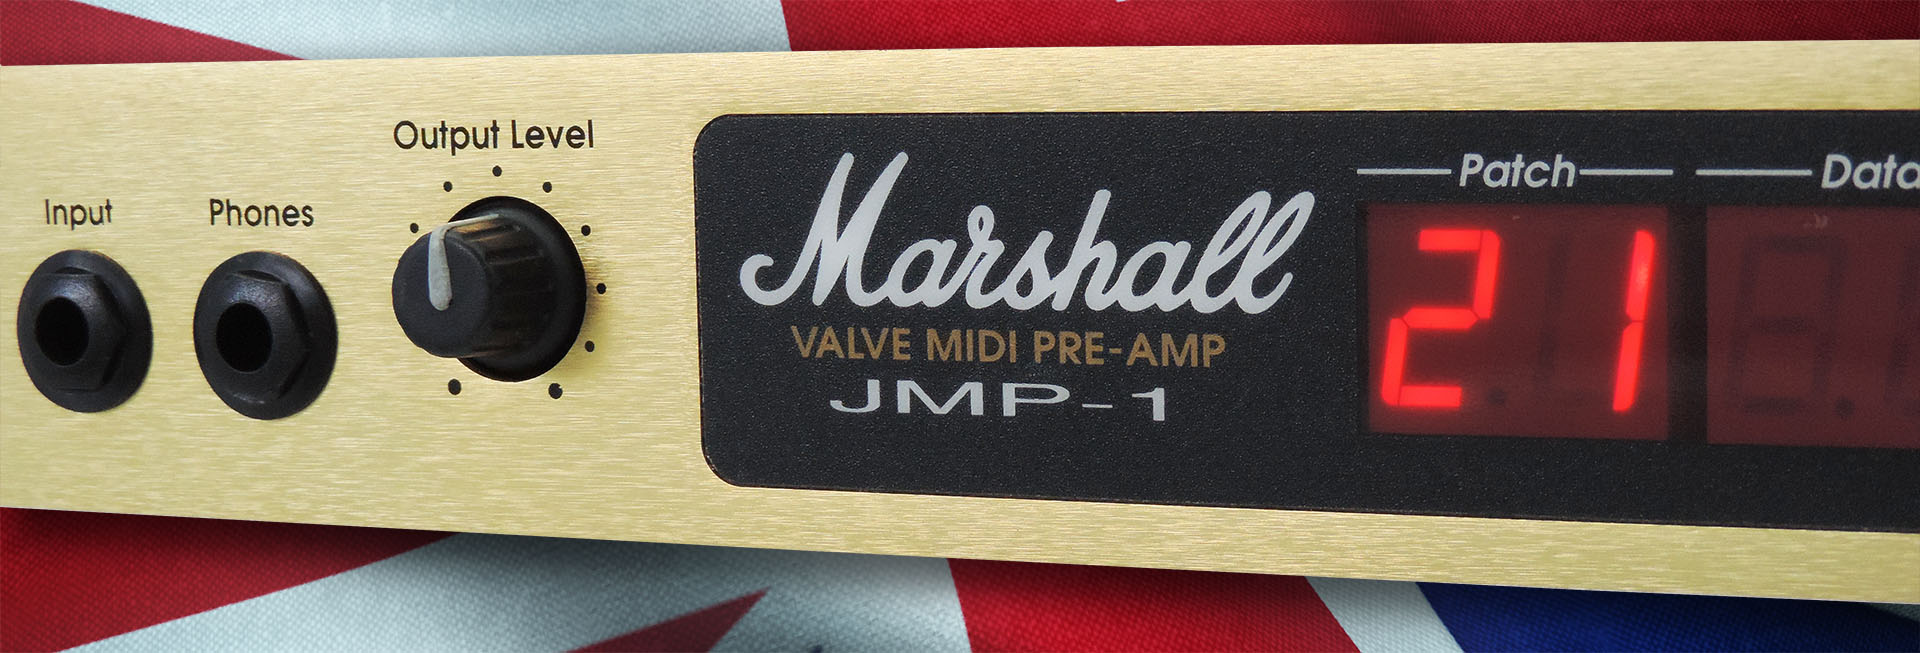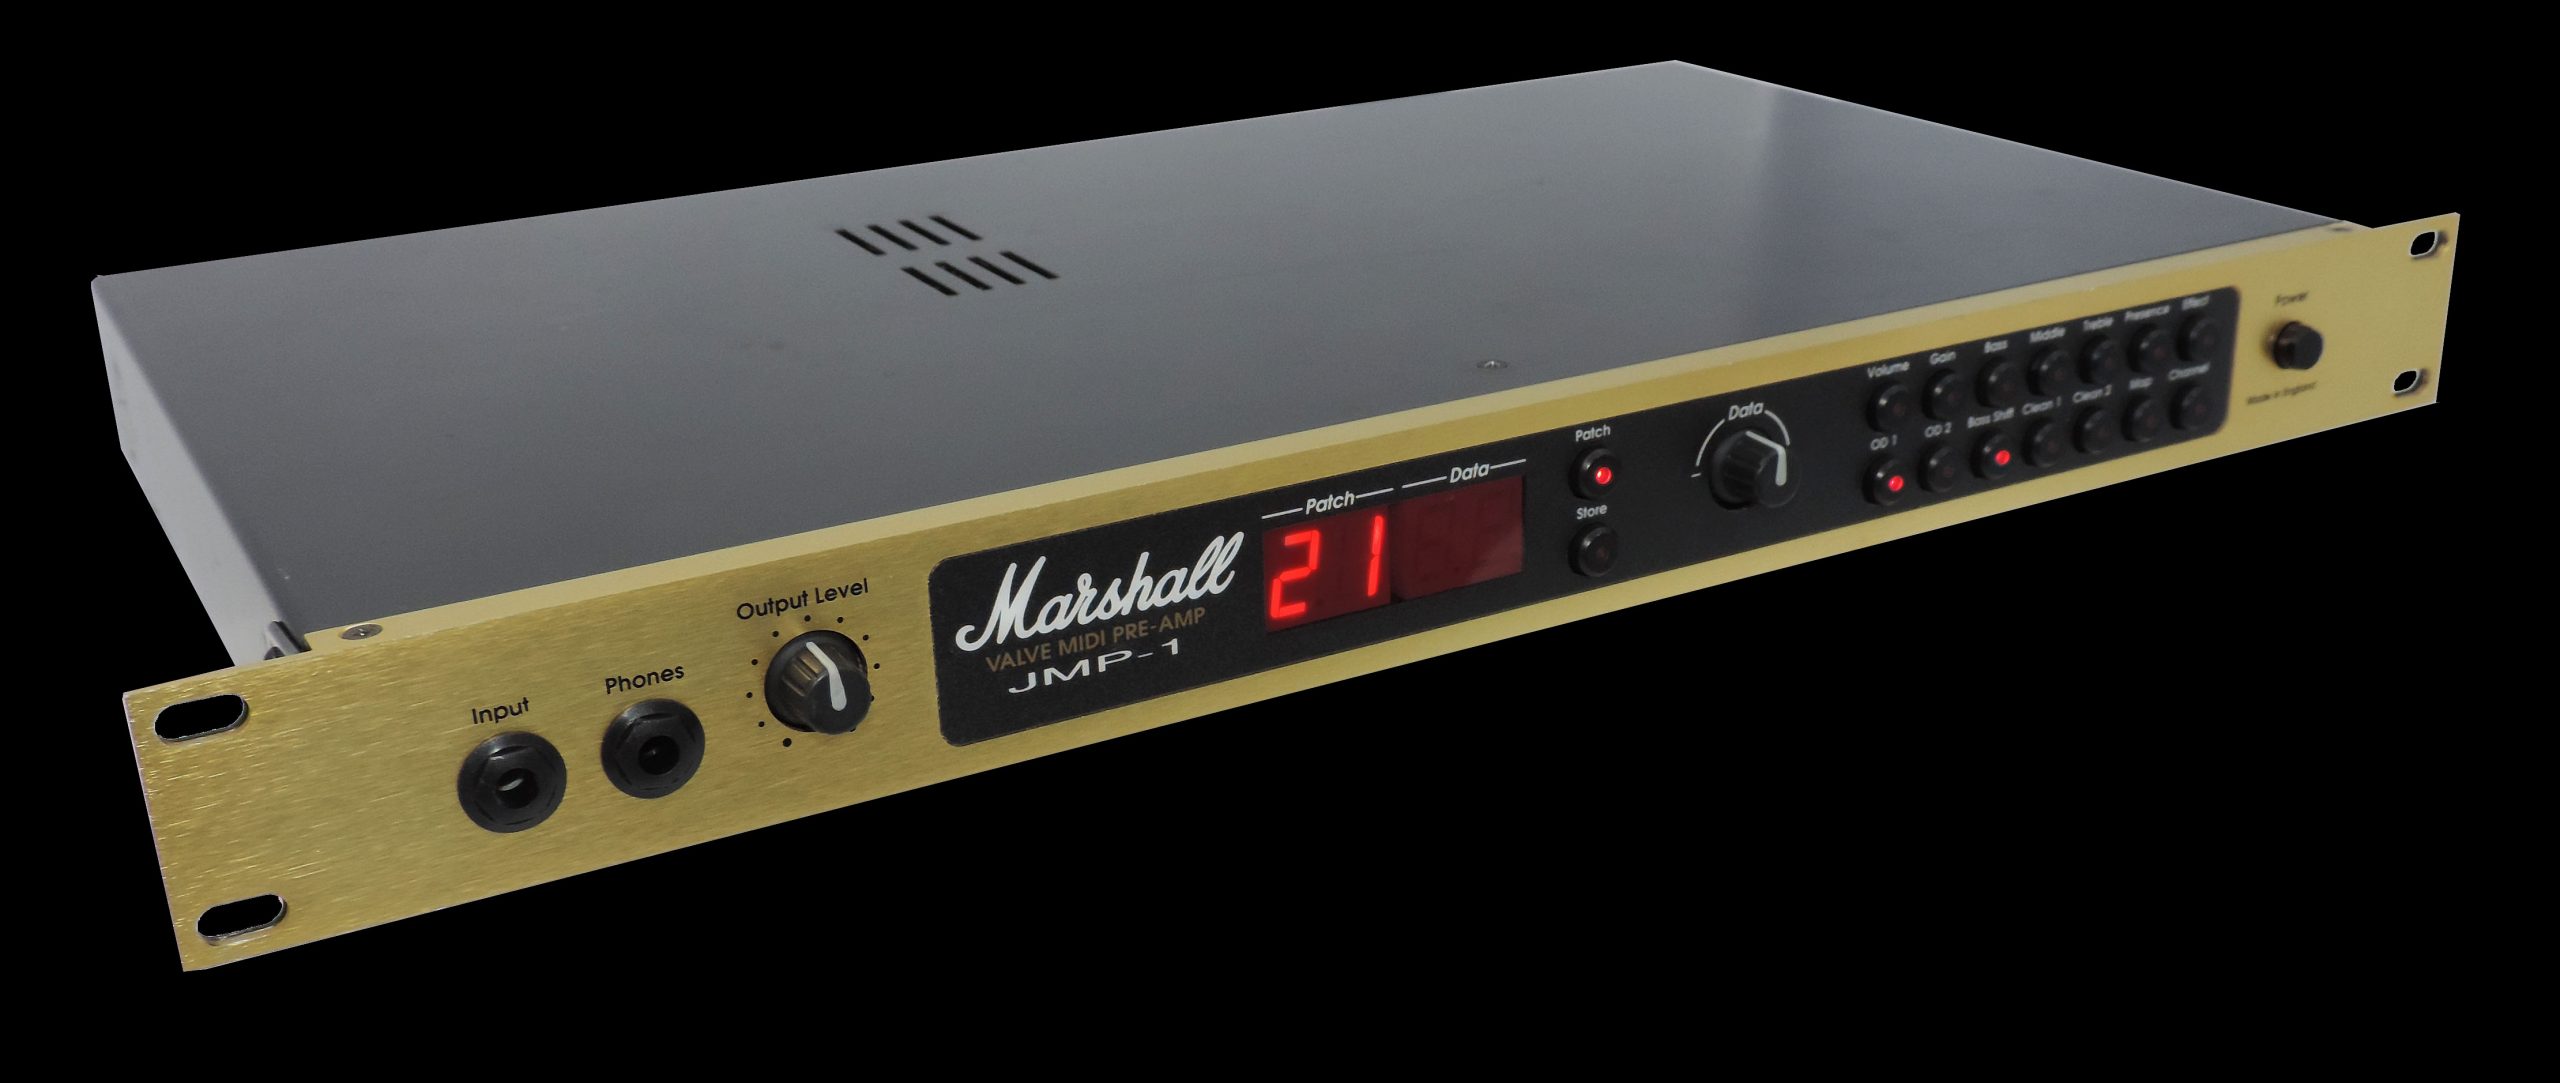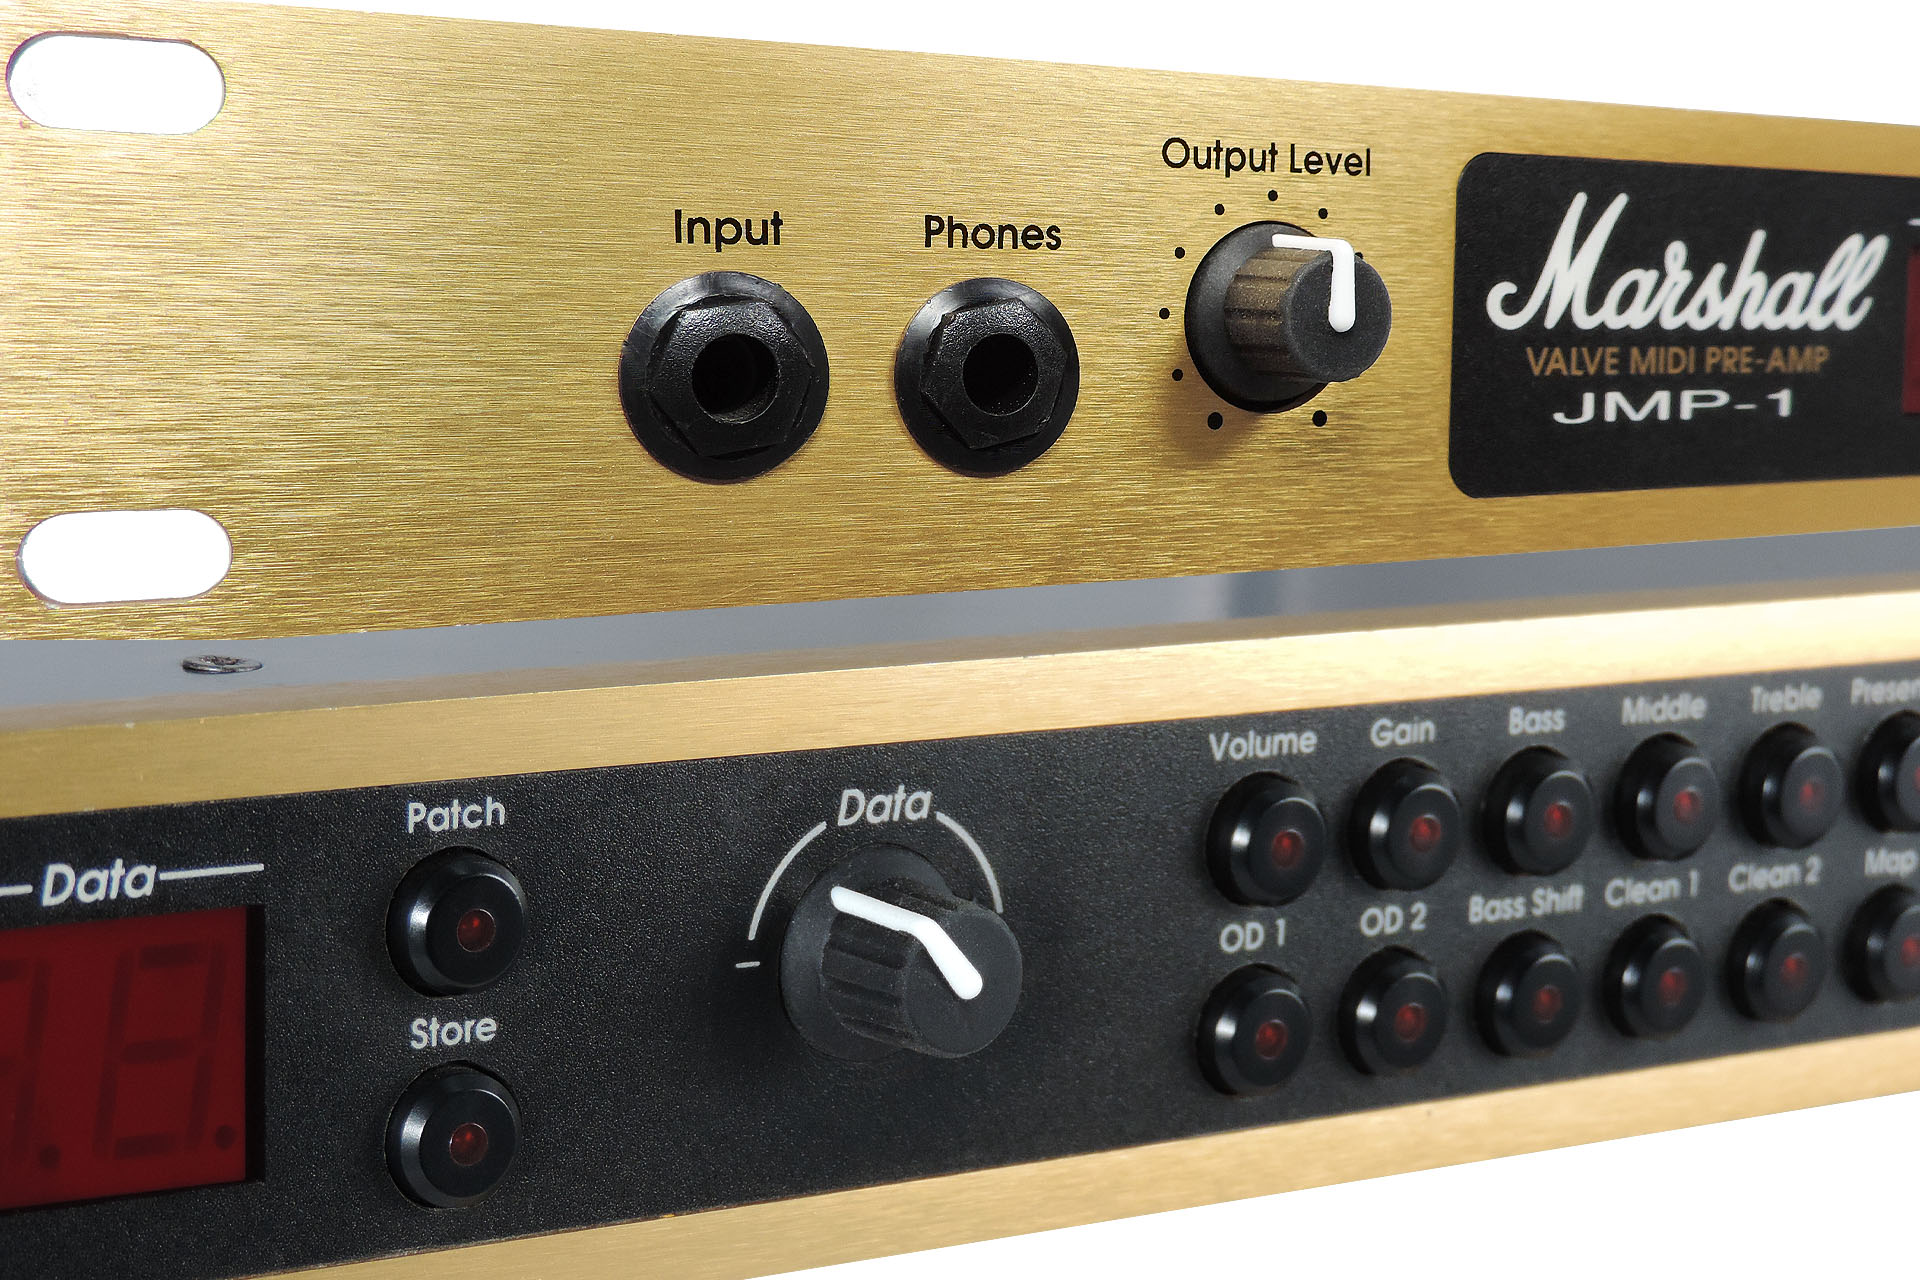
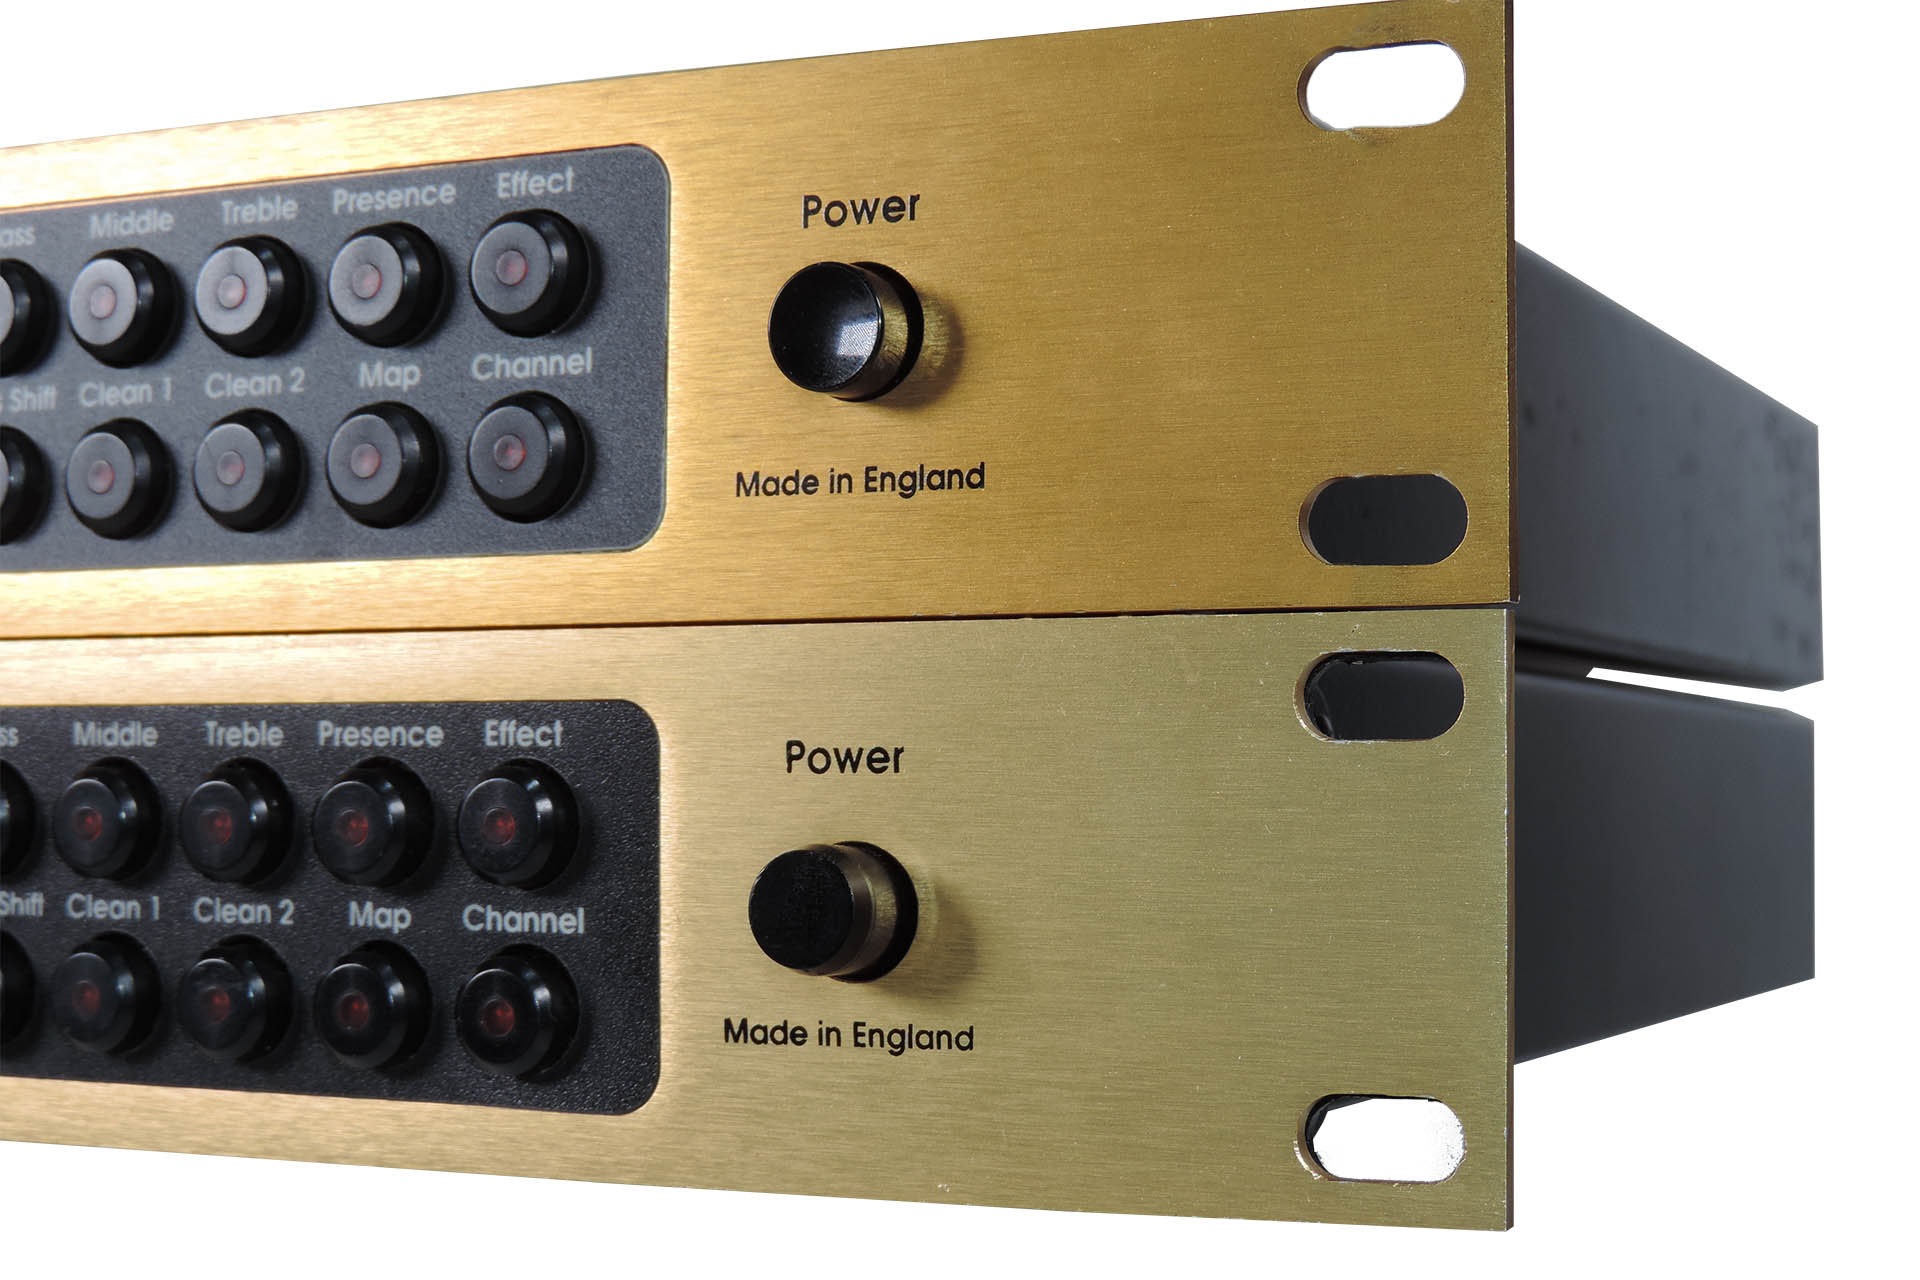
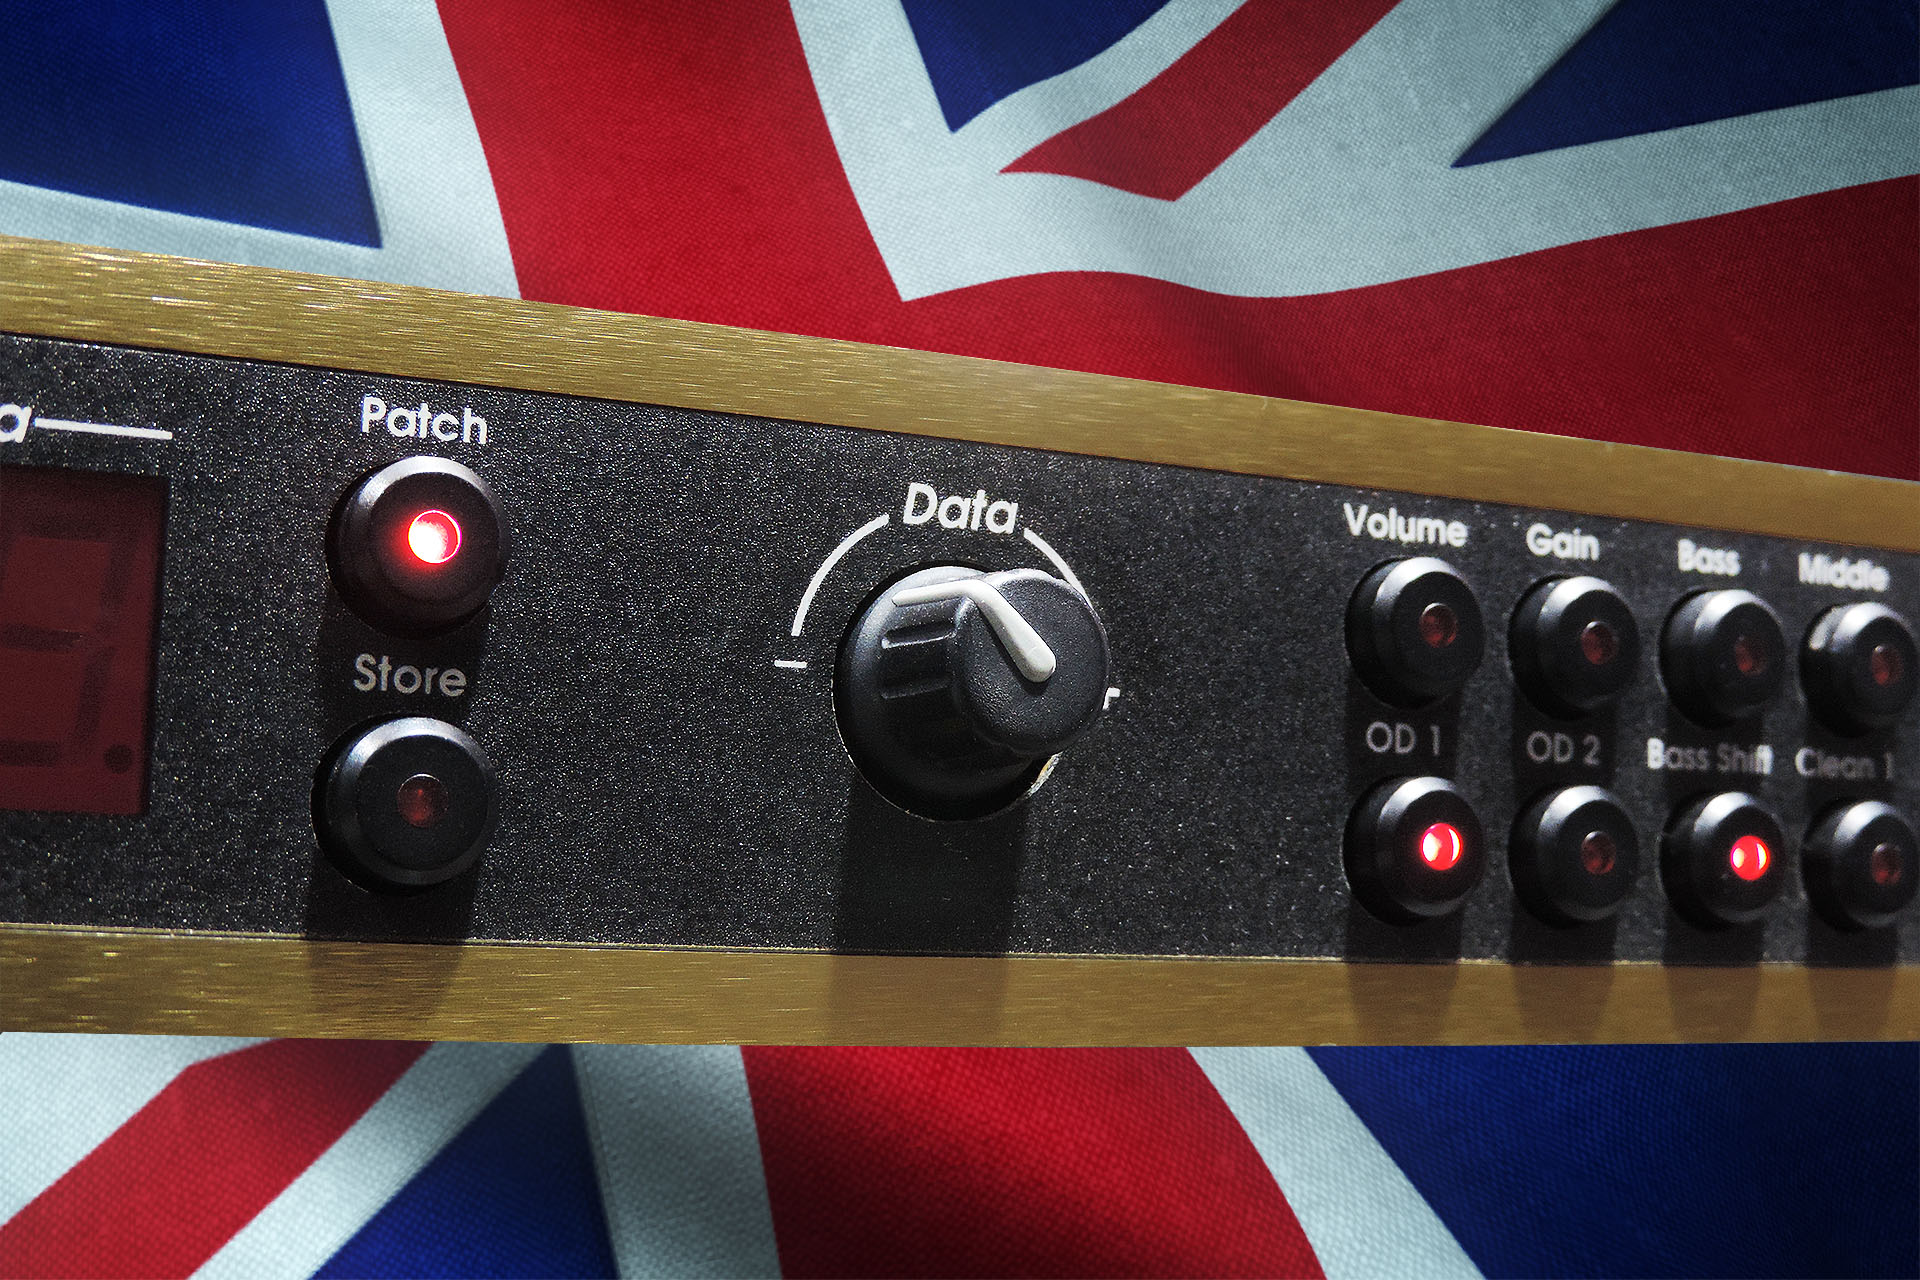
Polaris balanced outputs for the Marshall JMP-1 gives our favourite MIDI valve pre-amp something that it should have had thirty-two years ago!
So why didn't Marshall do this in the first place? Well, perhaps for the same reason that many manufacturers at the time, didn't put balanced outputs on their gear. Yeah, I'm none the wiser either!
Anyone with professional music performance or recording experience, will be aware that balanced audio connections aren't just used extensively in any big live set-up or recording studio but are pretty standard in those environments. In my own studio, EVERYTHING is balanced.
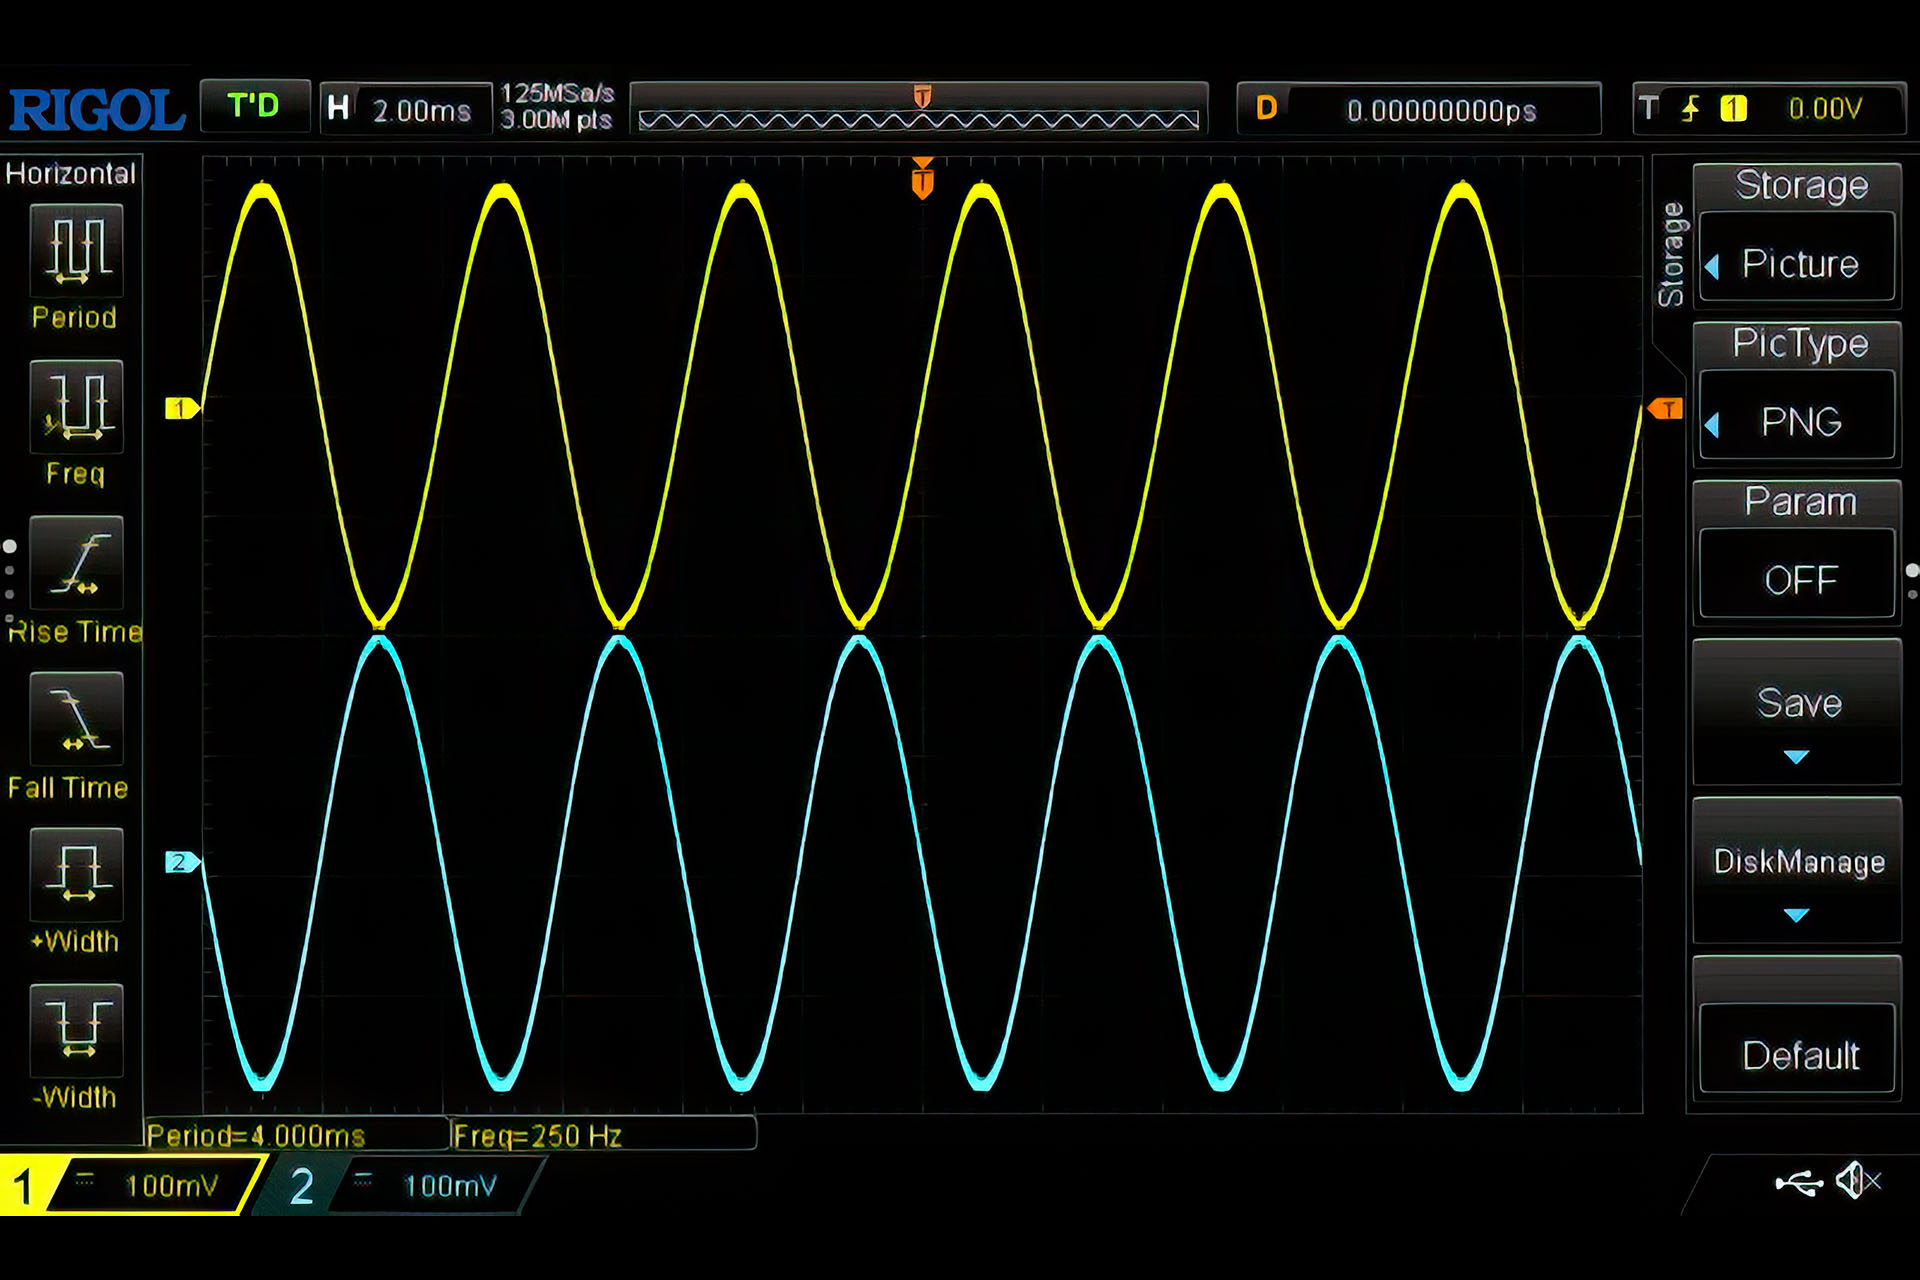
Balanced signals provide increased immunity to external noise, deliver a signal that's +6dB hotter than the unbalanced equivalent and are low-impedance so can run long distances.
The Marshall JMP-1's outputs already have the option to switch to +4dB so to have them balanced makes sense.
SO WHAT DOES BALANCED ACTUALLY MEAN?
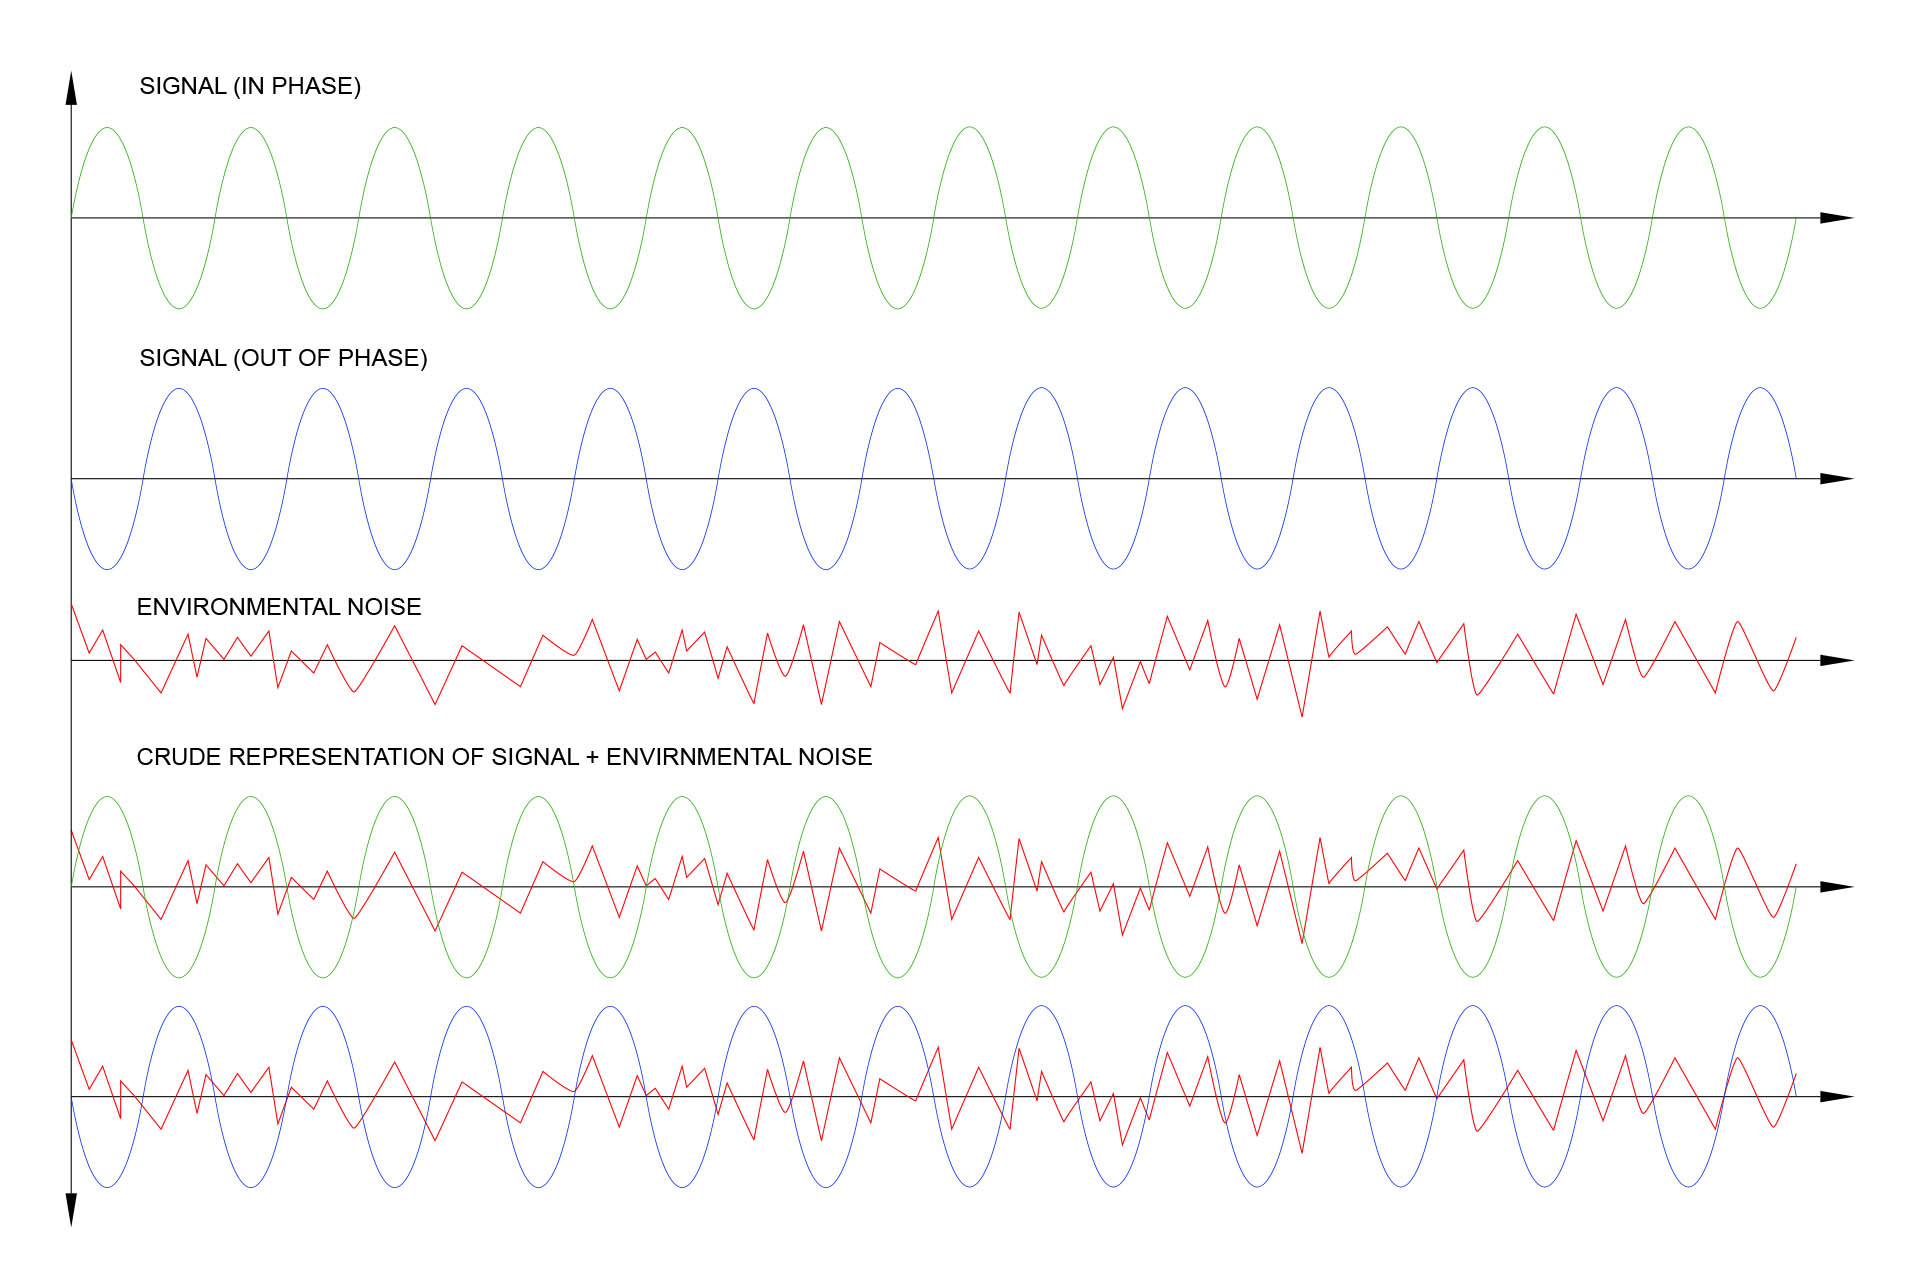
Firstly, unlike a normal (unbalanced) connection which comprises a single signal conductor and a return conductor (usually a screen), a balanced connection has three wires; an in-phase signal carrying conductor, an out-of-phase signal carrying conductor and of course, a screen.
Looking at a normal audio connection, any noise can be picked up by the single signal conductor, even through the screen. This will be passed on to the input of the destination device, like a mixer, for example.
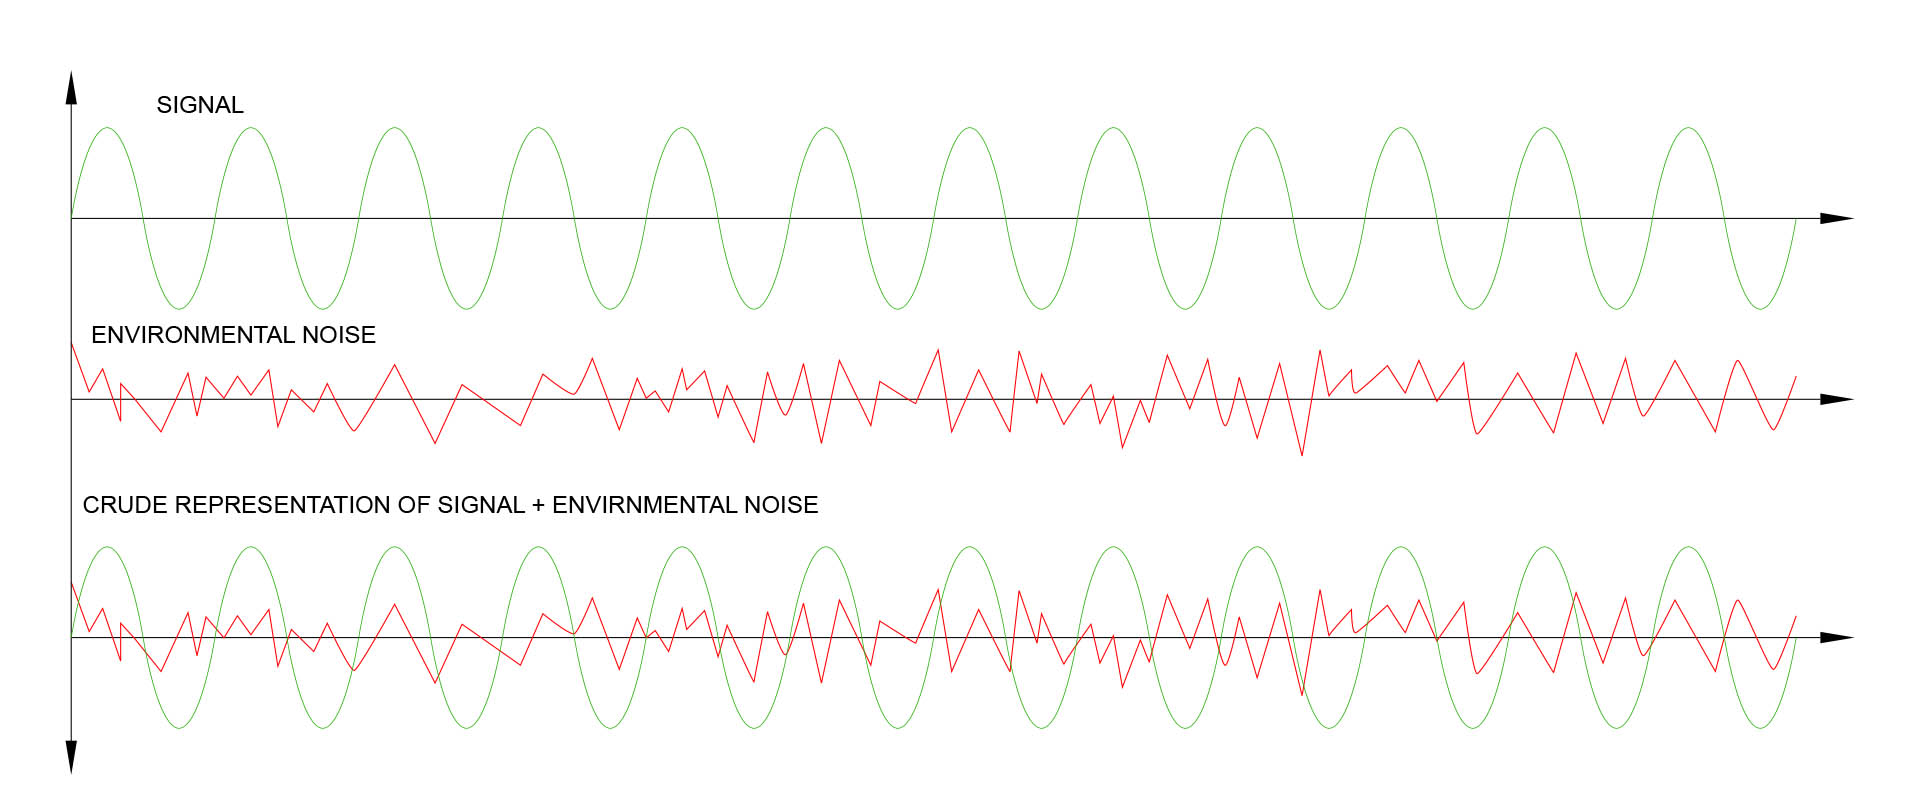
On the other hand, any noise picked up by the two signal conducting lines in a balanced system, will appear equally in amplitude and phase on both lines. When fed into a differential amplifier (balanced input) all signals common to both lines, are removed and the only signal that's common to both lines is noise that's been picked up between the outputs of our sending device and the inputs of the receiving device. That's fundamentally, how balanced lines works.
There is a third advantage to using balanced lines; balanced systems are low-impedance and without going into even more physics, they're able to drive signals over much longer distances than high-impedance systems.
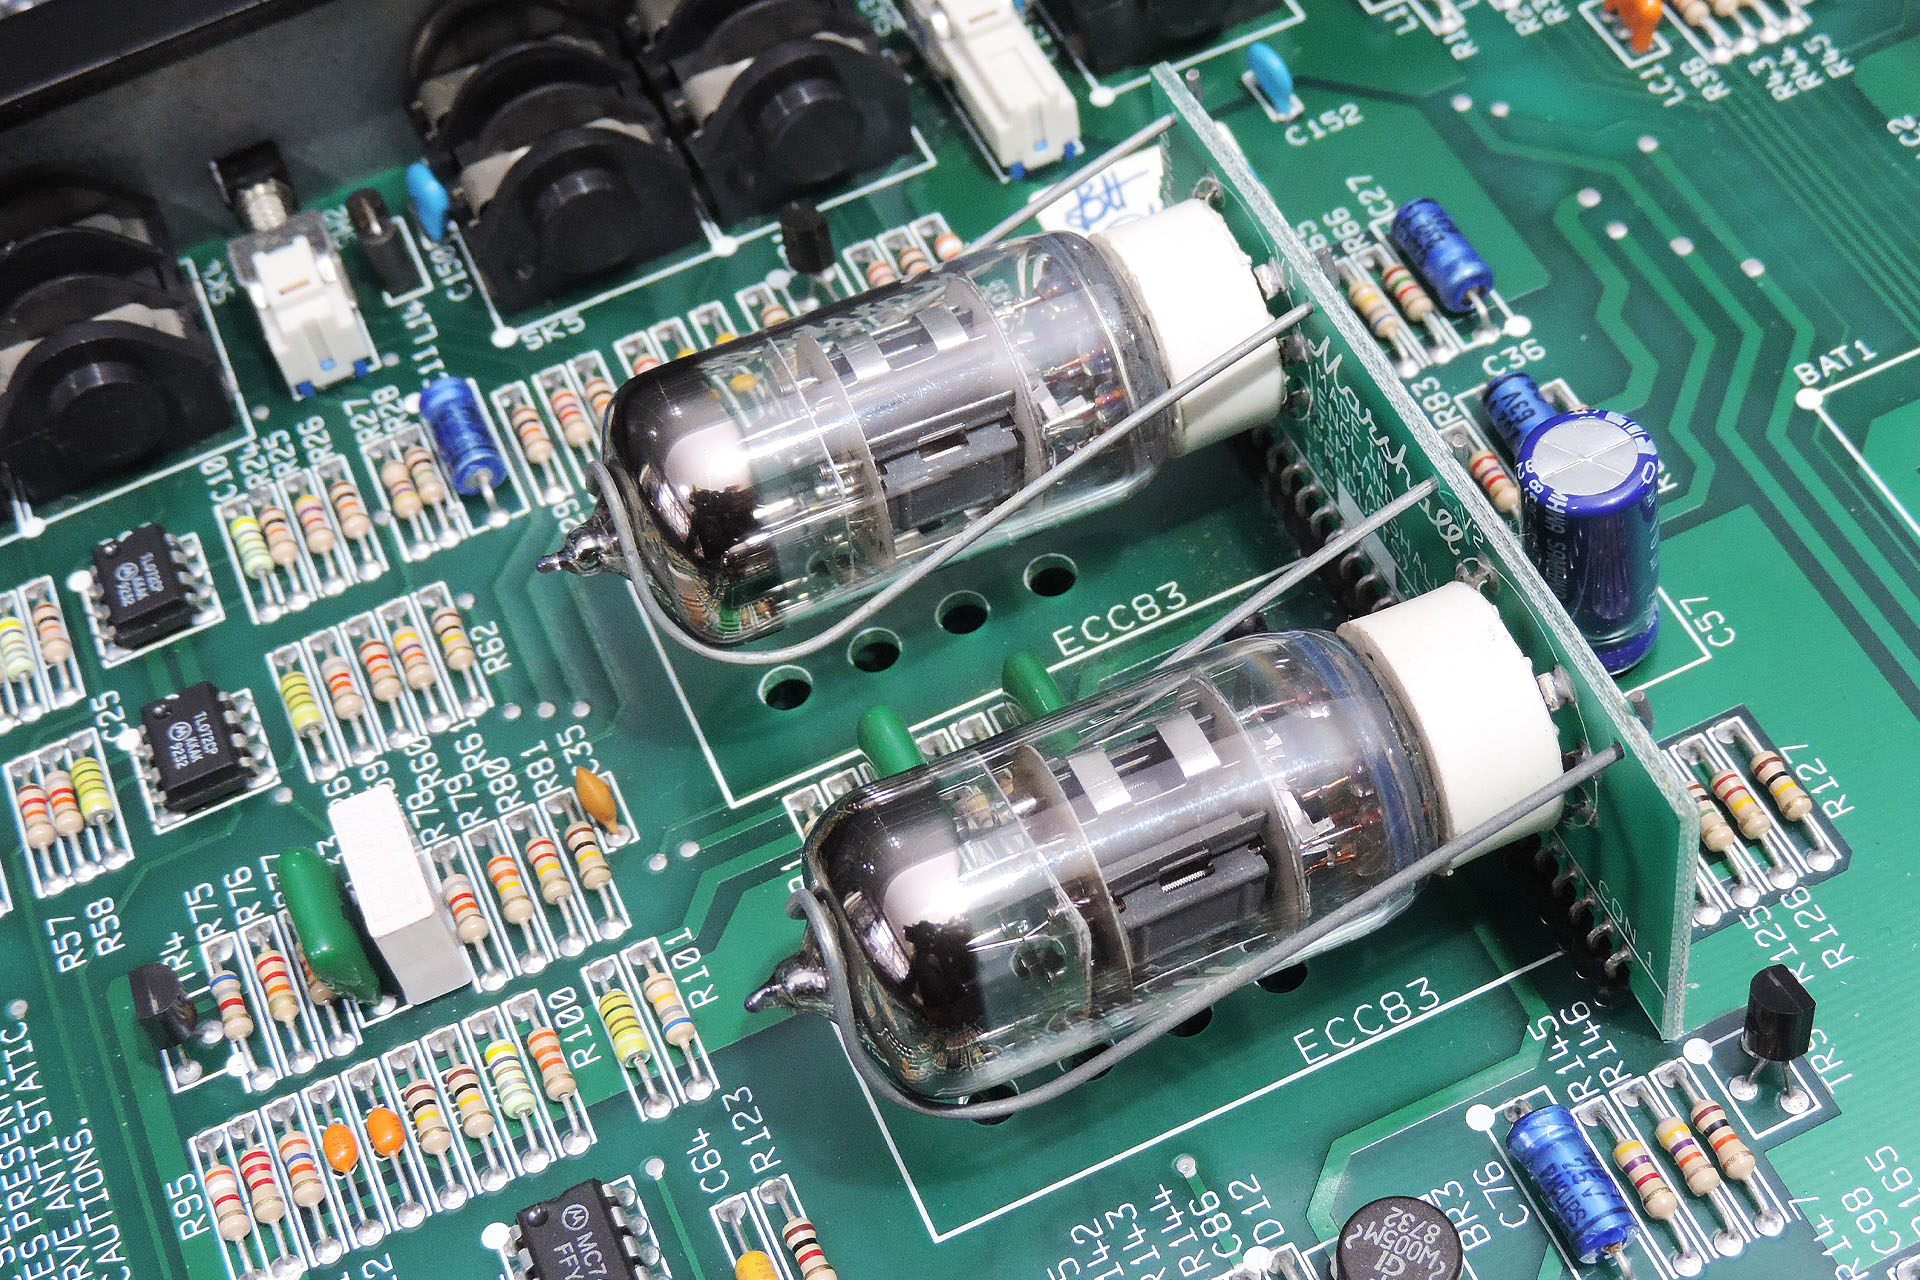
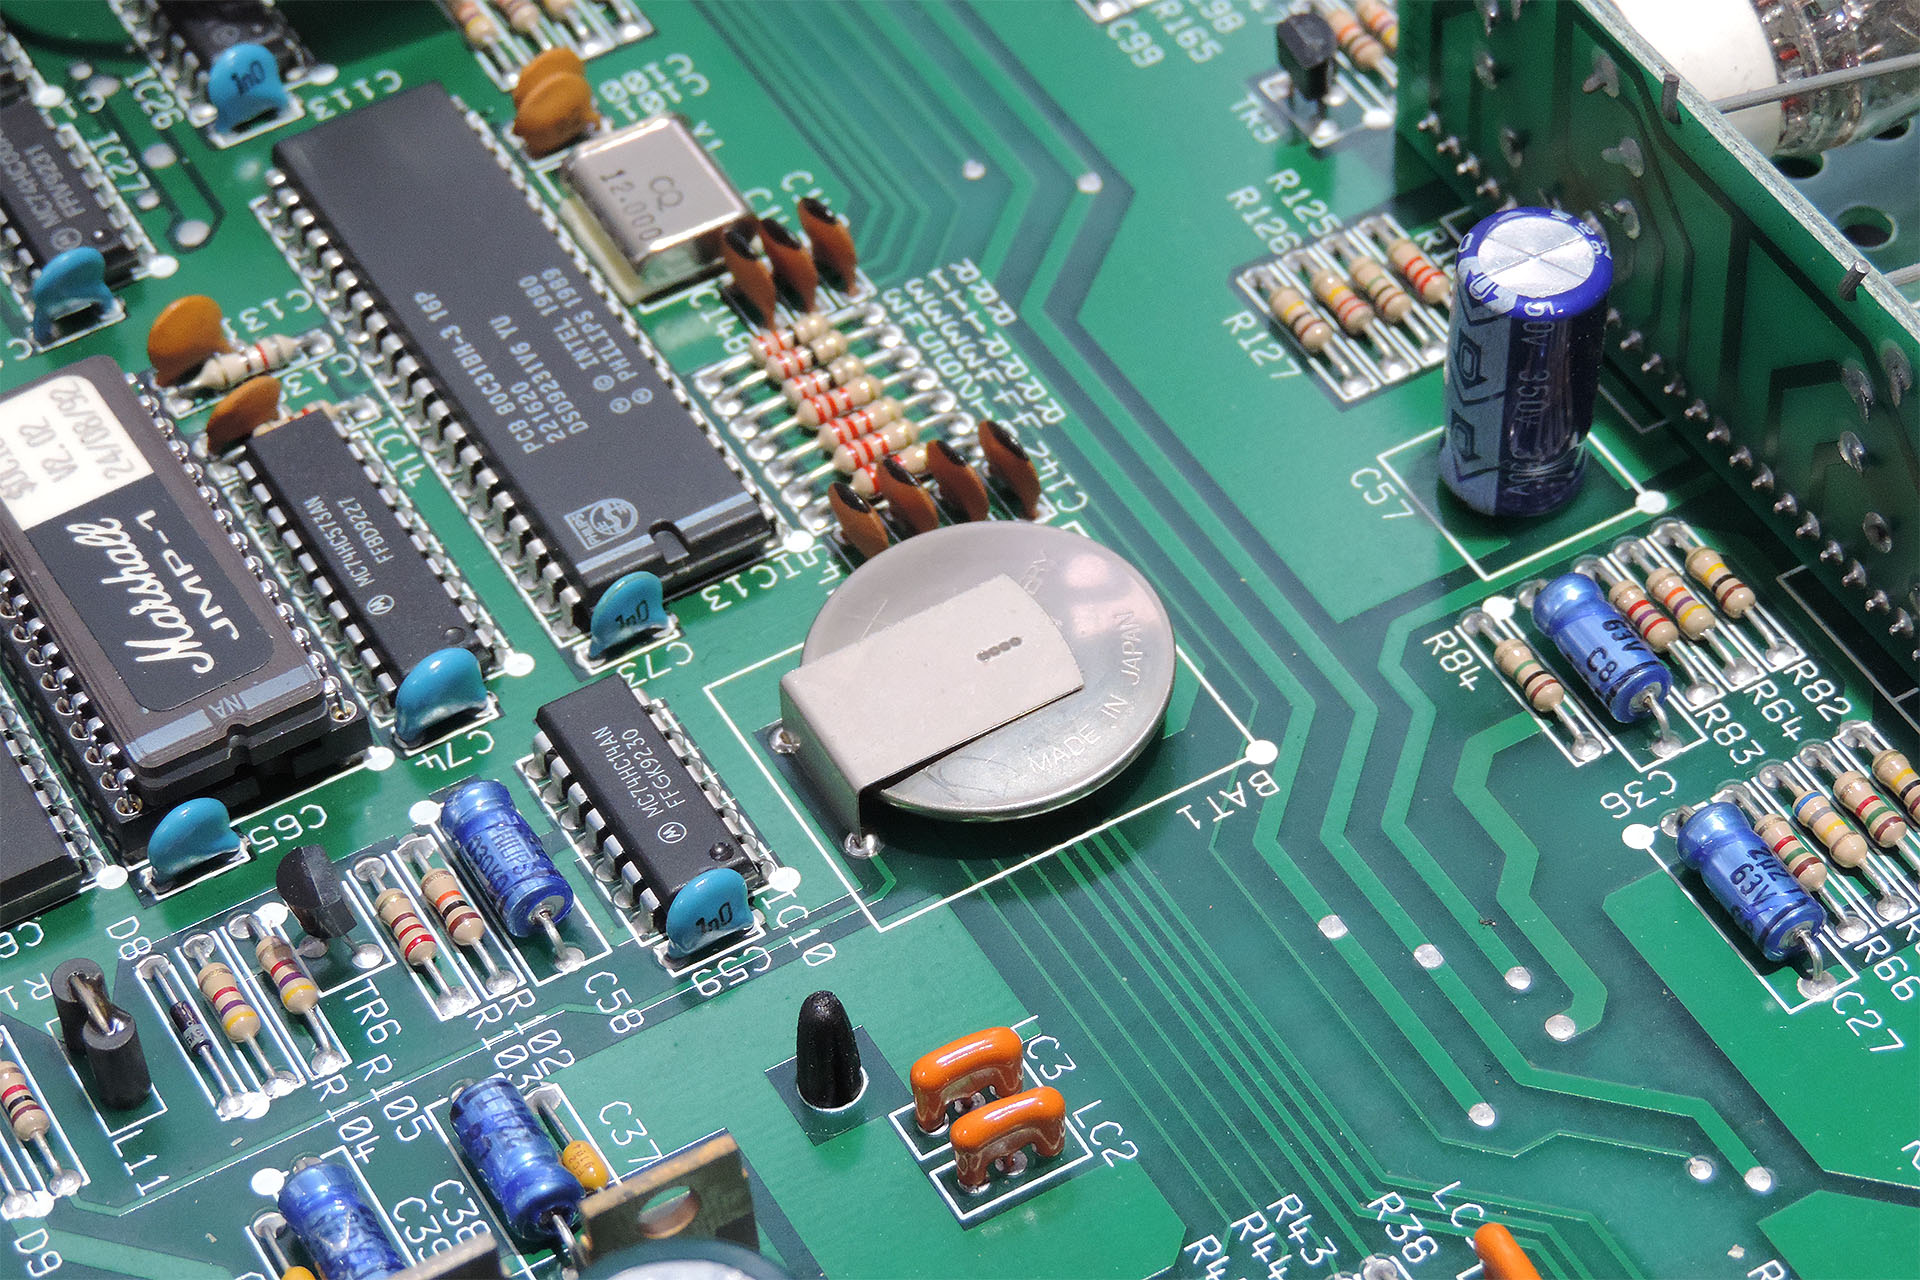
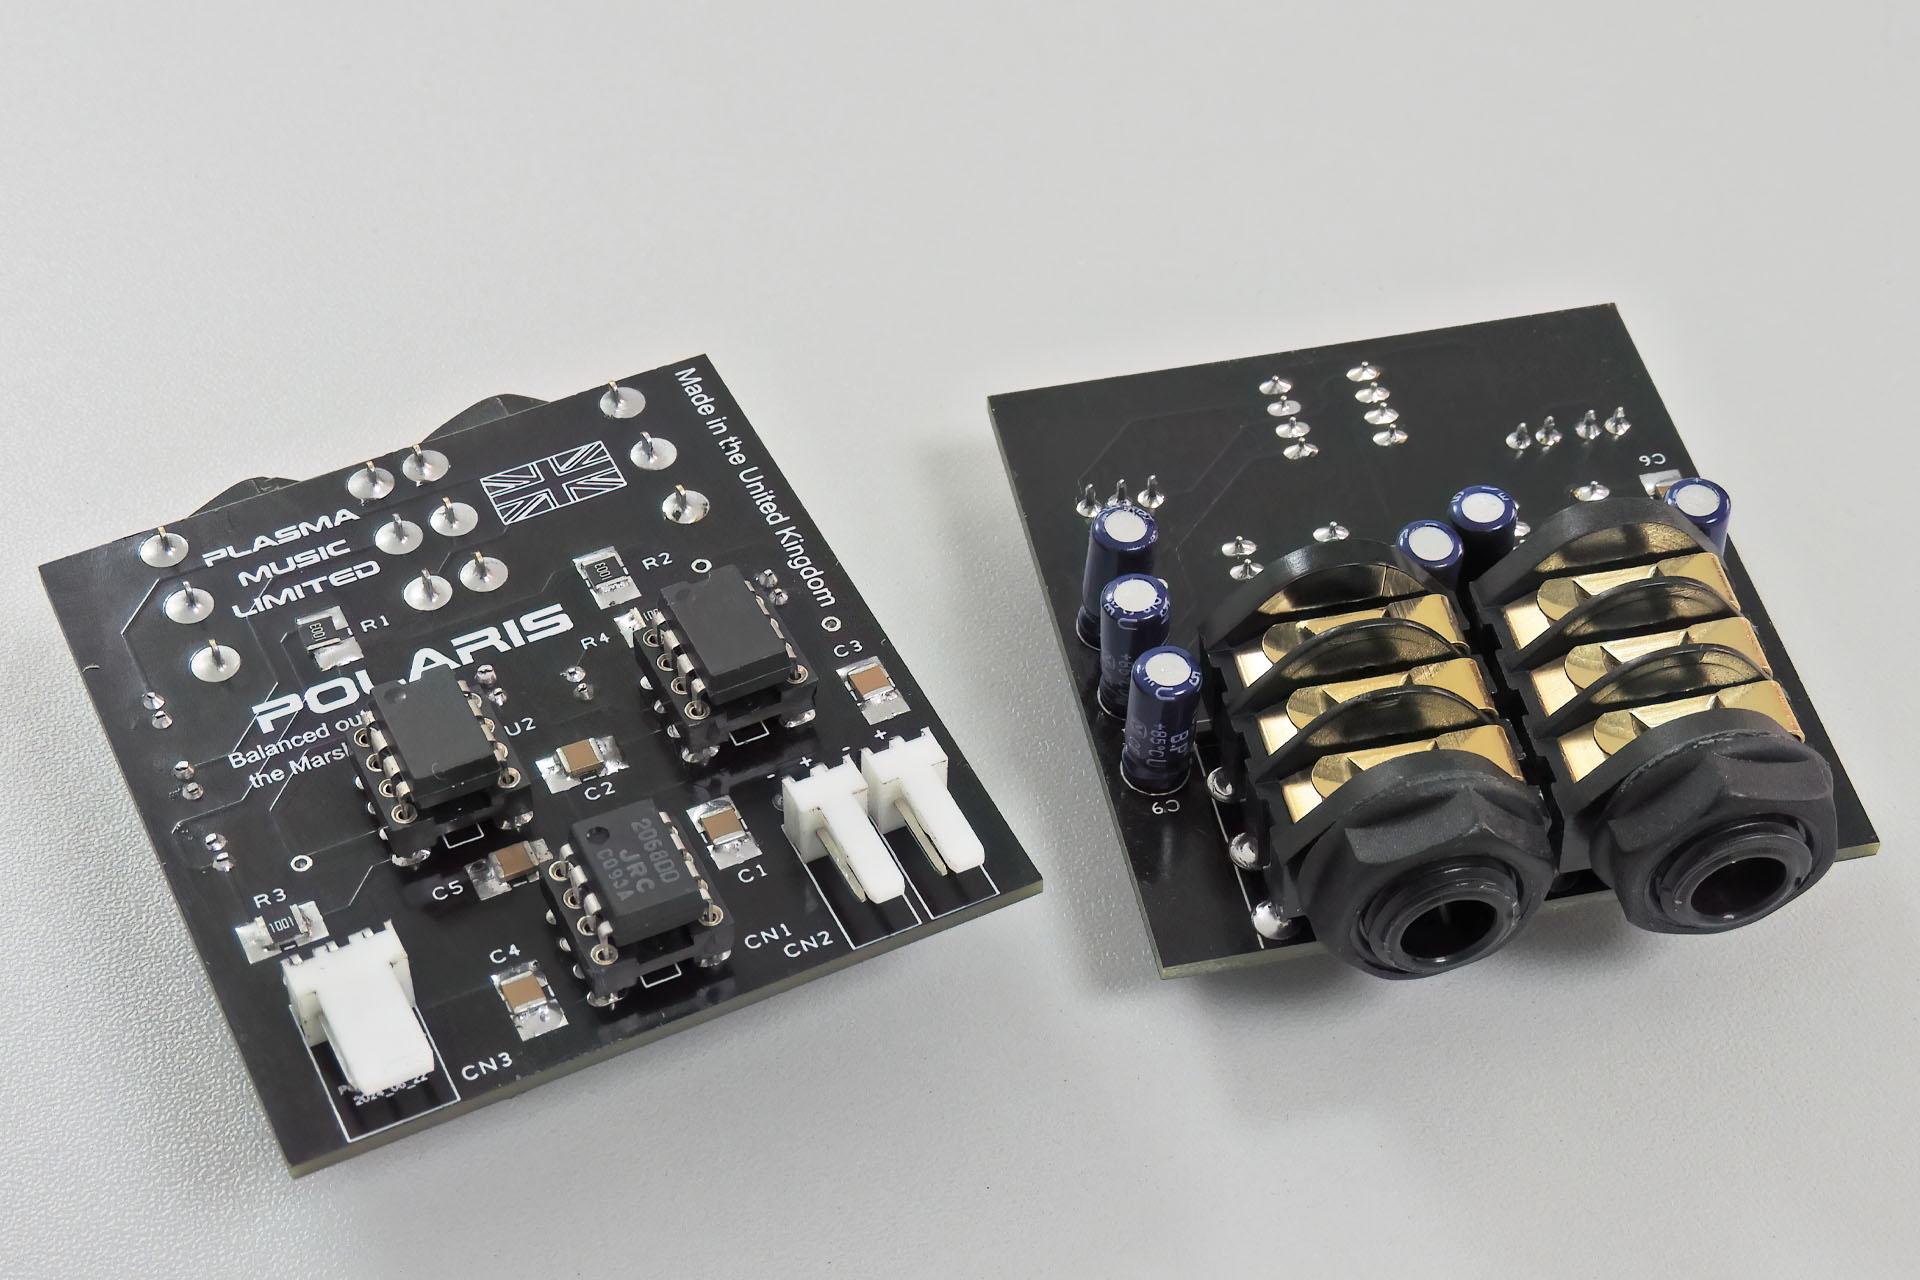
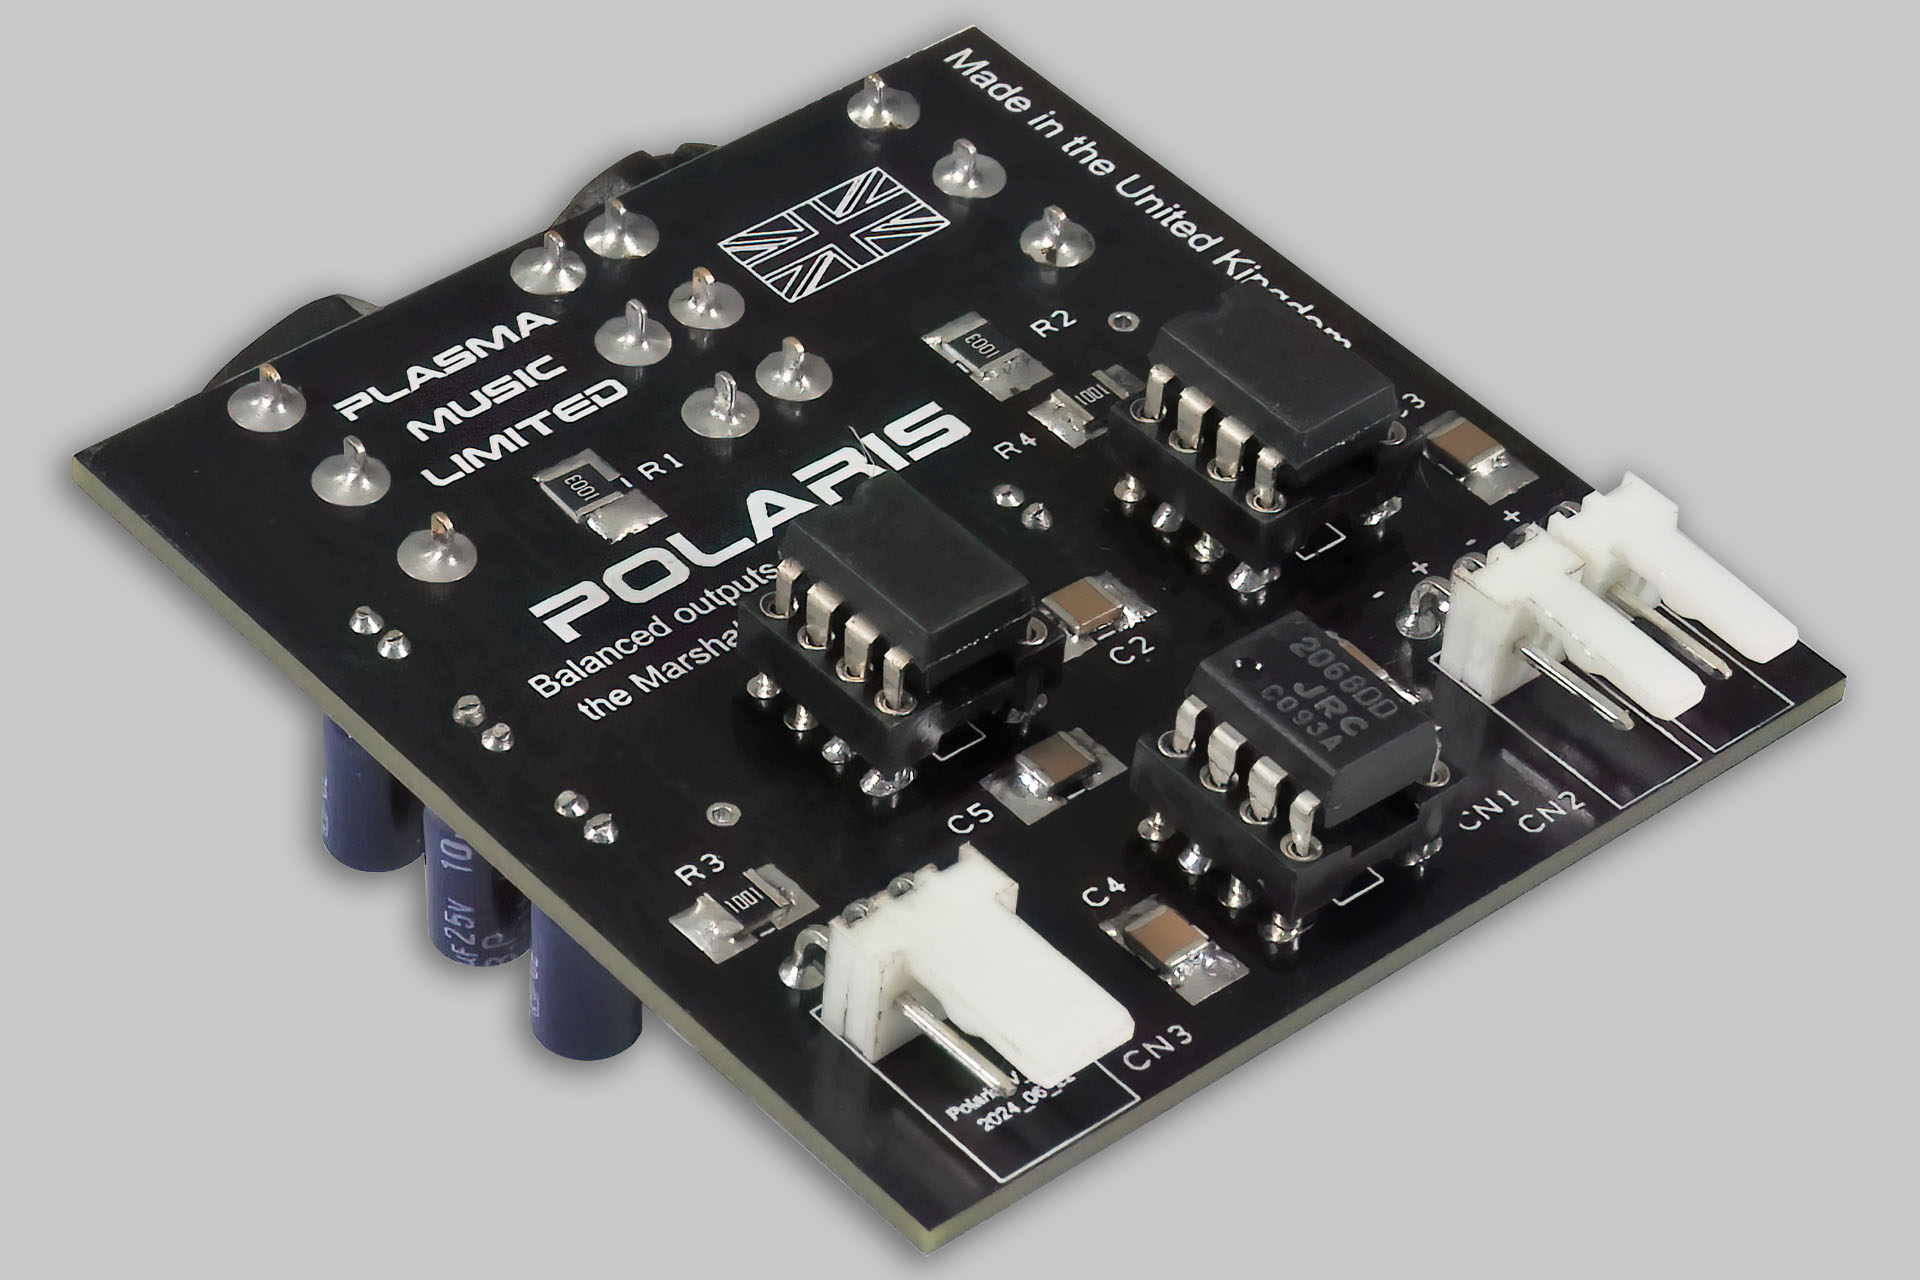
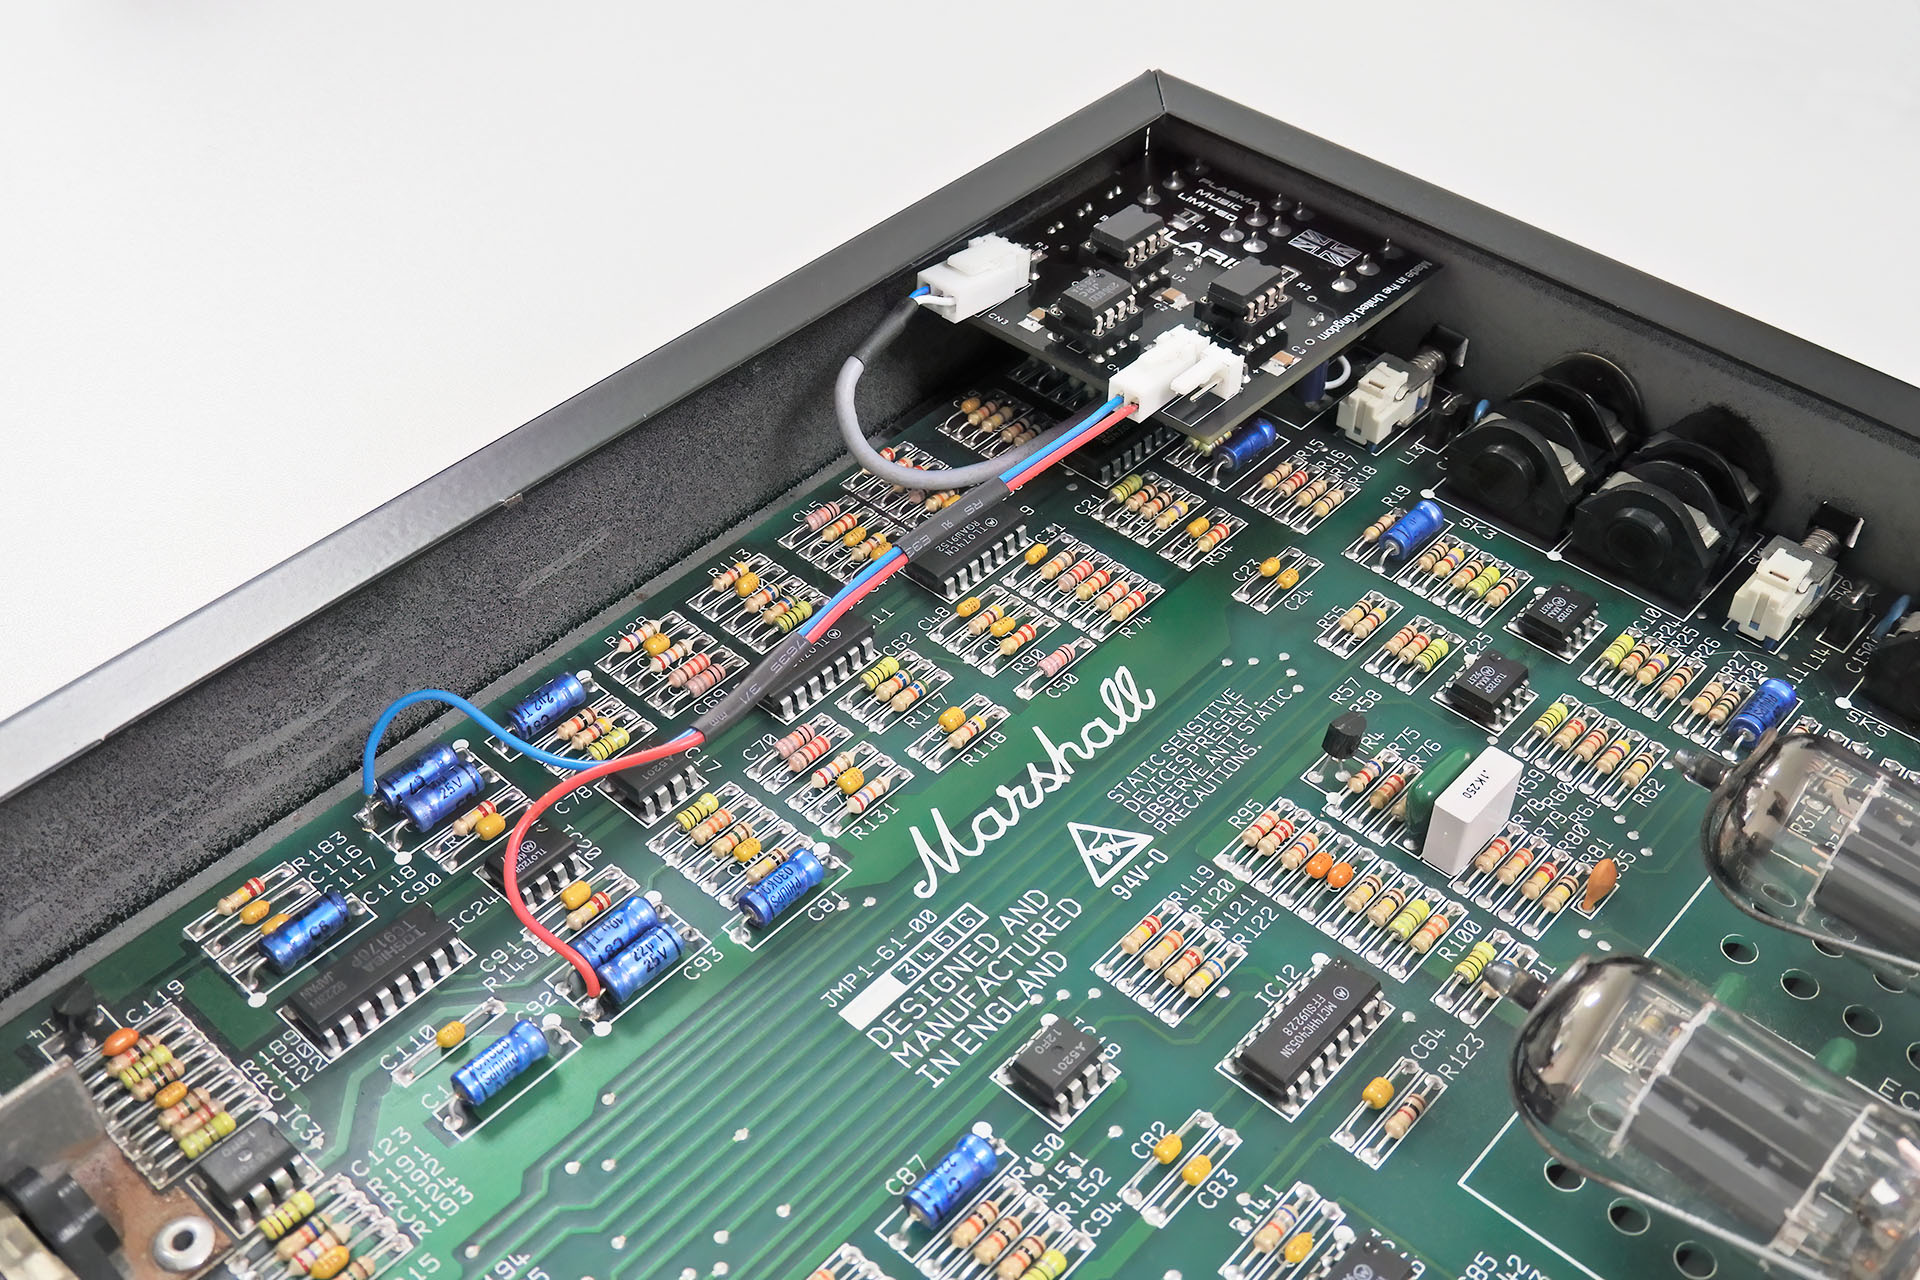
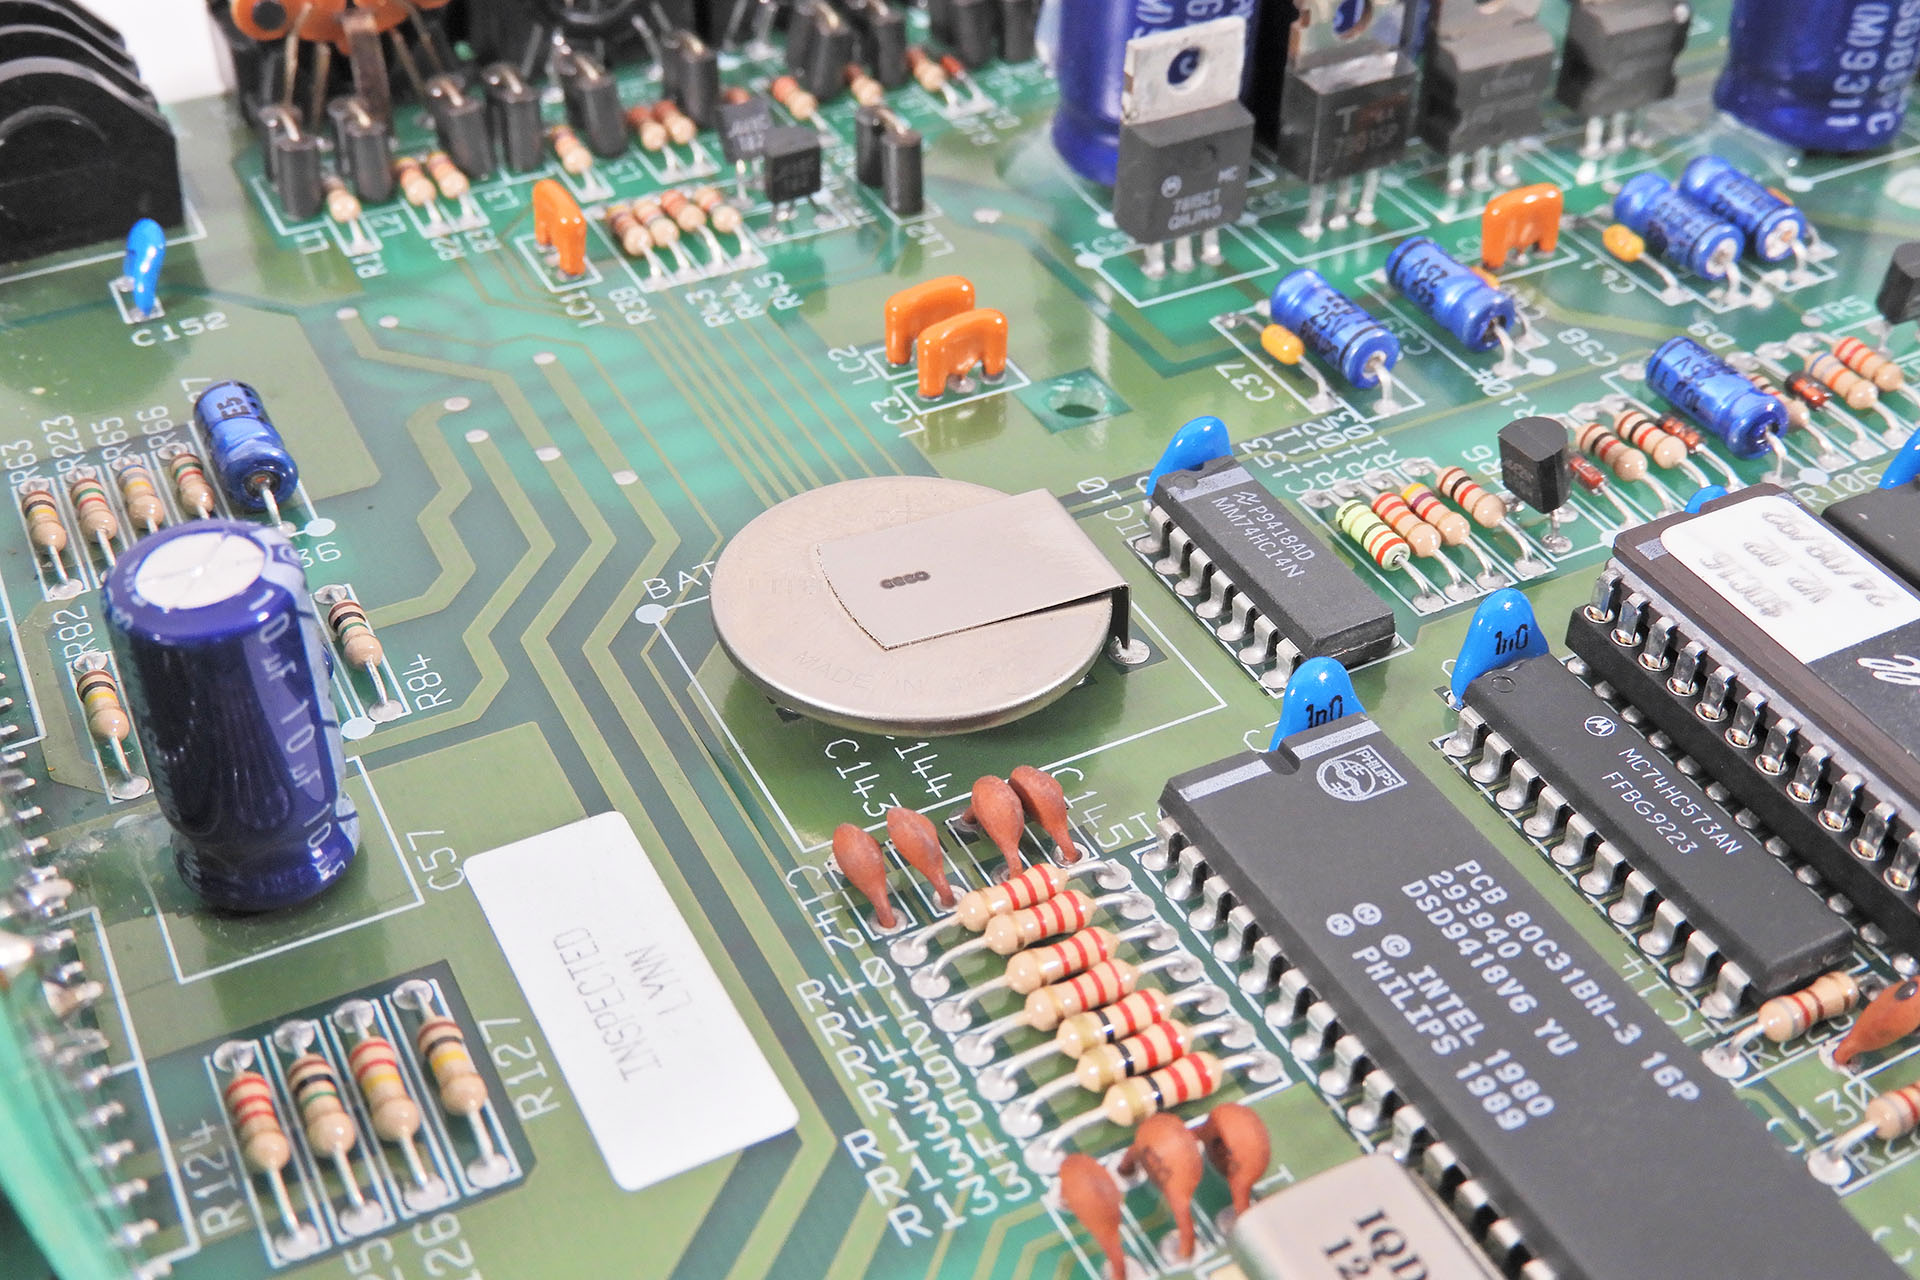
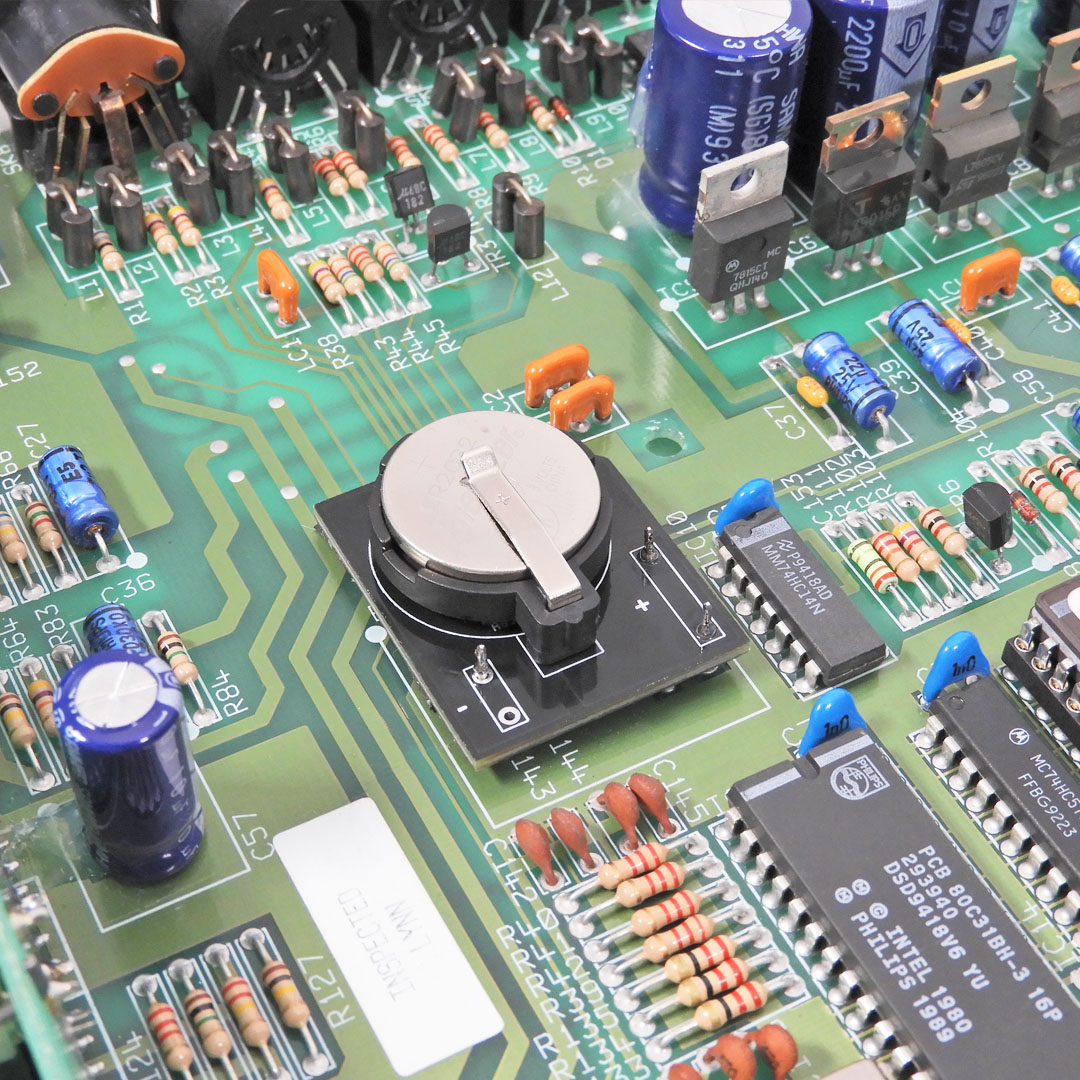
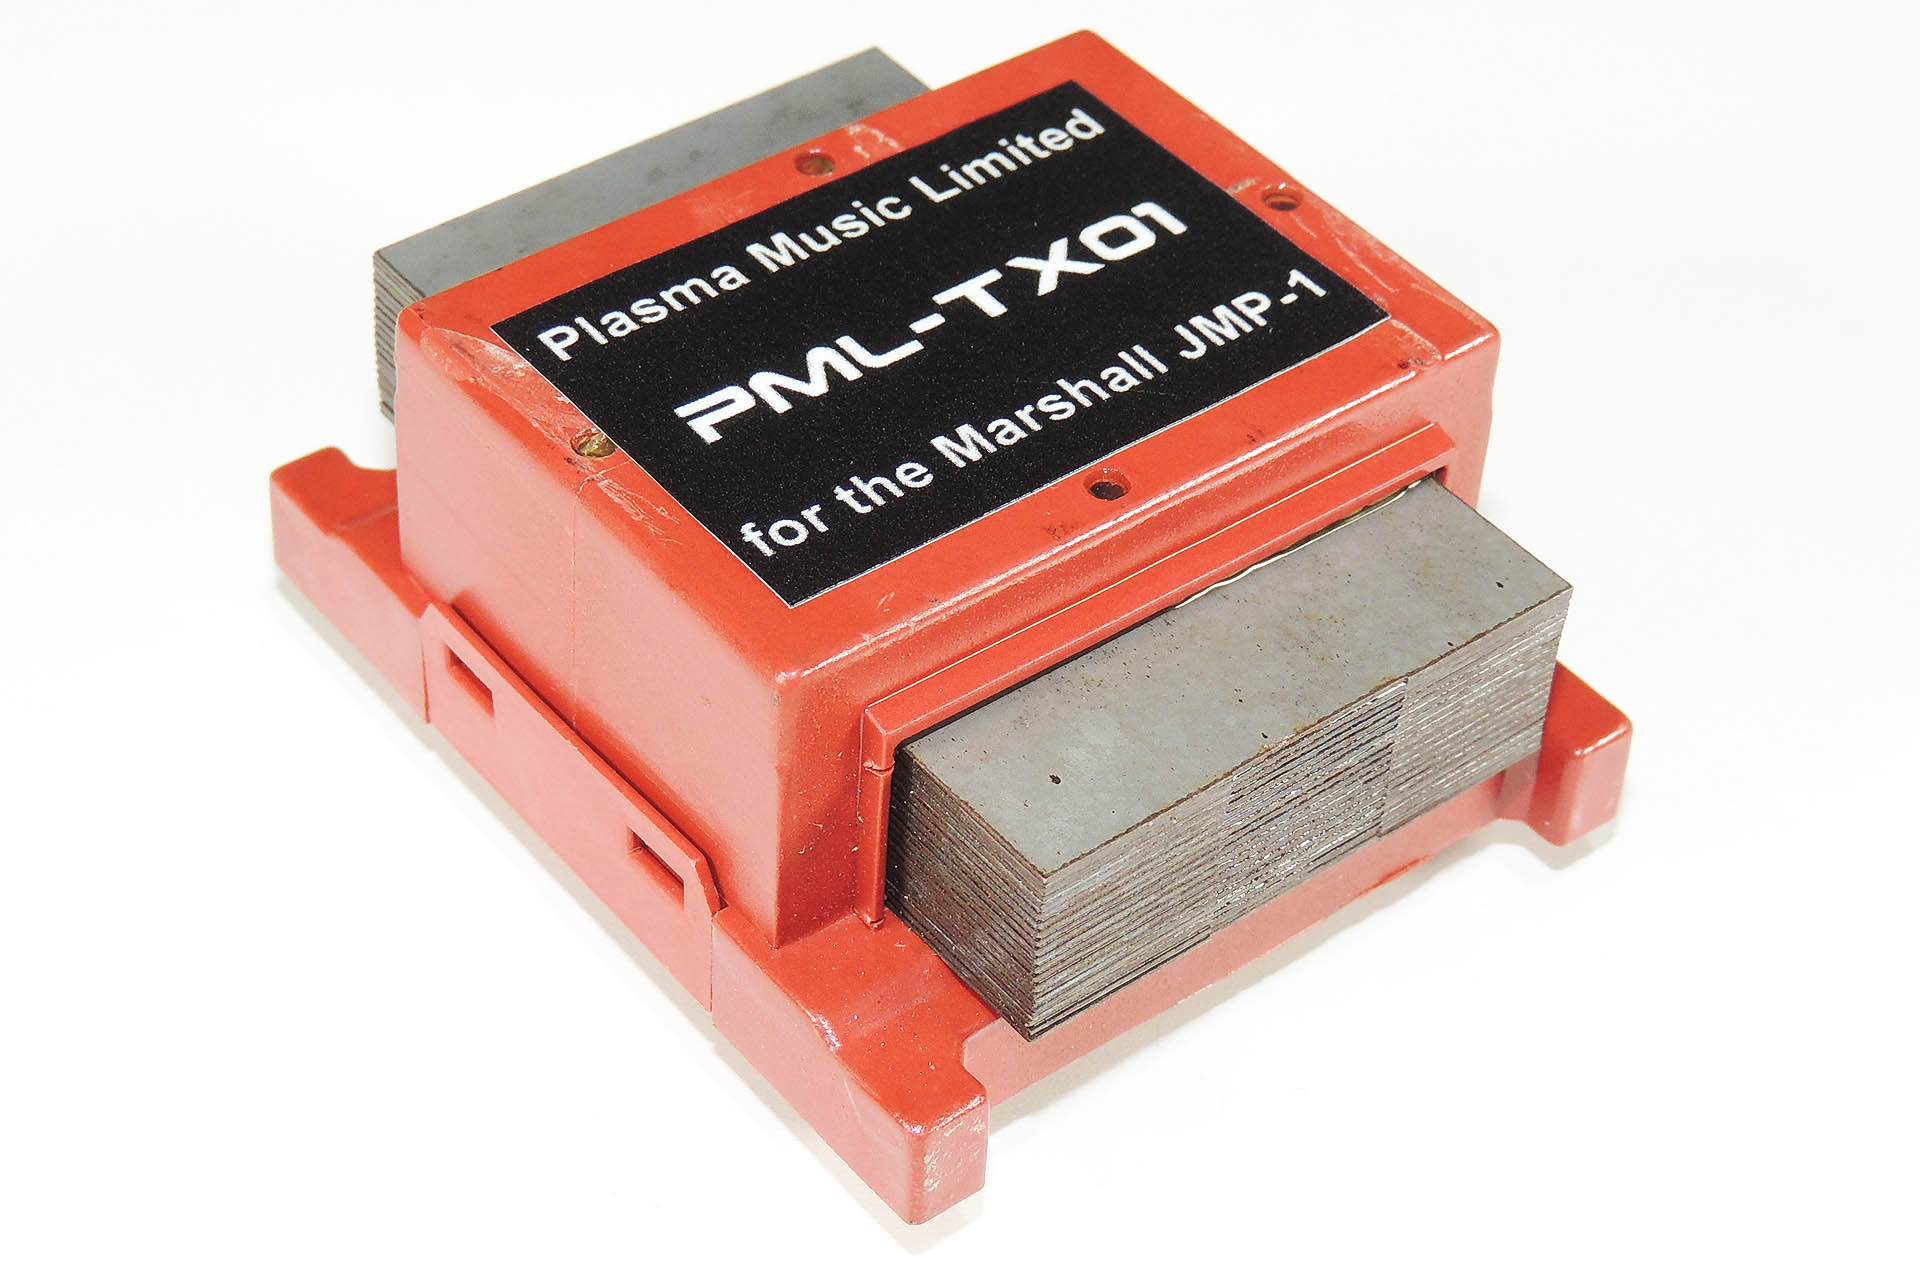
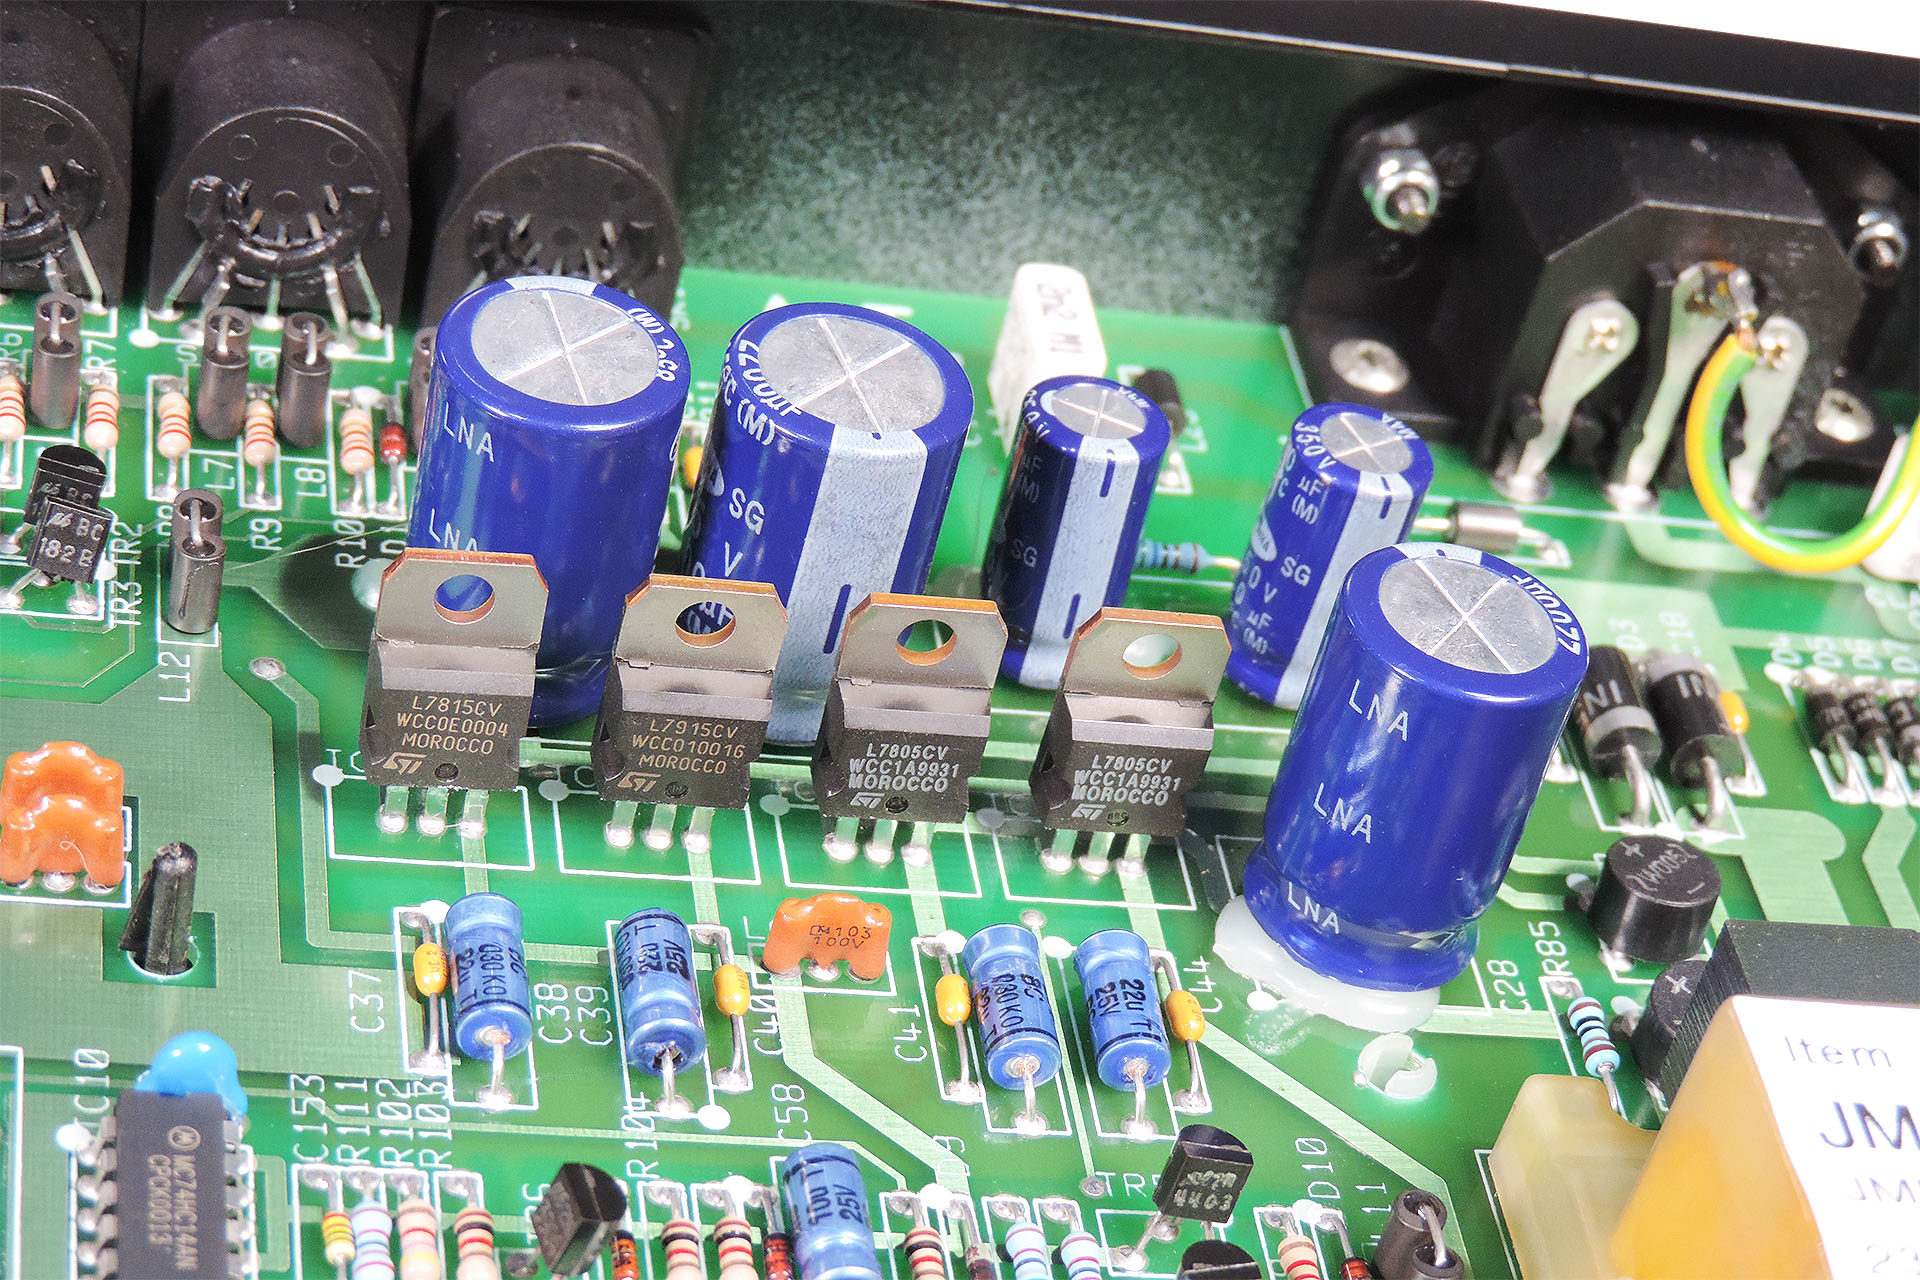
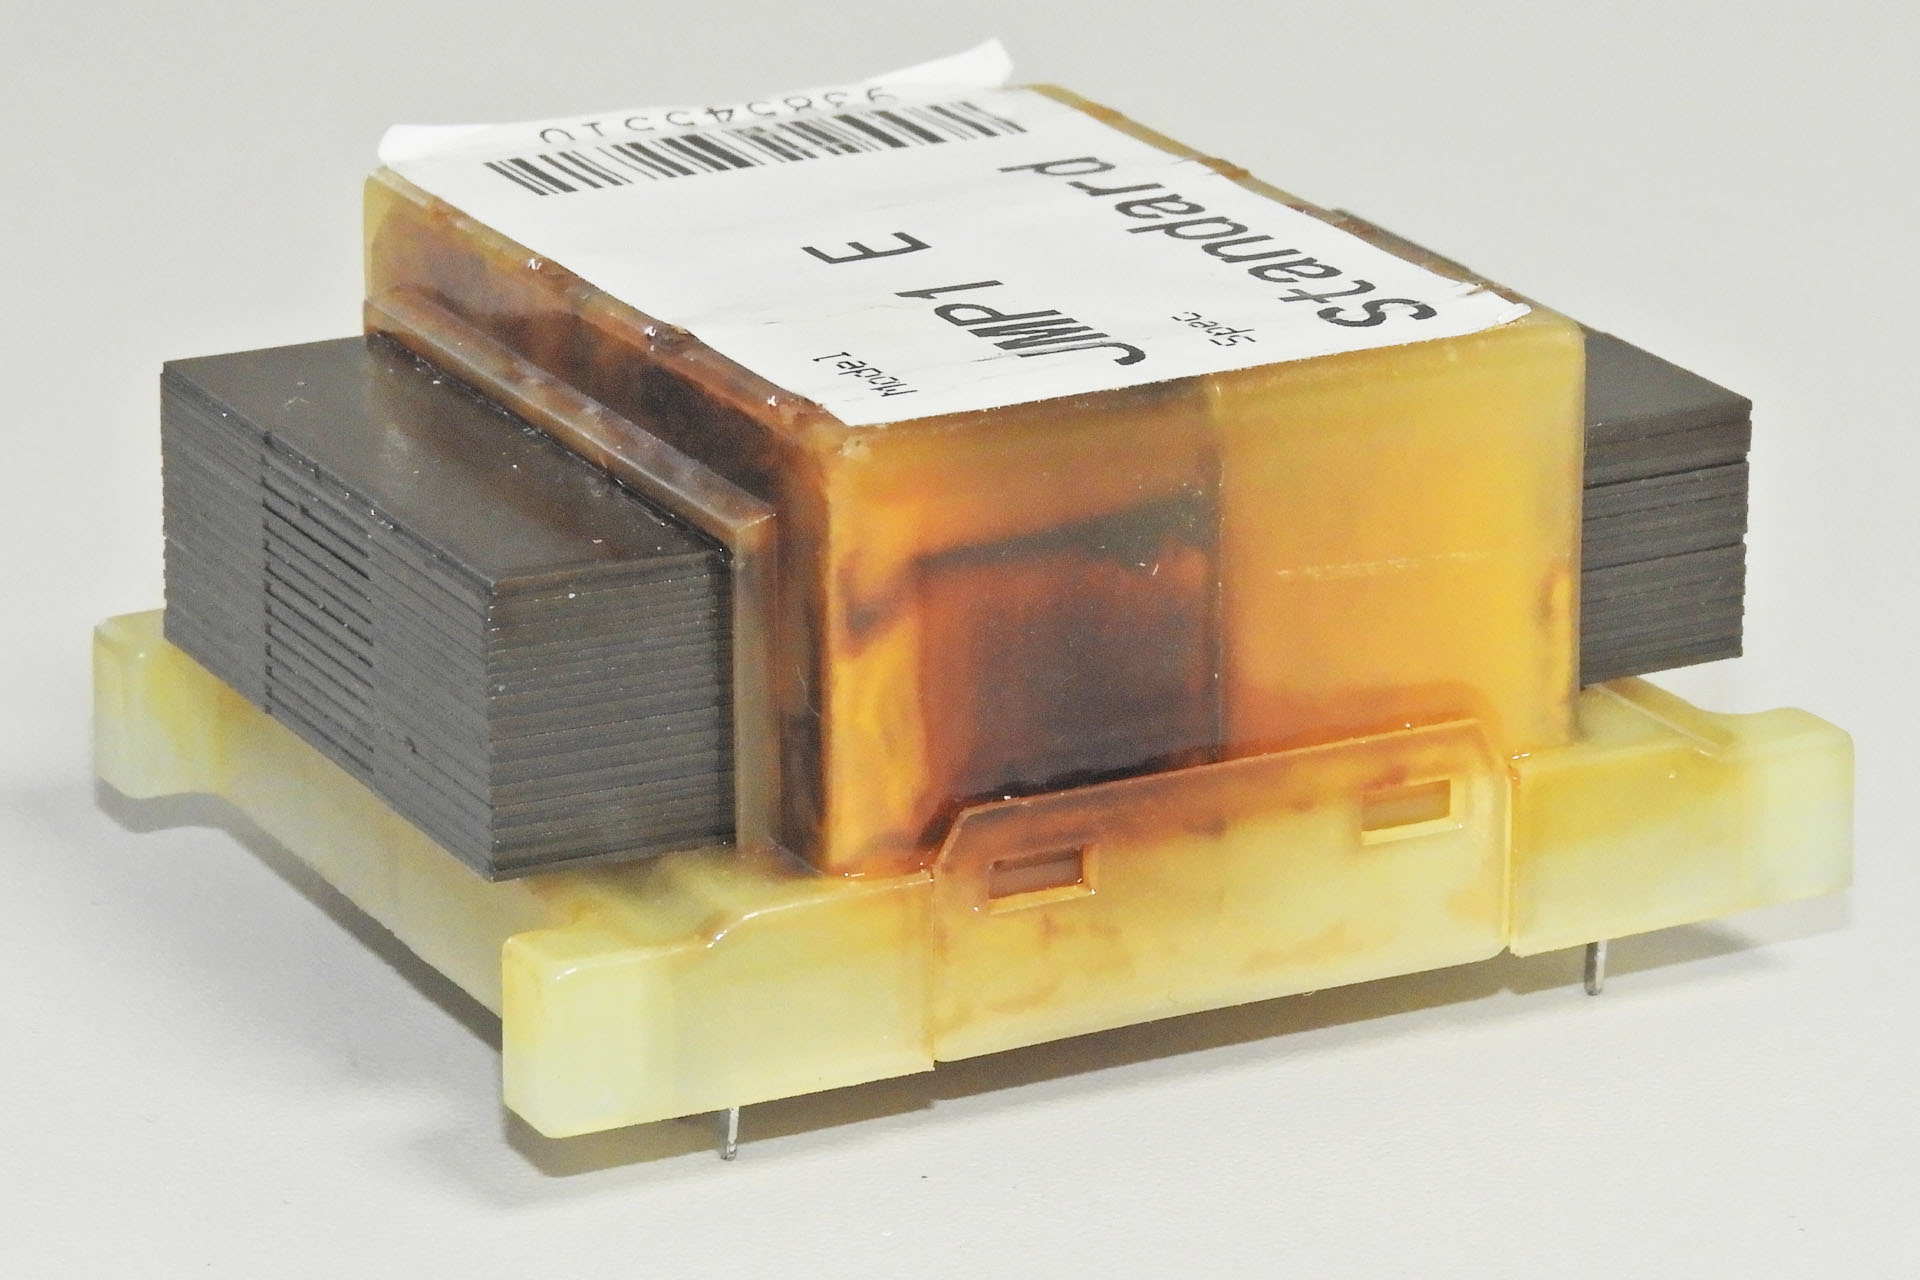
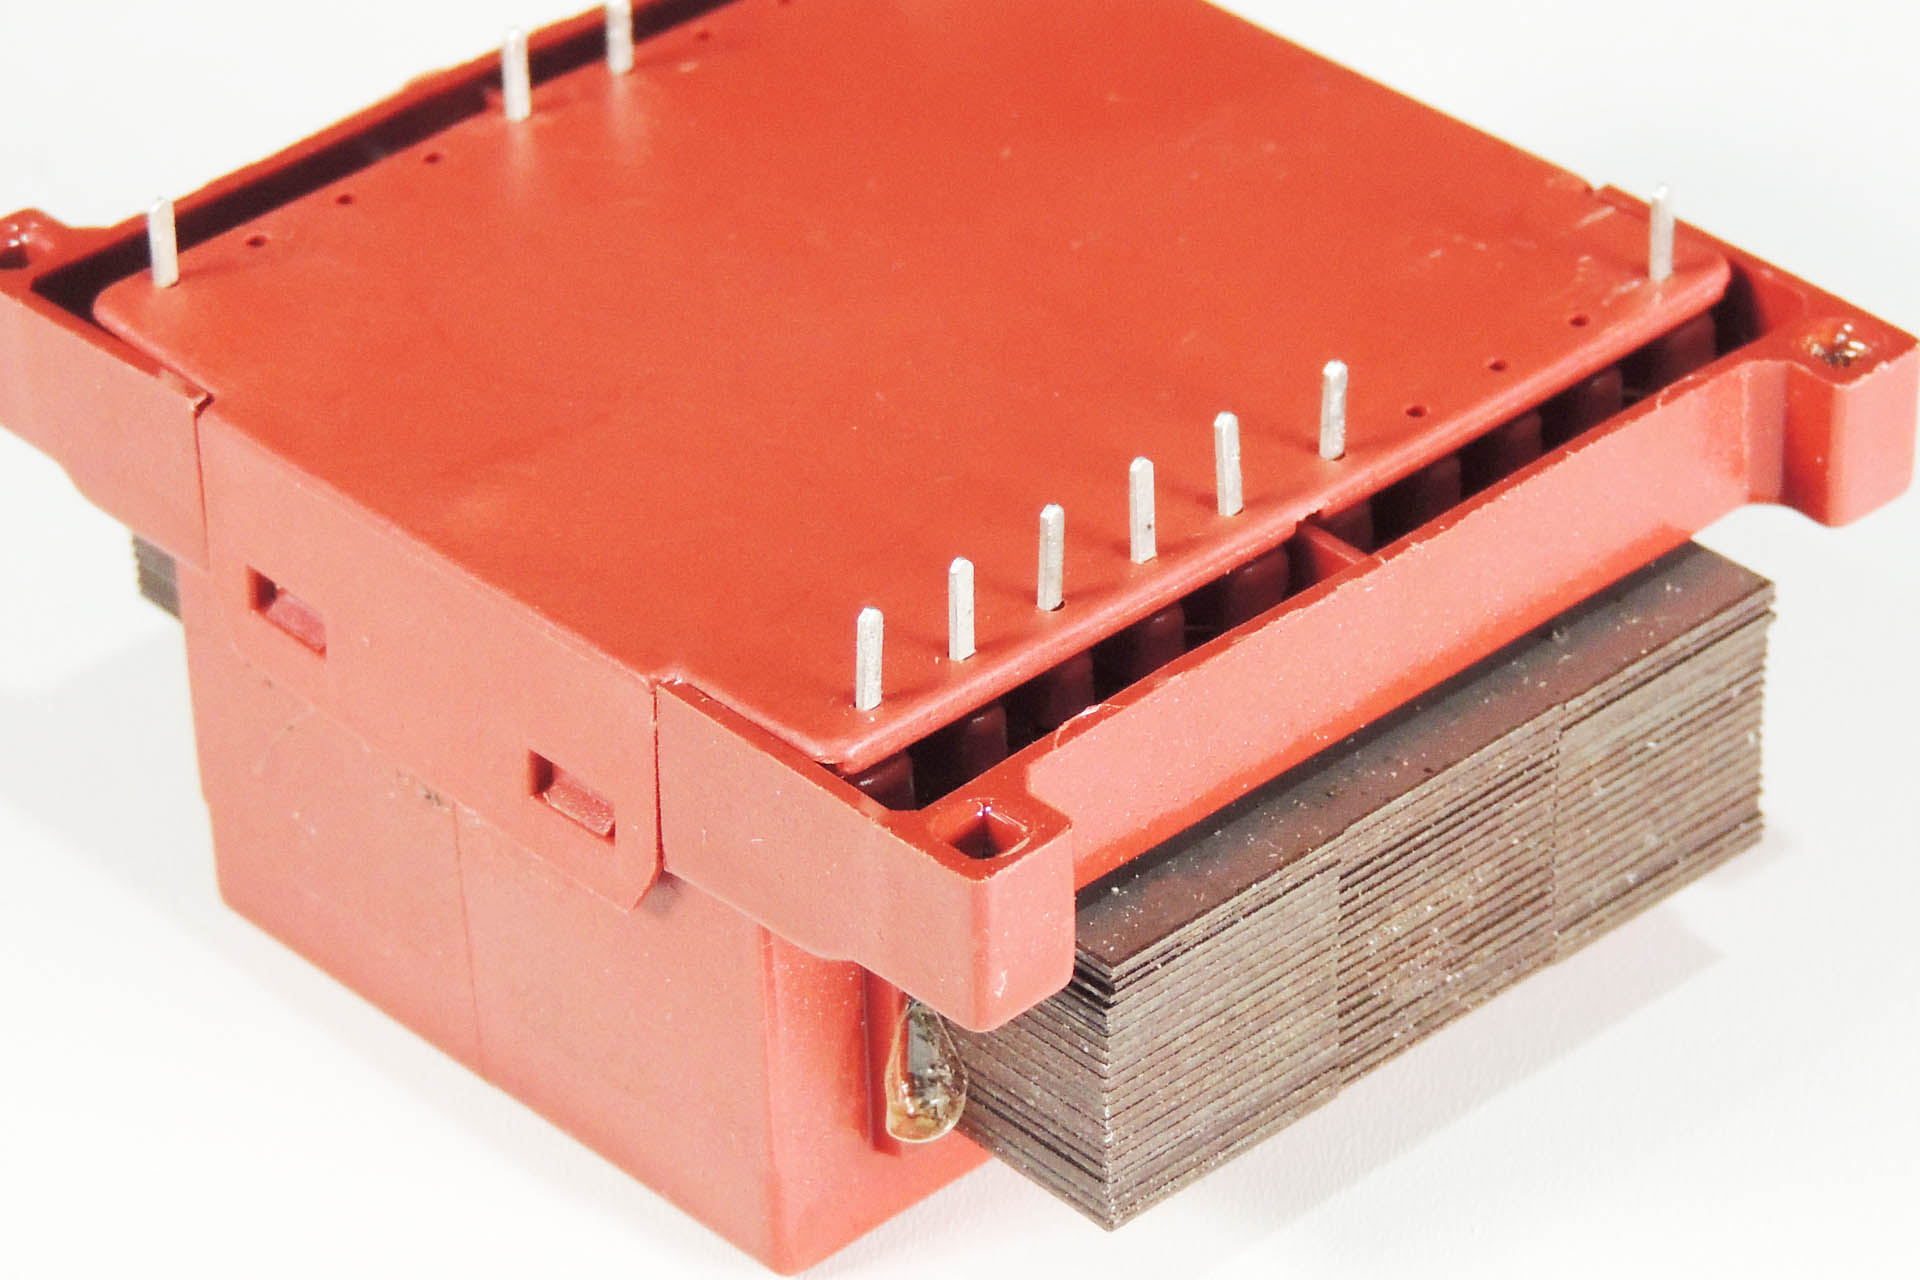
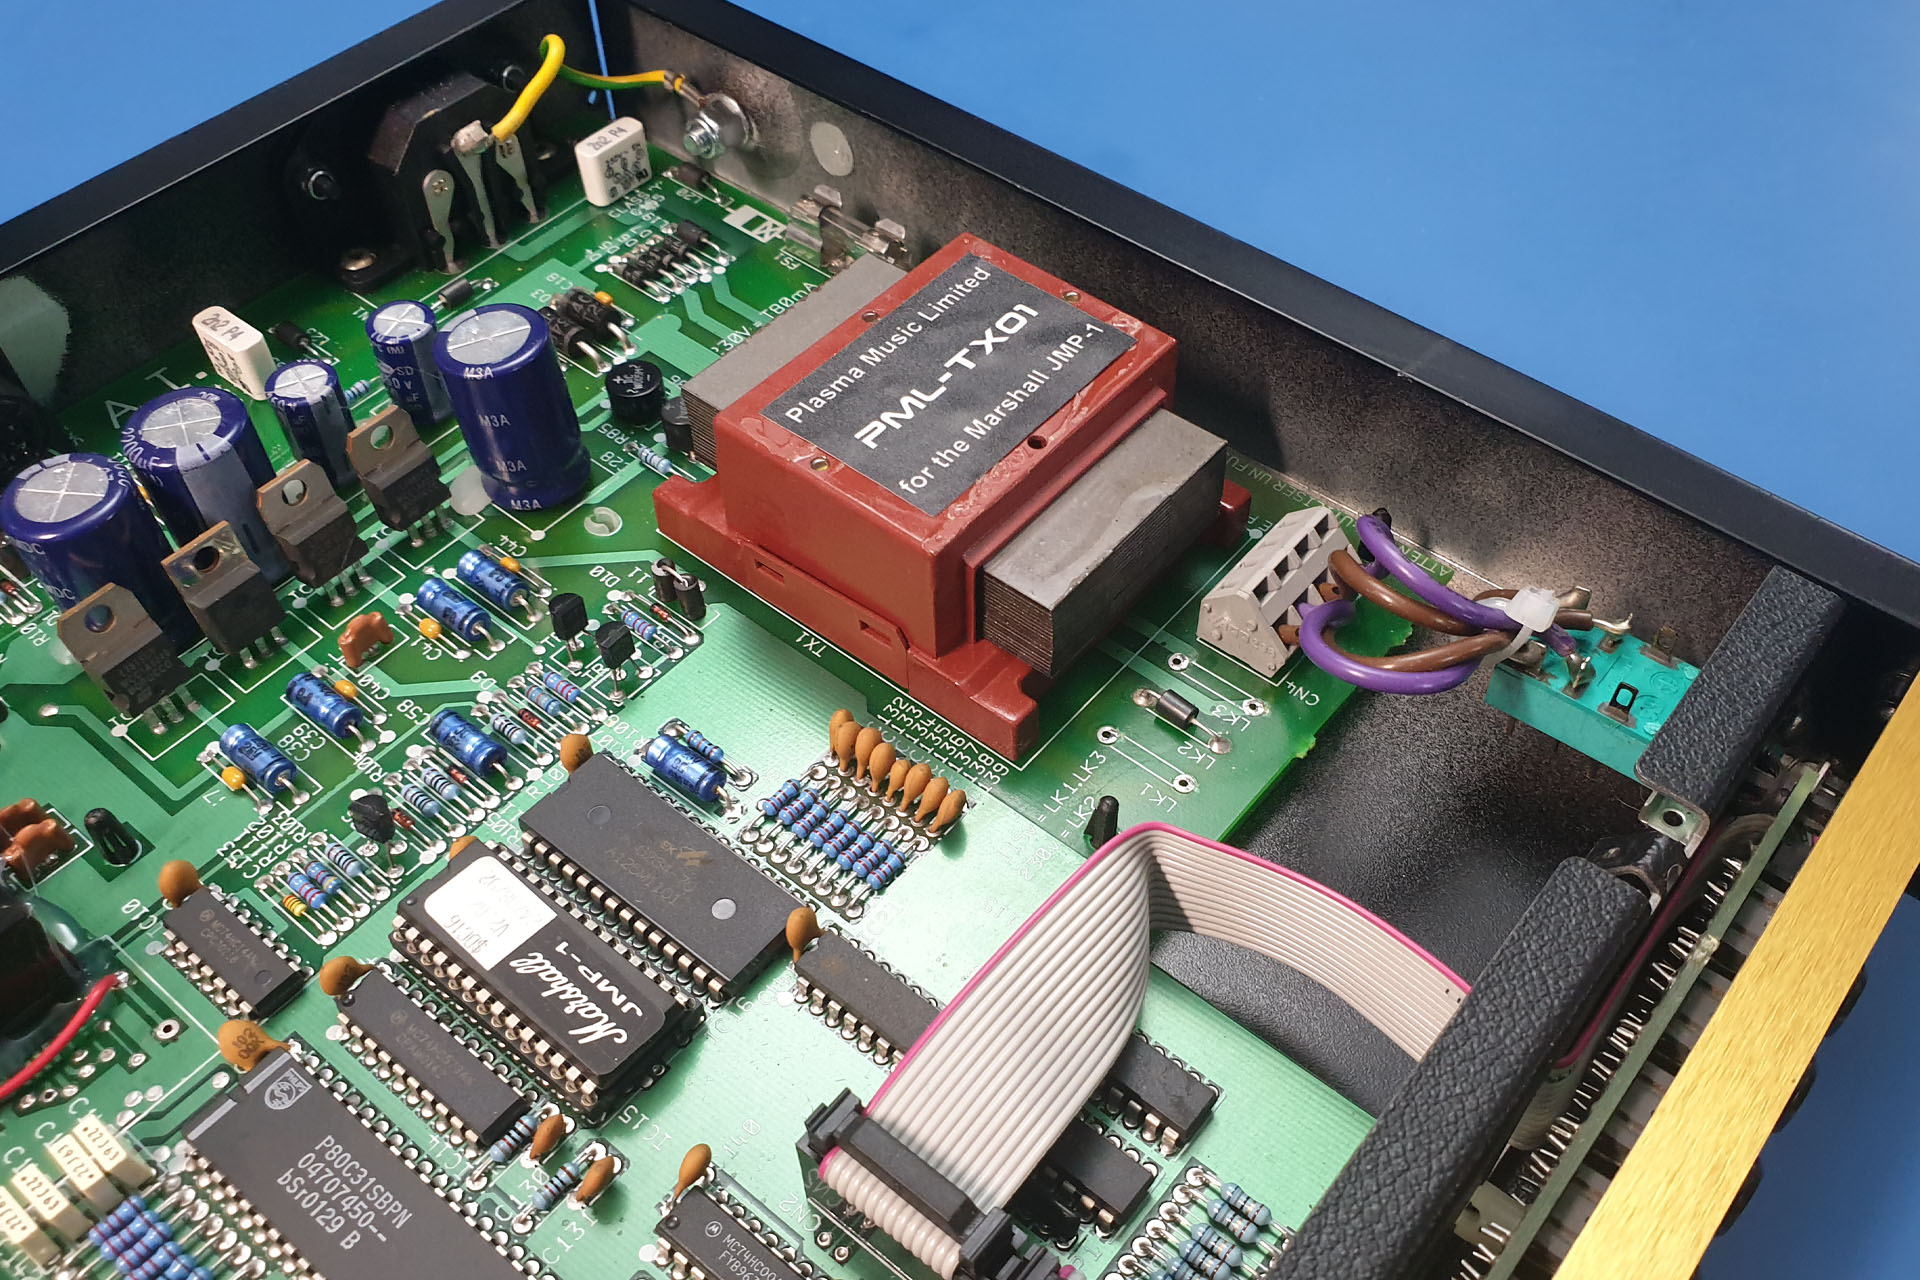
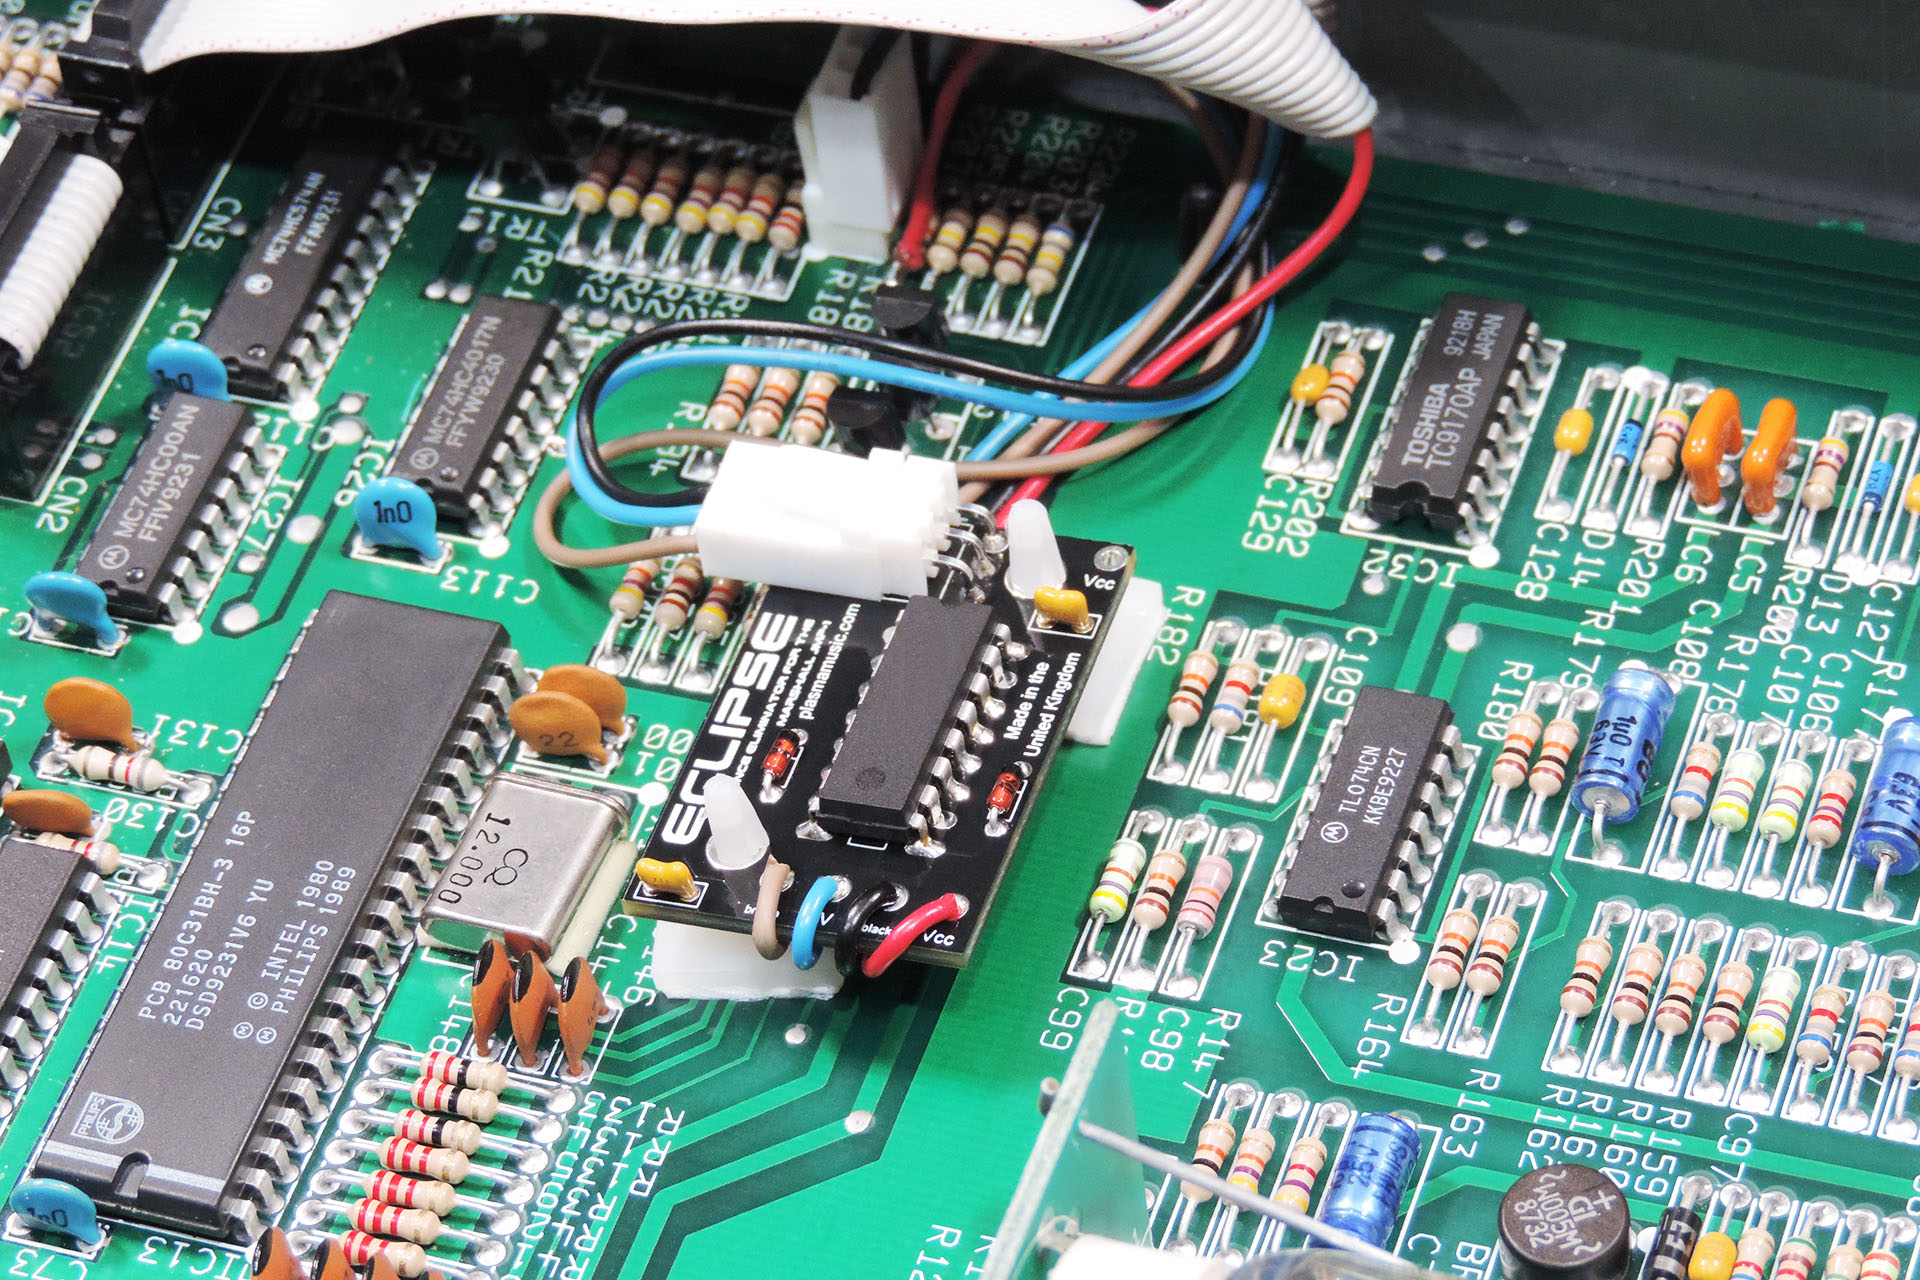
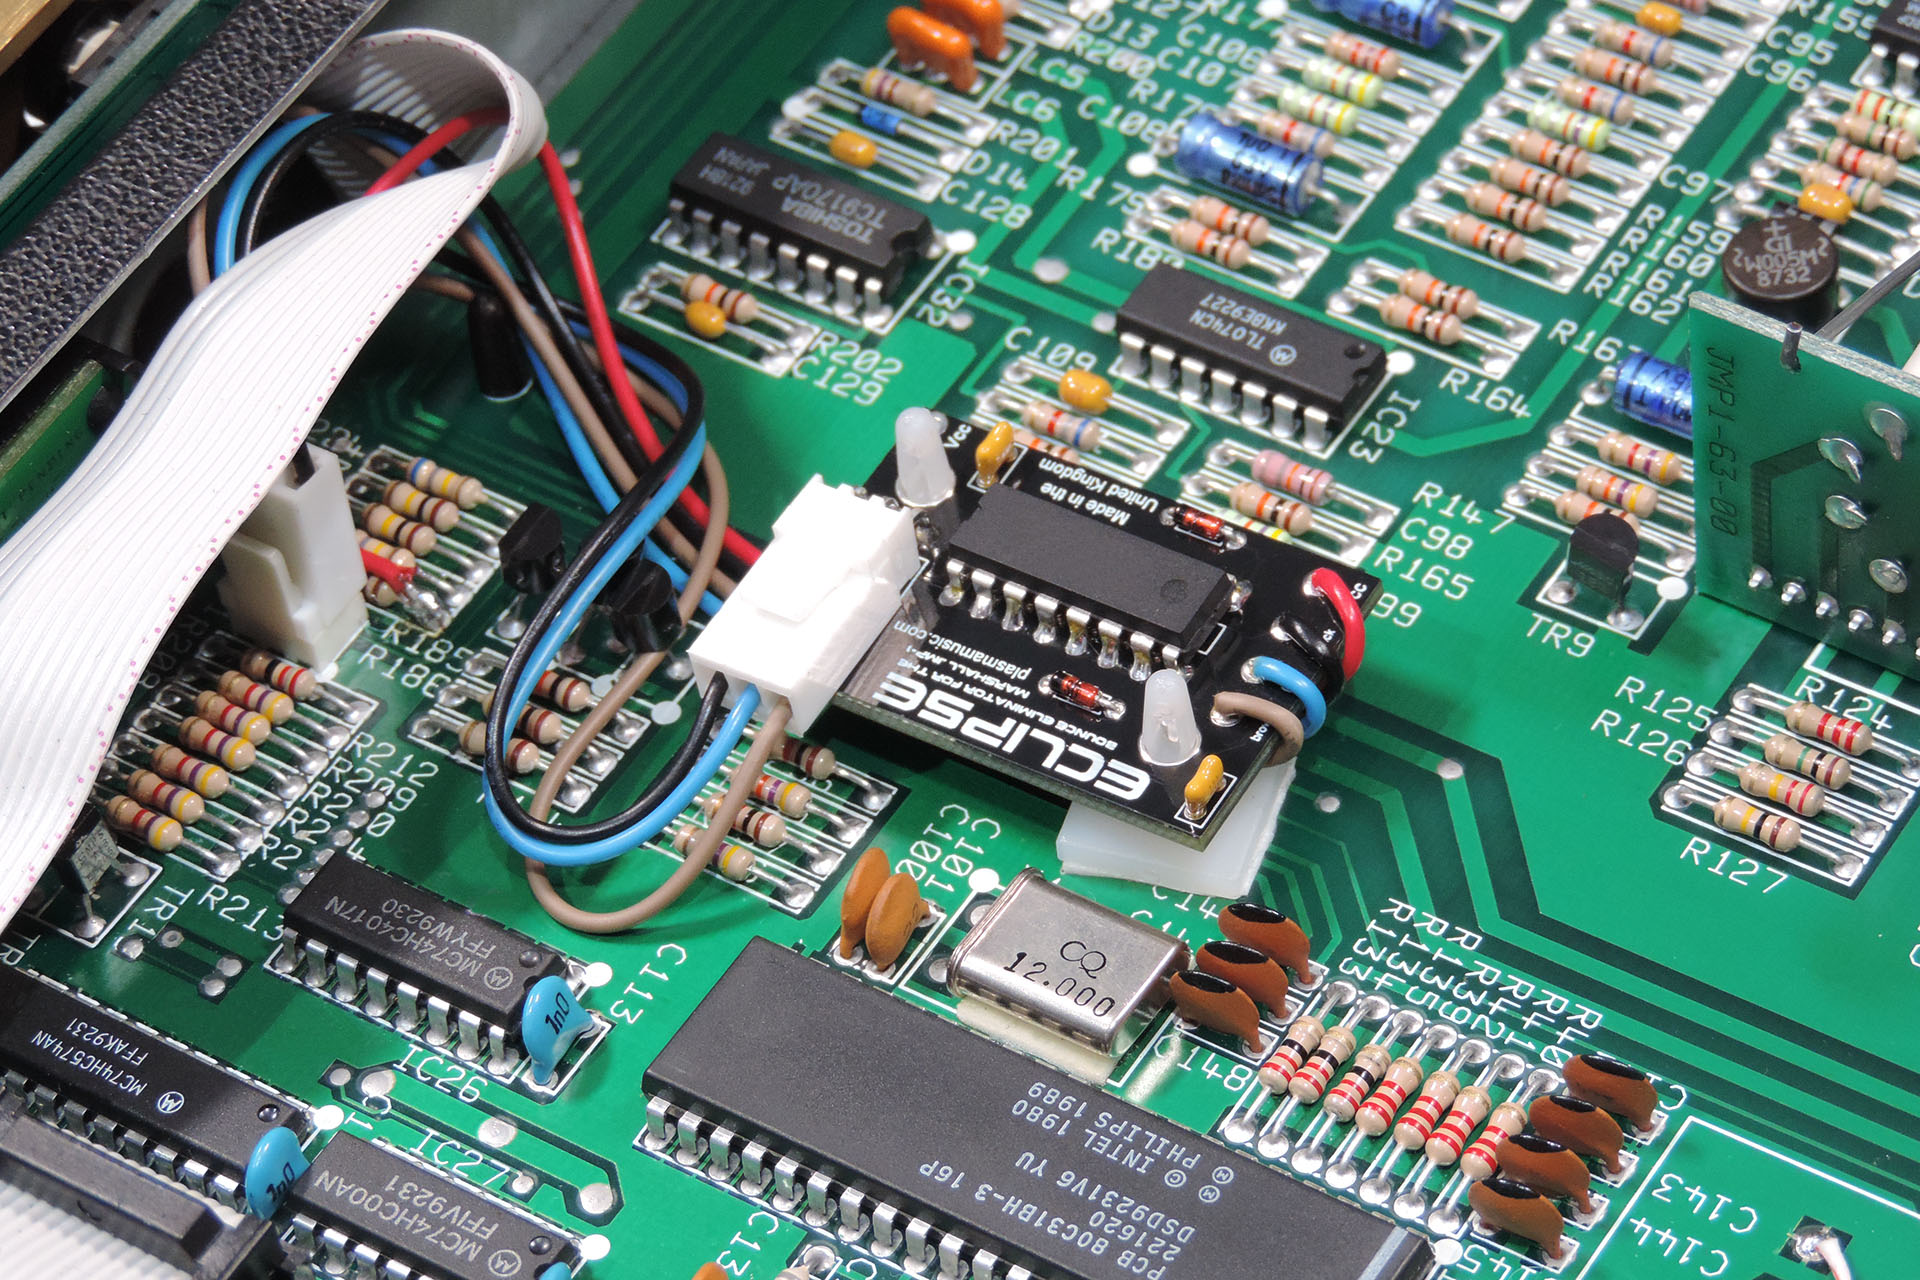
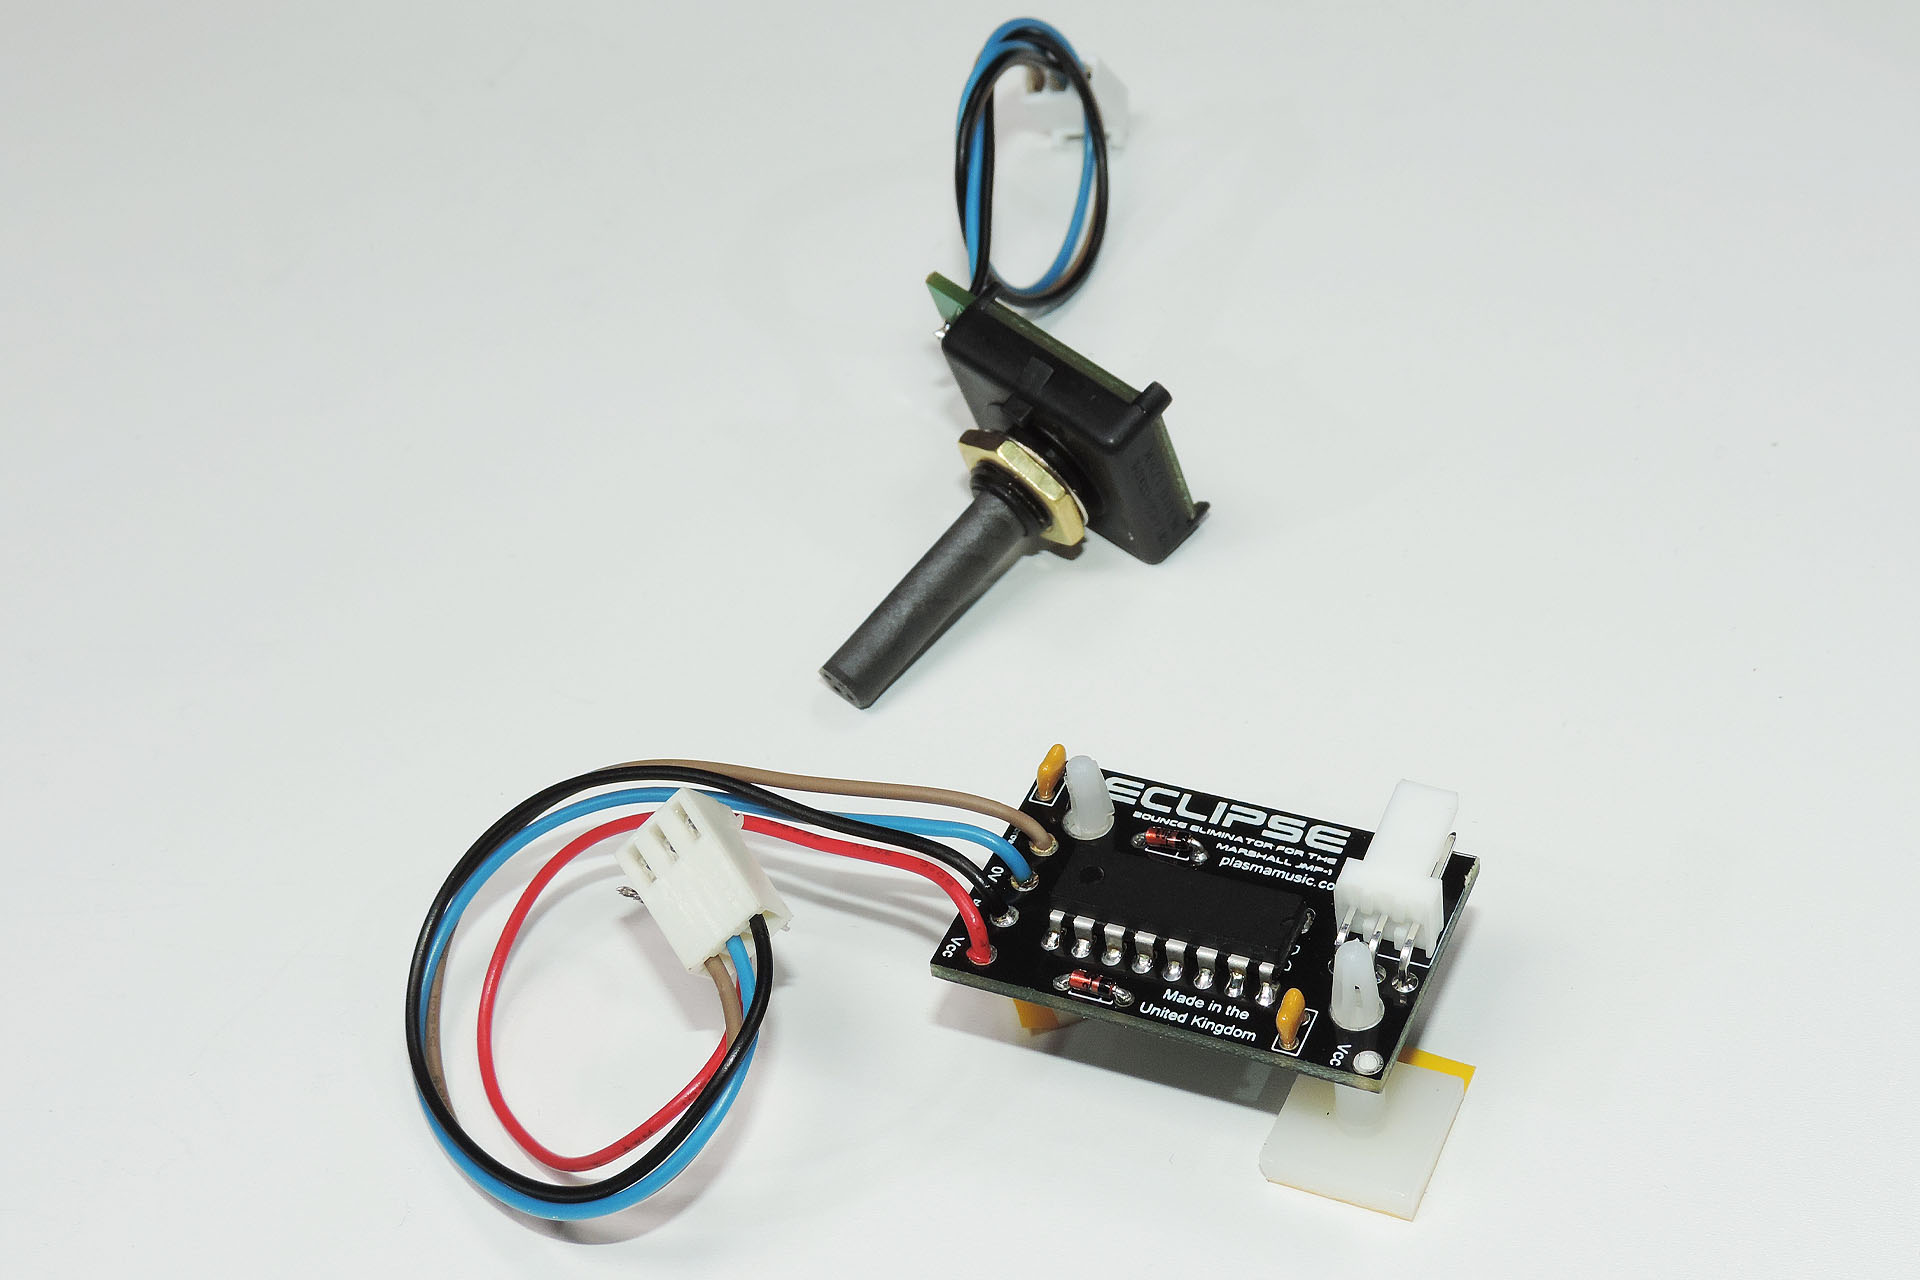
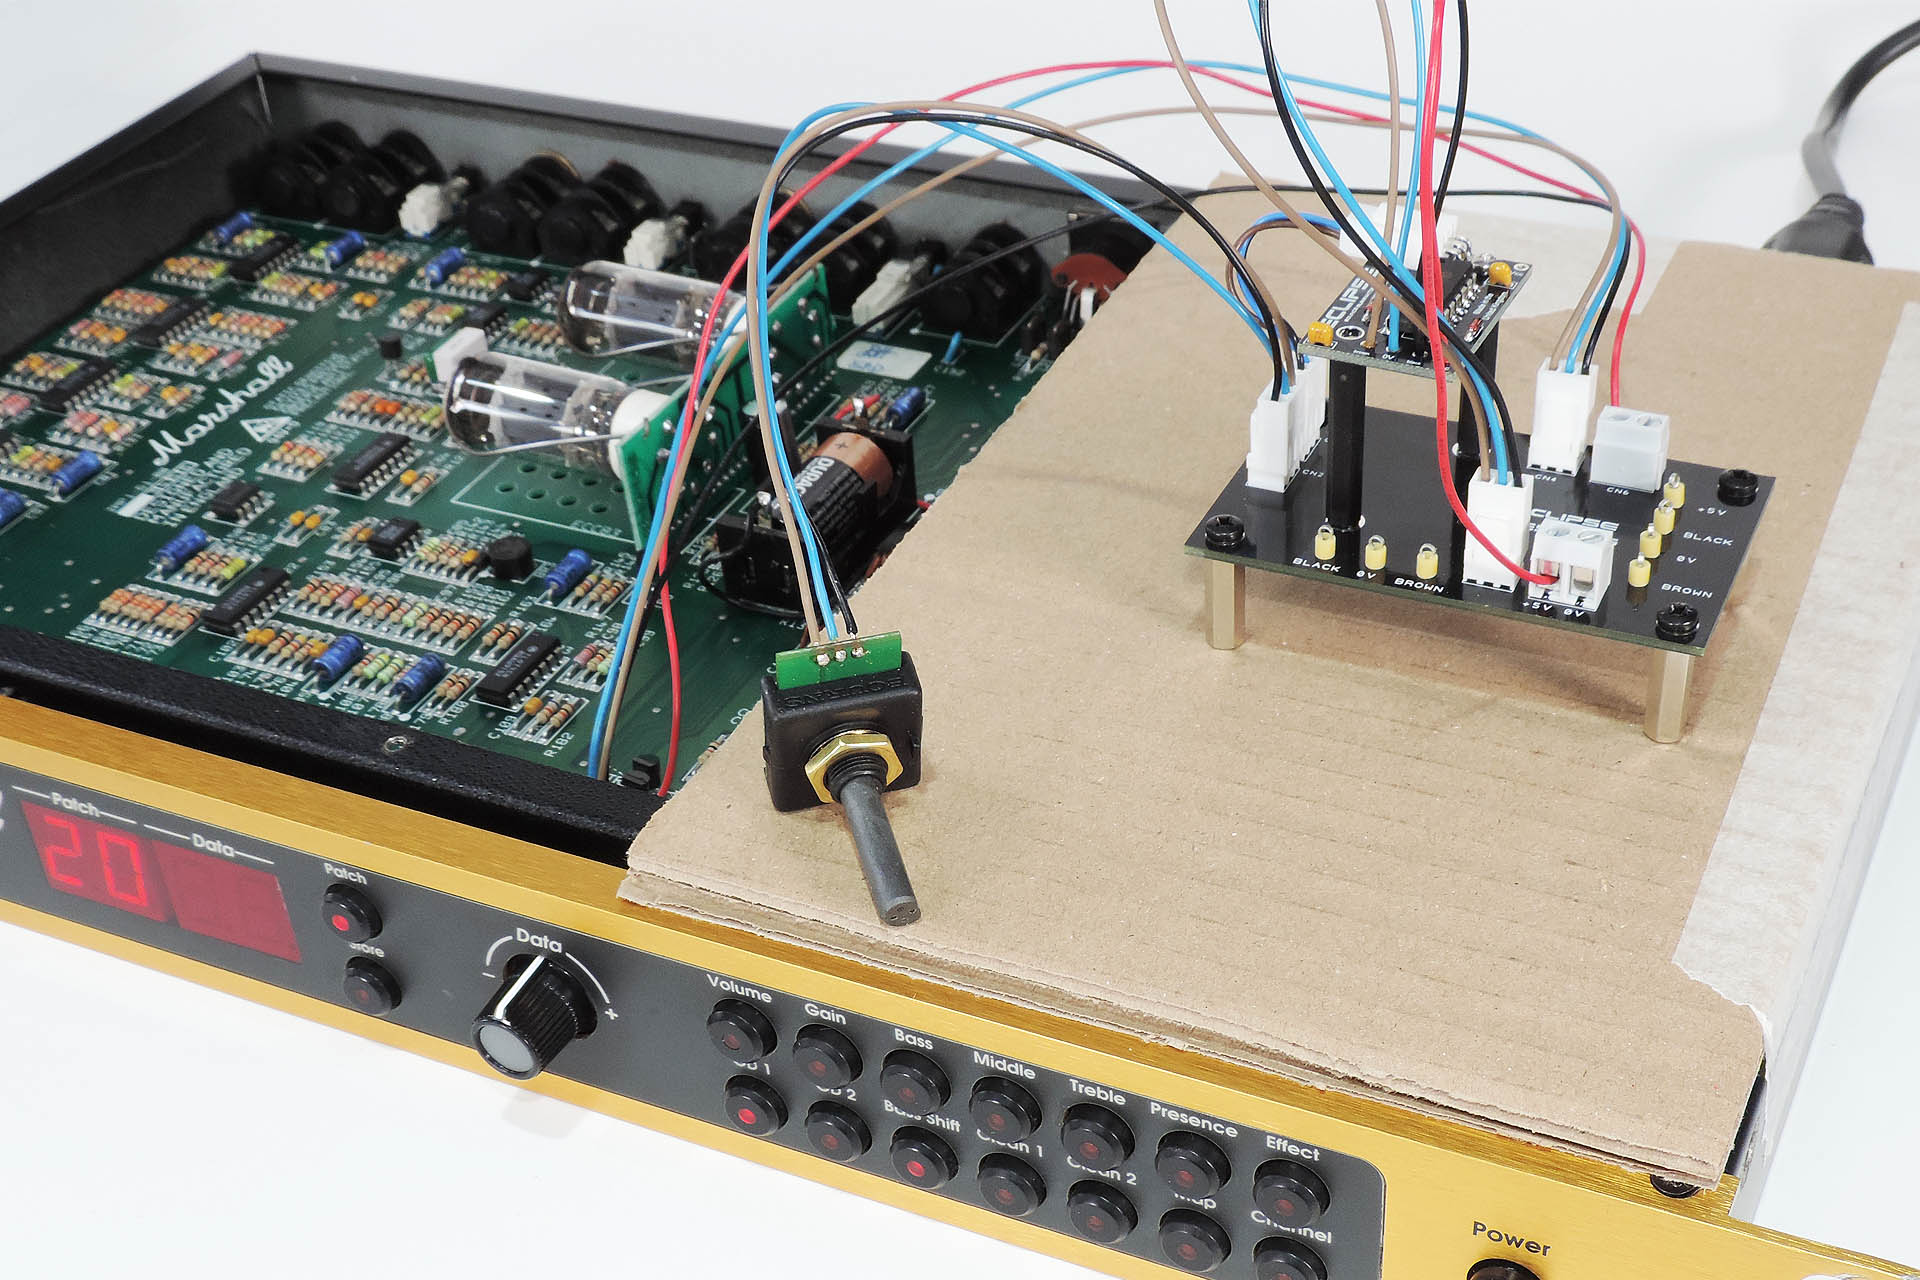
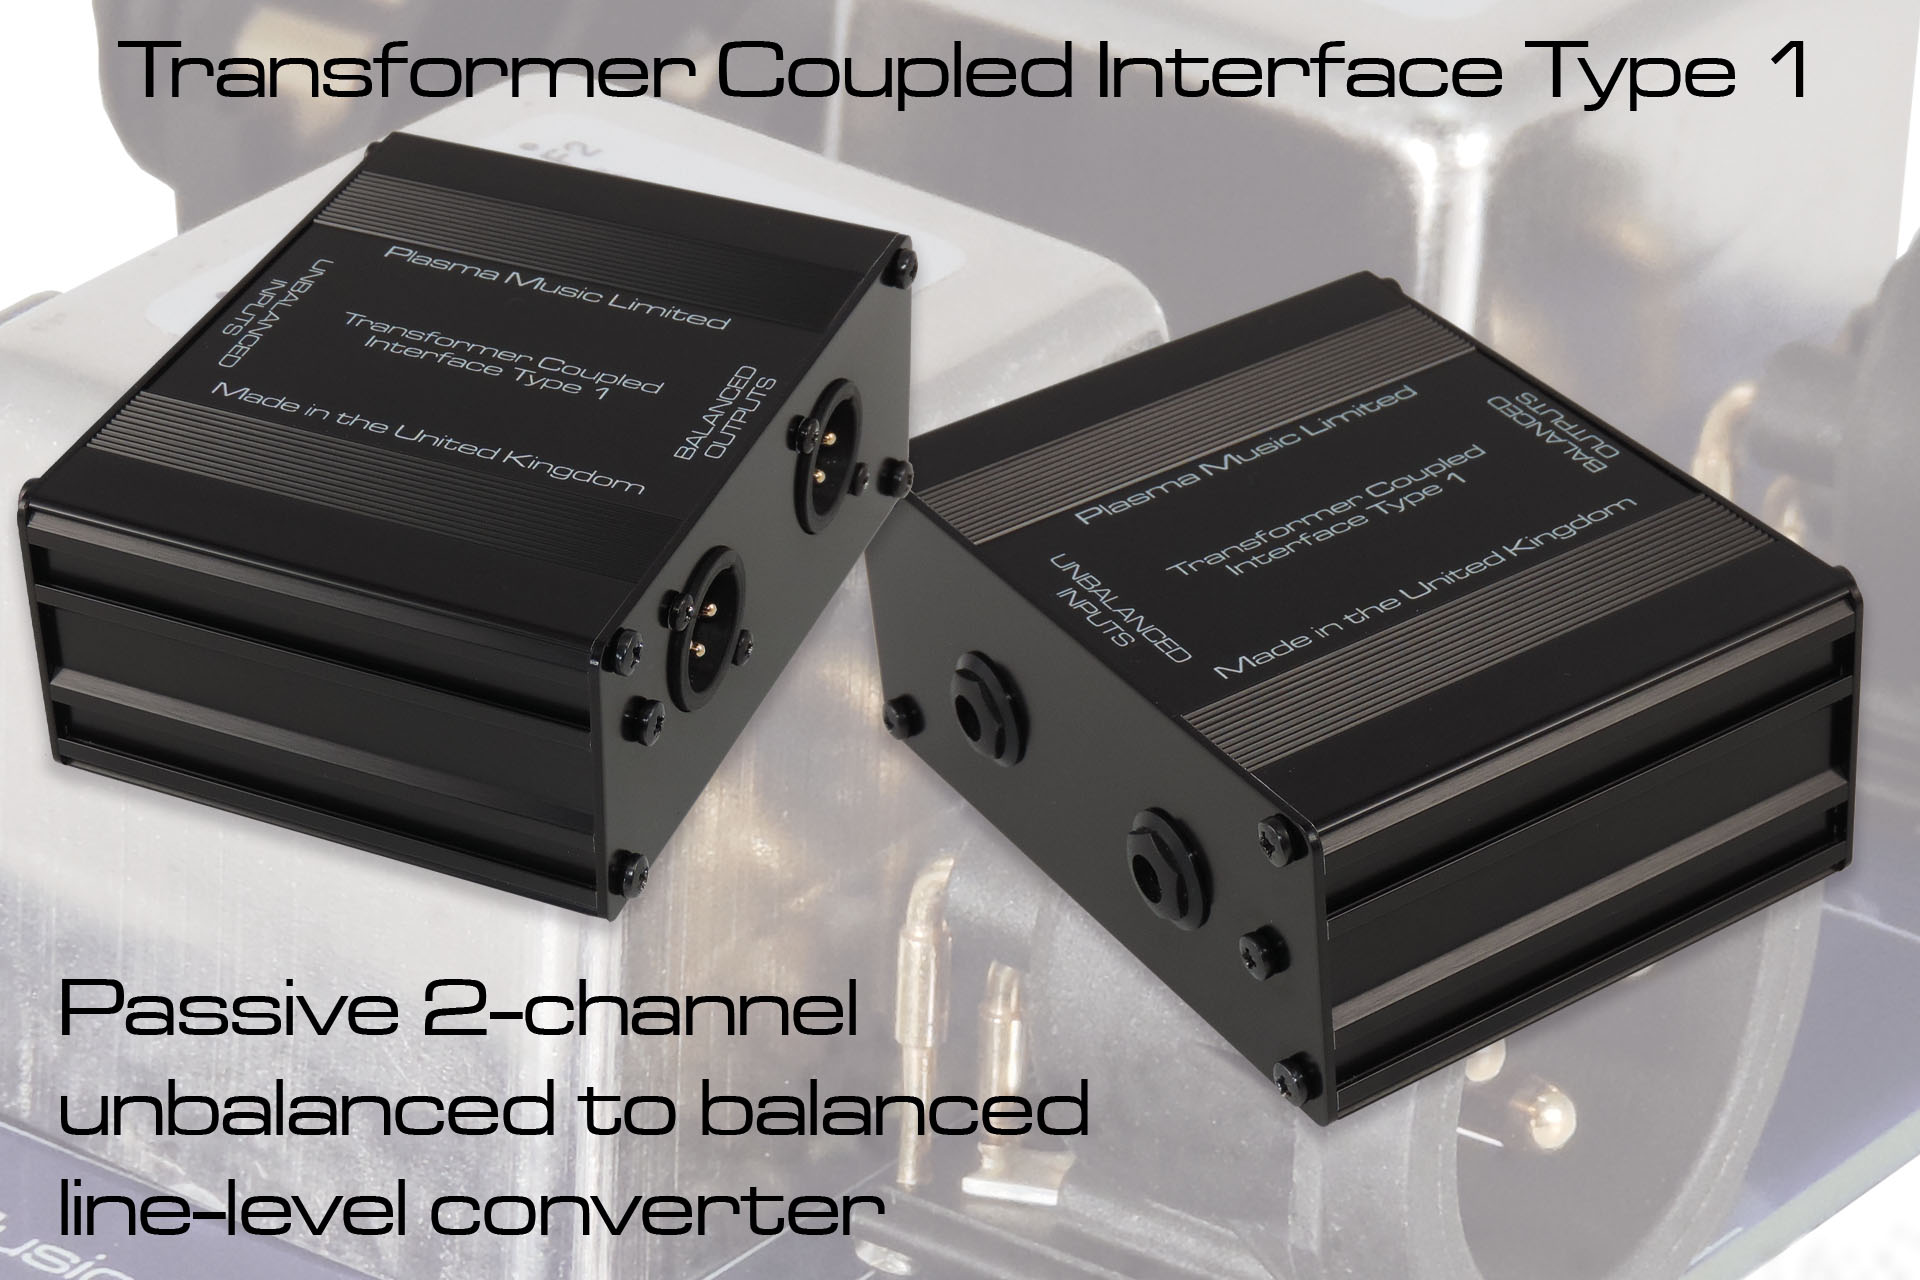
Polaris balanced outputs for the Marshall JMP-1, uses the same principles and components as my Nebula balanced outputs jack-board for the Roland MKS-70. A no-compromise design, Polaris has precision high impedance buffers on its inputs and dedicated balanced line drivers on its outputs, thereby guaranteeing the cleanest and most phase-coherent signal possible. With lots of attention to detail, the design includes for example, excellent separation between the audio tracks and the +/-15V rails. The feeds to Polaris from the JMP-1 main-board are via screened cables, thus ensuring minimal pick-up of noise from within the JMP-1. Polaris even uses gold-plated jack sockets!
All ICs have decoupling on both supply lines and all inter-op-amp connections are via high-quality unpolarised electrolytic capacitors, thus ensuring that no unwanted DC gets to the outputs. The signal path is minimalistic and very tidy indeed!
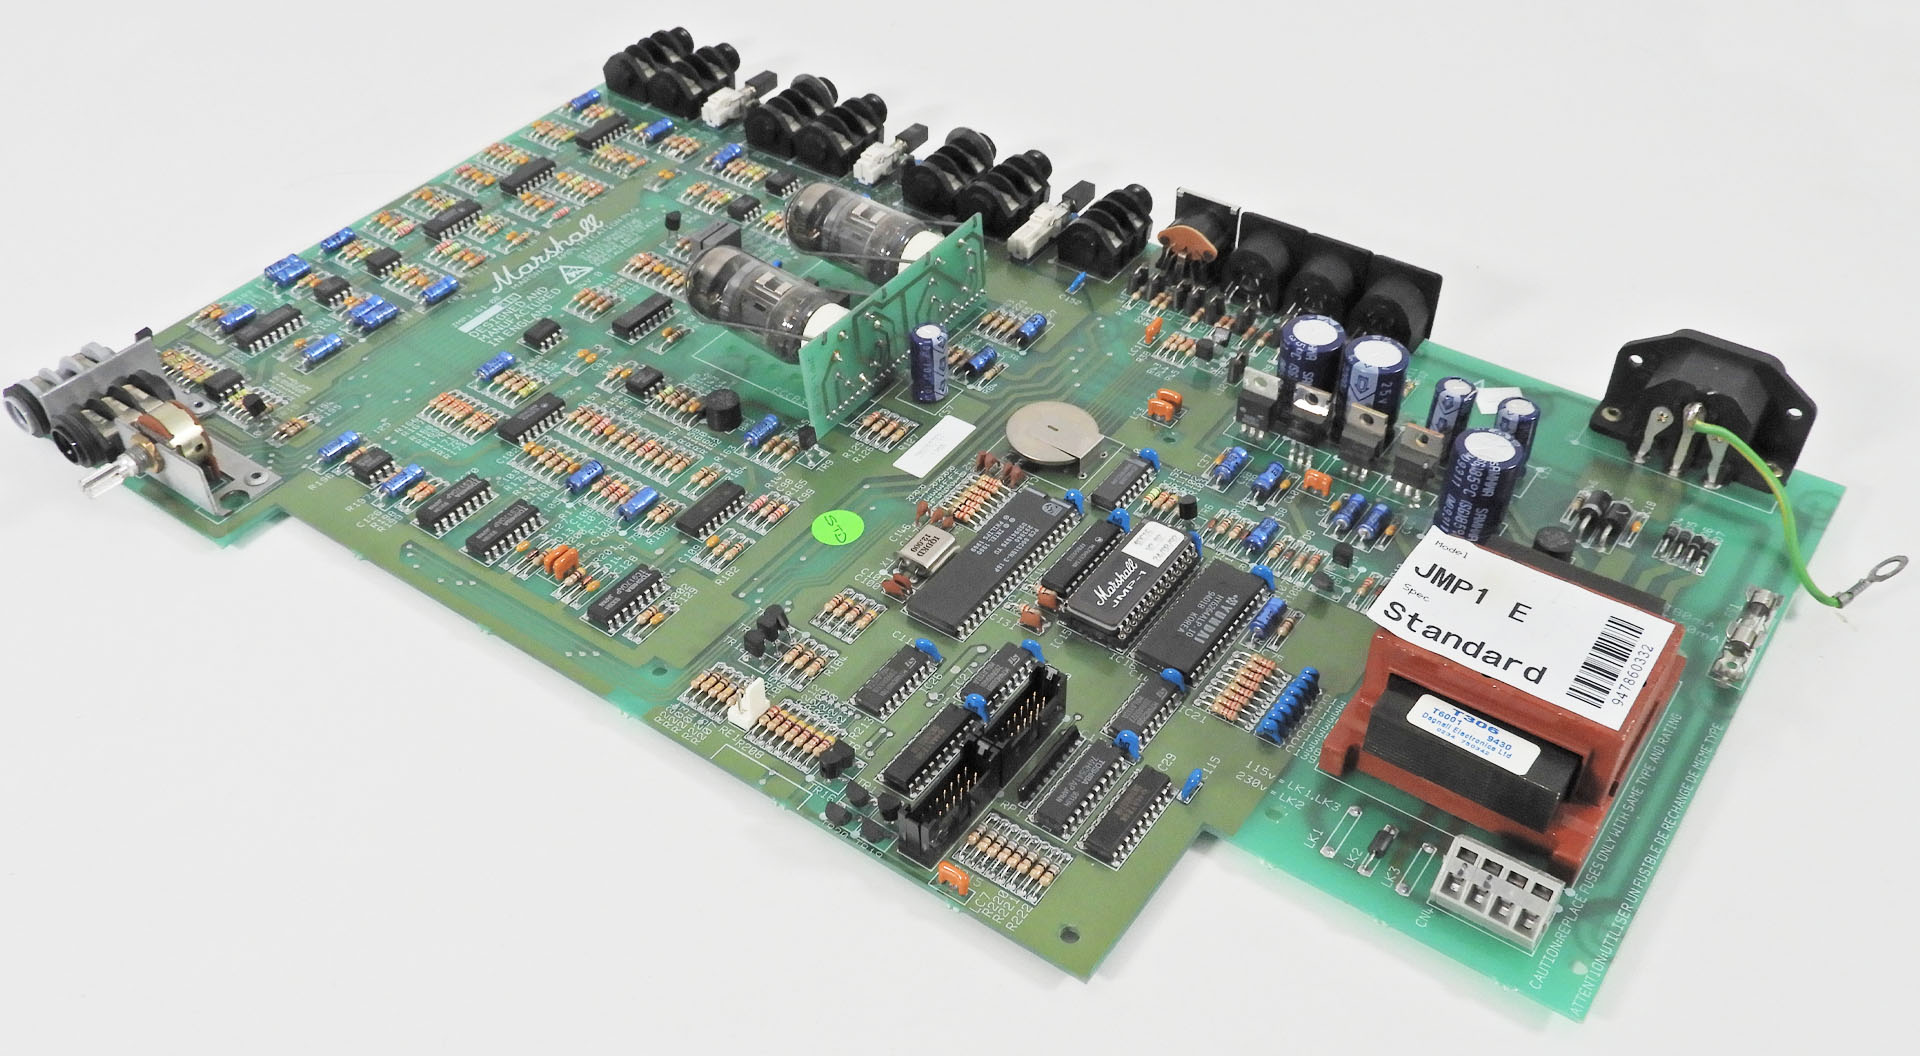
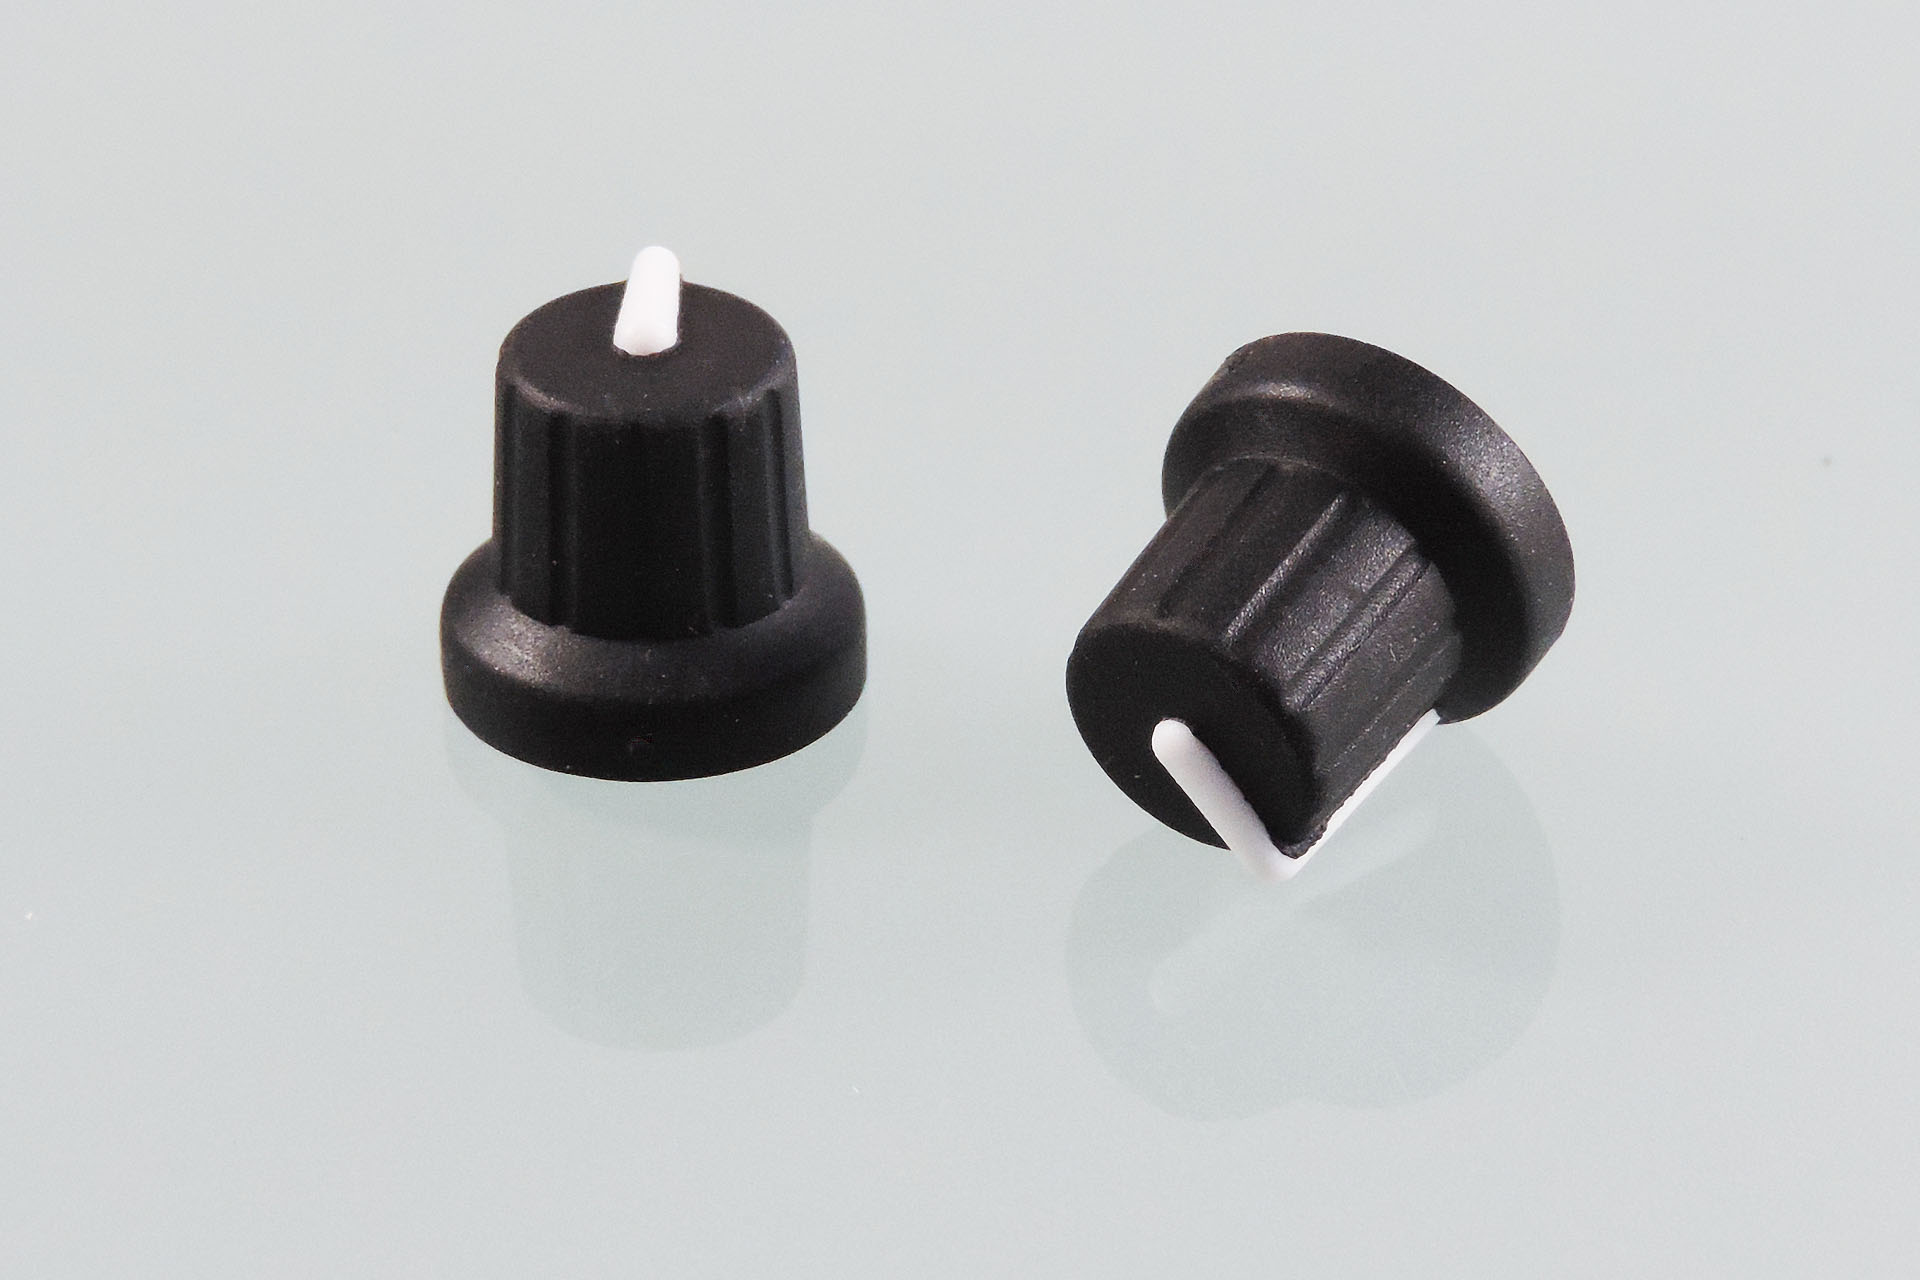
When designing Polaris, the biggest challenge was how it would physically integrate into the JMP-1, especially in such a way that anyone with a good level of competence, can install it.
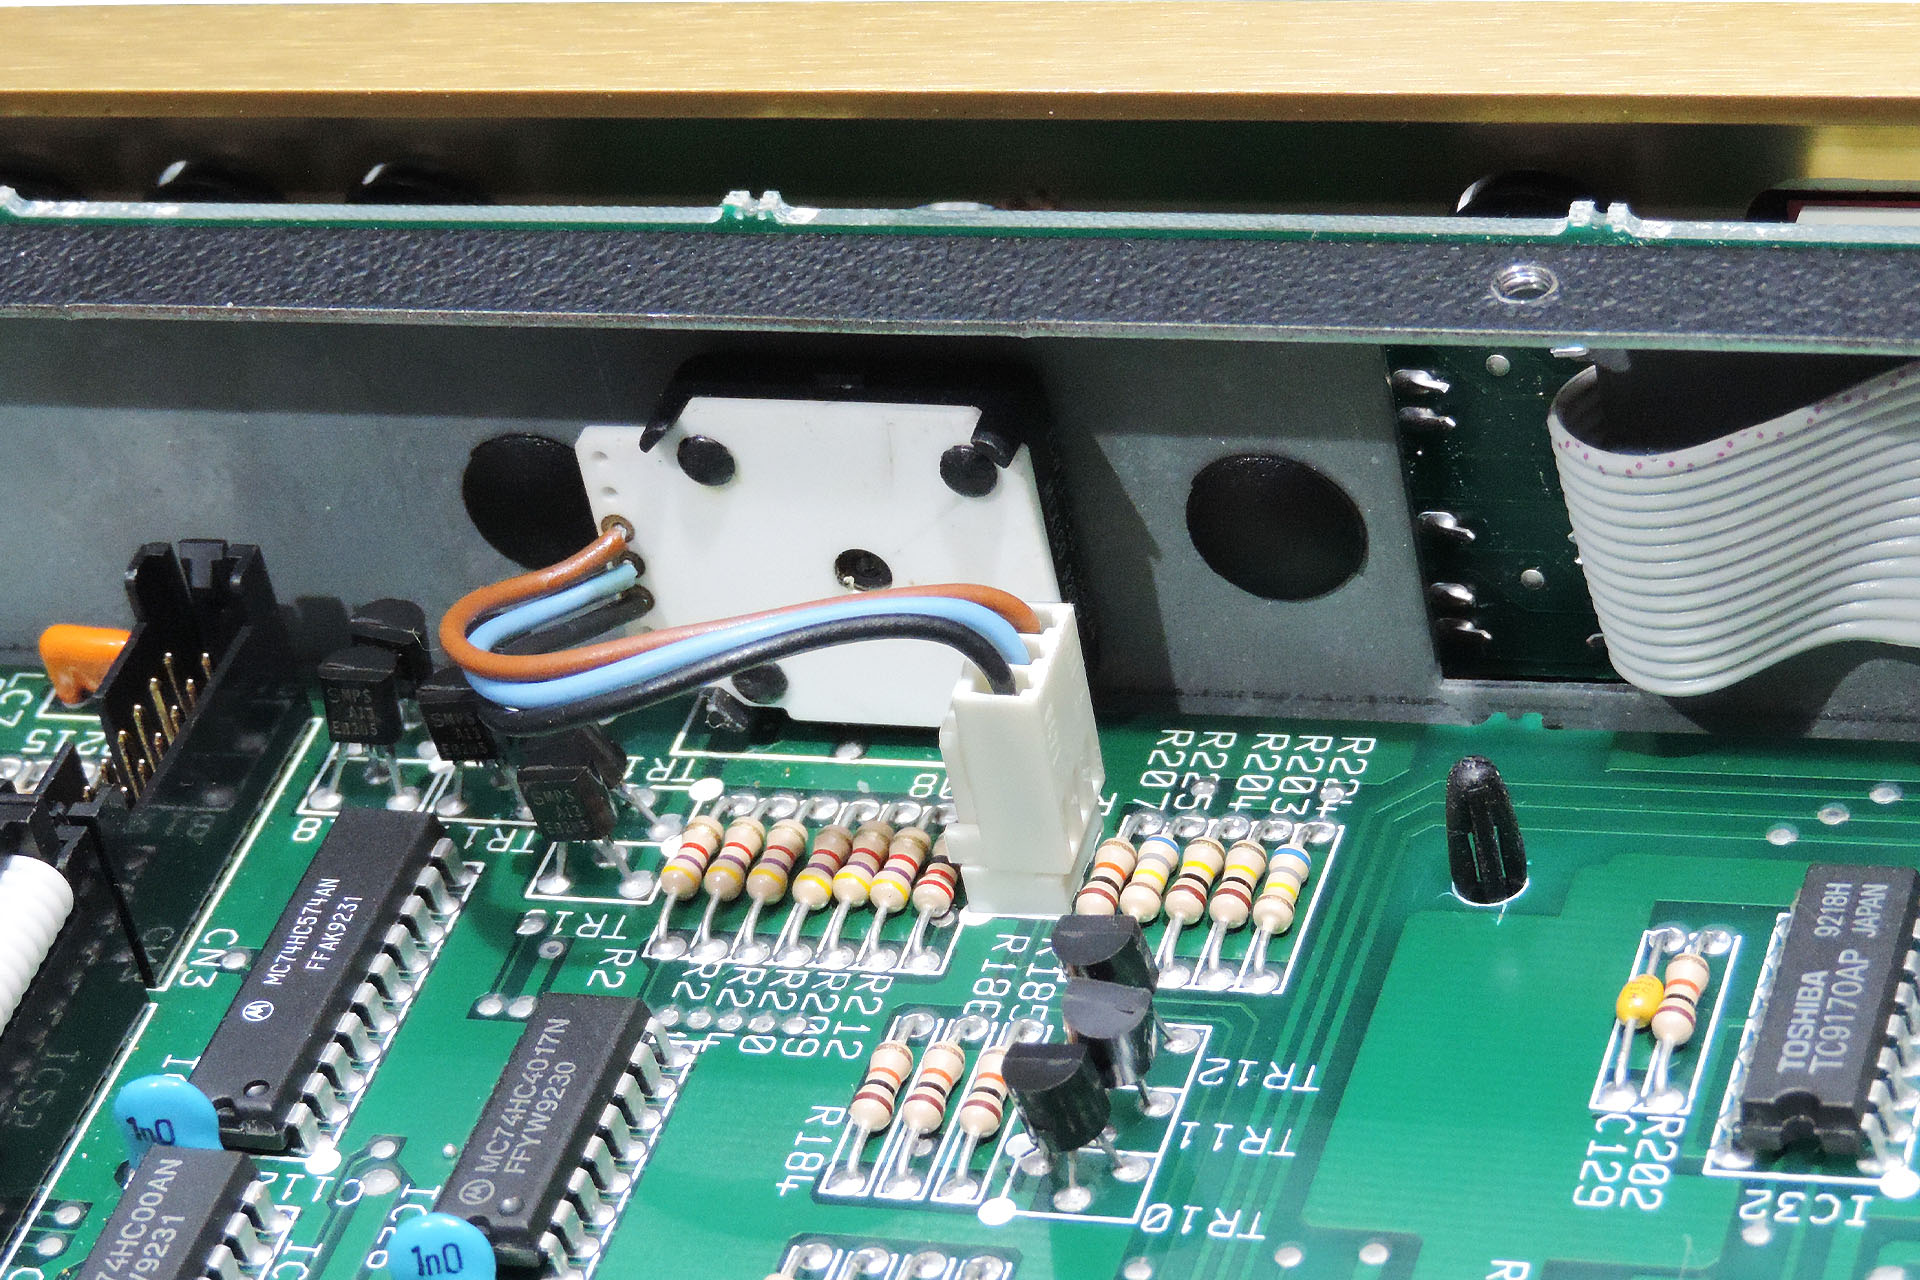
Of course the original two-pole sockets have to removed and (of course) you can't just connect three-pole (balanced) sockets in their place. My solution was to make a small, light-weight PCB that would mount using the rear sockets. Further connections to power and audio are made via Molex headers.
Marshall should have at least made the speaker emulated outputs balanced as they will inevitably be used for recording or sound reinforcement. Indeed Polaris was originally supposed to replace just those outputs.
Polaris however, soon evolved as I considered the master outputs and here's why...
Quite simply, more and more users are choosing to record from the JMP-1's master outputs. Feeding them into any one of a million impulse response speaker / cabinet simulation plug-ins, provides artists with considerably more options and in many a view, considerably better results than recording from the original speaker emulated outputs.
A versatile solution, Polaris gives you the option to have either one pair of outputs or both emulated outputs and master outputs, balanced. In fact, you can just do one pair now and fit another Polaris whenever you want.
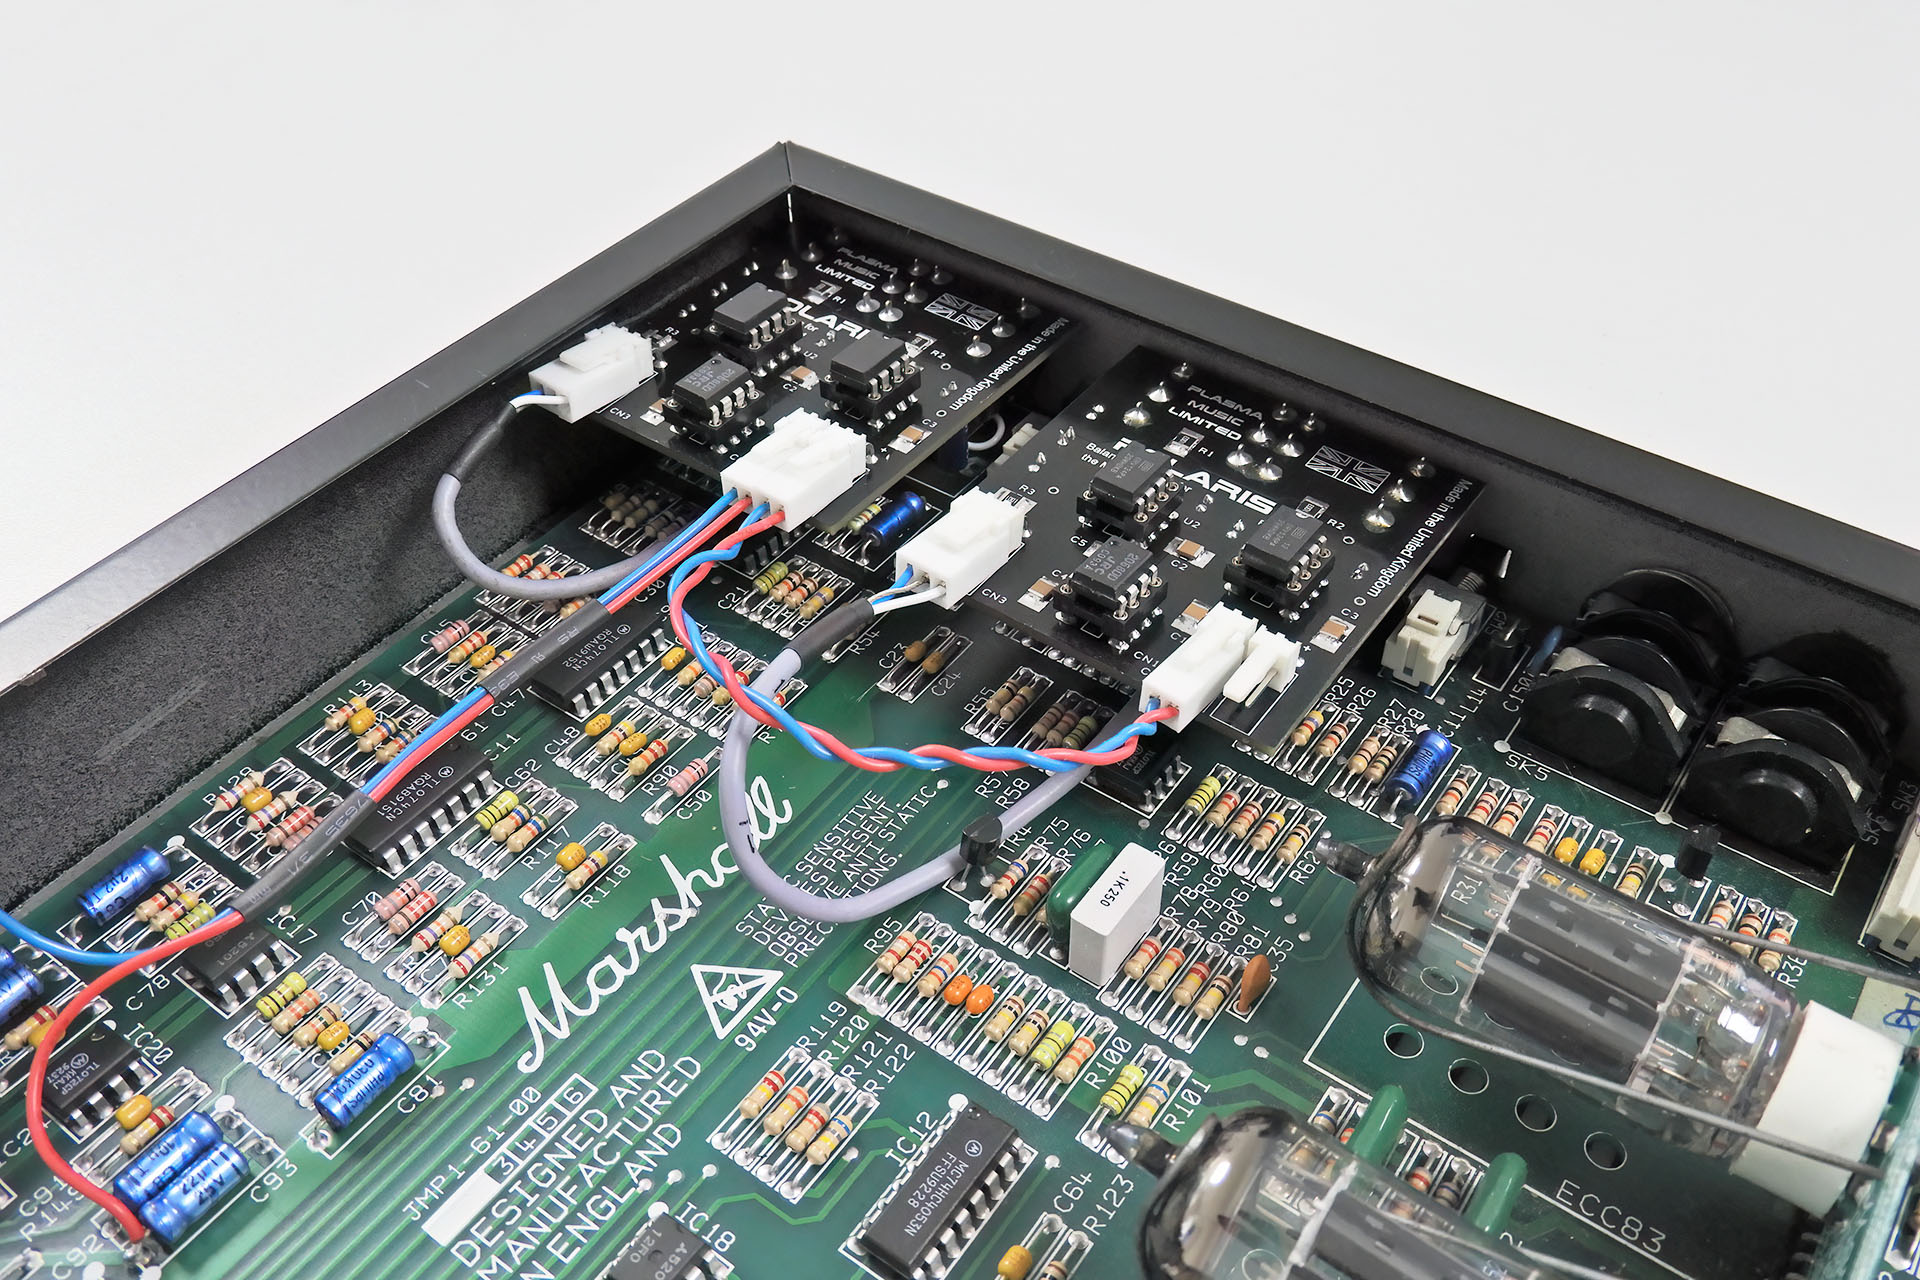
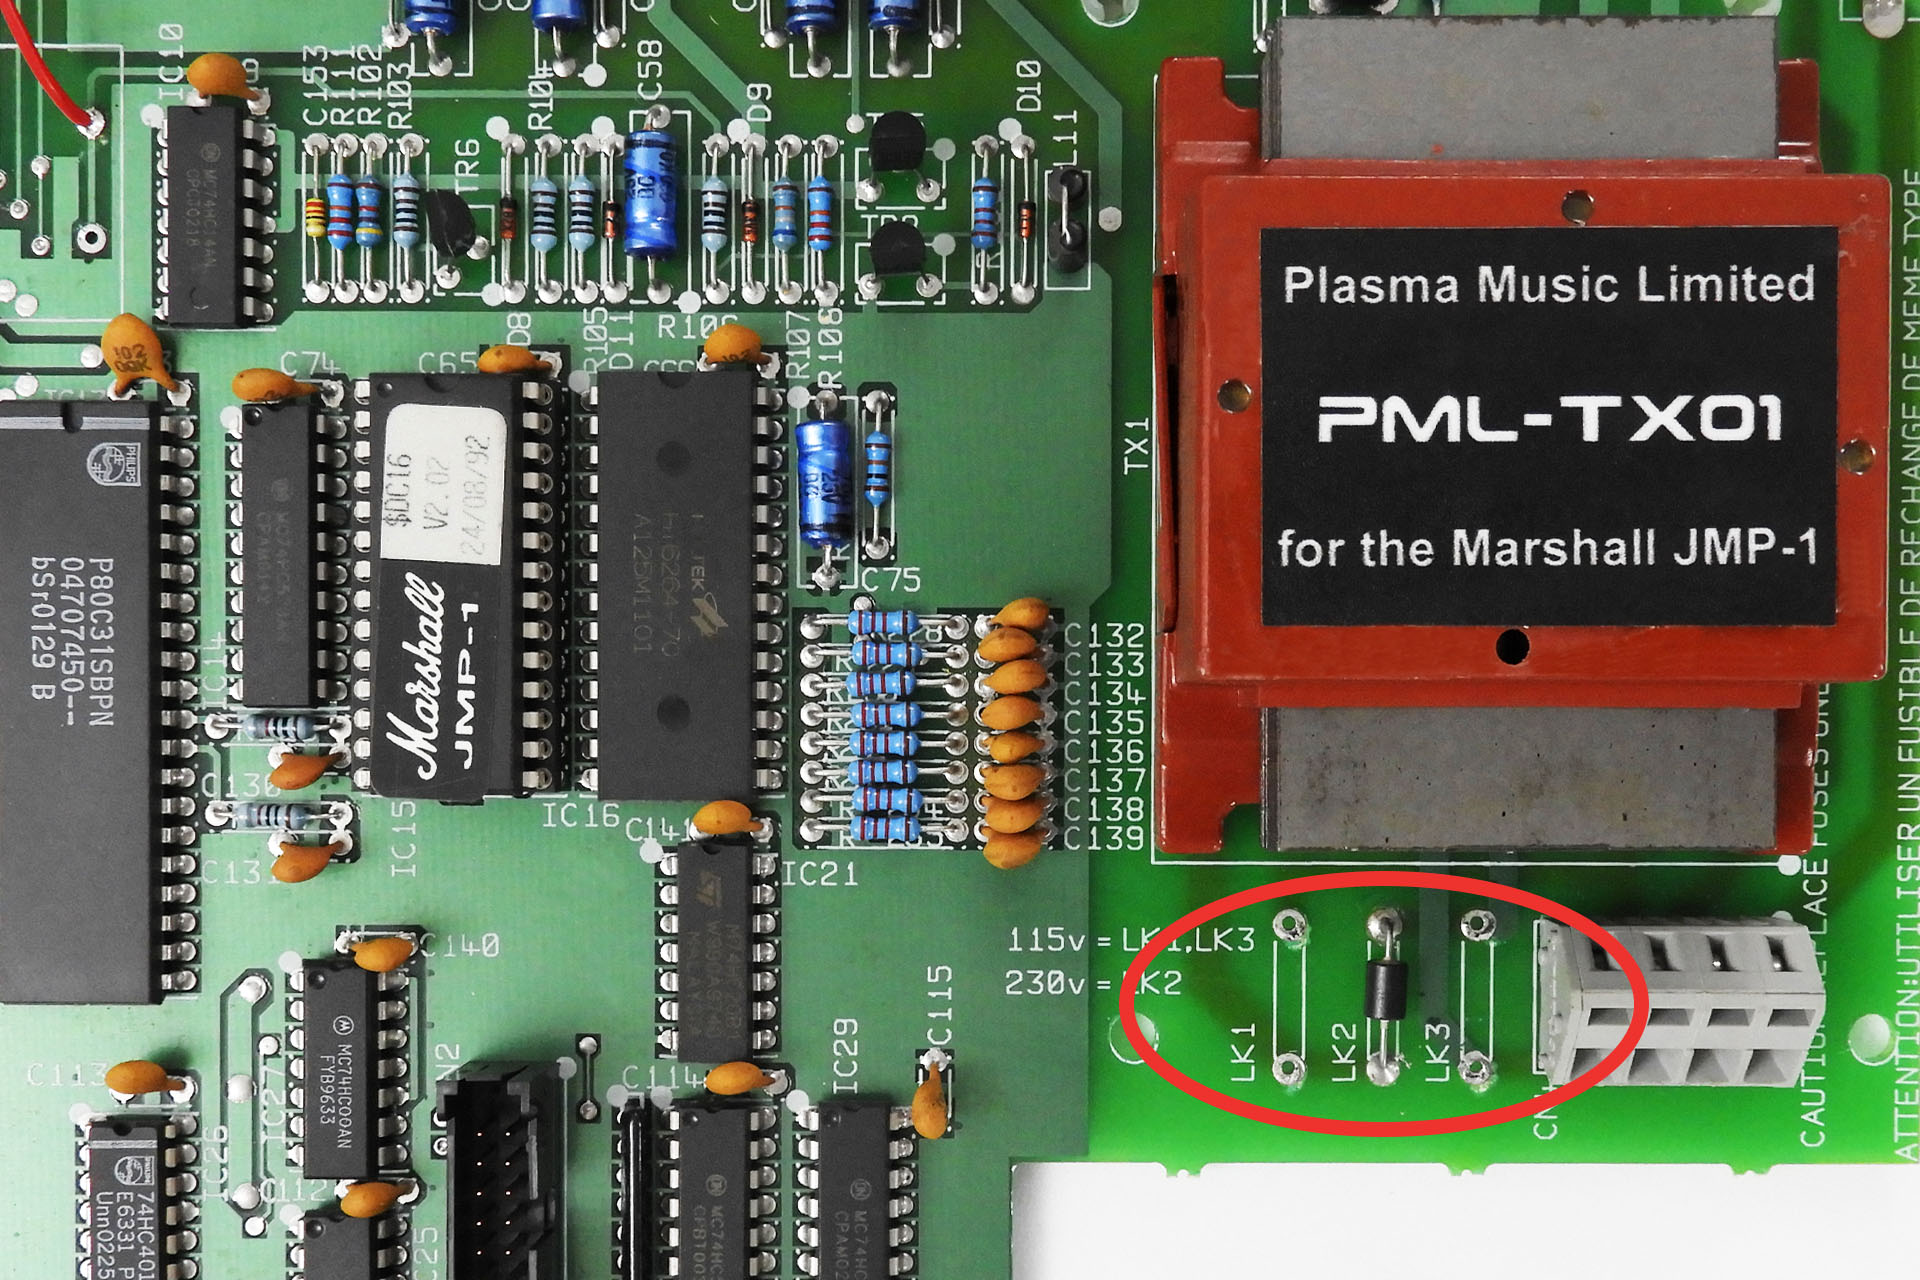
In a dual Polaris set-up, you only need to connect one of the boards to +/-15V on the JMP-1 PCB. A simple 'POWER LINK' connection between the two Polaris boards, delivers power from one module to the other. Coolamundo, dude!!!!

PLEASE BE AWARE
The Marshall JMP-1 already runs natively at +4dBm, about 1¼ Volts. Polaris makes the JMP-1 fully, professionally compliant by giving it balanced outputs. There is however, a caveat.
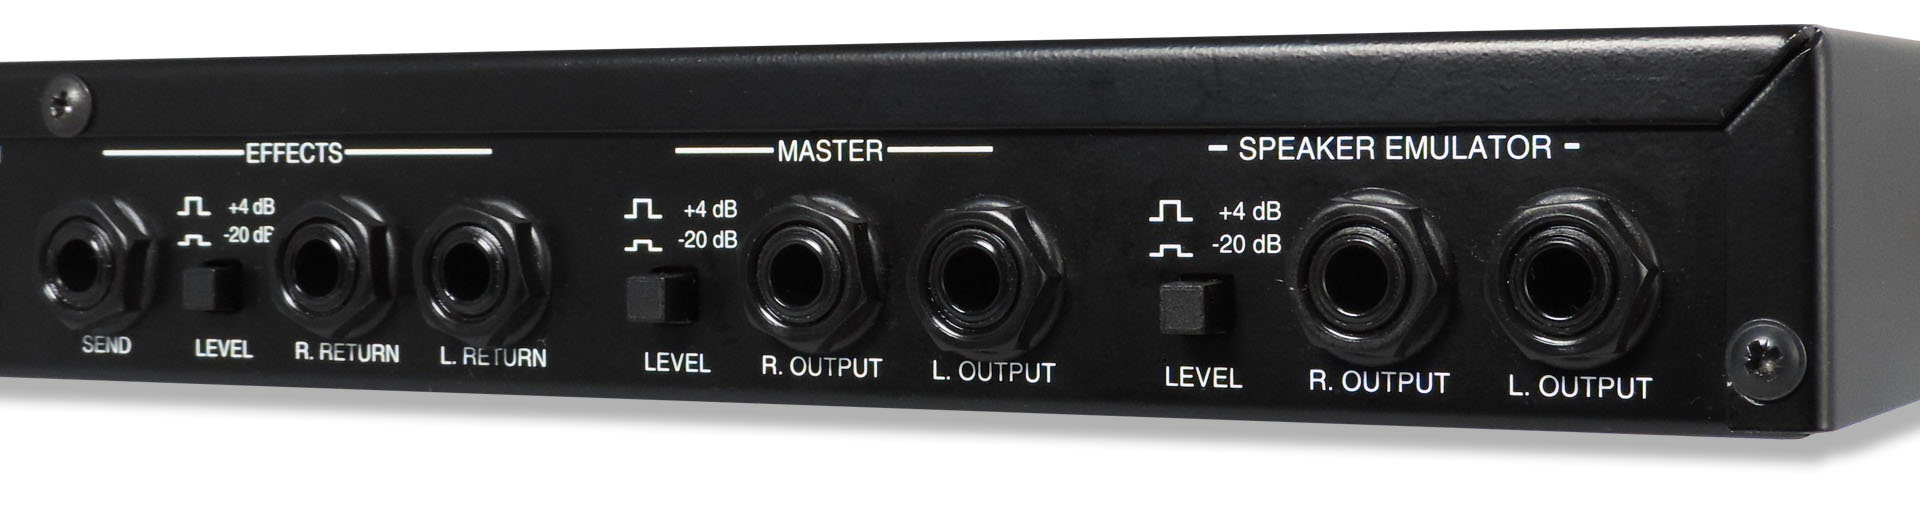
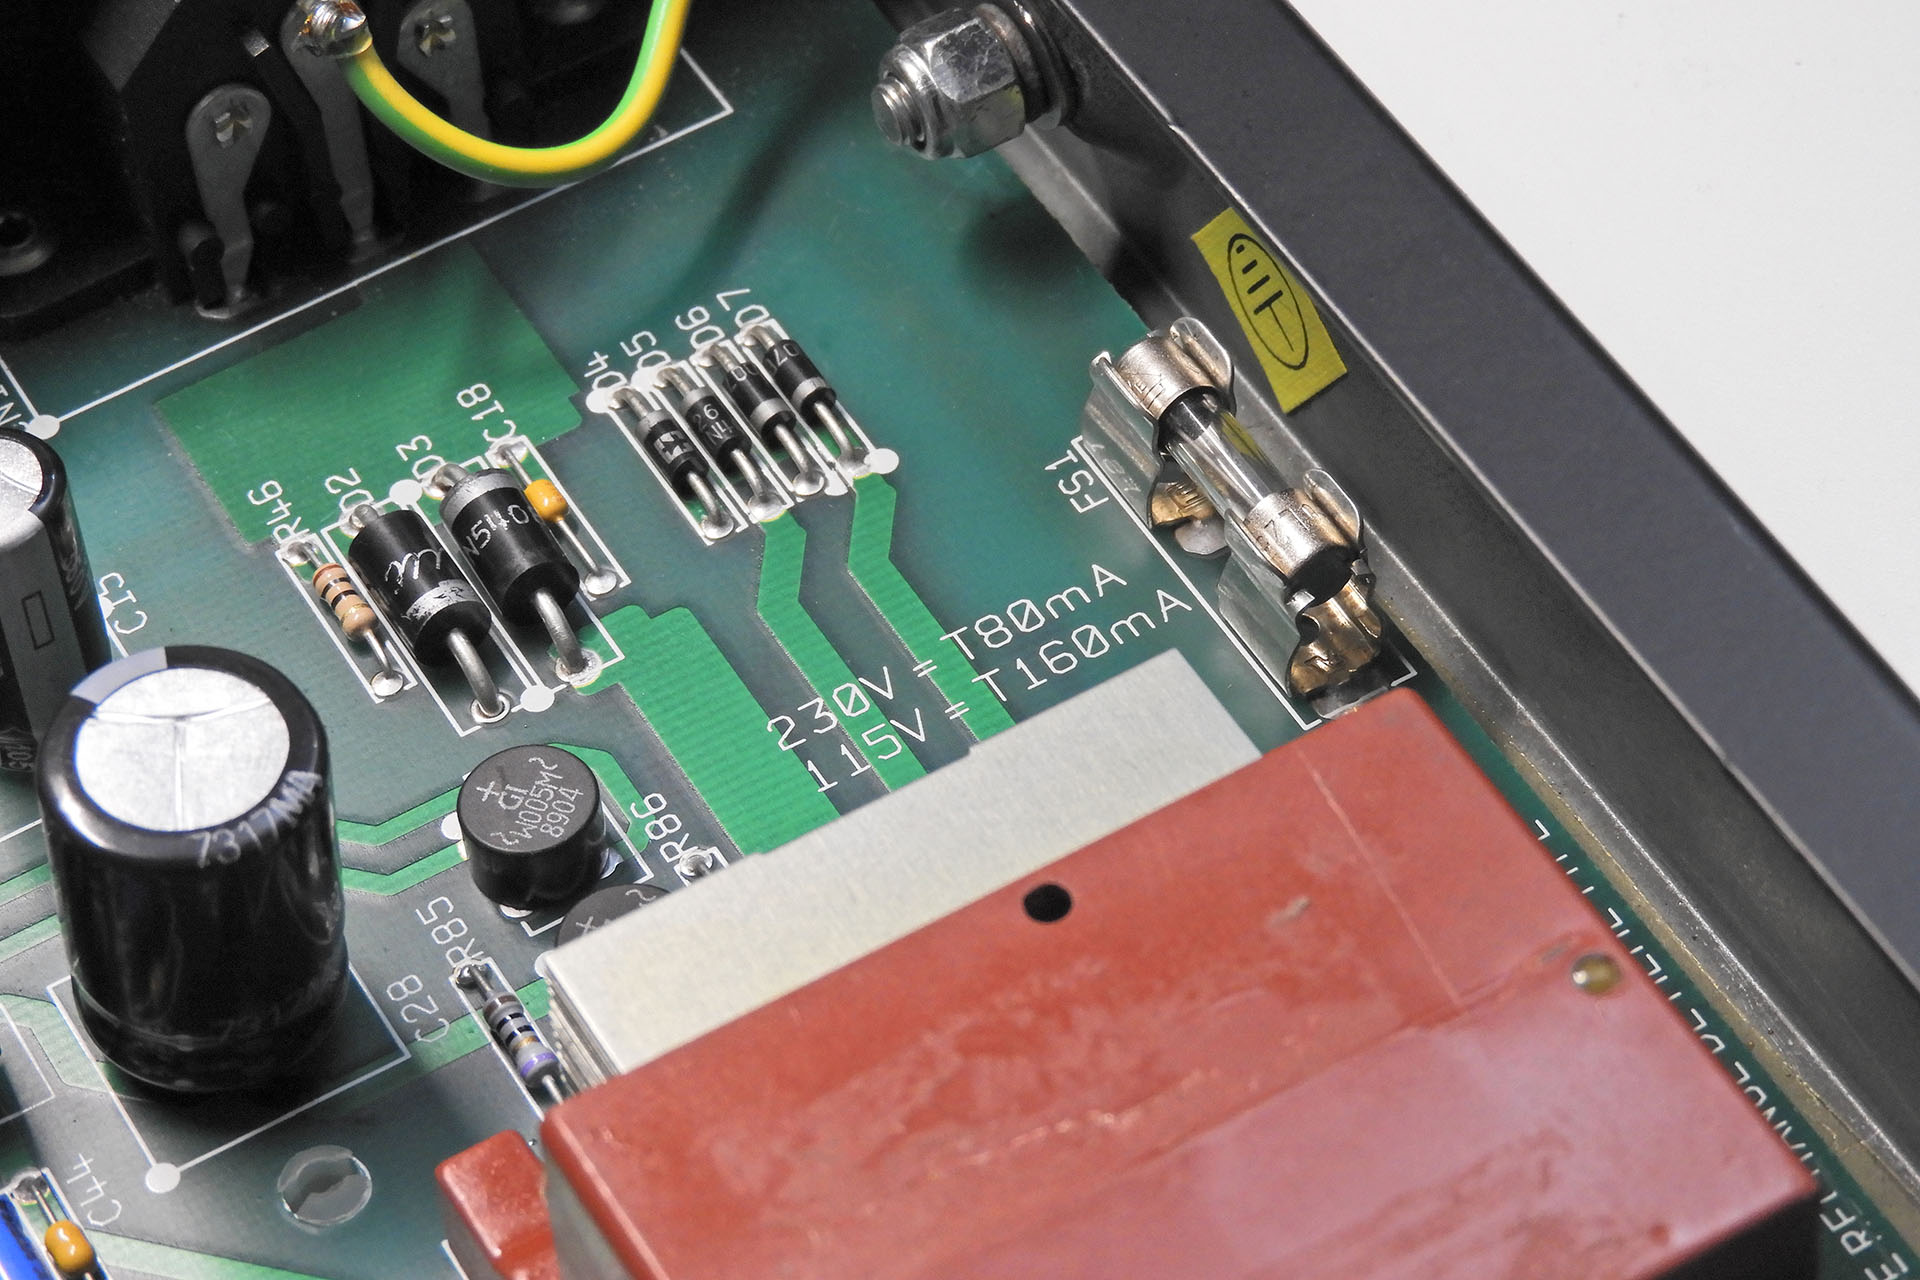
Switches on the rear, offer level attenuation down to -10dBm, about ¼ Volts allowing the JMP-1 to be connected to consumer electronics. When the level switches are set to -10dBm however, the output impedances of the JMP-1 change. This change is NOT compatible with Polaris as it adversely affects the frequency response of the stage.
I feel obliged to point this out but on the other hand, if you’re wanting balanced outputs, then why would you want them running at consumer level?
Of course, the position of the level switch for the effects loop is quite independent of the master and speaker emulated outputs and so, works as it did before.
HEY, AND DON'T FORGET... With Polaris installed, you can still connect your JMP-1 to unbalanced inputs. Of course you won't get the benefits of a balanced line connection but things will still work just fine. Over thirty years since its launch, the Marshall JMP-1 seems to be as popular as ever. Polaris balanced outputs for the Marshall JMP-1 ensures that using our favourite MIDI valve pre-amp with a sound reinforcement system or in a recording environment, will yield the best possible results with improved immunity to noise and hotter signals.
Polaris costs the same as a professional studio grade D.I. box. Being active however, means that it doesn't 'colour' the sound and has excellent phase-coherency over the entire audio spectrum. Of course, being integrated into your Marshall JMP-1 also means that there's one less box to carry around. 🙂
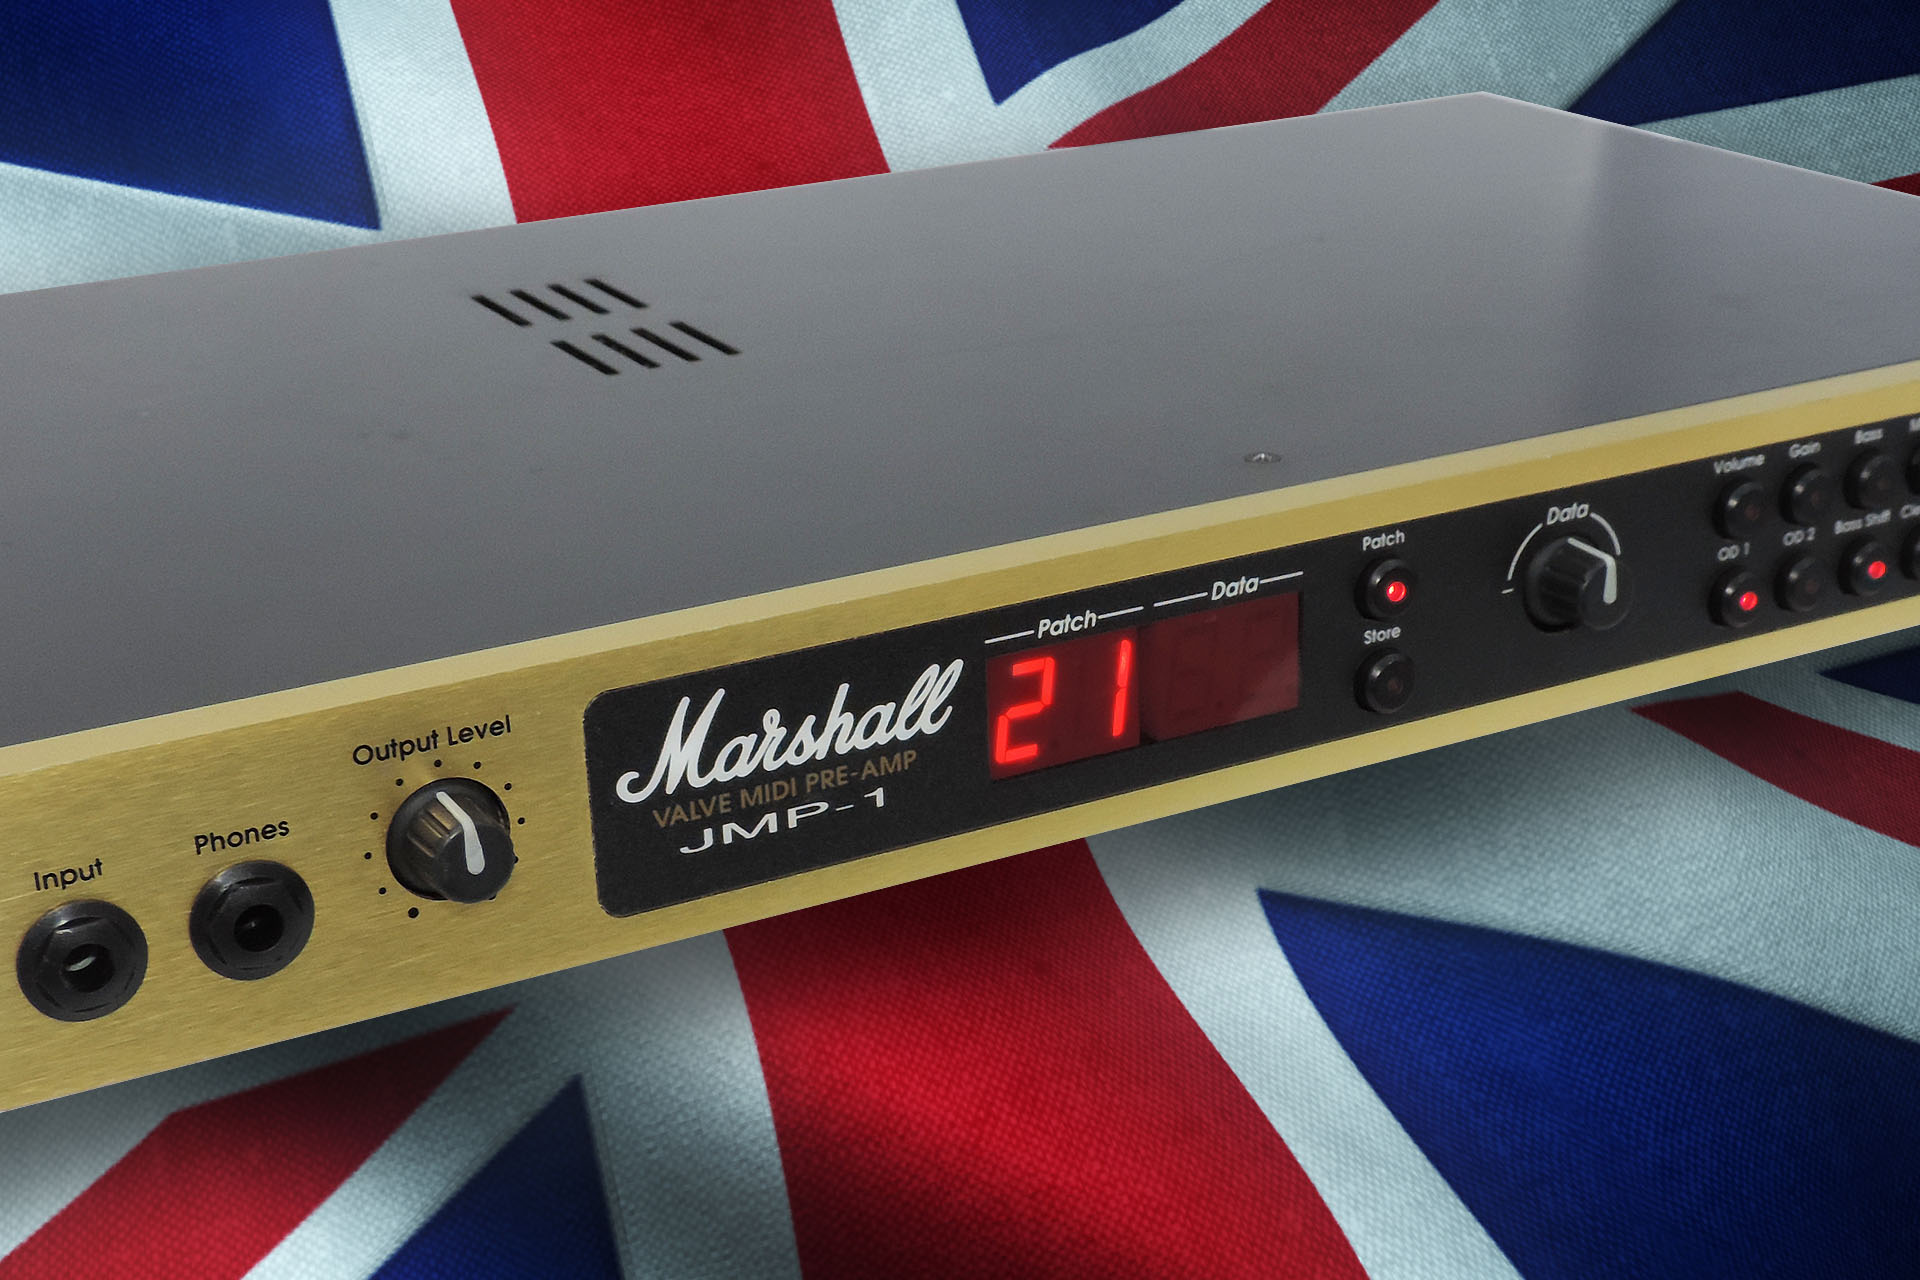
Polaris is handmade in Hemel Hempstead, Hertfordshire, United Kingdom, only a few miles from Bletchley, Milton Keynes where the Marshall Factory is and where the JMP-1 used to be made.
I do not keep Polaris units in stock and each Polaris is built to order.
Check out all of my other JMP-1 stuff here. or you can buy Polaris here:
A FEW POINTS TO NOTE...
I design a lot of upgrades / mods for various pieces of vintage music technology but... I really don't like hacking stuff.
What I mean, is that there's no way I would consider designing things that would require holes to be drilled or any other mutilations to be performed on our beautiful vintage gear. Indeed, all my upgrades and modifications are fully reversible. They can be quickly and easily removed allowing equipment to be returned to its original factory condition. Whilst sometimes a design challenge, for me, this is a big deal as I really value this old tech'.
And lastly... Occasionally, I get asked to design mods that will change the sound. Well, I'm afraid I don't do that. My feeling on the matter is quite clear; if you don't like the sound of something, get something you do like the sound of! What's the big deal, guys?


 I'm deeply concerned about the environment and the exploitation of labour and so I always use local manufacturers in preference to the Far East, with the following in mind:
 Using local manufacturers isn’t the cheapest option but the above points are important to me. I hope that they’re important to you too.