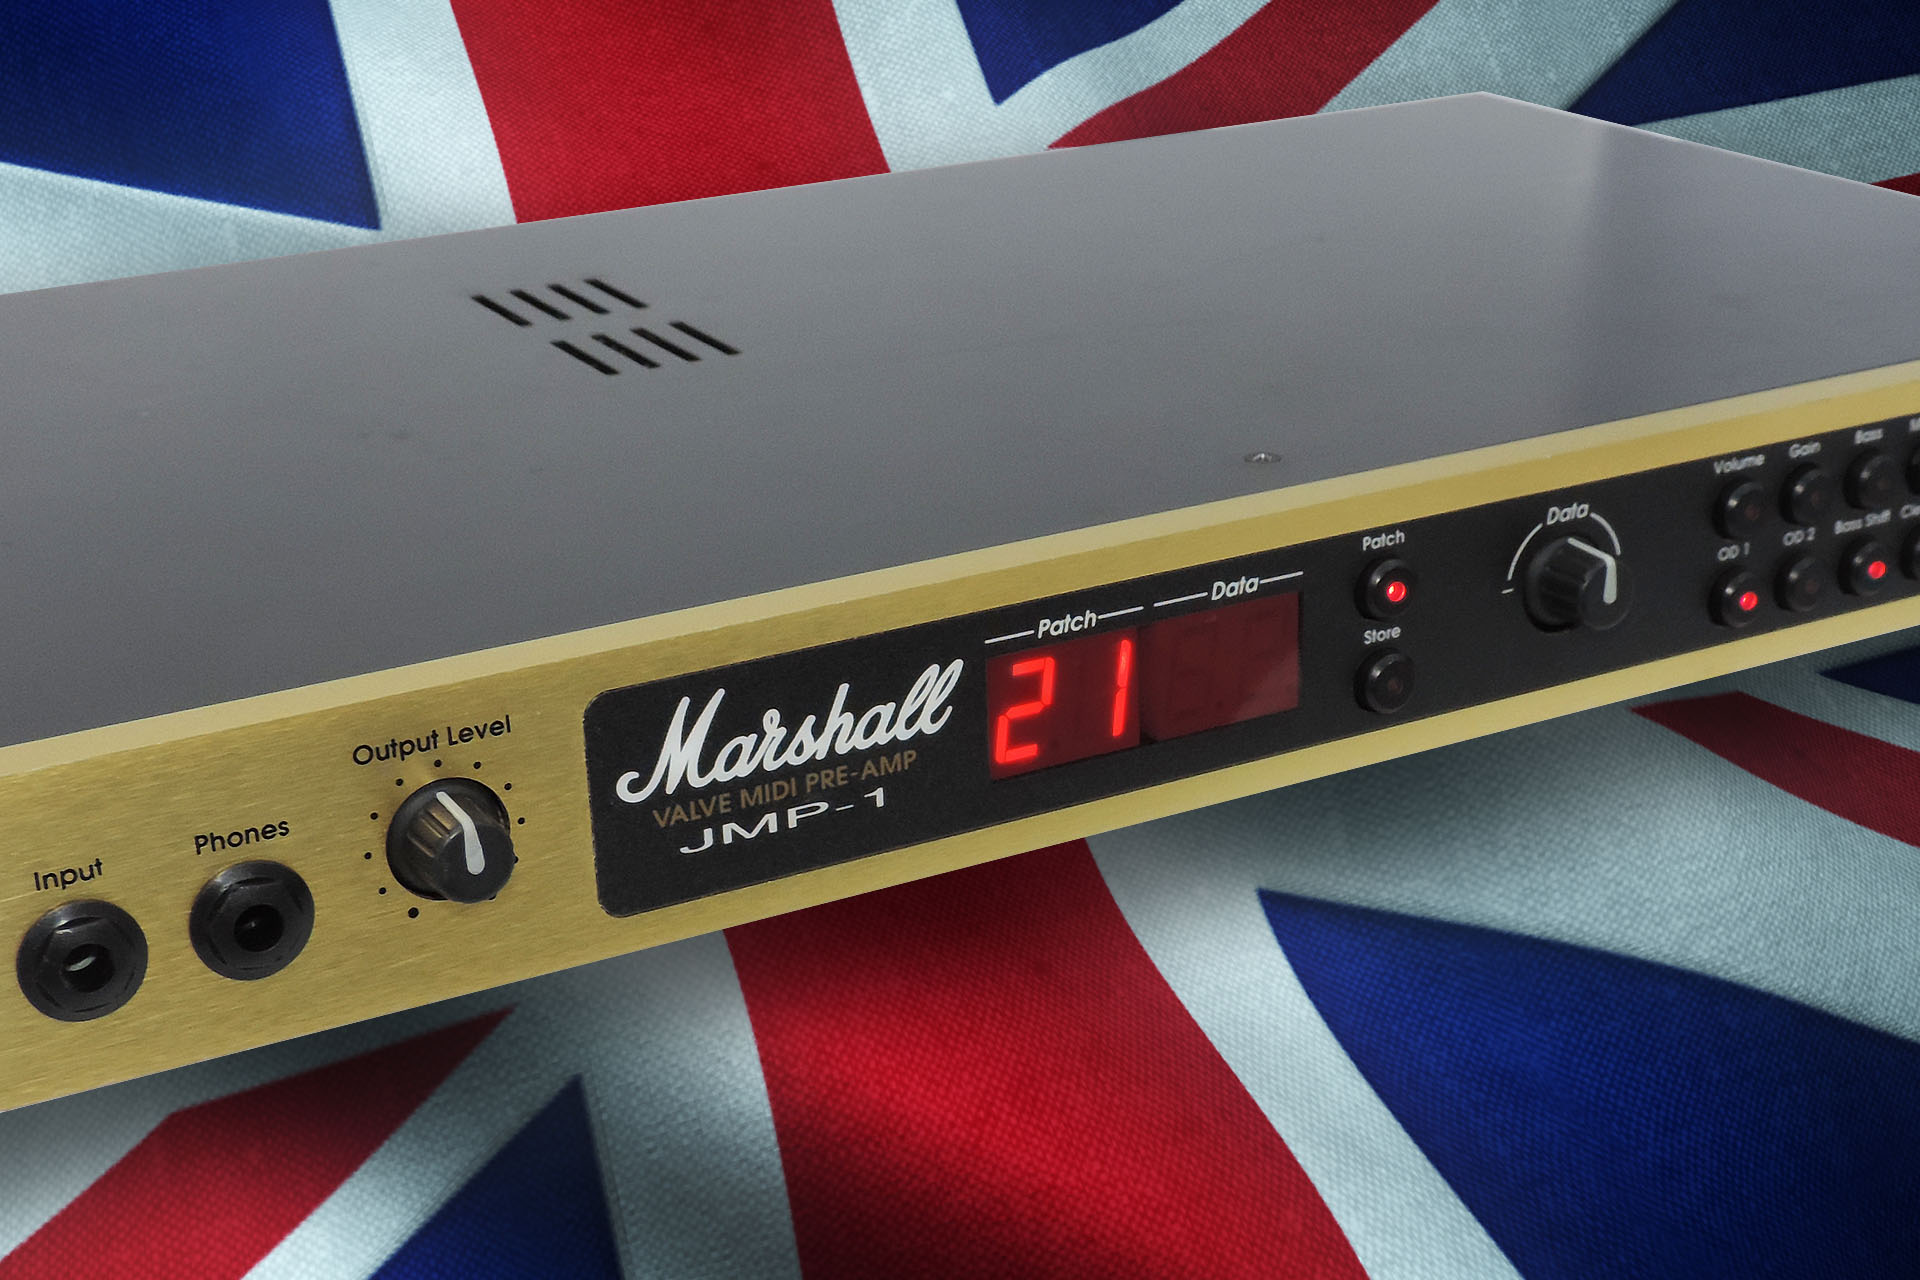
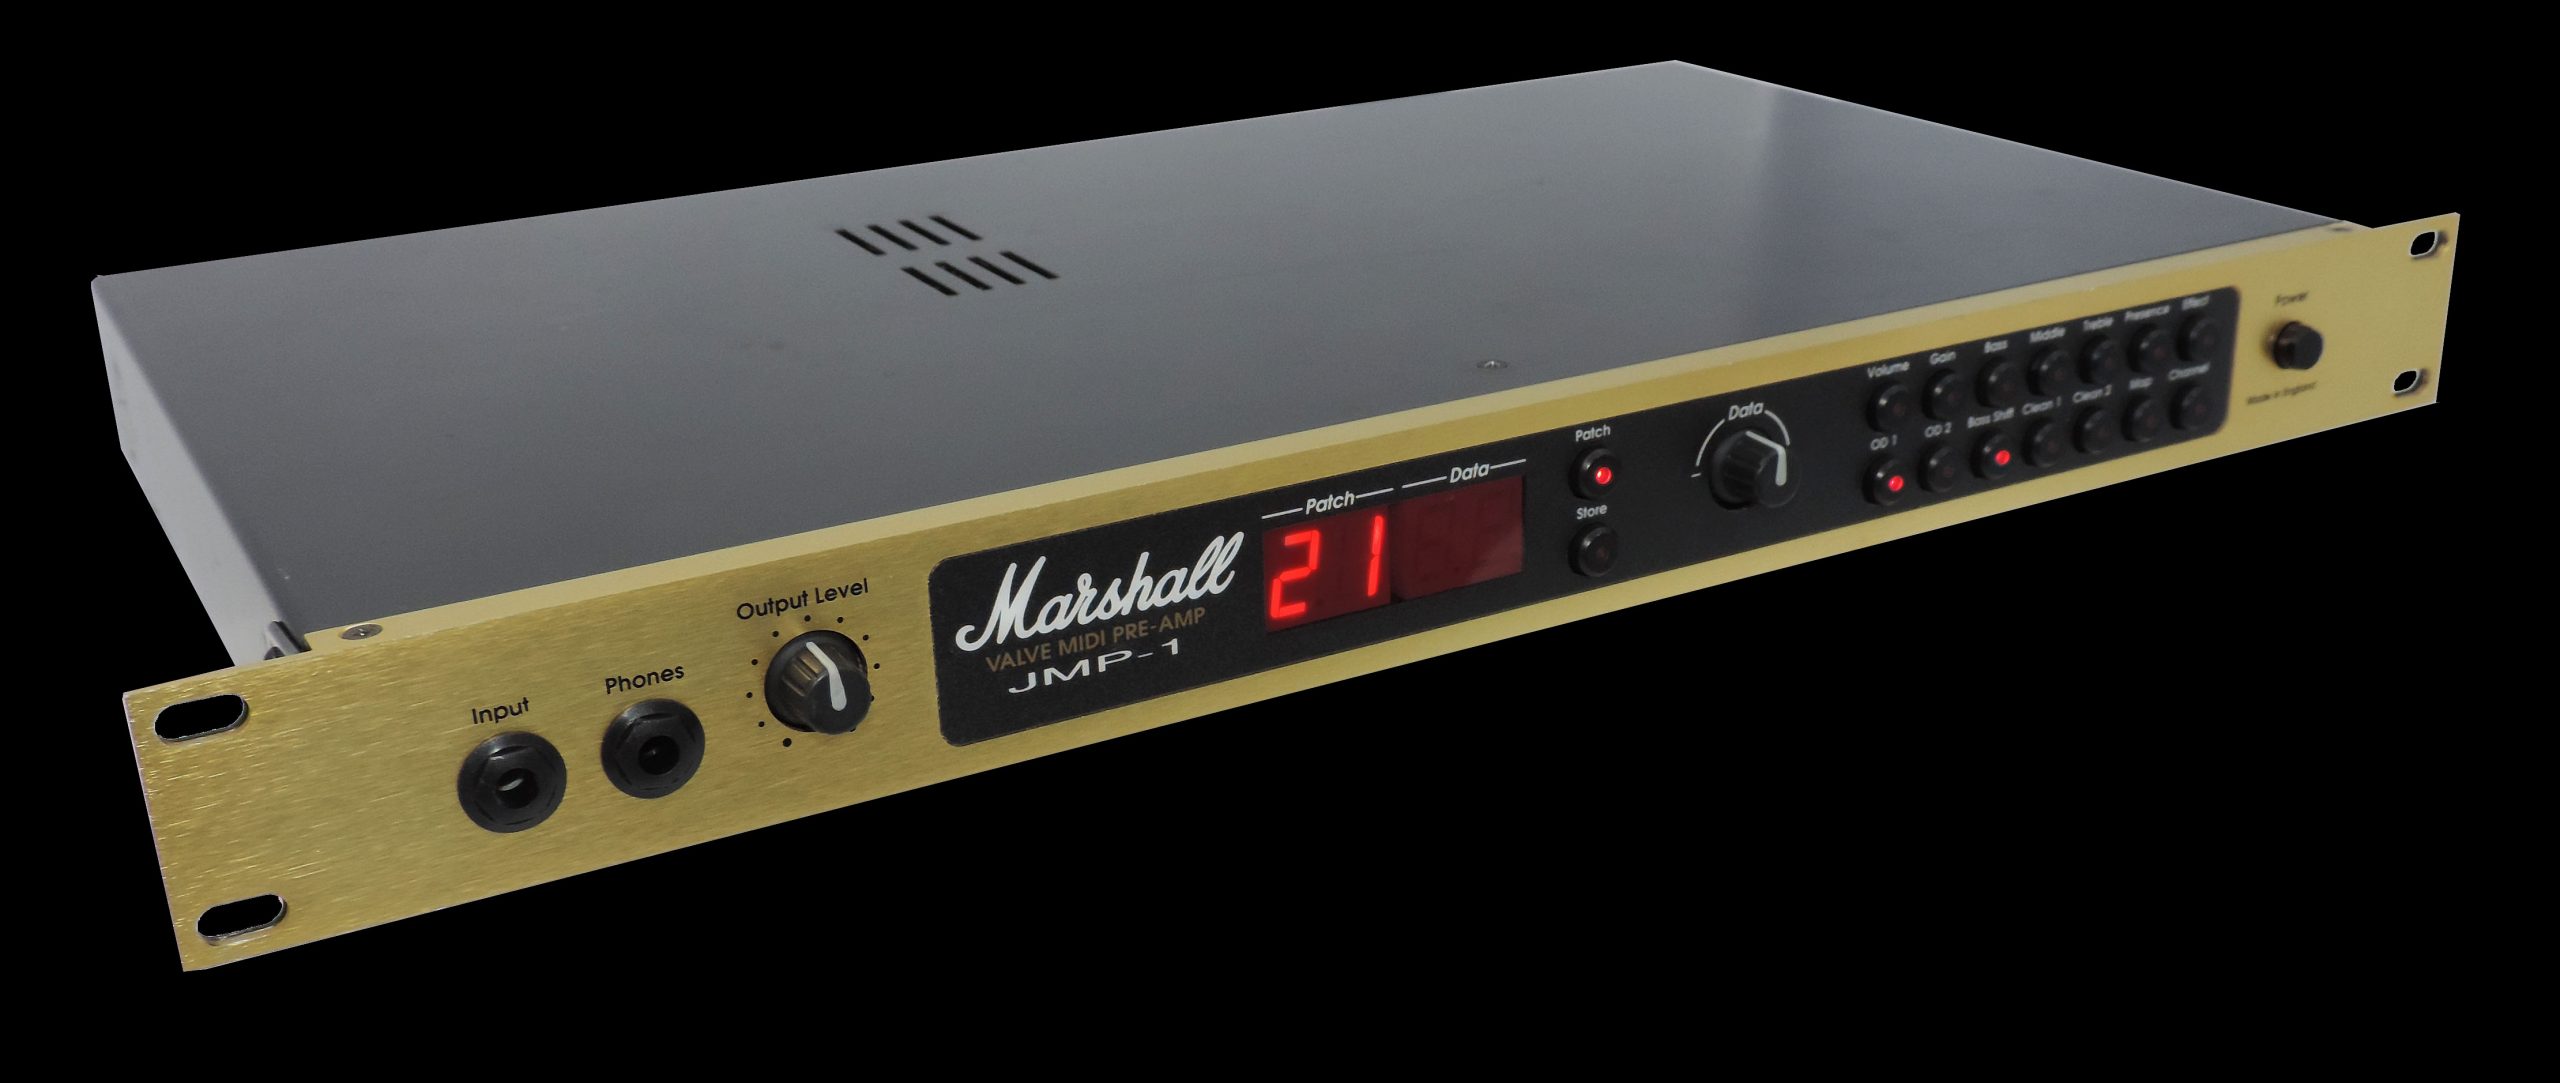
I’ve seen a few Marshall JMP-1s in my time and as some will know, I really do like this simple and straight-forward MIDI valve pre-amp. As such, I love working on them and enjoy testing the results even more! Having a Marshall JMP-1 in that needs a little attention is never tiring.
Anyway, last week a customer who had just bought one of these off eBay, took the initiative and sent it to me for a full service.
Although dated 1992 making it an original production example, you just wouldn’t guess it from the condition of the unit, it’s pristine. What a find!
Stuart said that he’d like the valves checked as well as the back-up battery. He also commented that the data encoder was skipping. This latter issue is quite common. Marshall didn’t incorporate a hardware bounce eliminator into the JMP-1 and the outputs of the encoder, go straight into the processor. I therefore, took this opportunity to design something that would sort this problem out once and for all. In fact, Stuart's JMP-1 became the first unit to have my 'Eclipse' bounce eliminator for the Marshall JMP-1 data encoder installed and you can read all about that here.
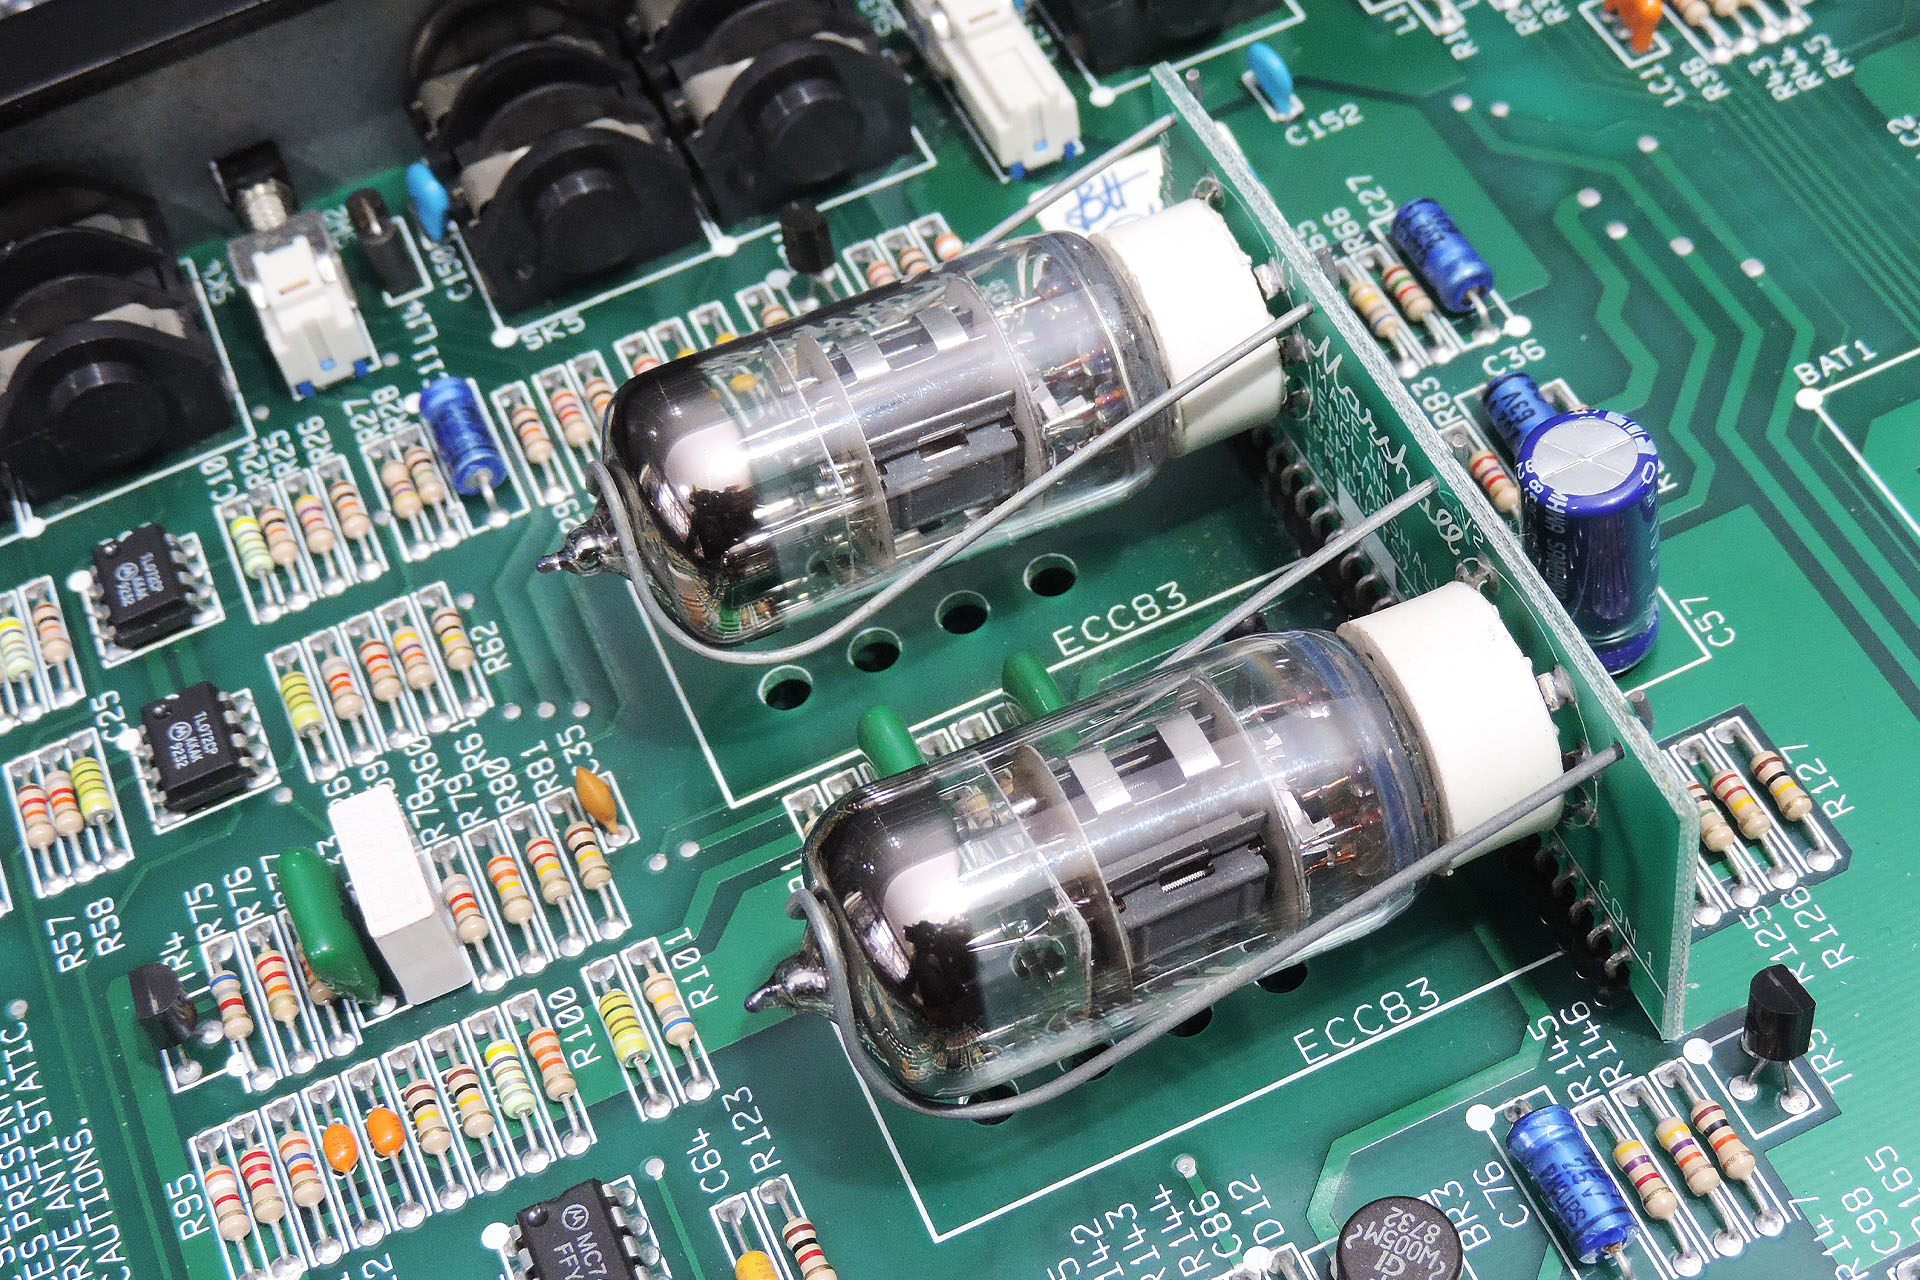
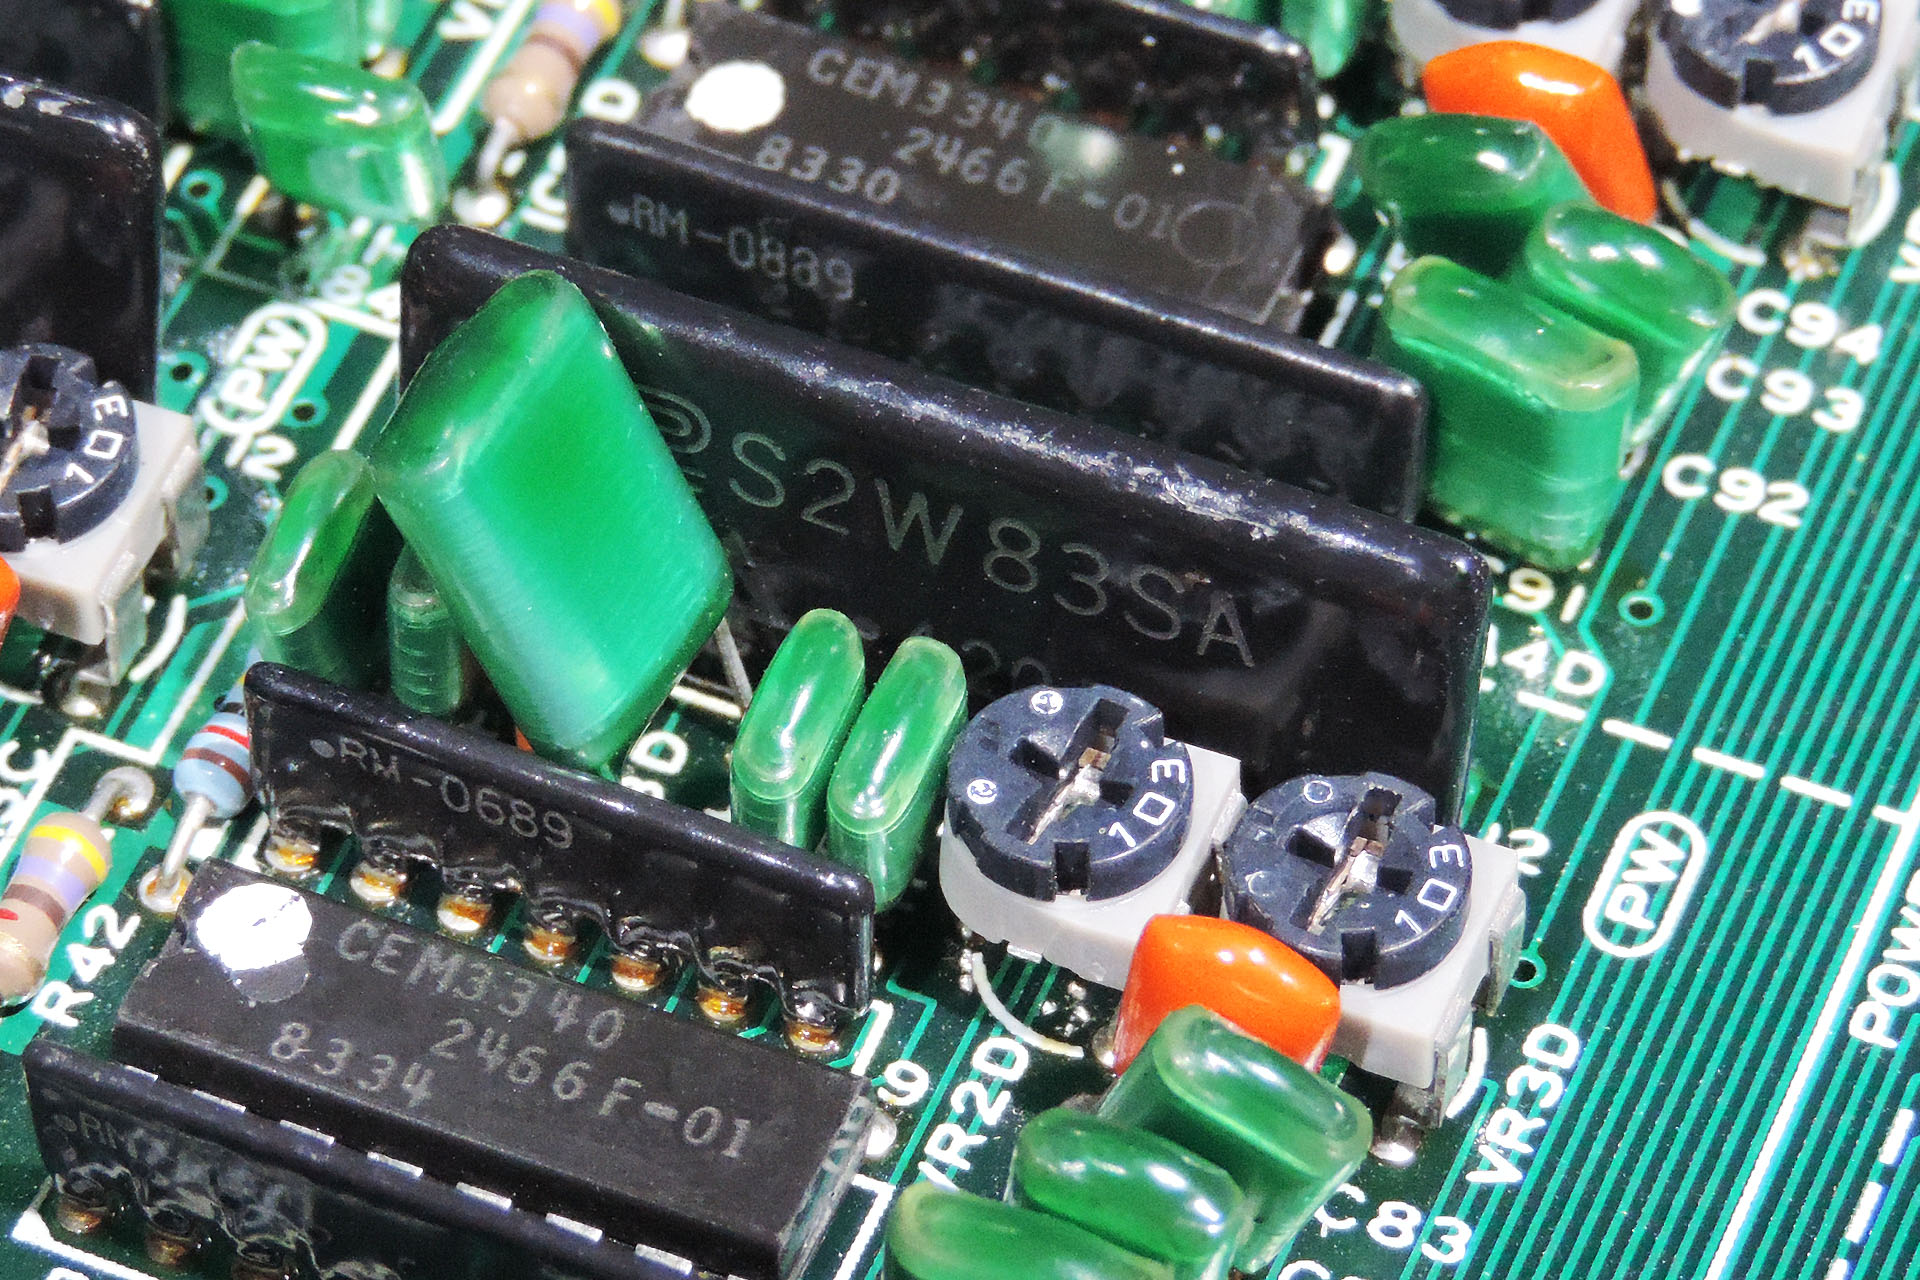
The valves were original and electronically, they will probably last another thirty years. Without modification, we know that the valves don’t really contribute too much to the tone of the JMP-1 but on this occasion, I decided to change them anyway, just so that everything’s nice and clean and so I dropped in a pair of cryogenically treated premium valves sourced from my good friend Derek at Watford Valves.
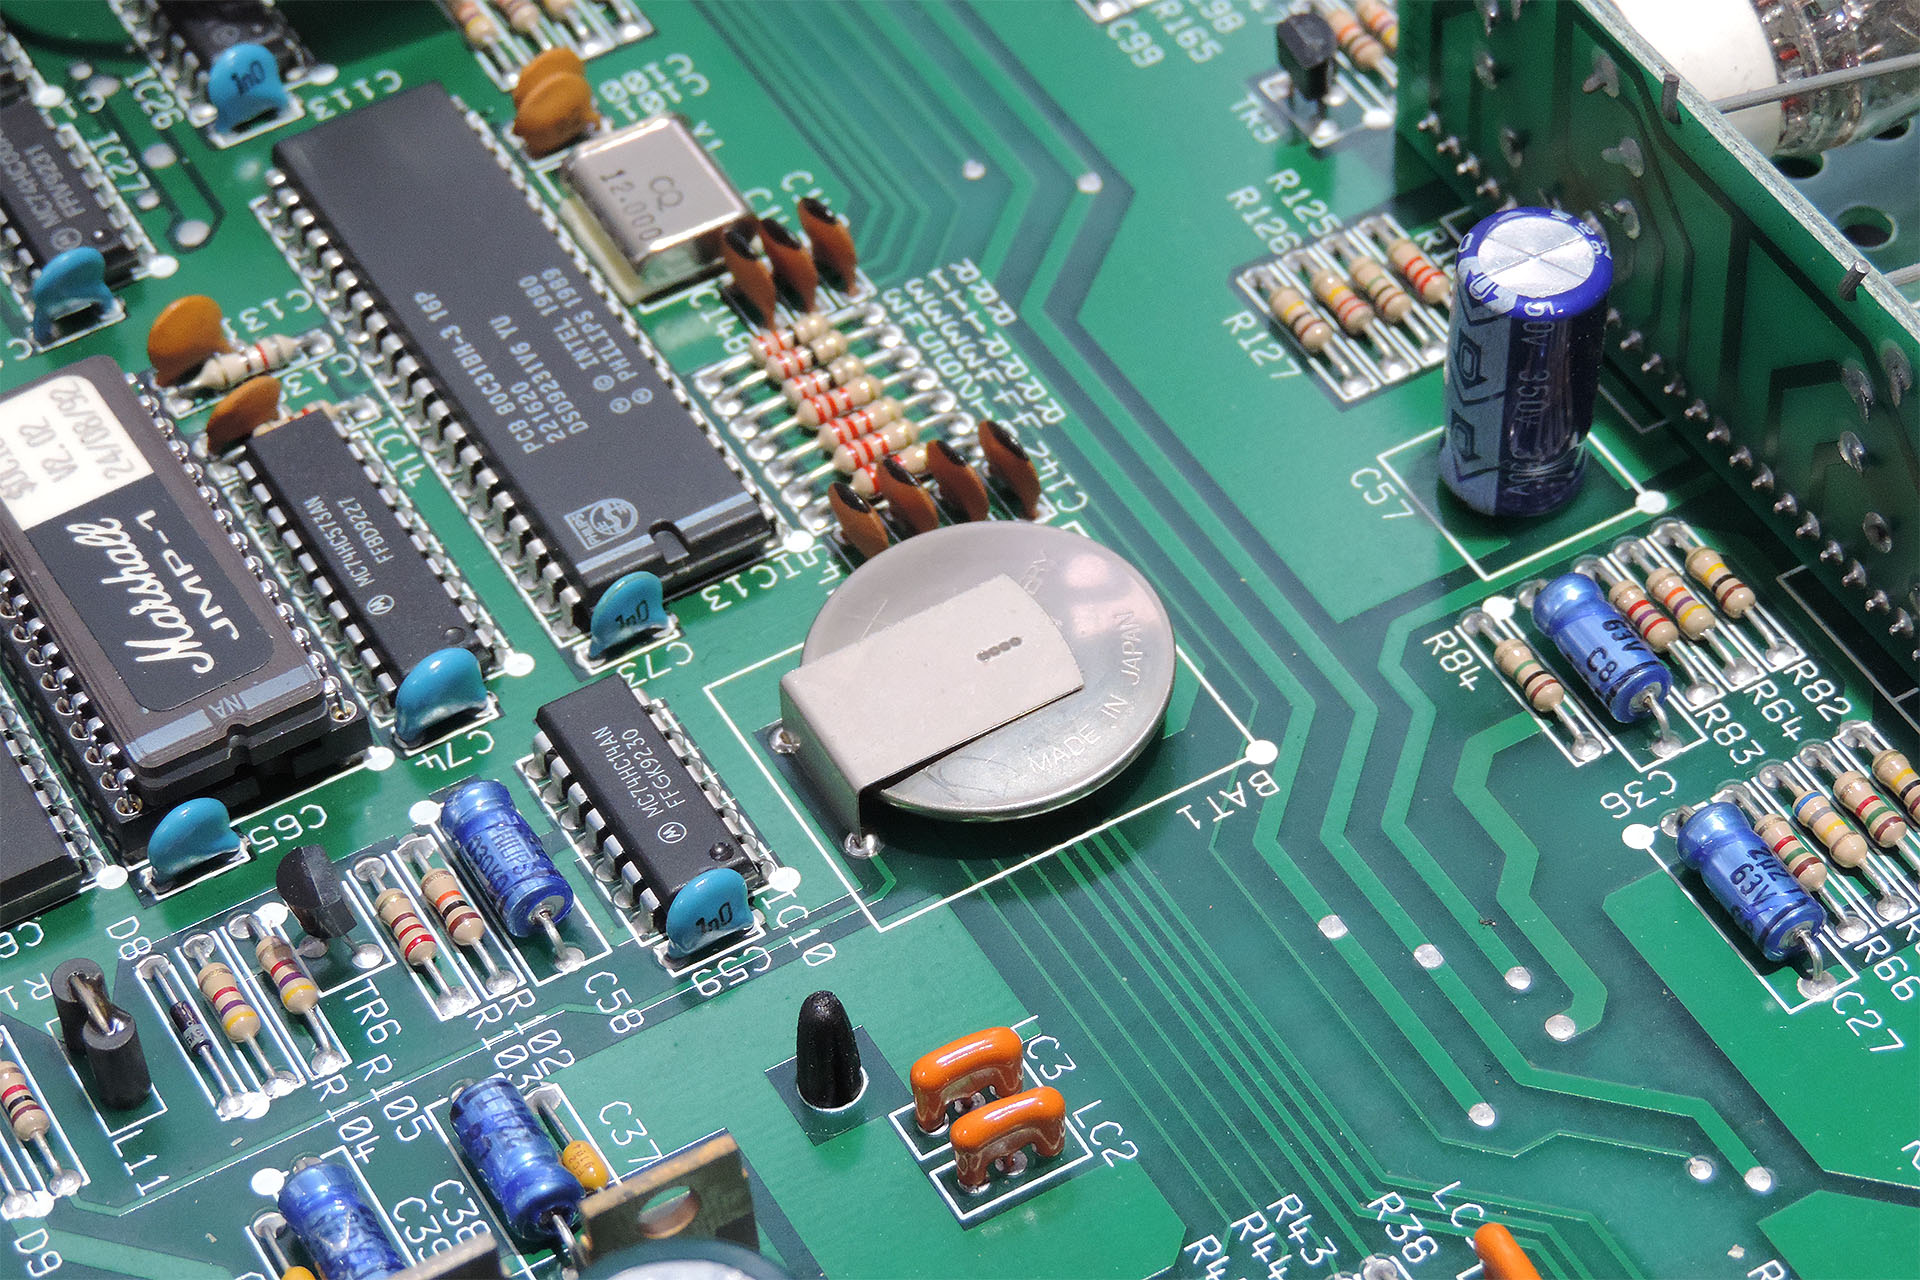
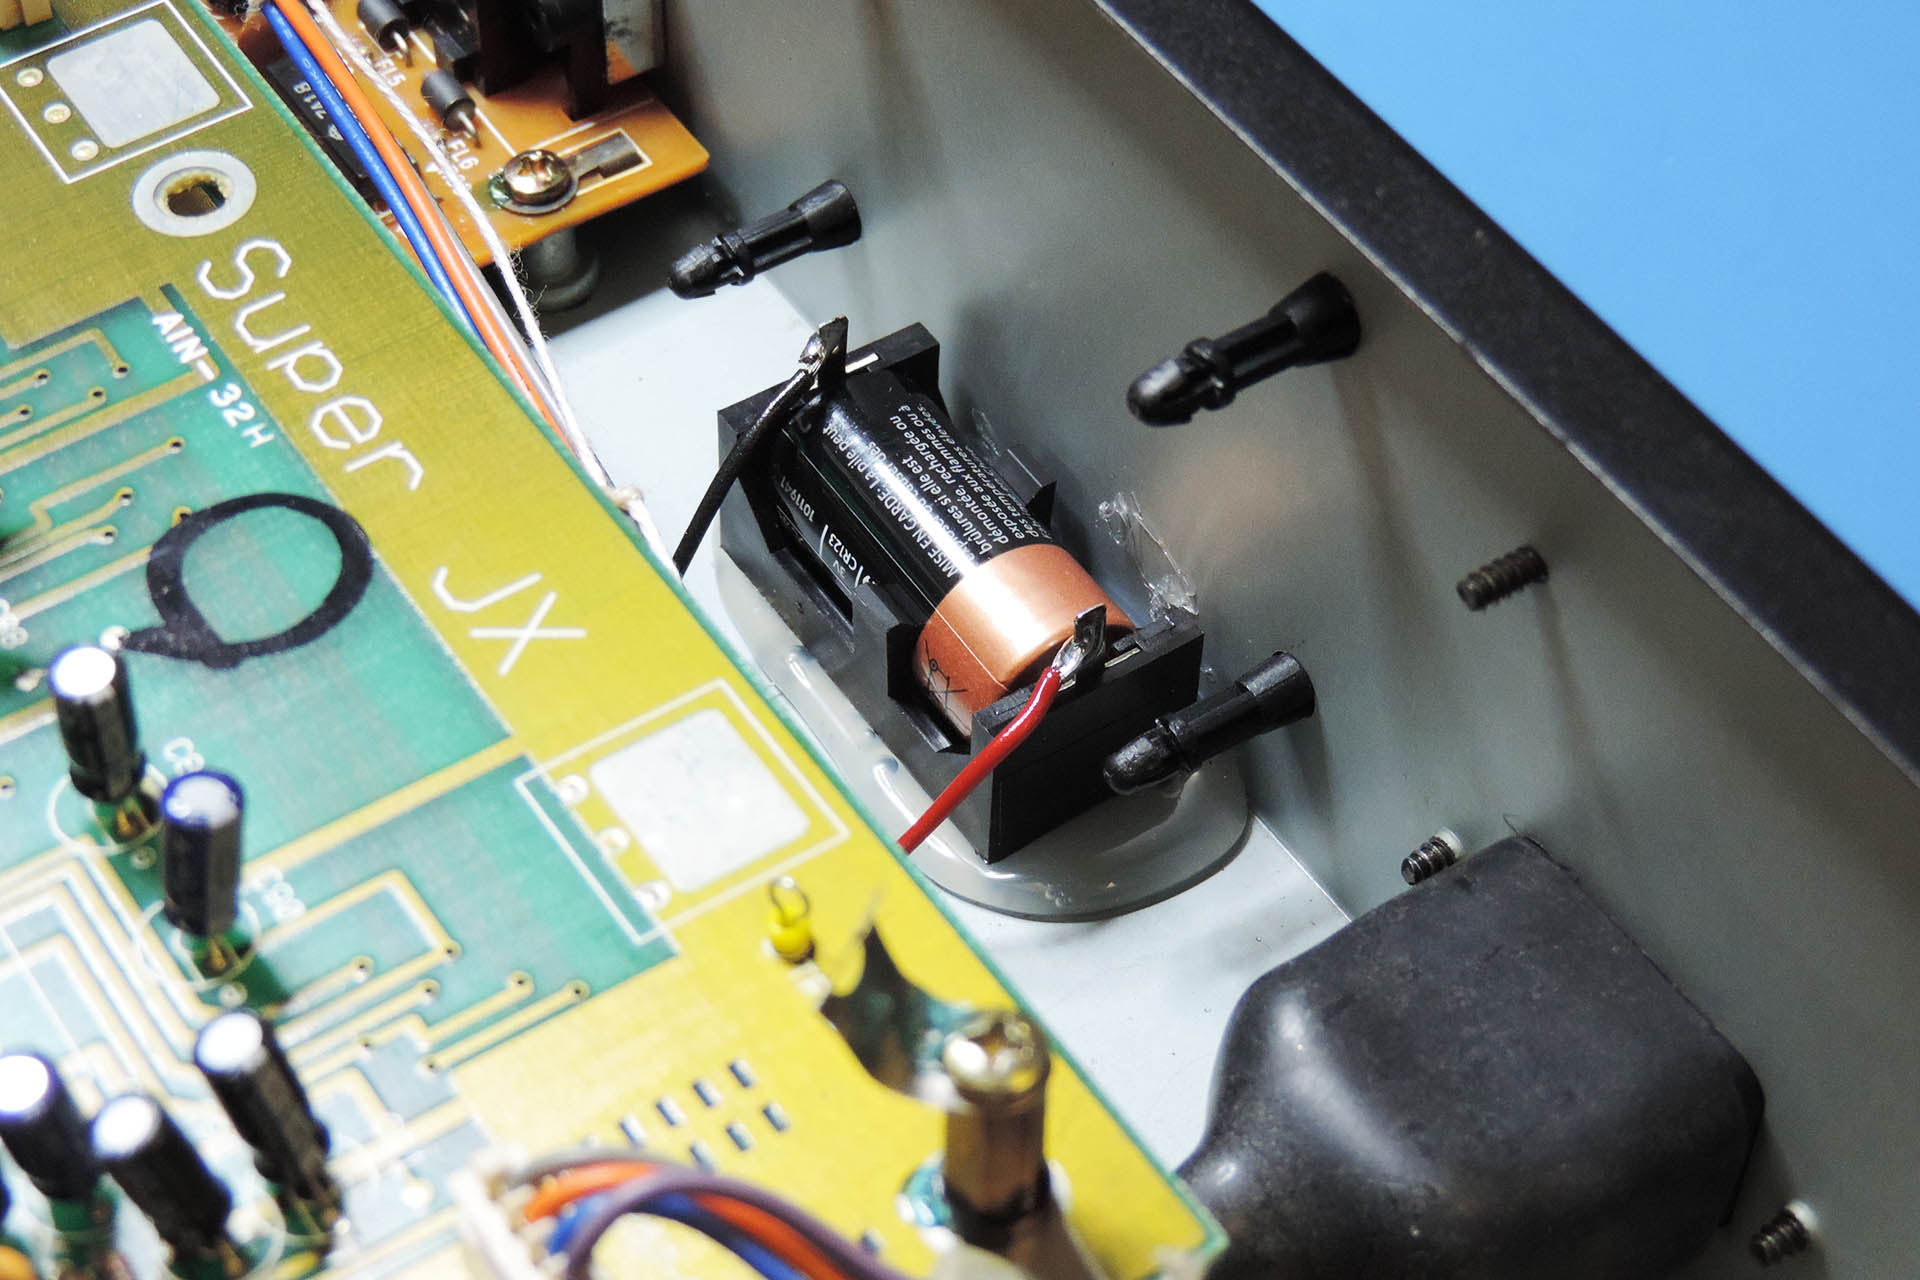
The most disturbing observation when I took the lid off, was the back-up battery. It was obviously swollen and although still backing up the memory, was in desperate need of changing. This point is of particular importance. I leaking battery could render your JMP-1 useless! Please do check out my post of Battery Acid Damage.
I explained my Live Forever memory back-up battery mod’ to Stuart and he loved the idea so we went ahead with that.
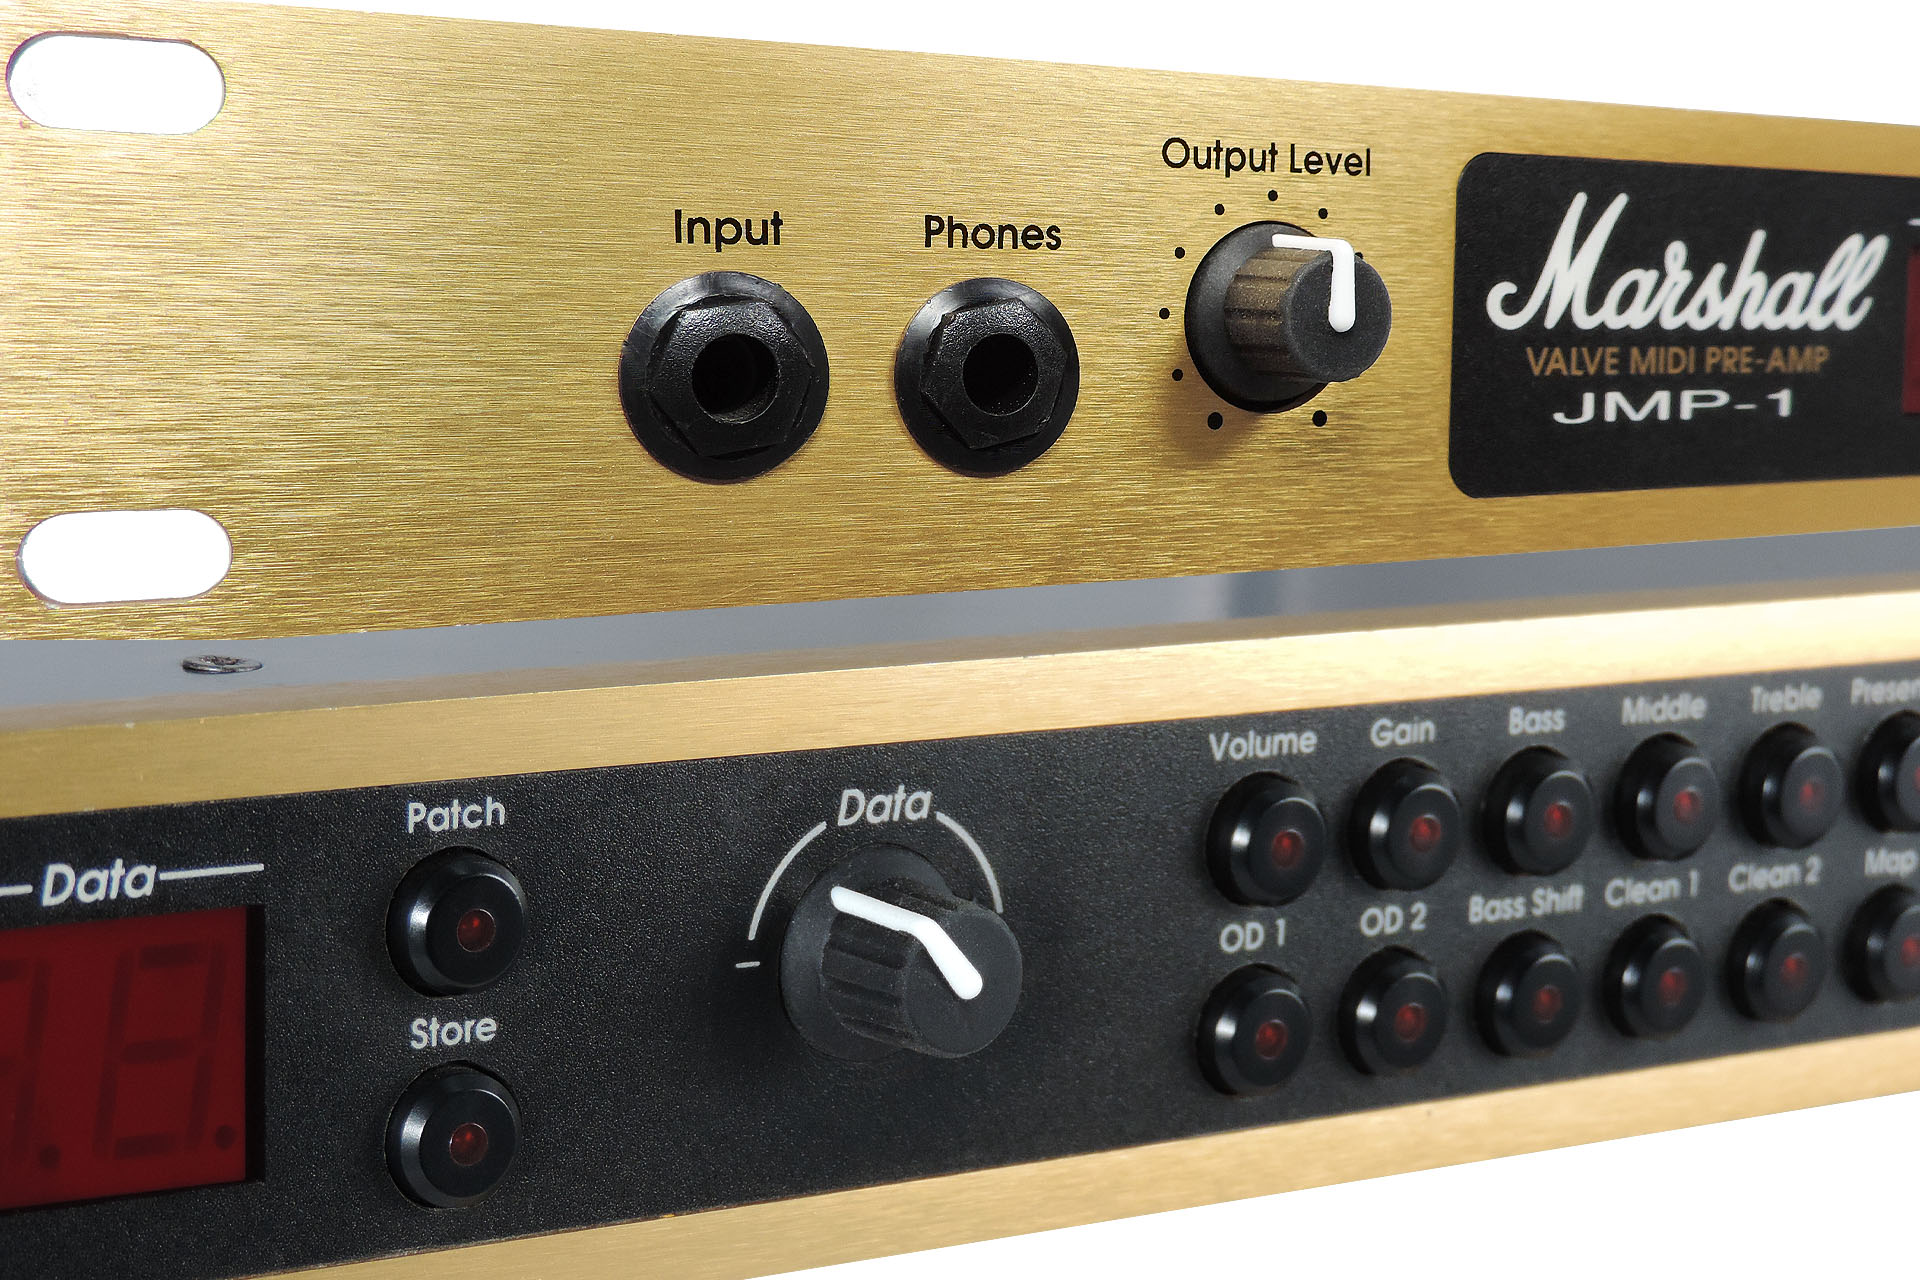
I cleaned the volume pot on the front as well as the sockets which although looked okay, hadn’t been touched for almost thirty years.
Since the unit had just been bought, there were no user patches of significance so I initialised the memory. If you need to initialise your unit, follow my guide here.
I put the lid back on, plugged it in and WOW! This machine looks, feels and sounds like it was made last week. FANTASTIC!!!!
People love their Marshall JMP-1s and I often get asked to supply more than a service. As an example, I recently had a JMP-1 in, that had a data encoder knob which looked like it had spent half-an-hour in boiling water! The rest of the unit was pristine.
Of course, being discontinued for well over twenty years, Marshall don’t really hold a lot of spares for the JMP-1 and sourcing alternatives isn’t easy.
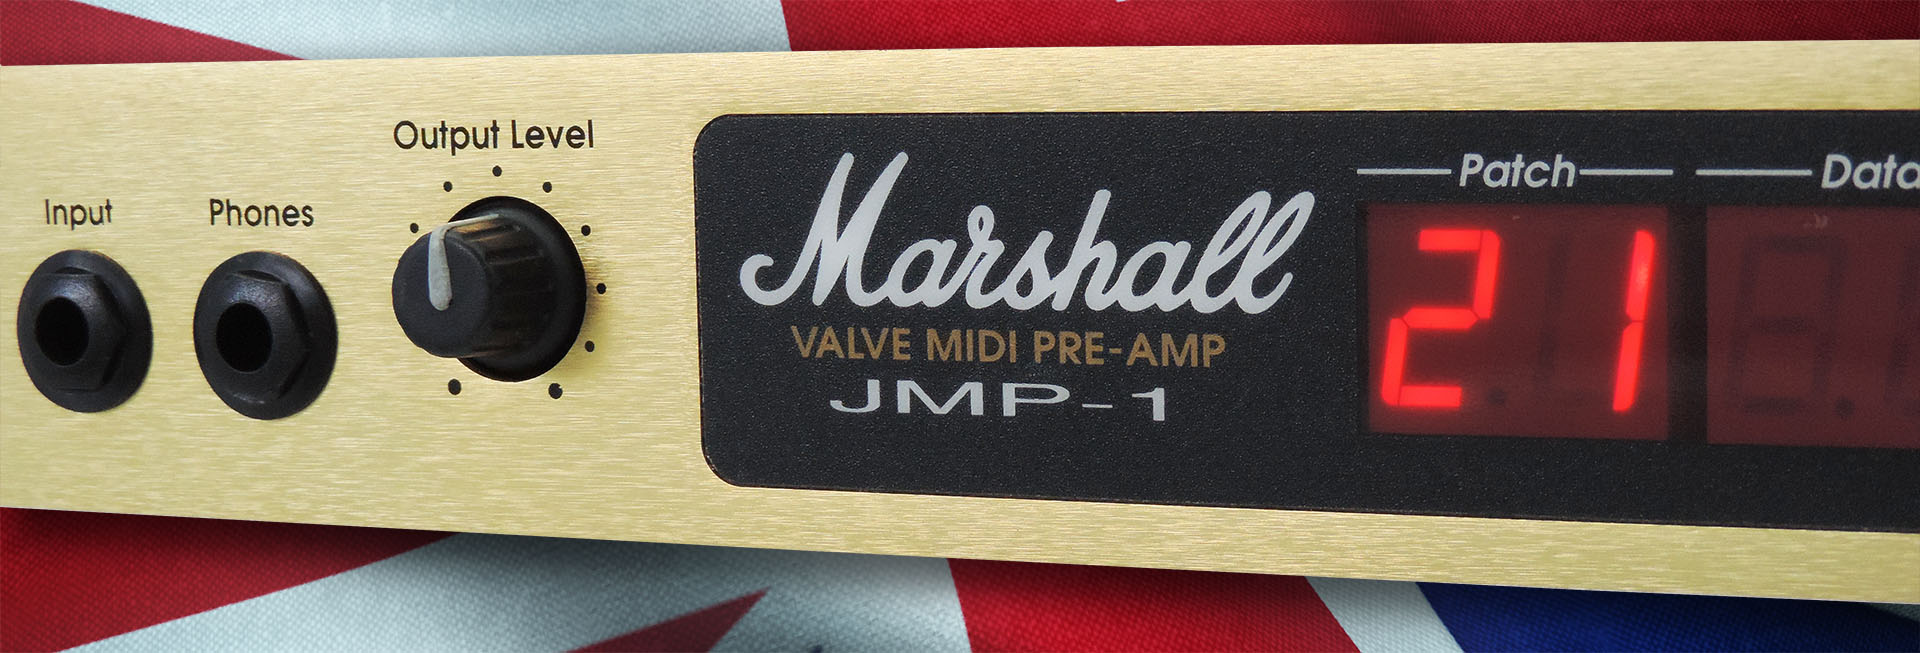
There are two knobs on the front panel and although they look the same, the fittings are quite different. The knob for the volume pot has a 6mm spline shaft and the knob for the data encoder has a ¼” D-shaft. Finding a knob with the correct base diameter, height, ergonomics and colour is hard enough. To find a knob that satisfies all of that and is available in two versions, one with a 6mm spline shaft fitting and another with a ¼” D-shaft fitting is well, kinda impossible. So, while my hunt continues, I am forced to improvise. Having said that, customers seem well chuffed with the results.
The other items which often get lost or damaged, are the black nuts on the front input and headphone jacks. Well you’ll be pleased to know that I have managed to track down this rare beast including the black bezel for these particular jacks.
Check out my post on replacement Marshall JMP-1 Knobs Nuts and Bezels to learn more or just visit my store to buy.
As mentioned, I don’t tire of working on these machines, so if you’ve got a Marshall JMP-1 that you feel could benefit from some attention, just contact me.
UPDATE - 23rd June 2021
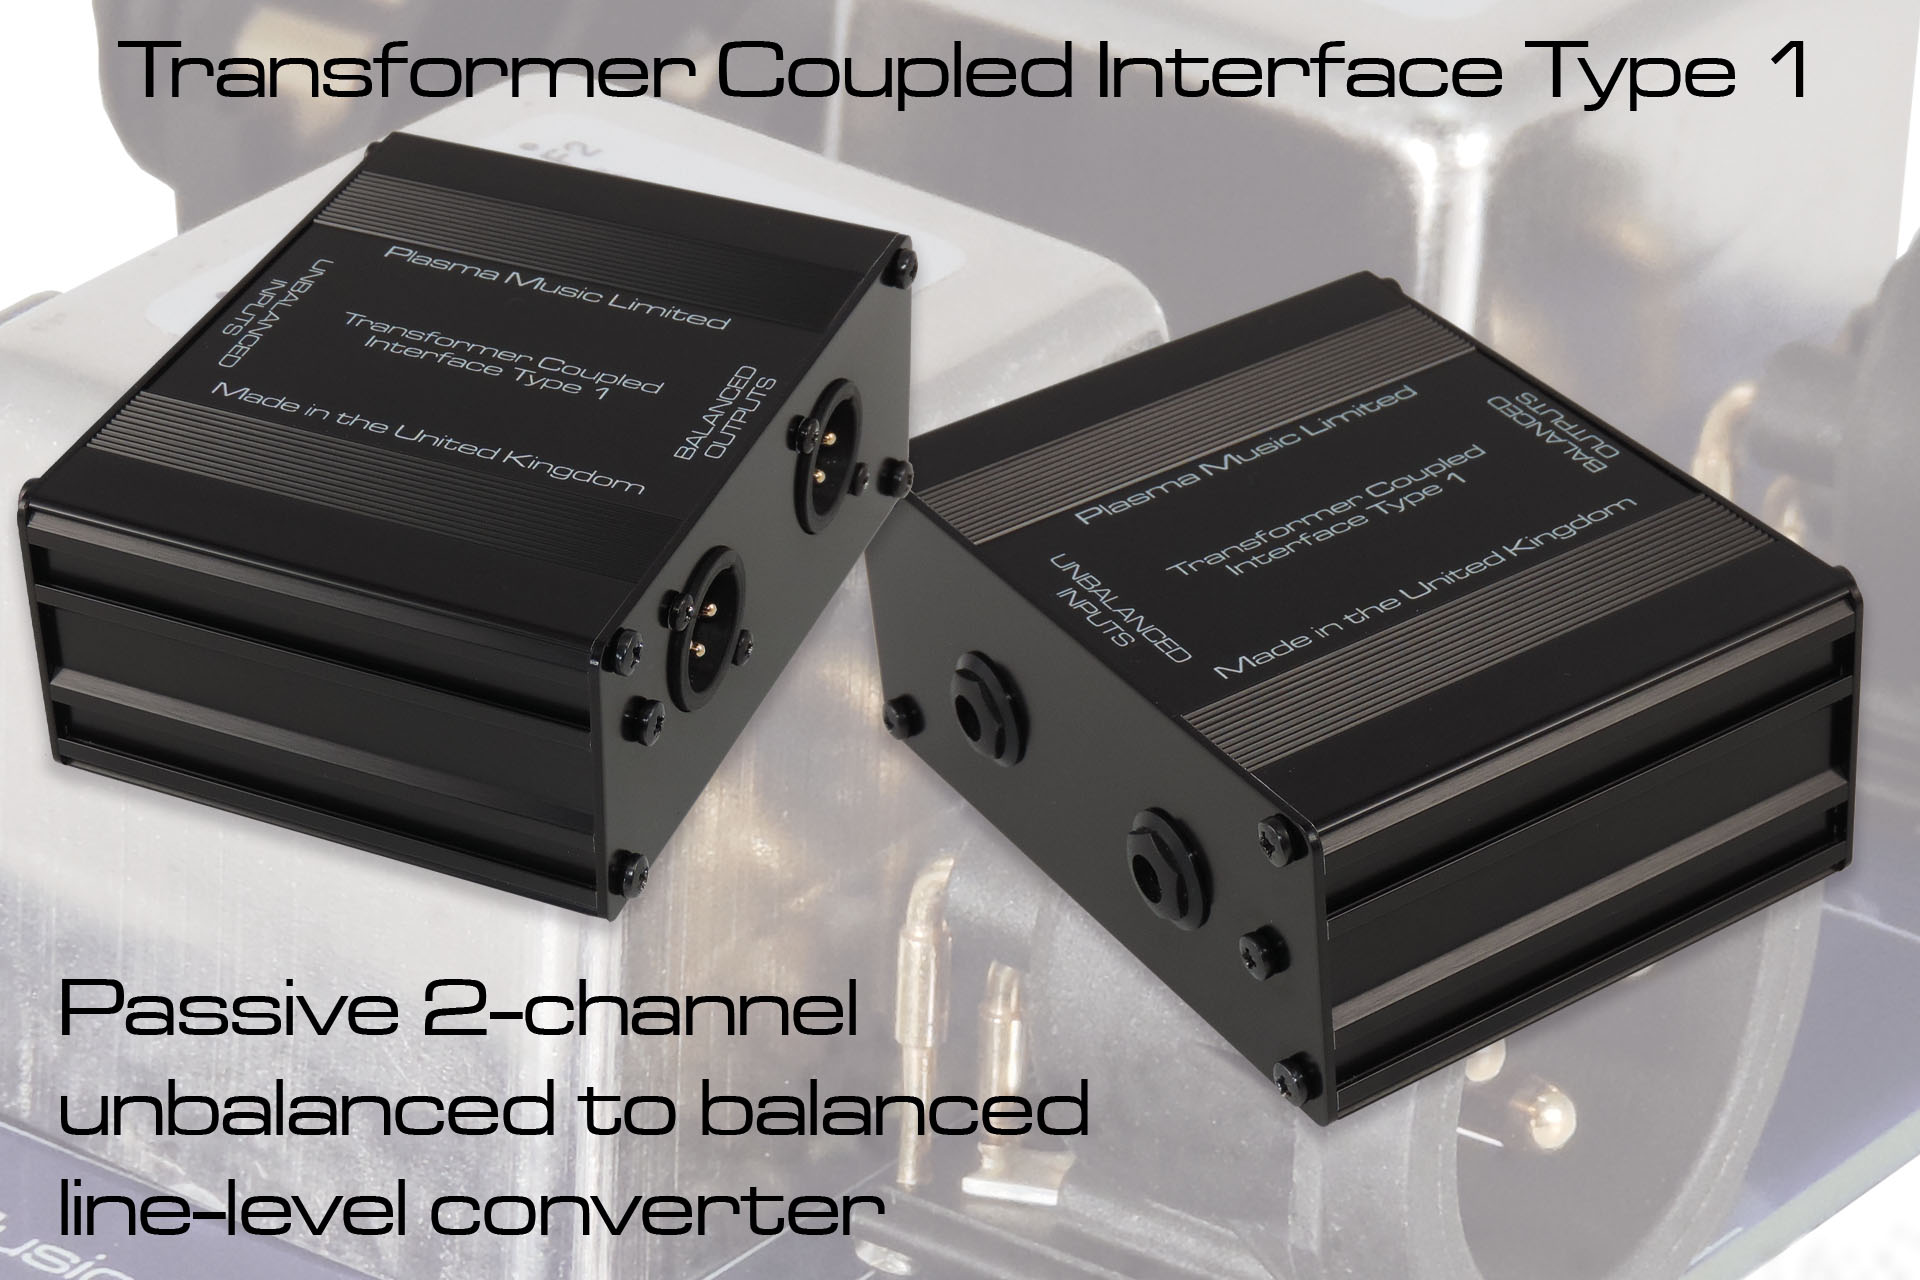
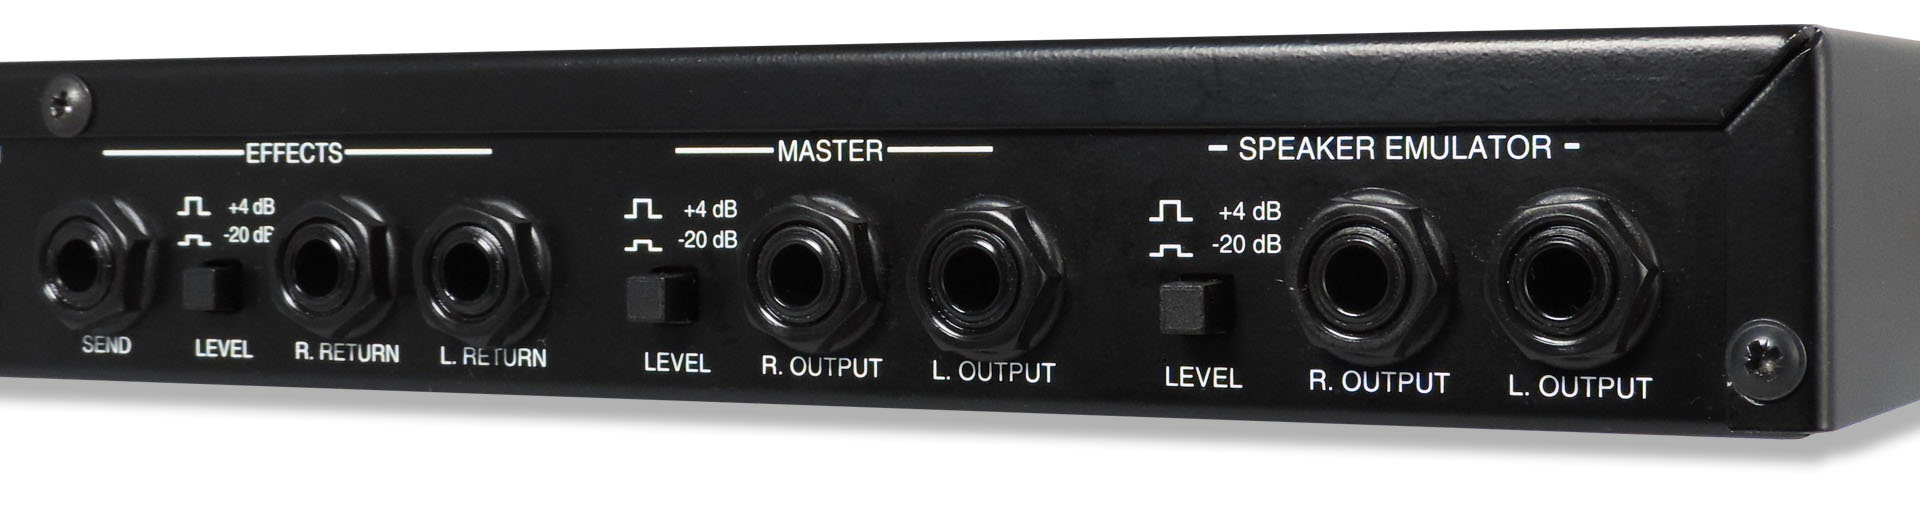
The JMP-1's outputs can be set to run at +4dBm line-level but they're unbalanced, which was quite a common thing at the time. To help you squeeze the best out of your favourite MIDI valve pre-amp, I've developed my Transformer Coupled Interface (TCI for short) Type 1.
TCI Type 1 is a passive 2-channel line-level unbalanced to balanced converter which will allow you to properly interface your JMP-1 with your recording set-up. Just plug in whatever outputs you use from your JMP-1 (direct or speaker emulated) using short jack-to-jacks and then plug the XLRs into your mixing desk or DAW recording interface. Oh and don't forget to set the output level switches on the back of the JMP-1 to +4dBm!
You can read all about my TCI Type 1, here or you can check it out in my on-line store, here.
UPDATE - 21st September 2021
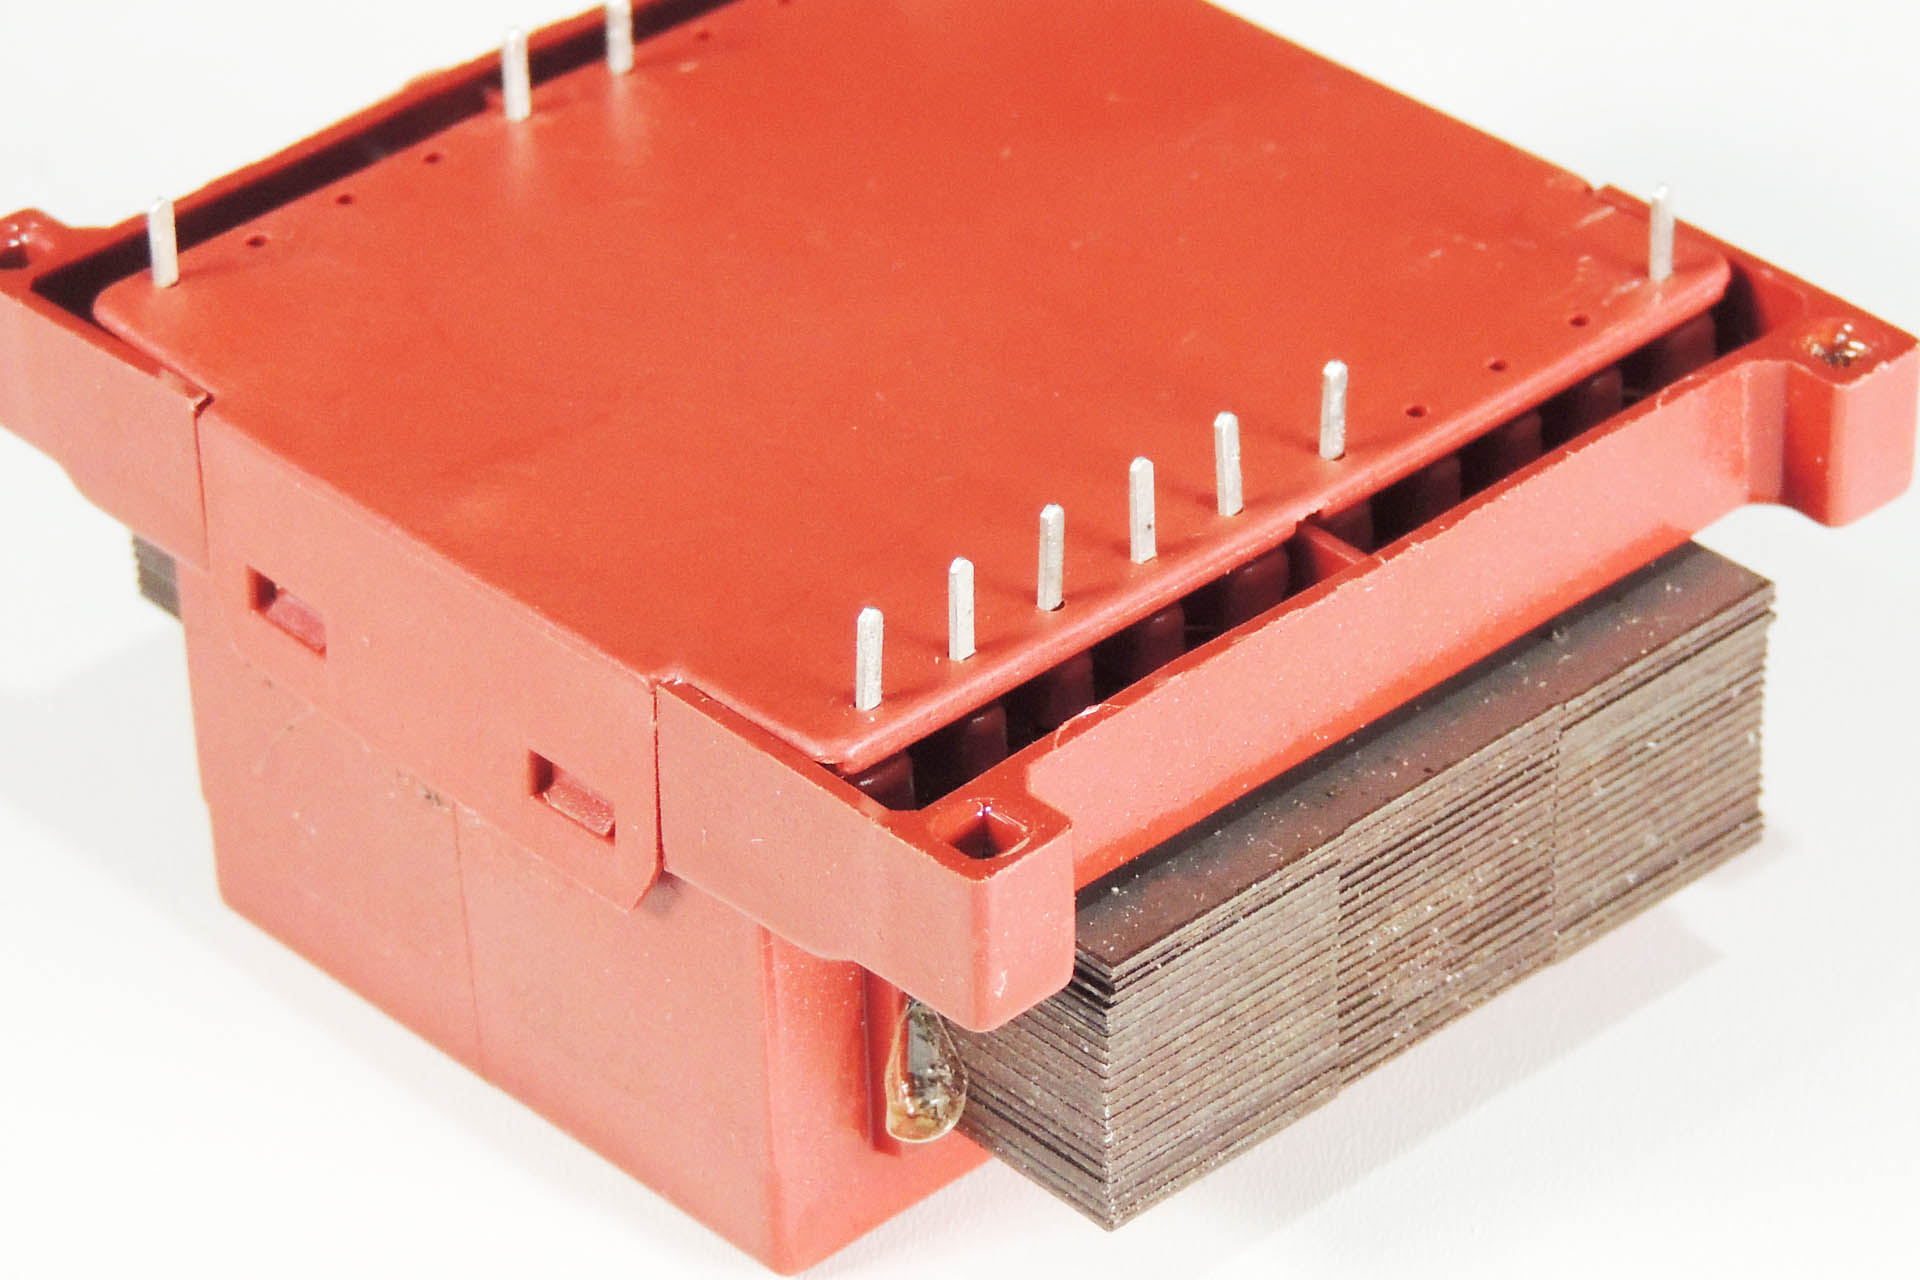
At last!!!! 😀 My PML-TX01 replacement and upgraded transformer for the Marshall JMP-1 is finally here!

The laminates of the PML-TX01 are made from a higher specification material, thereby reducing hum and hence, heat generation, too.
Exactly the same size and pin-for-pin compatible with the original TXMA-00014, my PML-TX01 is a true drop-in replacement.
You can buy my PML-TX01 here:
This item regularly goes out of stock, I'm afraid but... I encourage customers to back-order. Unfortunately, the crappy e-commerce plug-in I use, only tells the links (like the one above) that the item is out of stock. What 's the bloody point of that?!?!?! So if you want this, then please just visit the PML-TX01 page on my e-store here. Grr....
UPDATE - 22nd July 2023
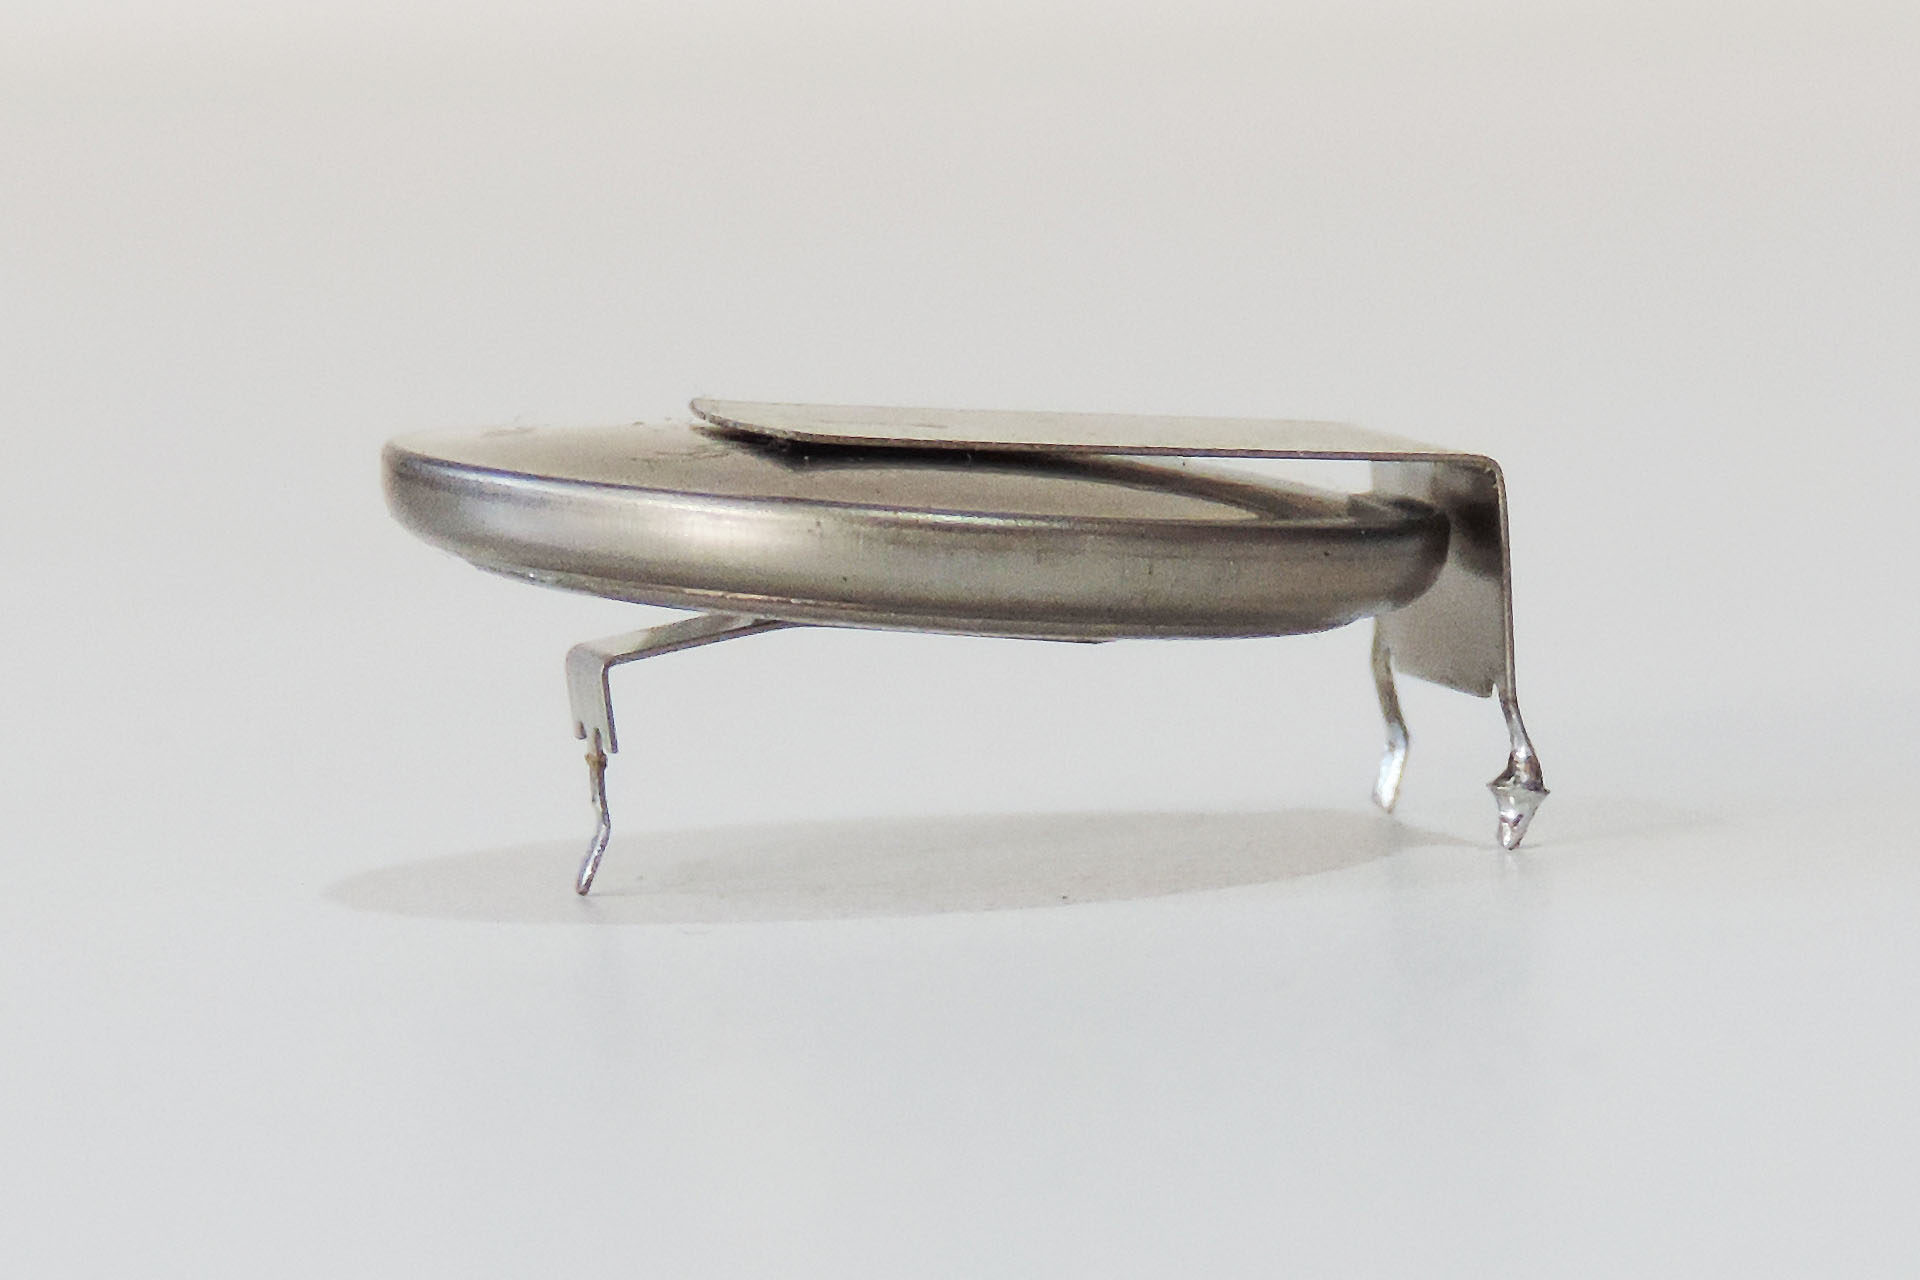
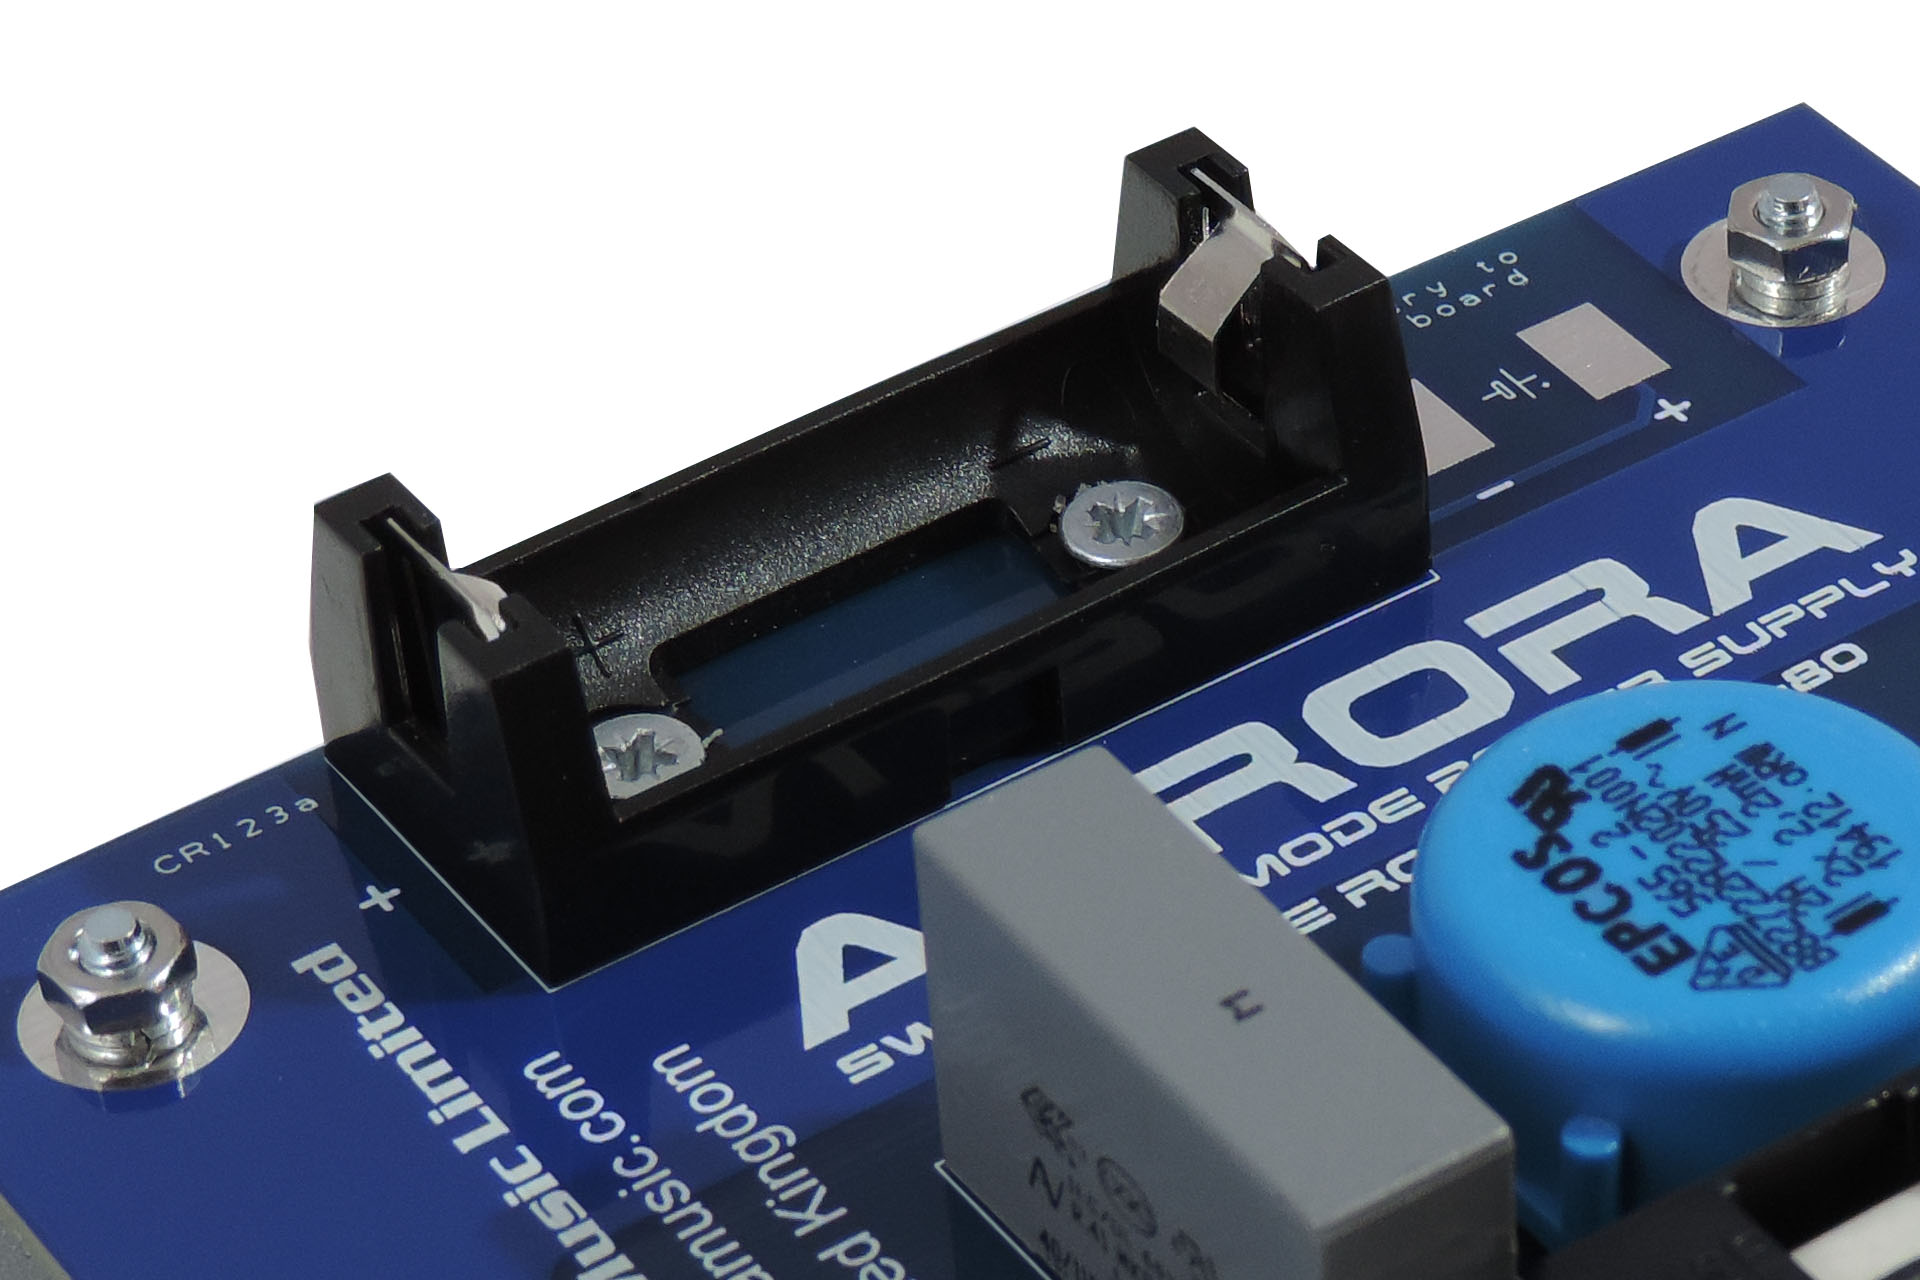
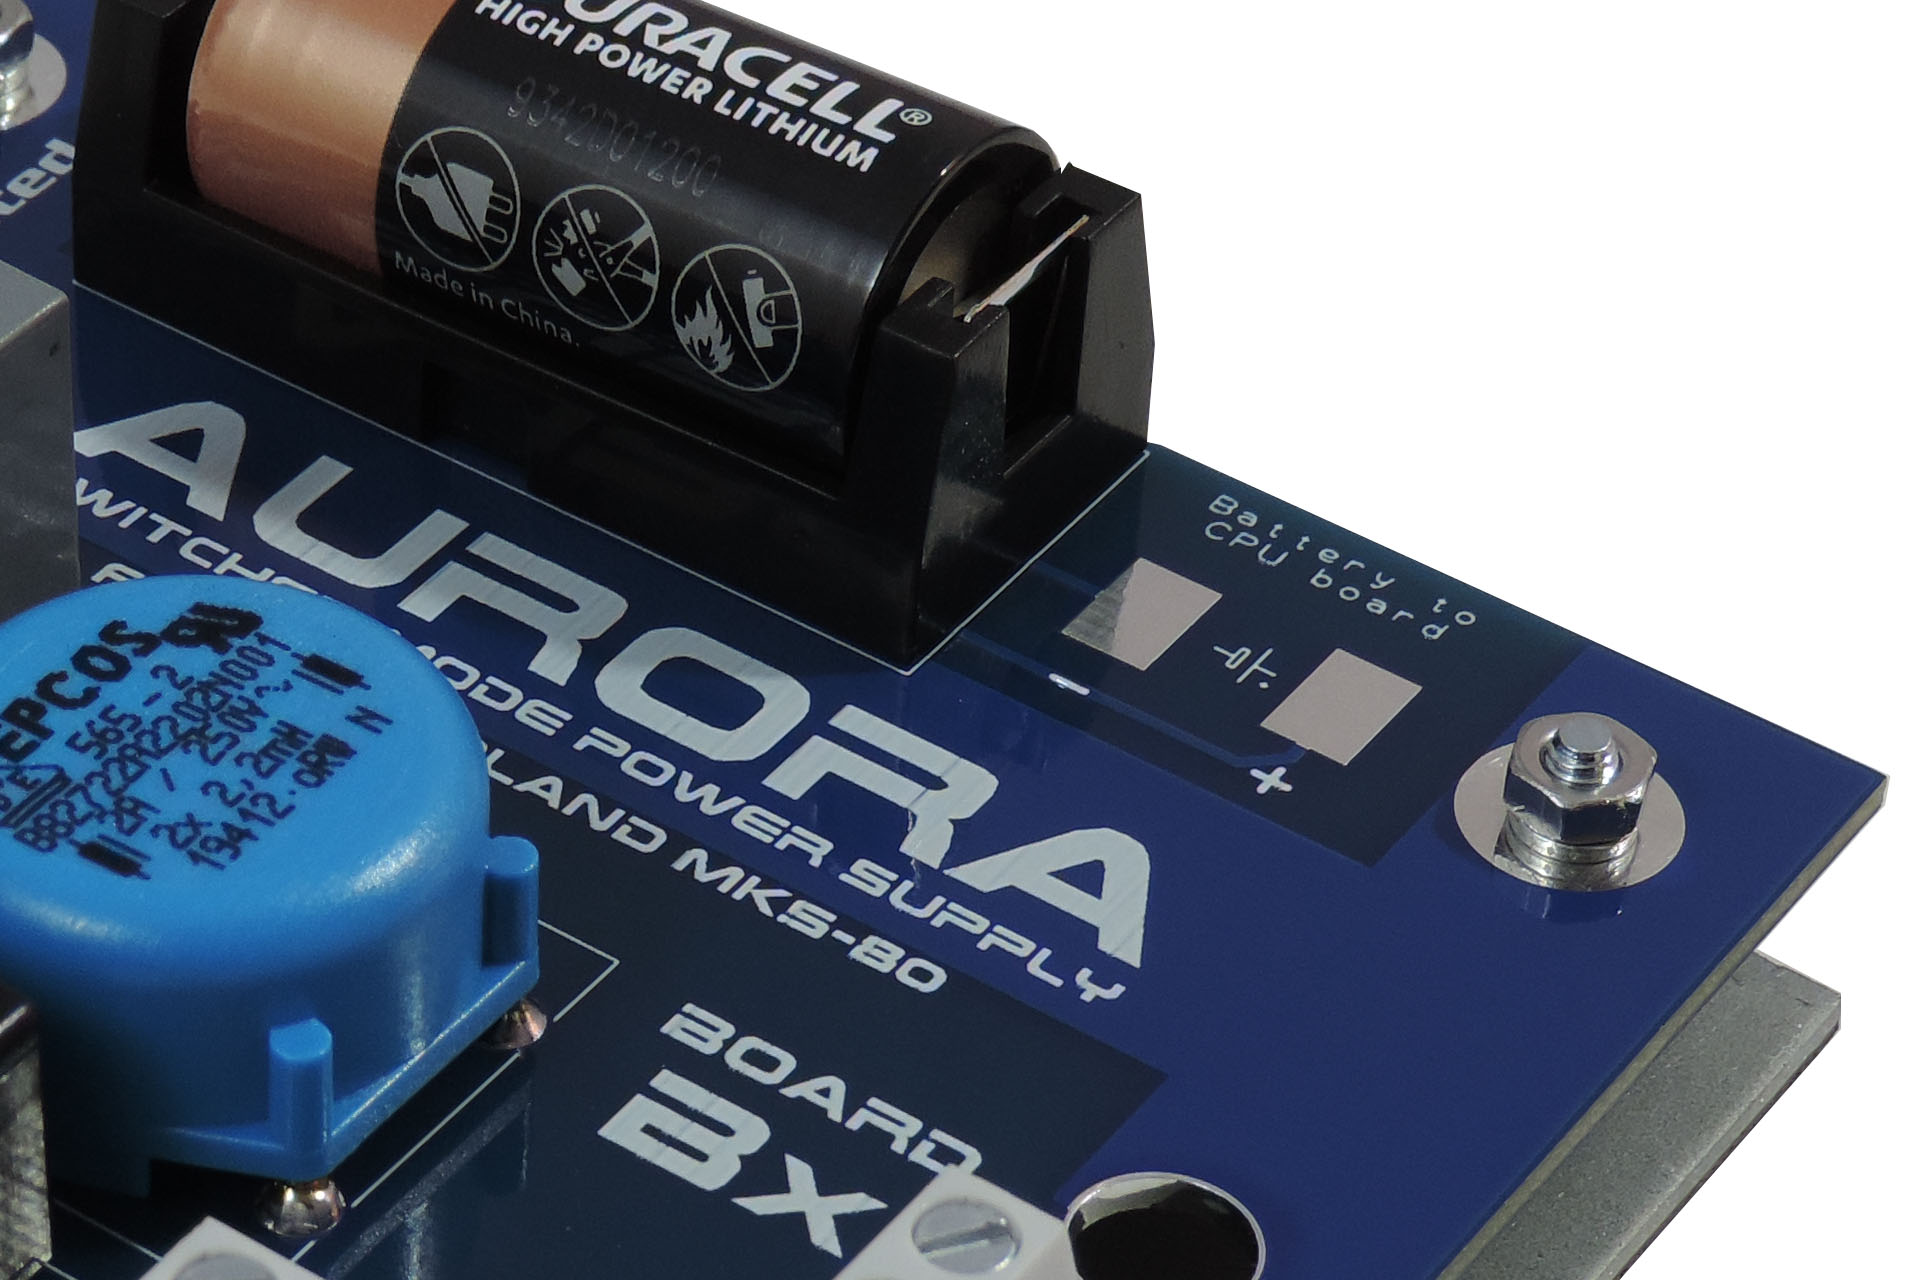
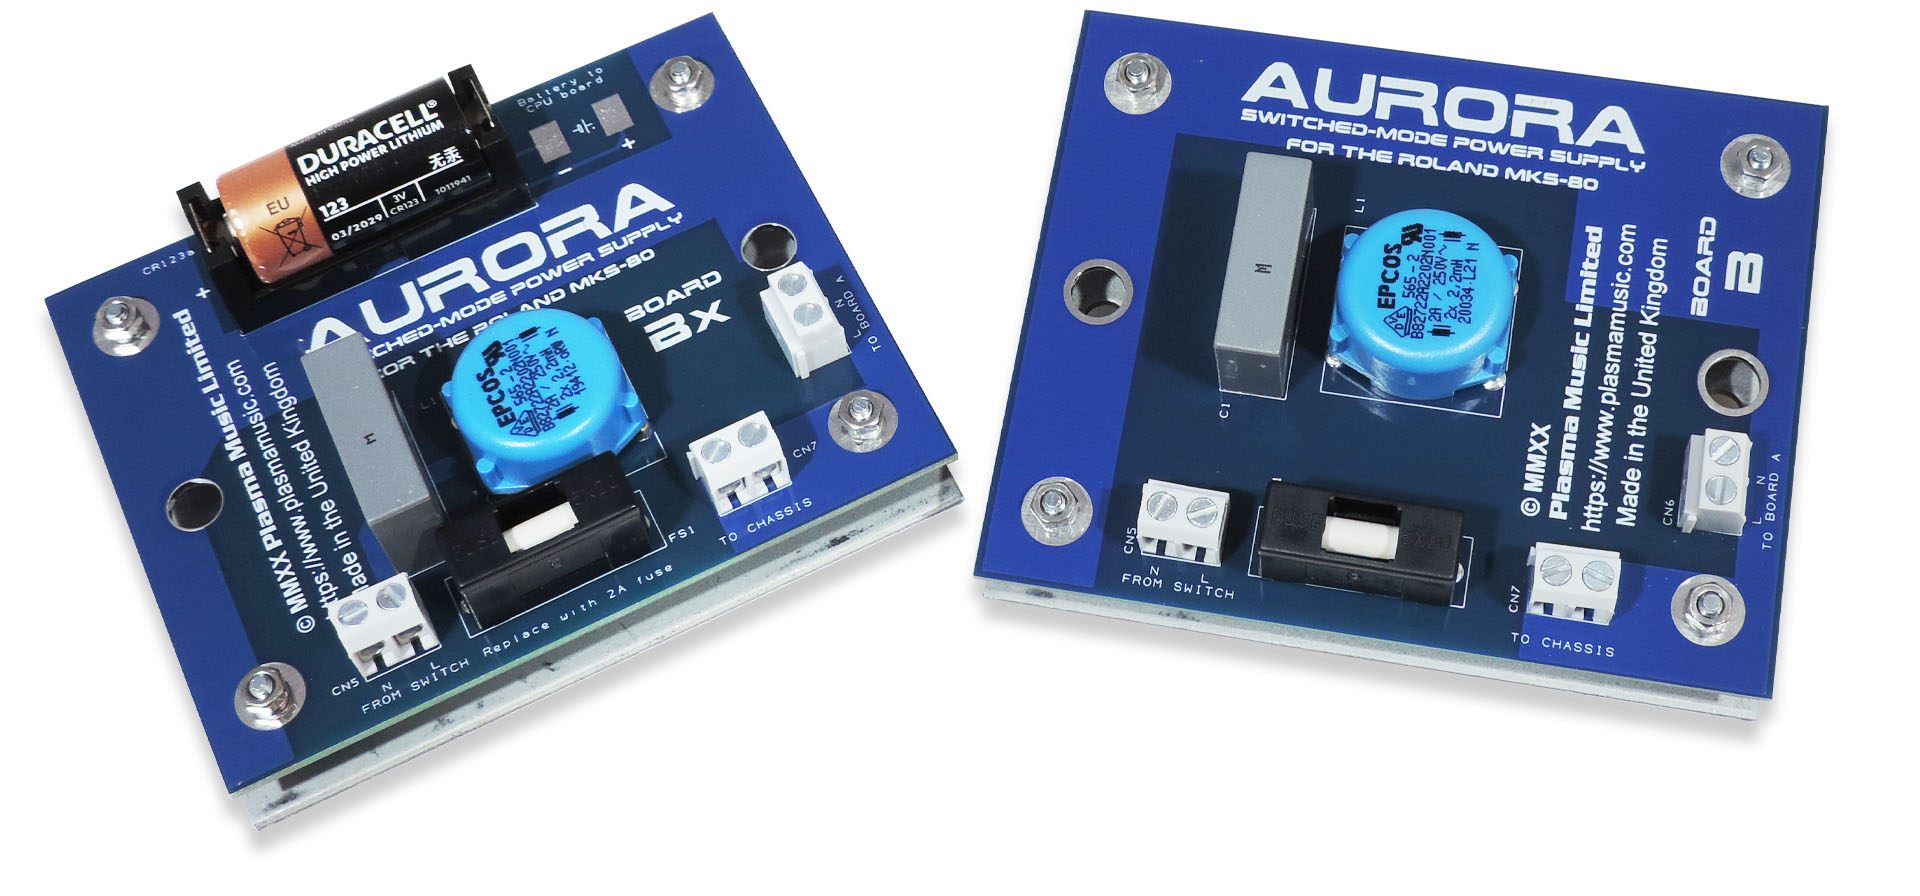
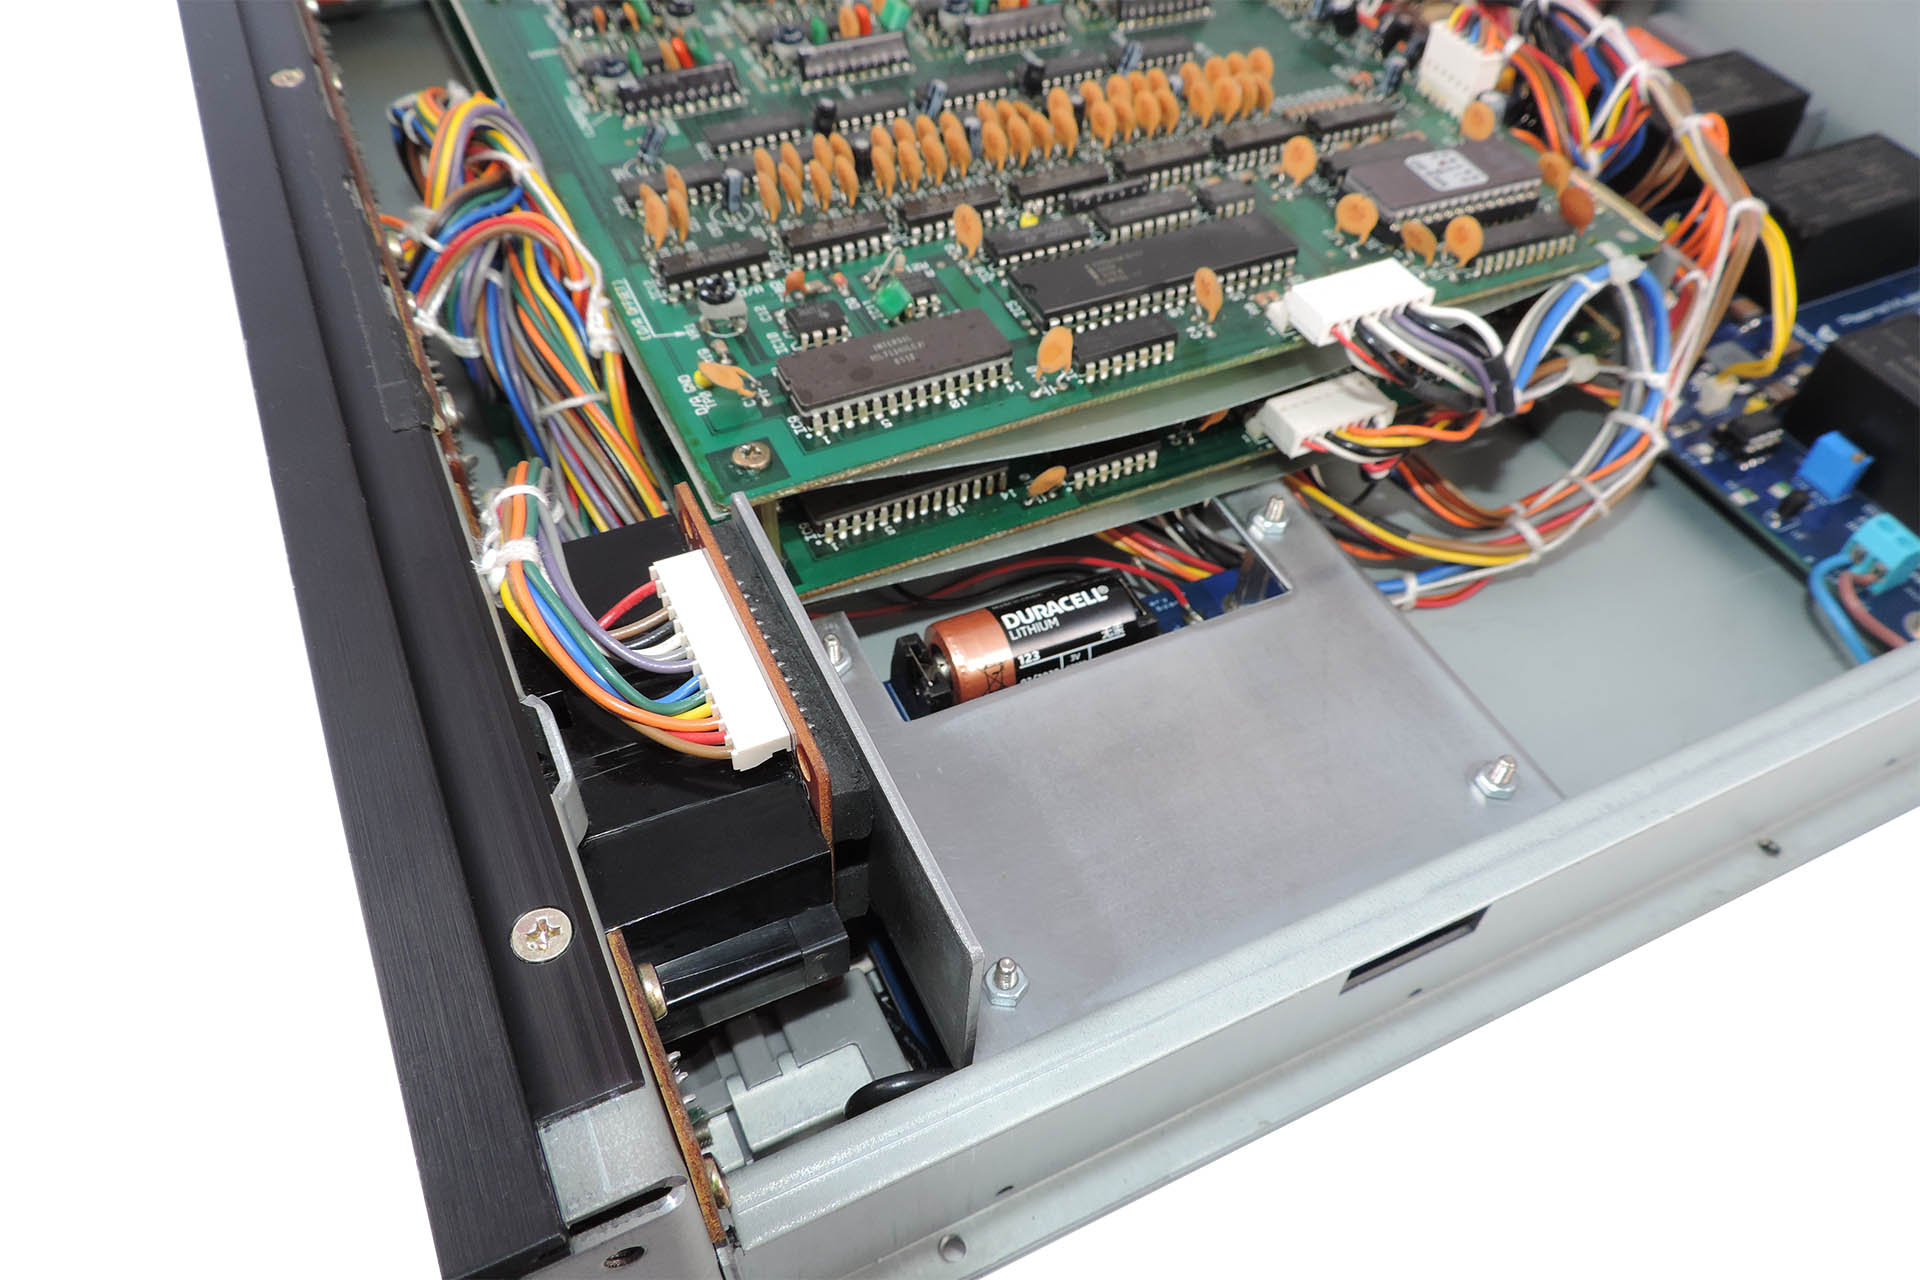
I often get asked about the memory back-up battery in the Marshall JMP-1 and with soldered batteries not really being in fashion anymore, replacements are difficult to get hold of. I therefore decided to knock up a small PCB that mounts into the original battery location but which has a CR2032 clip. This allows for easy battery changing with a standard (you guessed it) CR2032. Measuring the voltage on the battery is a little easier, too. 🙂

UPDATE - 26th February 2024
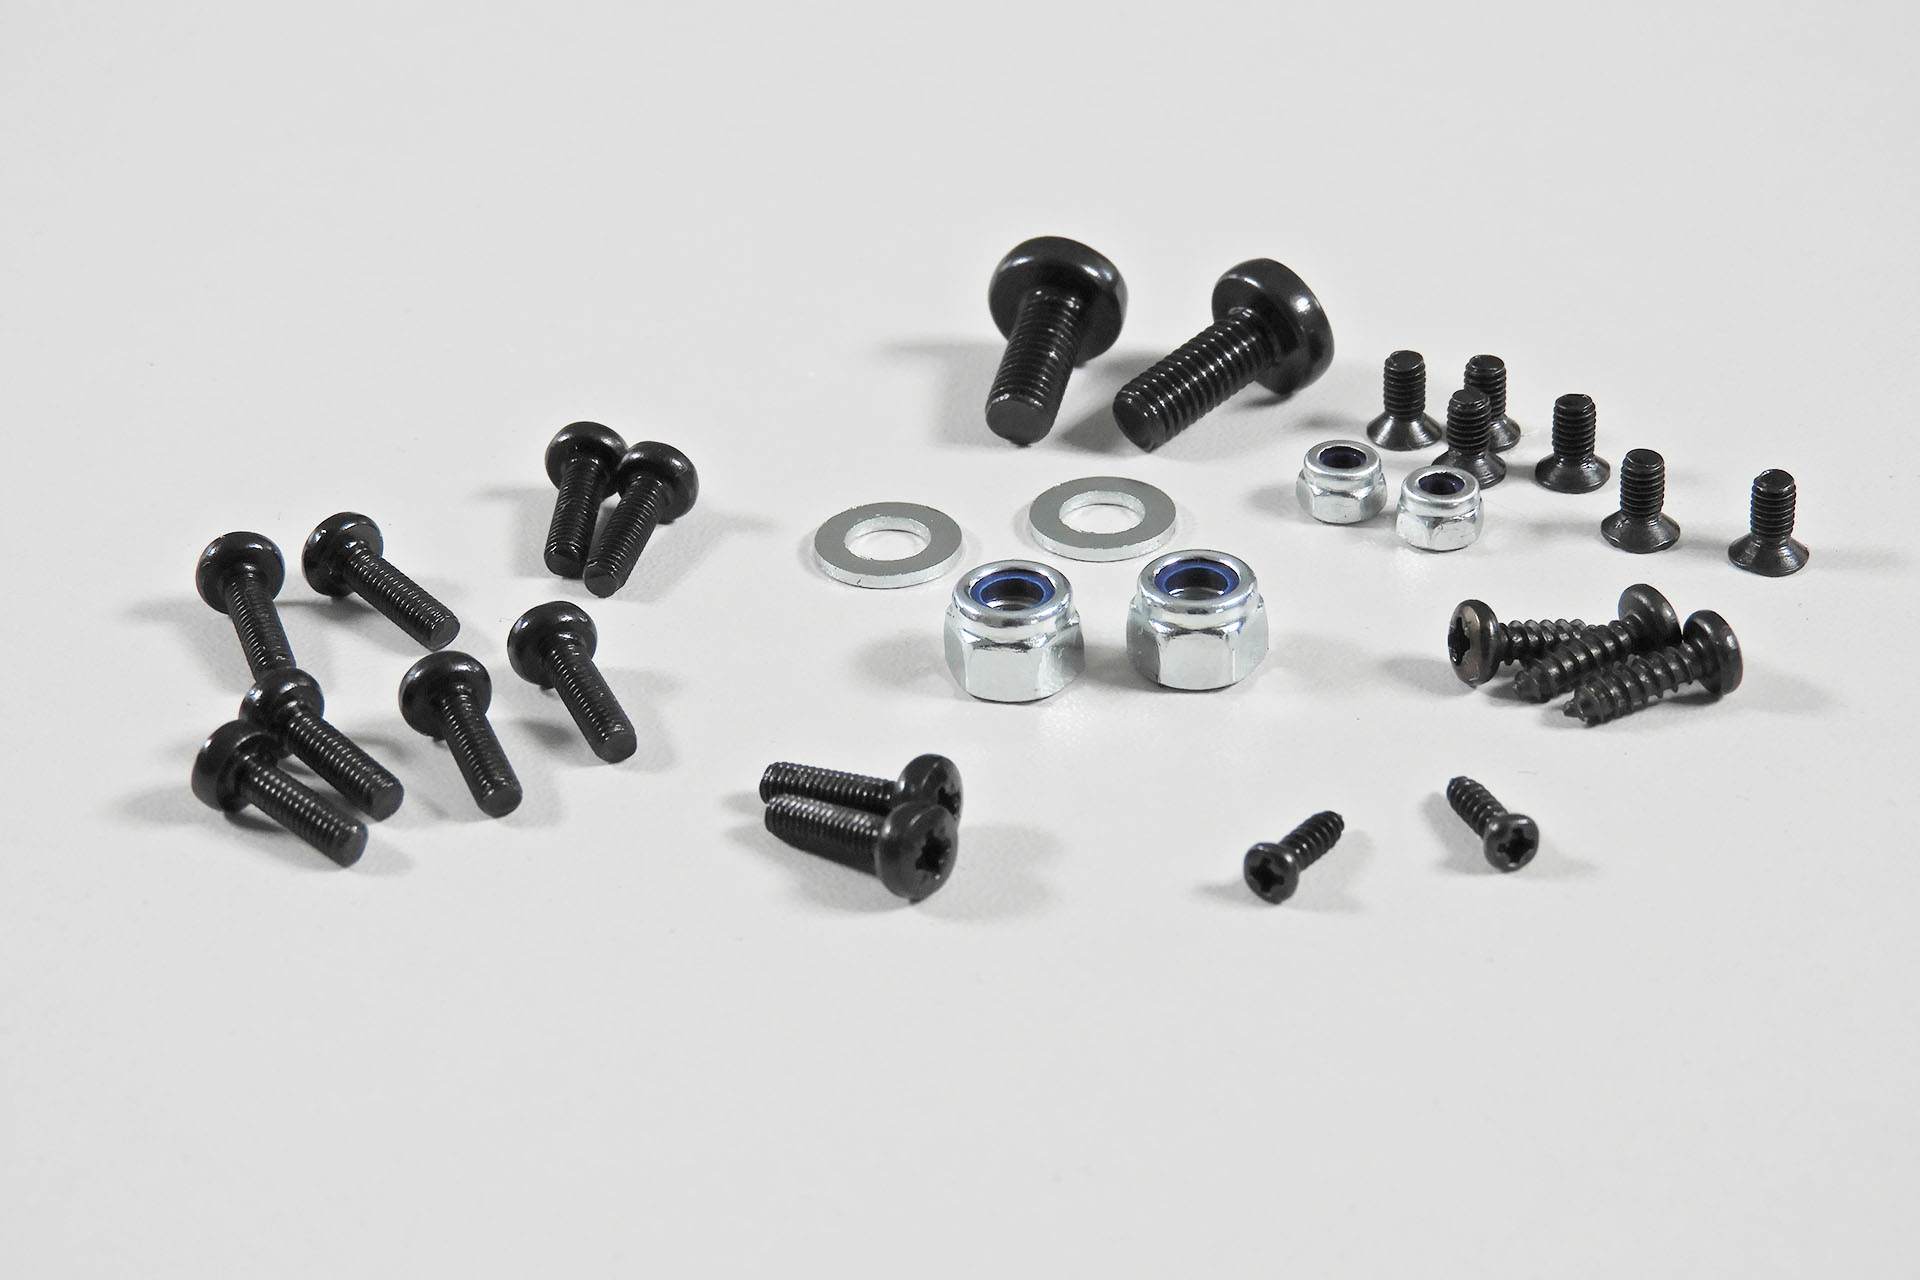
Now available in my on-line store, a screw kit for the Marshall JMP-1
UPDATE - 10th April 2024
My latest upgrade for our favourite MIDI valve pre-amp; Oracle JMP-1 battery eliminator for the Marshall JMP-1. You can read all about it here.


 Using local manufacturers isn’t the cheapest option but the above points are important to me. I hope that they’re important to you too.
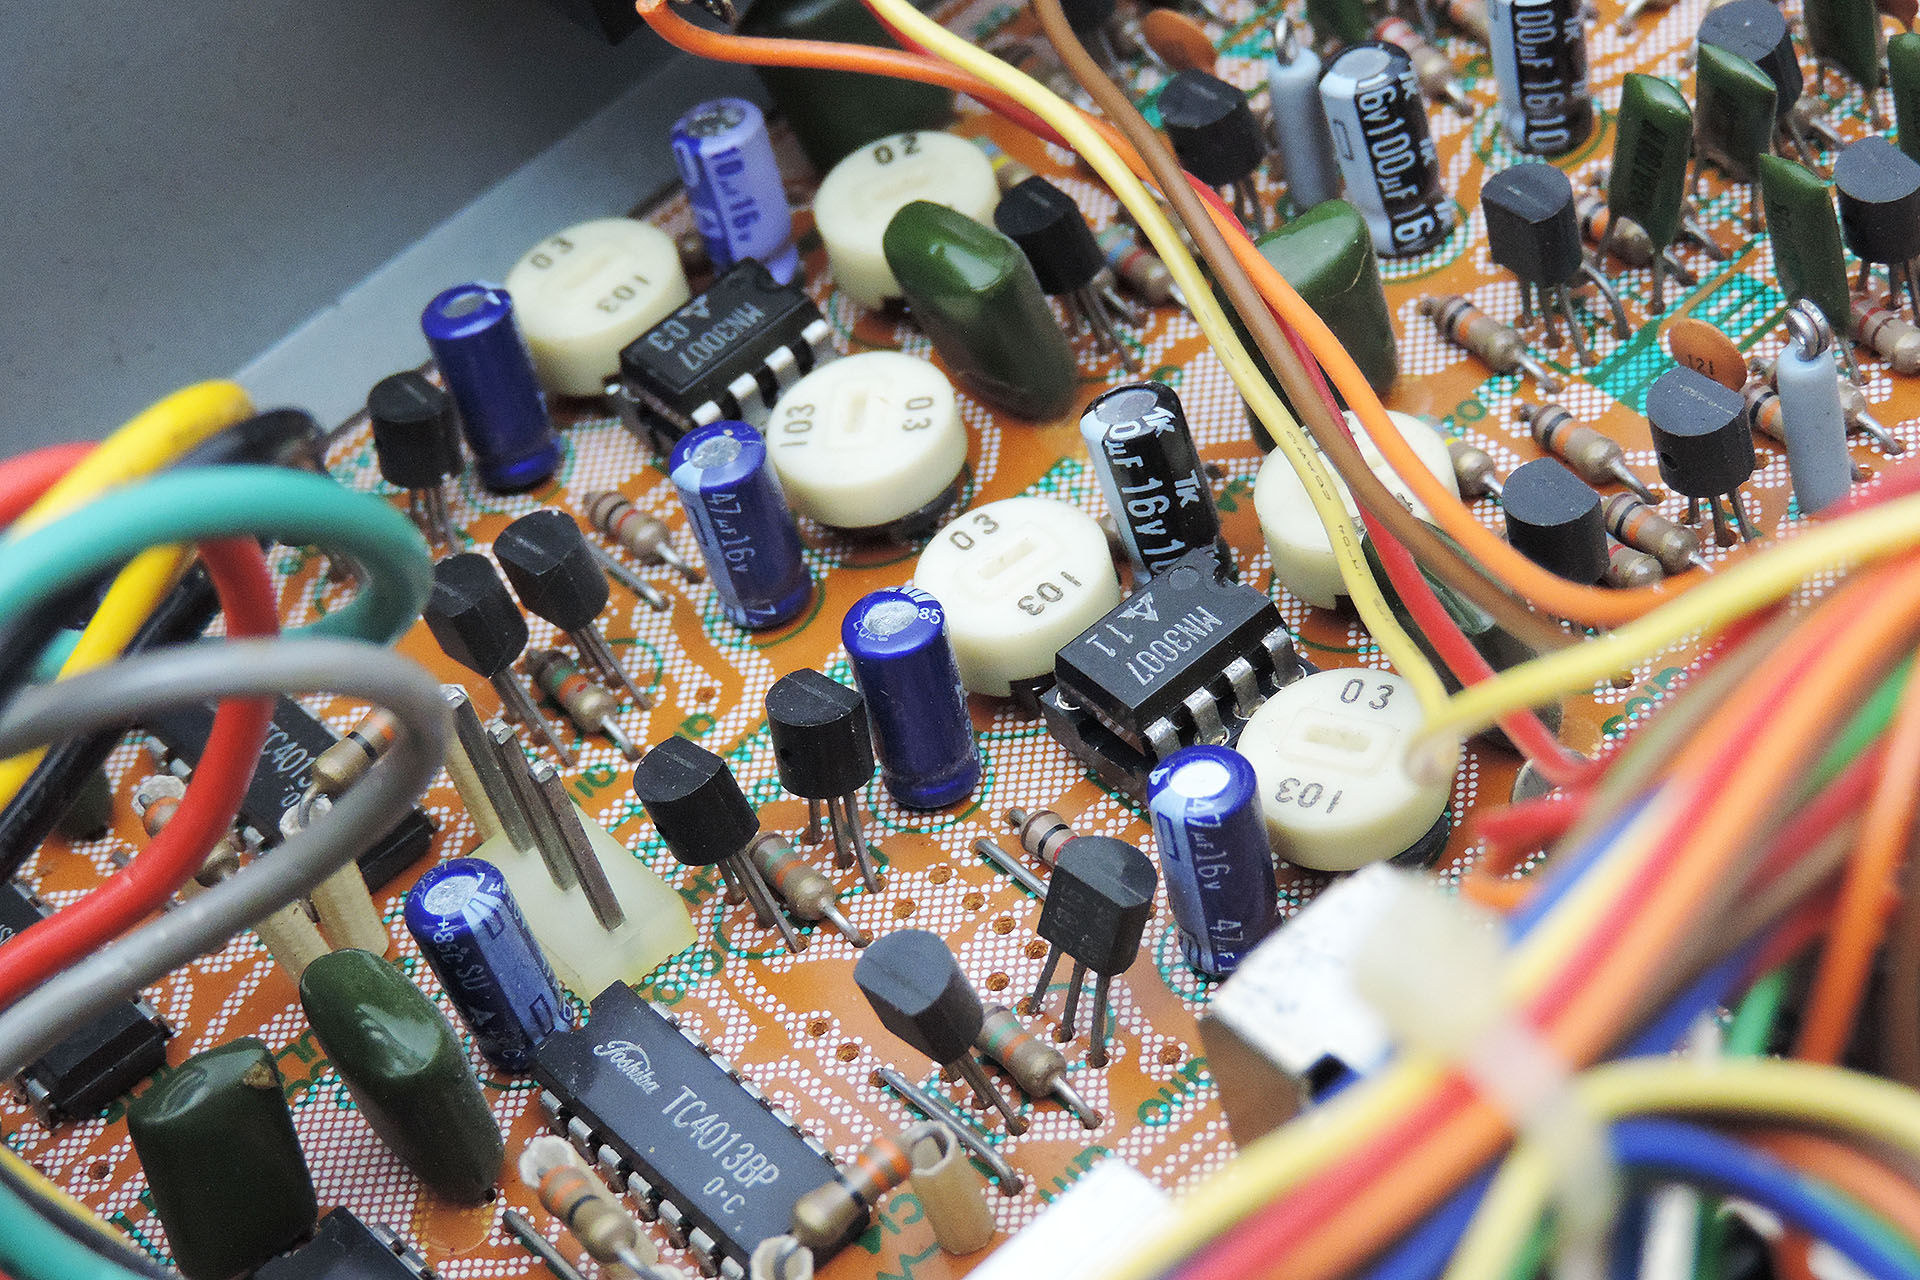

 1978 and I remember vividly putting Van Halen (self-titled first album) on to the turntable. The expression 'Blew my mind' has never been so apt and indeed, Eruption changed the sound of guitar forever. Suddenly everything before was just two-dimensional and mediocre. Finger tapping, shredding, a very articulate and defined sound with oodles of sustain (the brown sound), it all started here.